
Sport shock absorber with TÜV for Vespa GT, GTV, GTS installation instructions
Shock absorber set -BGM PRO SC FR1 SPORT - Vespa GT, GTV, GTS (-2013) 125-300 - black
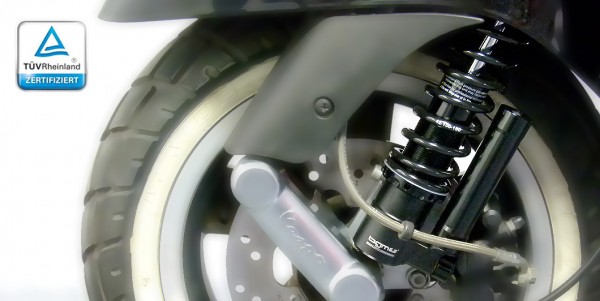
Shock absorber Vespa GT GTS Super Sport with TÜV certificate.
Here are the new bgm shock absorbersWith the new bgm Pro SC / F16 and SC / R1 shock absorbers, the chassis of your GTS is given the finishing touches:
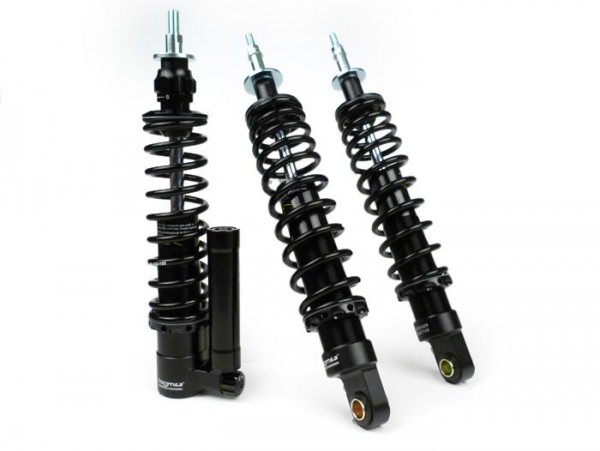
Chassis tuning via compression and rebound regulation and spring preload
The front shock absorbers for your Vespa can be individually adapted to your driving habits via the compression and rebound adjustment and the spring preload.
The rear SC / R1 shock absorbers are infinitely adjustable in the spring preload and can thus be easily adapted to changing load conditions.
Whether it's a gentle glide or a sporty mountain tour - with the bgm Pro chassis, every driving situation can be mastered.
Of course you get one for your bgm Pro chassis TÜV certificate, with which the chassis can easily be entered in the vehicle documents of your Vespa.
BGM Pro SC SPORT shock absorber -porty- comfortable -adjustable -with TÜV-
HARMONIOUS
The BGM Pro SC SPORT chassis impresses with its harmonious basic set-up. Intended for sporty driving on the road, the predefined specific damper setting and spring rate is an optimal balance between sportiness and suitability for everyday use. The front damper even comes from the further developed BGM Pro SC COMPETITION series. The rebound stage damping can also be set here to 16-fold.
DIREKT
With the BGM Pro SC SPORT chassis, the otherwise typical scooter immersion during braking, as well as the rolling movements around the longitudinal axis when accelerating strongly, is reduced. This results in an unadulterated directness. Together with significantly sportier handling, driving becomes a very safe and enjoyable affair.
EASY
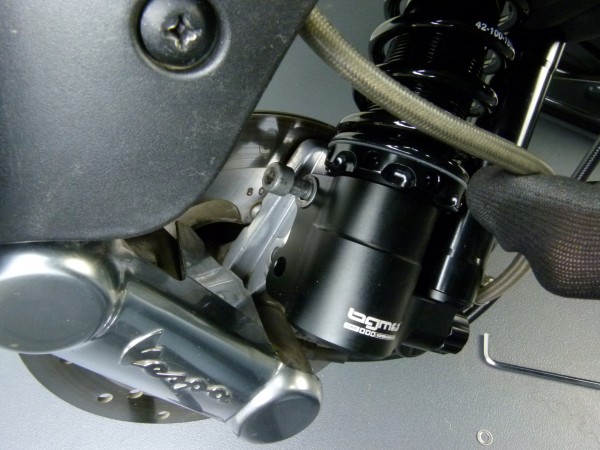
The expansion tank of the front damper was deliberately designed to be very slim. Installation is quick and easy, without The brake line can be dismantled.
ABE
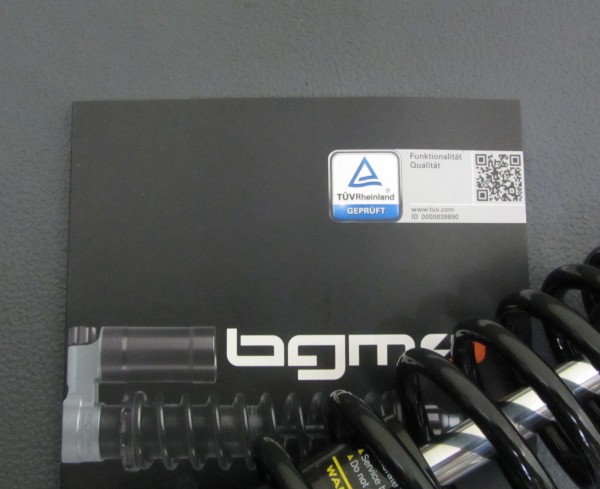
For pure enjoyment without regrets, the BGM Pro SC SPORT shock absorbers naturally have a KBA test mark and an ABE. This means that the shock absorber can be installed and driven immediately in accordance with the specifications given in the ABE. It is free of registration, the ABE must be carried.
- with KBA test mark / ABE (registration free!)
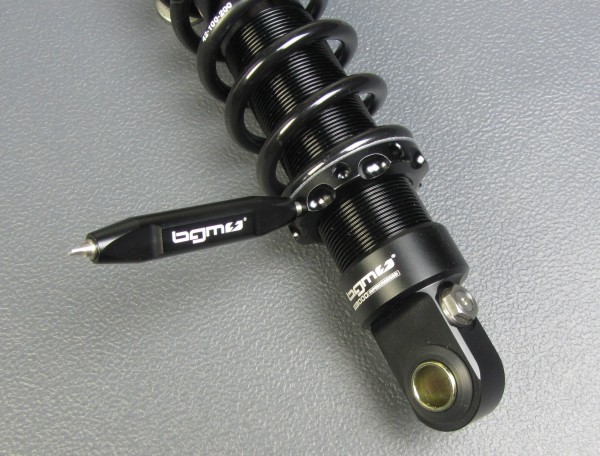
- high-strength aluminum, CNC machined
- hard anodized surfaces for optimal protection
- optimally adjusted in advance
- front rebound damping 16-fold adjustable
- sporty, harmonious damping technology
- high quality components for a long service life
- massive 12,5 mm piston rod
- stepless adjustment of the spring preload
- ready-to-install complete solution
TECHNOLOGY
The SPORT series inherited the technical features from its big brother, the BGM Pro SC COMPETITION shock absorber. The SPORT has the same massive 12,5mm piston rod as the high-strength and corrosion-resistant aluminum body.
This was also hard anodized and is delivered in a noble matt black.
And finally ... Sporty, comfortable damper with approval and an unrivaled price / performance ratio!
Installation instructions for Vespa shock absorbers
Easy assembly of the new chassis
The installation of the shock absorbers is relatively easy. A couple Suggestions and we have briefly summarized the most important steps for assembly for you:
In order for the conversion to be successful and safe, your Vespa should be on a level and firm surface.

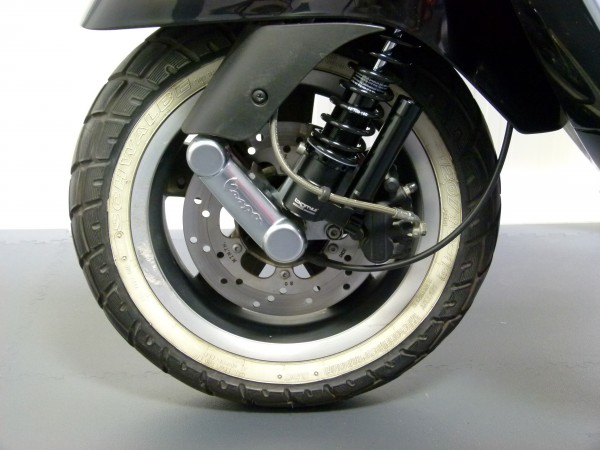
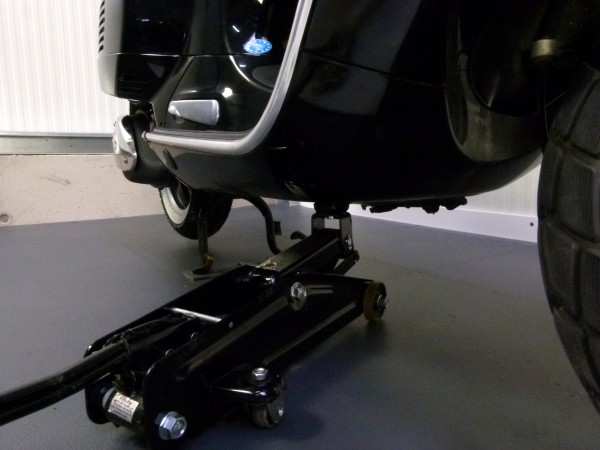
To replace the front shock absorber, the front wheel should be freely accessible. The easiest way is to put your Vespa under the frame or use a jack to lift the front wheel. This means that jacking up can also be done easily on your own.
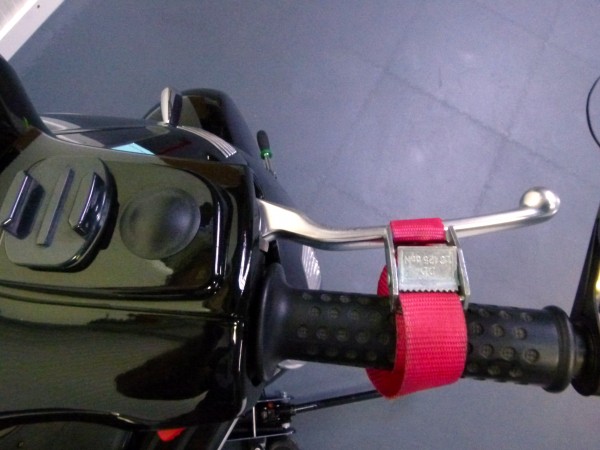
Removing the five screws from the front rim works best when the front wheel is locked in place.
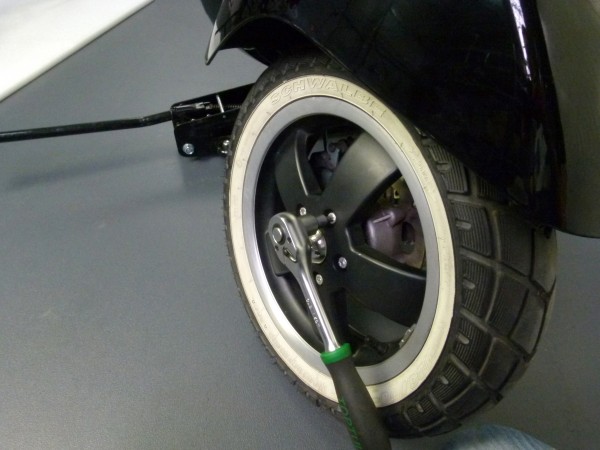
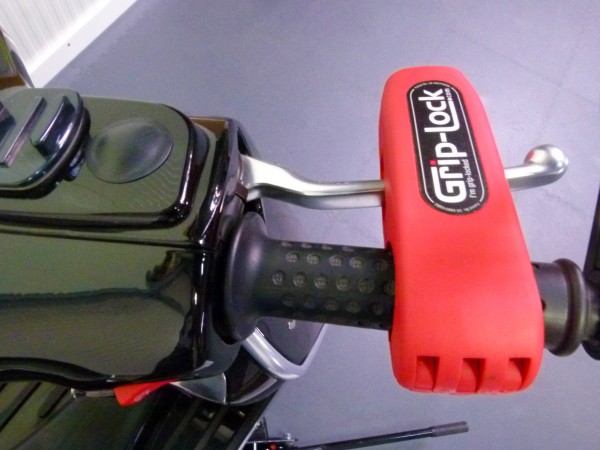
If you have a lock for the brake lever, you can this anti-theft device also provide good service here as a third hand. A strap or in an emergency Cable Ties but also adequately fulfill this task. The braked front wheel also prevents unintentional rolling away later when working on the rear shock absorbers.
First loosen the two lower fastening screws with an angled Allen key.
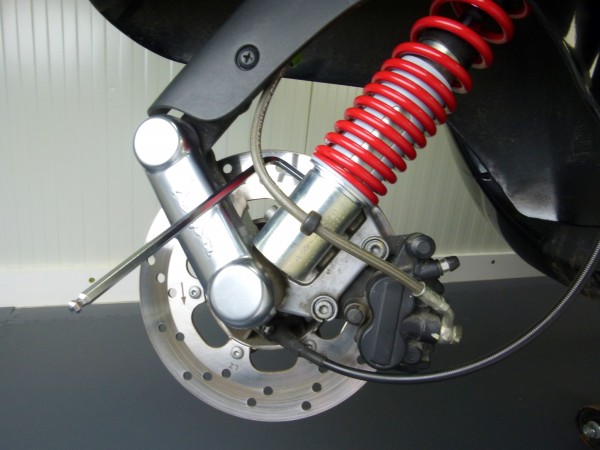
Then it is the turn of the two nuts of the upper shock absorber mount. If these are also removed, the shock absorber can simply be taken out towards the front wheel.

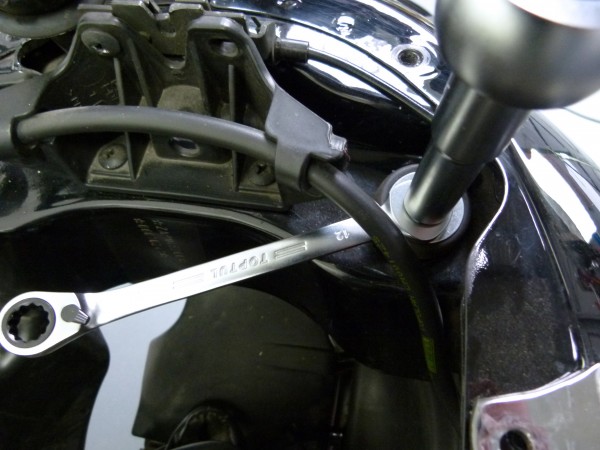
To loosen the upper nut, the shock absorber can be held against the dome cap.
After the upper recording is peeled off, you undergo the Silent rubbers a quick check. If the rubbers are hard or brittle, it is advisable to replace them.
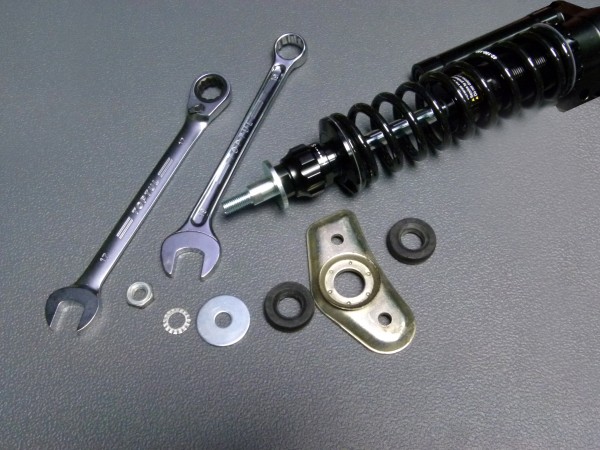
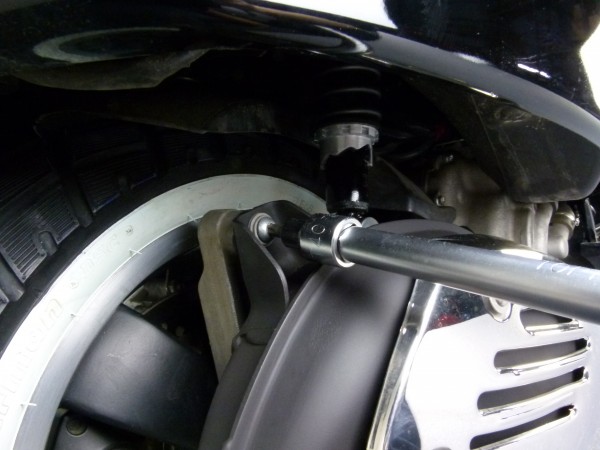
As an assembly aid, you will also find two wrench surfaces on the bgm shock absorber, which can be used to hold the damper for assembly.
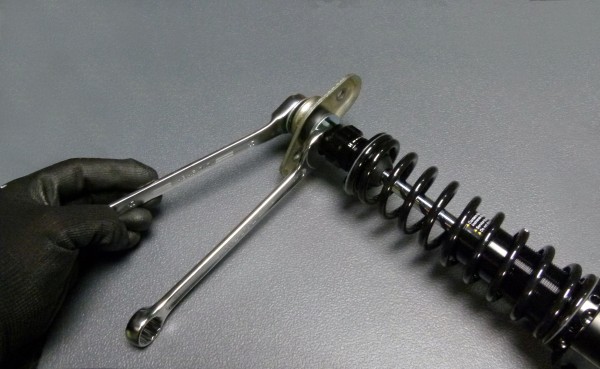
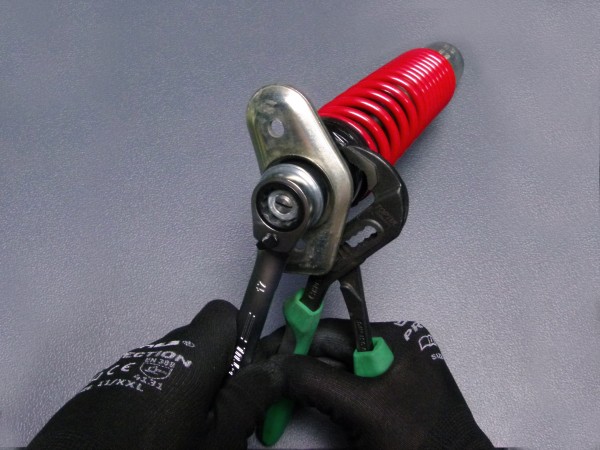
Under no circumstances should the piston rod of the damper be held with pliers or similar tools during assembly. Due to the tool marks on the surface of the piston rod, the shock absorber would immediately leak during compression.
Once the mount is in place, you can reinsert the damper from the wheel side. Spacer plates are included in the scope of delivery of the bgm shock absorbers in order to compensate for a difference in size between the damper and the brake caliper mount.
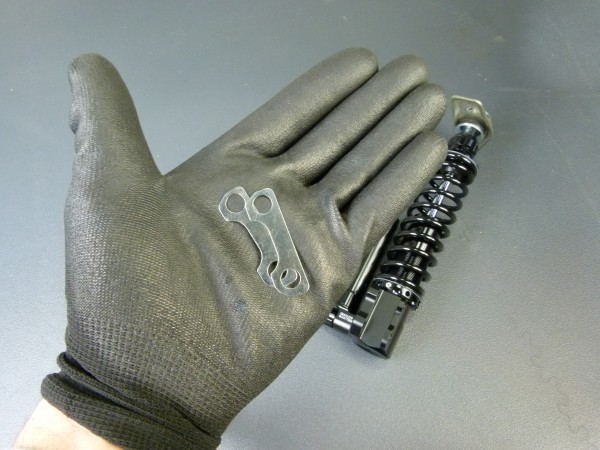
If a distance is necessary here, you can first fix it with a screw through the lower hole and push the damper over the bracket of the brake caliper mount and the spacer plate.
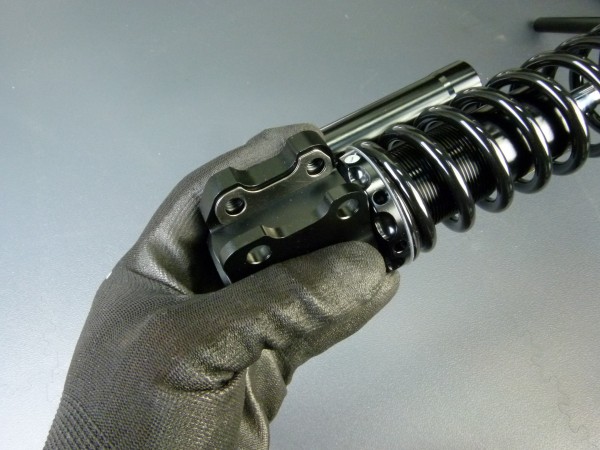
As soon as the screw fixes the spacer plate and the shock absorber through the upper hole, the damper can be brought into its installation position and fastened.
The screws of the upper mount are secured against twisting in the steering tube.
The mount with the shock absorber is simply fastened again from below with the nuts.
When you have reassembled the front wheel with the five Allen screws, you can turn to the rear shock absorbers.
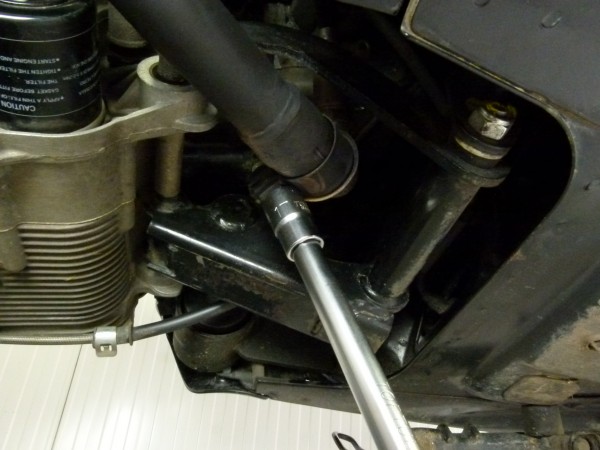
On the left side of the vehicle, the lower mount of the shock absorber is hidden behind the air filter box.
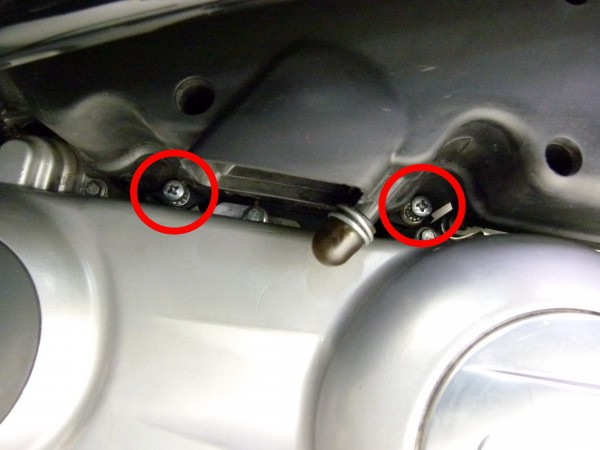
In order to gain access to this receptacle, you have to lift the air filter box.
To do this, take out the two rear screws, you just have to loosen the third, front screw so that you can lift the air filter box. A complete dismantling of the air filter box is not necessary.
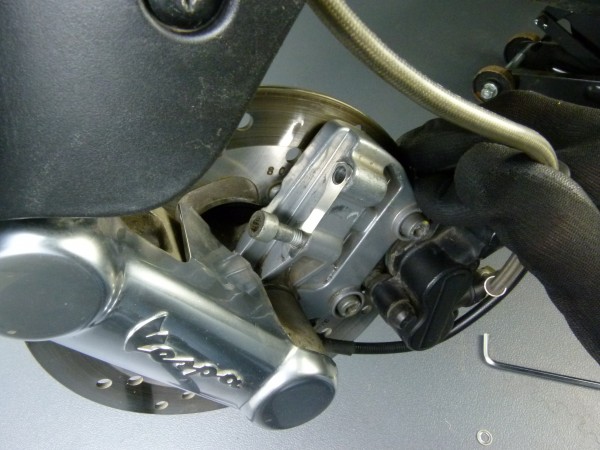
On the right side of the Vespa, the exhaust prevents access to the lower shock absorber mount.
Attention: If you have used your Vespa for a trip shortly before, it is better to wait with the work until the exhaust and engine have cooled down.
The exhaust is held in place with three screws and a clamp on the manifold. The lambda probe cables and cooling water hoses may be located near the clamp. Please be careful not to damage these components.
It is advantageous to first loosen the clamp on the manifold and then the three screws on the rear swing arm that hold the actual exhaust body.
When loosening the last screw, please make sure that the exhaust cannot fall down. Now you can pull the exhaust back off the manifold.
The original Piaggio exhaust systems are between the exhaust and the manifold with a Graphite seal Mistake. This seal is sensitive to mechanical loads and should be replaced if there is obvious damage.
To loosen the shock absorbers in the top of the frame, you have to remove the helmet compartment and the cover over the seat lock.
You can simply lift the helmet compartment upwards.
The rear cover is fixed to the rear of the vehicle with four screws.
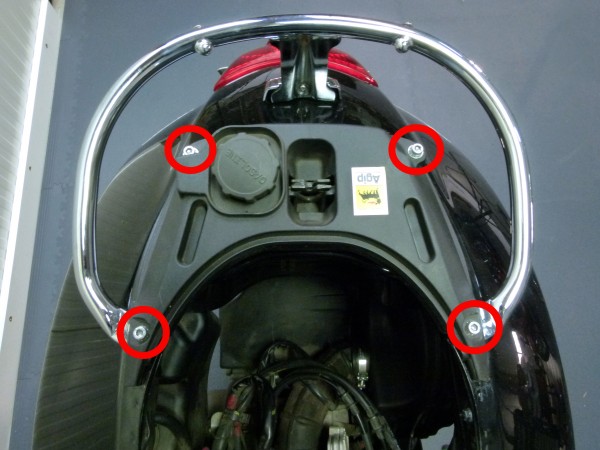
Once the four screws have been removed, all you have to do is remove the tank cap to remove the cover.
To be on the safe side, please close the filler neck with the tank cap immediately after removing the cover.
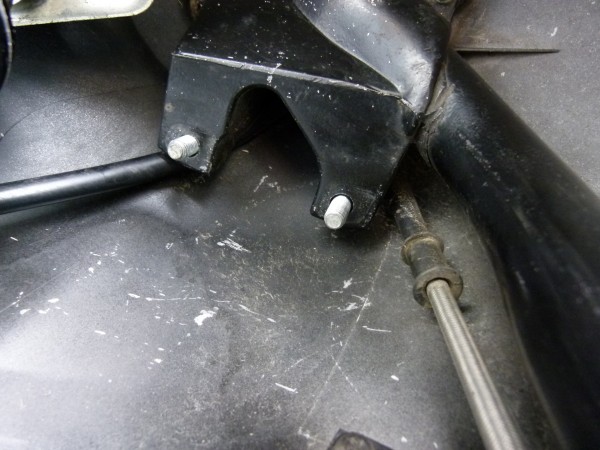
To the right and left of the seat lock you will find the upper attachment points of the two shock absorbers. Before you solve this, please check that your Vespa is in a safe position. The front wheel should be fixed and on the ground.
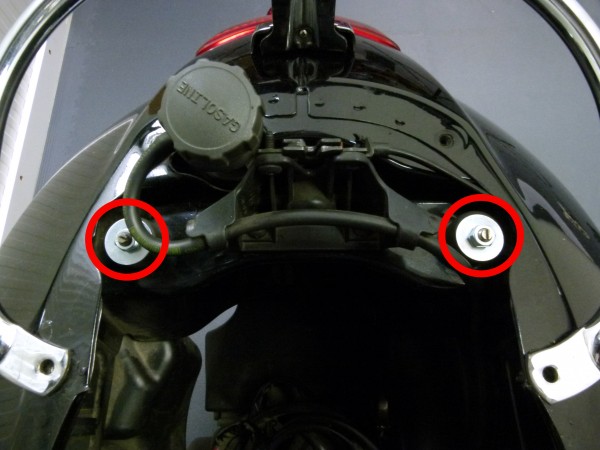
By loosening the two upper shock absorber mountings, the engine lowers slightly. So please pay attention to the whereabouts of the two discs and silent rubbers.
After removing the nut, you simply pull the right shock absorber off the pivot bolt and pull it down out of the frame.
You will find another one on the shock absorber Silent rubber. As with the front shock absorber, you can use this again after a short - positive - check.
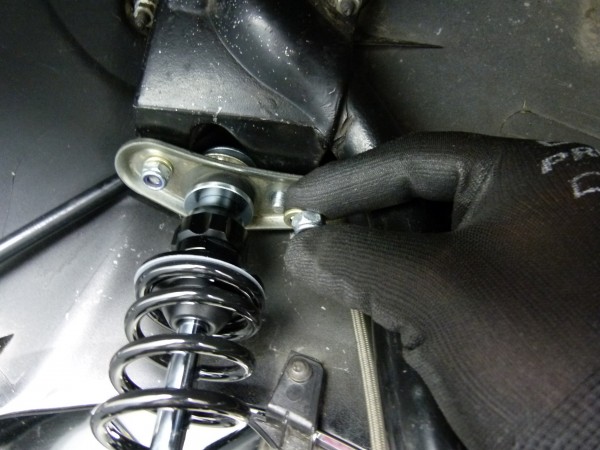
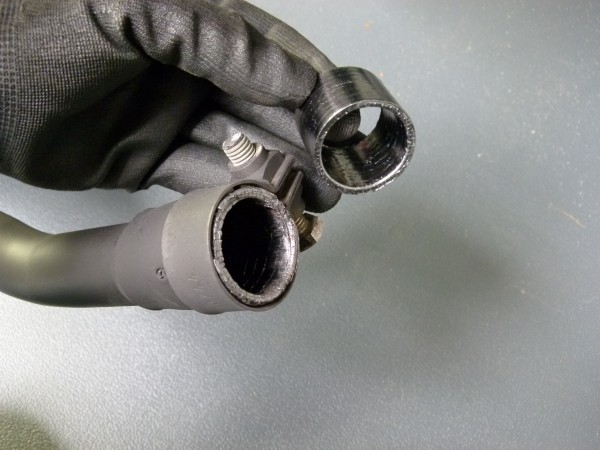
When removing the left shock absorber, you have to pay attention to the two sockets of the lower mount.
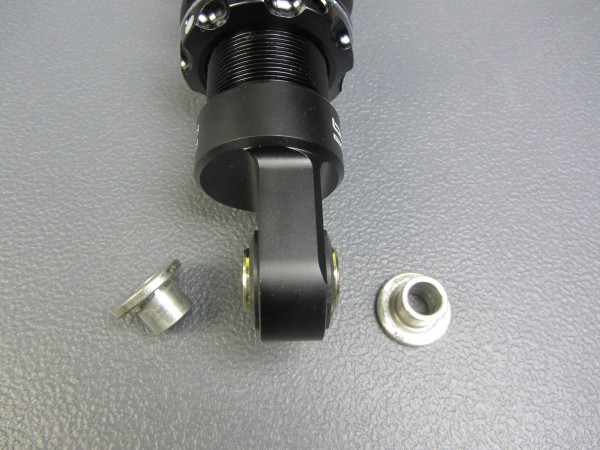
You also reinsert the two sockets in the lower eye of the bgm shock absorber. Safe installation of the left shock absorber cannot be guaranteed without these sockets.
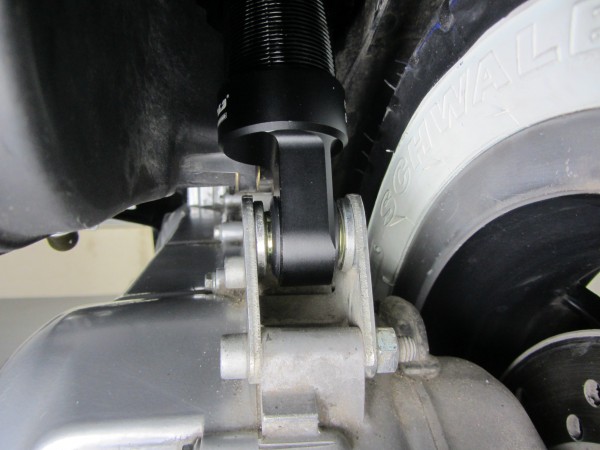
When installing the dampers, pay attention to the orientation of the lower mountings.
When viewed from the rear in the direction of travel, these are offset to the right at both dampers.
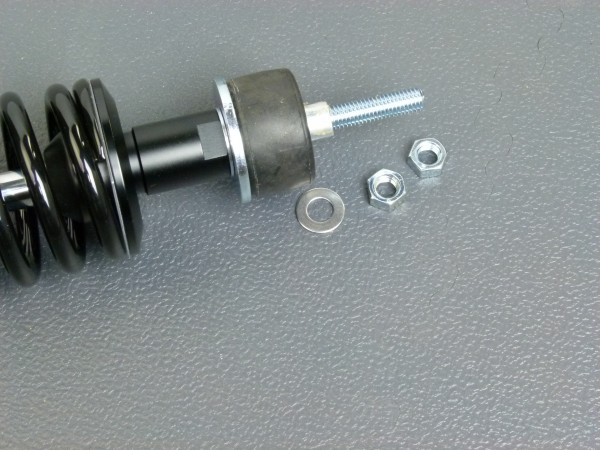
The installation sequence is retained on the upper mount. After the silent rubber comes the large washer and then you counter the two enclosed nuts to attach the damper.
As soon as the cover over the seat lock, the helmet compartment, exhaust and air filter box have been re-installed, you can start setting up your chassis.


Leave a Reply
Want to join the discussion?Feel free to Contribute!