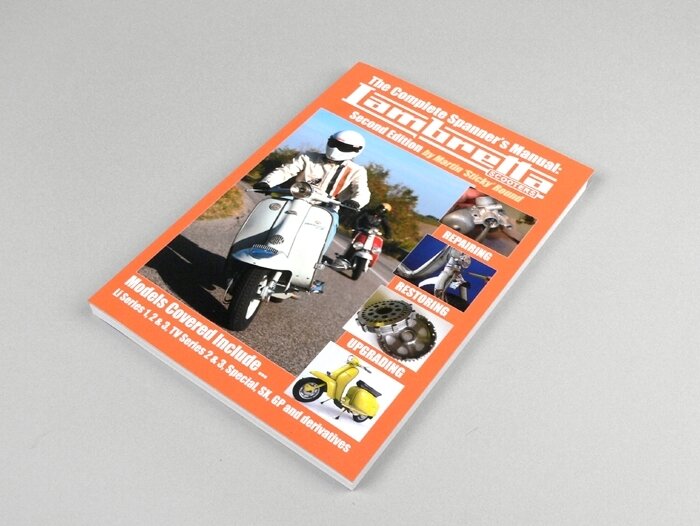

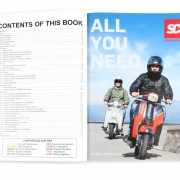
The “Complete Spanner's Manual Lambretta - Third Edition” is the ultimate repair manual for the Lambretta. Now available in our online shop.
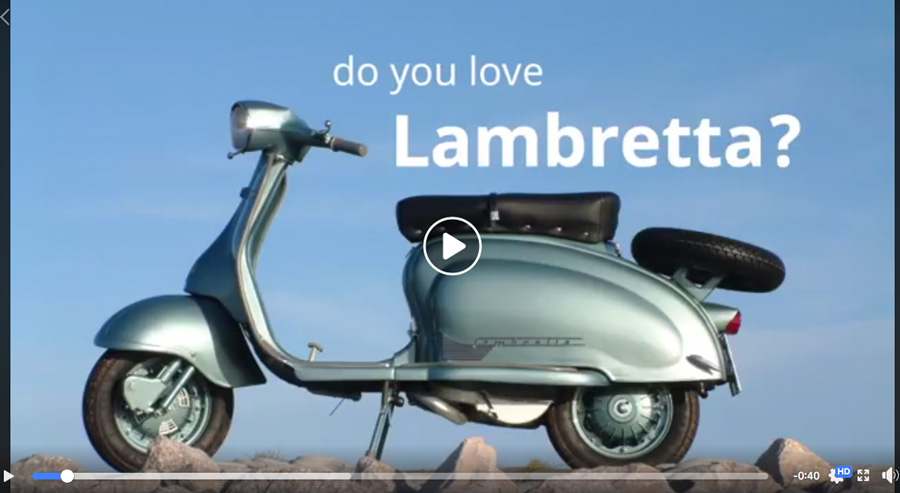
Buy here the ultimate manual for Lambretta!Well there are many good reasons to do it! Watch Sticky's new video on Facebook!
È uscita la terza versione aggiornata del manuale più all'avanguardia per la Lambretta, Complete Spanner's Manual Lambretta - Third Edition, ora ordinabile oline.
Ordina qui il nuovo manuale for Lambretta!Beh, ci sono tanti buoni motivi per farlo! Watch the video this Sticky on Facebook e scopri perche!
Dès à présent vous pouvez commander le nouveau manuel de Sticky. C'est un ouvrage de reference en ce qui concerne la réparation des Lambrettas.
Achetes Manuel pour la Lambrettalook at her Video de Sticky on Facebook:
A partir de ahora podéis pedir el nuevo manual de Sticky en nuestra tienda online. You should consider the main task of repairing the Lambrettas, because it is impregnable for the Lambretta.
Comprar manual for the LambrettaPues echad a vistazo al video from Sticky on Facebook:
As already reported here: Complete Spanner's Manual Lambretta - Third Edition, the latest Lambretta work from Sticky is ready and can be ordered from us. The ultimate Lambretta manual:
Order the new Lambretta manual here!Take a look at the new video from Sticky on Facebook:
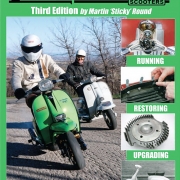
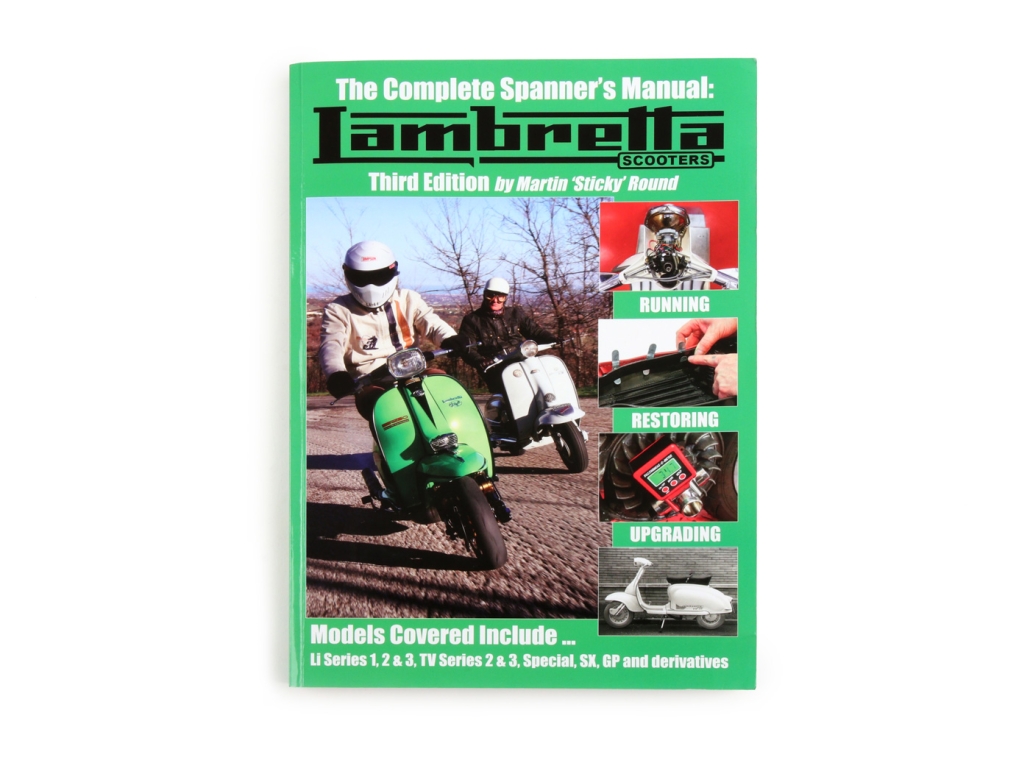
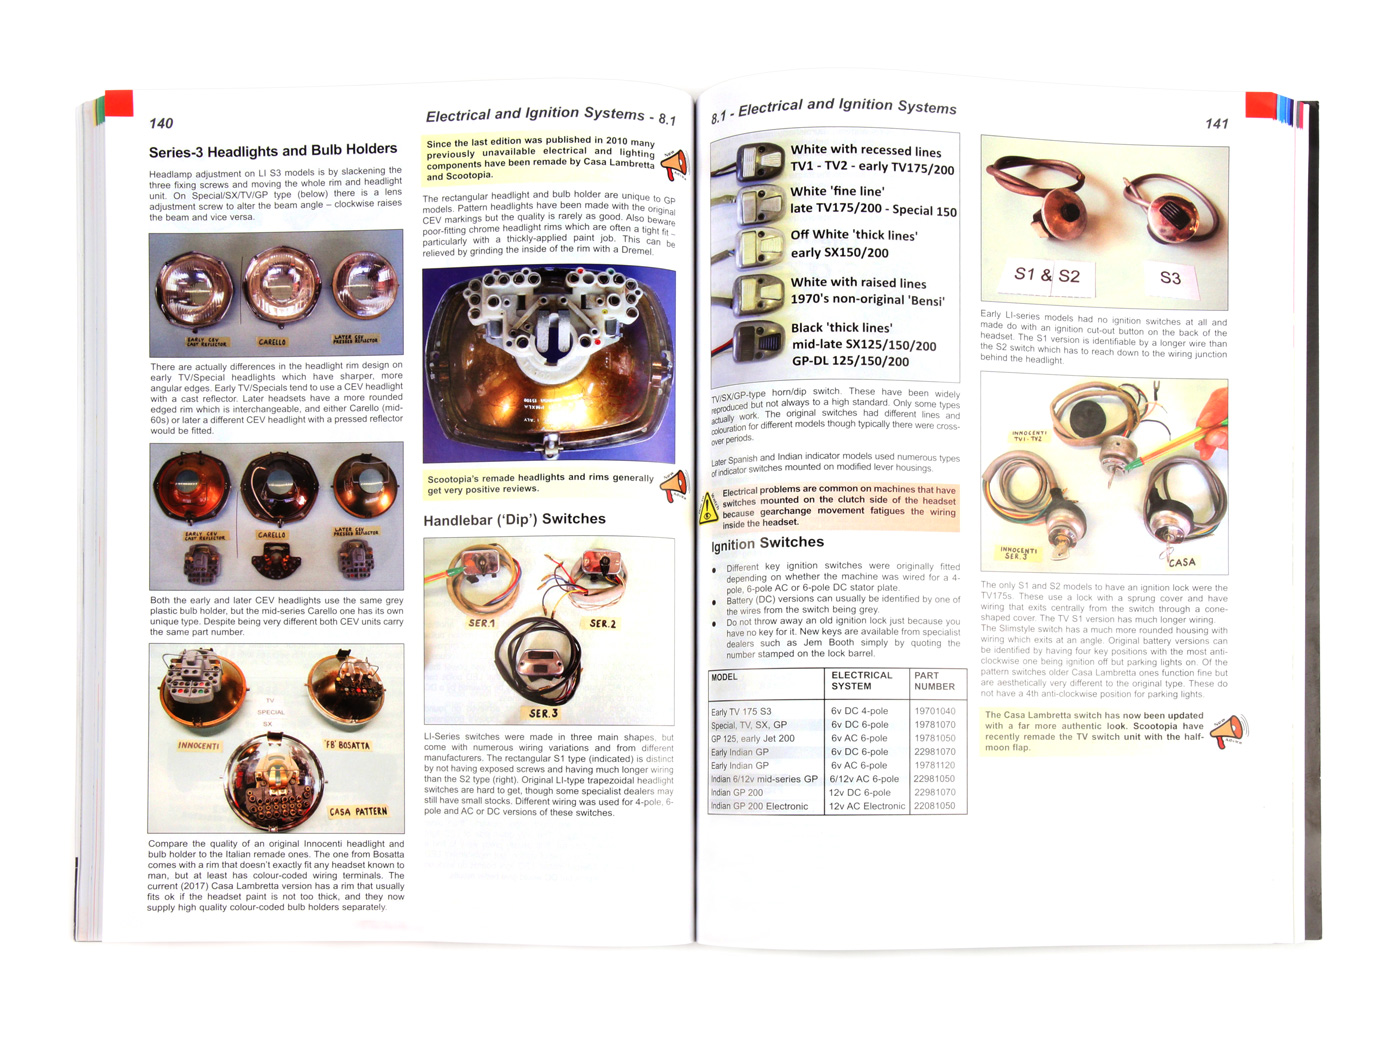
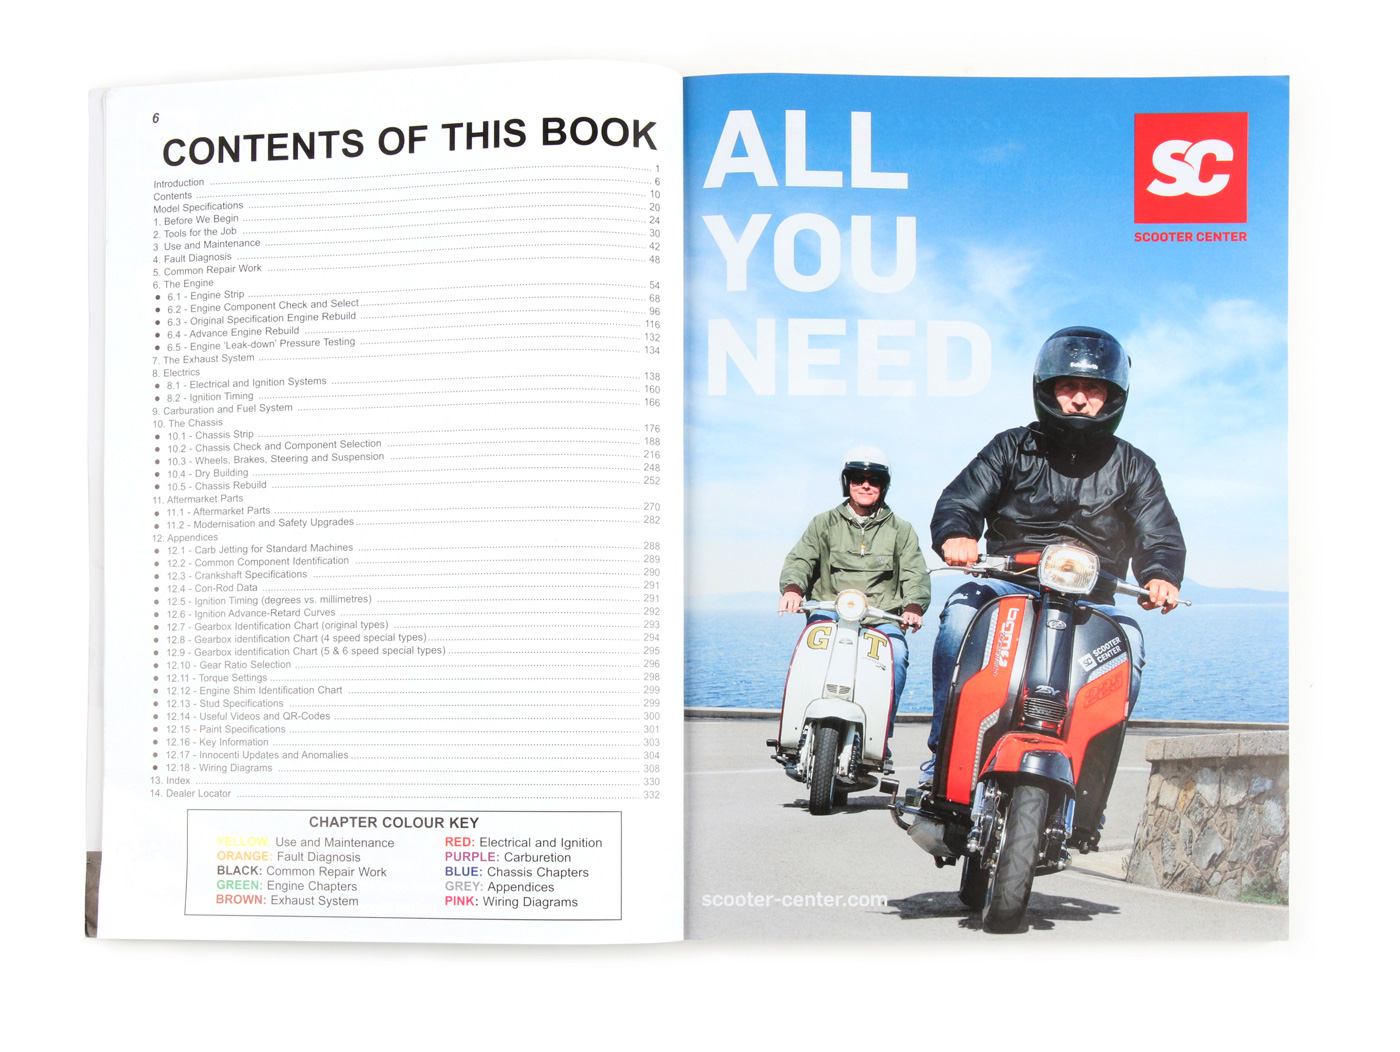
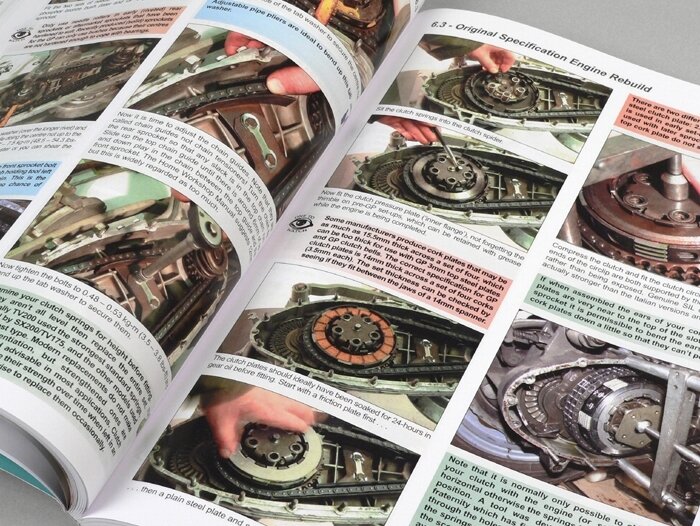
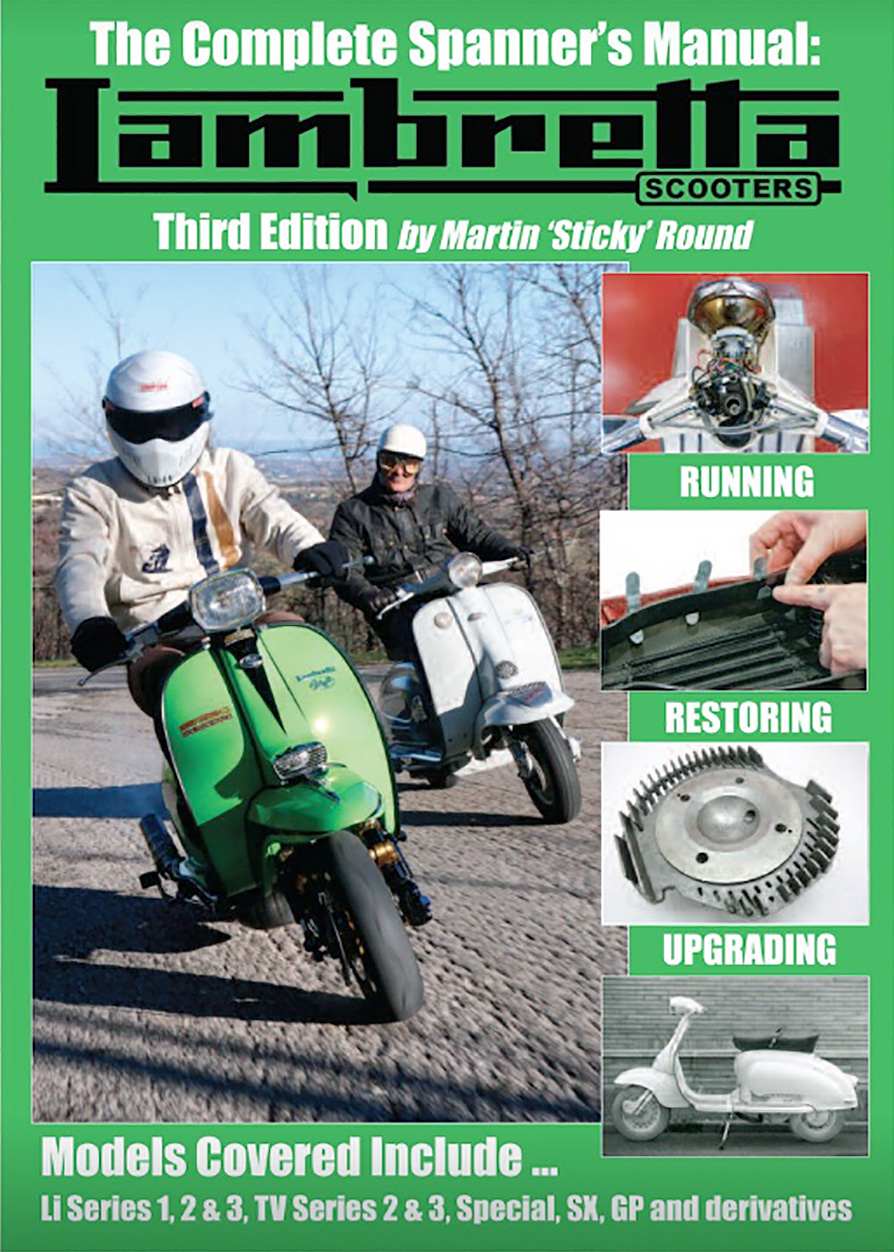
The new Lambretta Bible? The -Complete Spanner's Manual Lambretta -Third Edition- from Sticky is an illustrated guide for repairing, modernizing and restoring the classic Lambretta scooter.
Compiled with the help of the world's leading Lambretta experts. This is arguably the most comprehensive technical manual ever produced for the Lambretta scooter. Of course it has Scooter Center supported this project again.
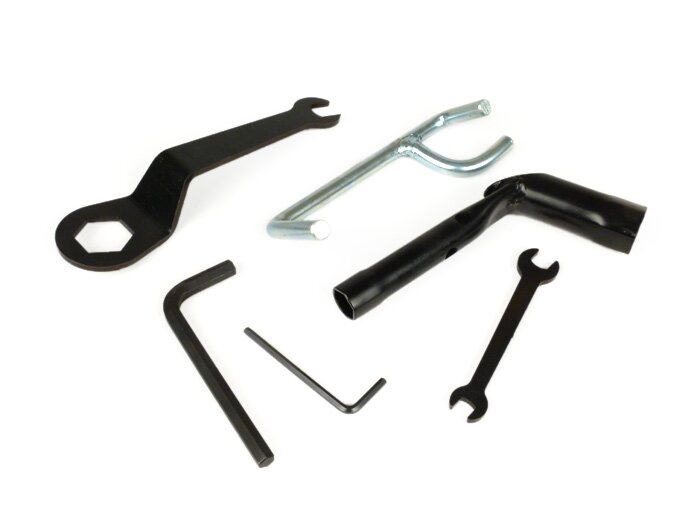
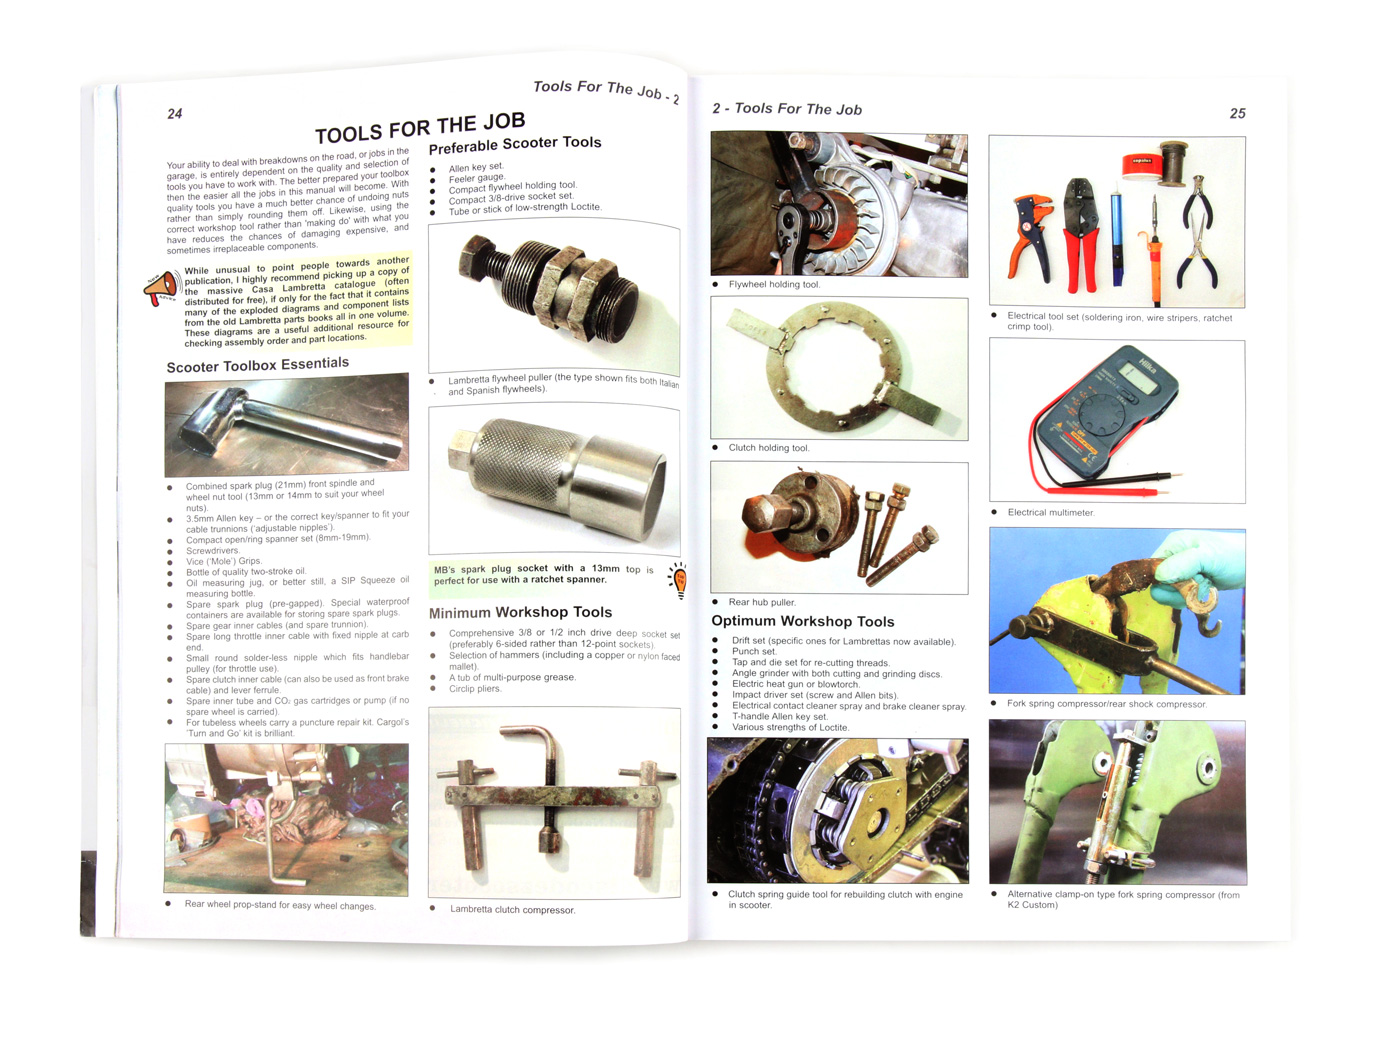
The Lambretta Book is designed in an easy-to-understand image format with hundreds of color photos and technical tips to make working on a Lambretta as easy as possible.
In addition to chapters on converting the chassis and engines in their original format, the many tuning parts that have become available for our Lambrettas over the past 30 years are also dealt with. In a world where original parts are no longer available, those who remodel a scooter need all the help they can get to identify quality components.
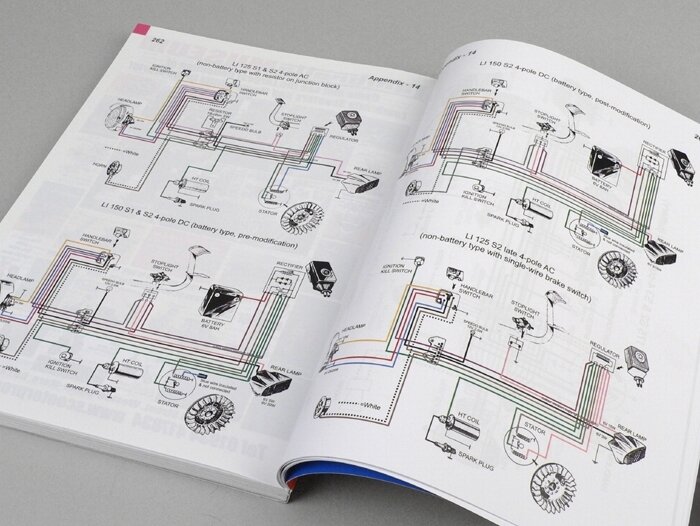
The new Stickys will be of great use to those who restore scooters! The appendices contain lists of all available gearboxes and their identification as well as colored circuit diagrams, torque settings and nozzle specifications for standard machines.
From the end of August in Scooter Center: Sticky's Lambretta Manual
The first edition of the Sticky Manual was published in 2004. Series 3 was dealt with in detail with lots of pictures and practical tips. A total of around 15.000 copies were sold.
Instead of simply reprinting the book, Fingers in Pies Publications decided to revise the book substantially and to expand the content to series 1 and 2. Sticky 2 offers you:
About the author: Sticky is a freelance writer and photographer who specializes in scooters. Sticky has been writing for the scooter press, motorcycle magazines and newspapers for 24 years. Sticky was also editor for Scootering and Twist & Go. His idea of fun is to hide a motorcycle engine under a Lambretta and significantly expand the public's perception of the scooter.