The Silver Fern needs a new brake system.
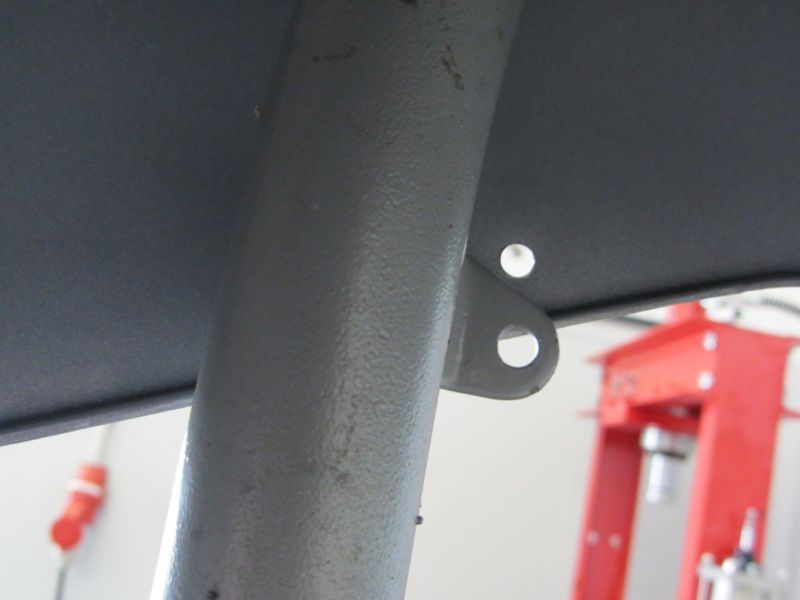
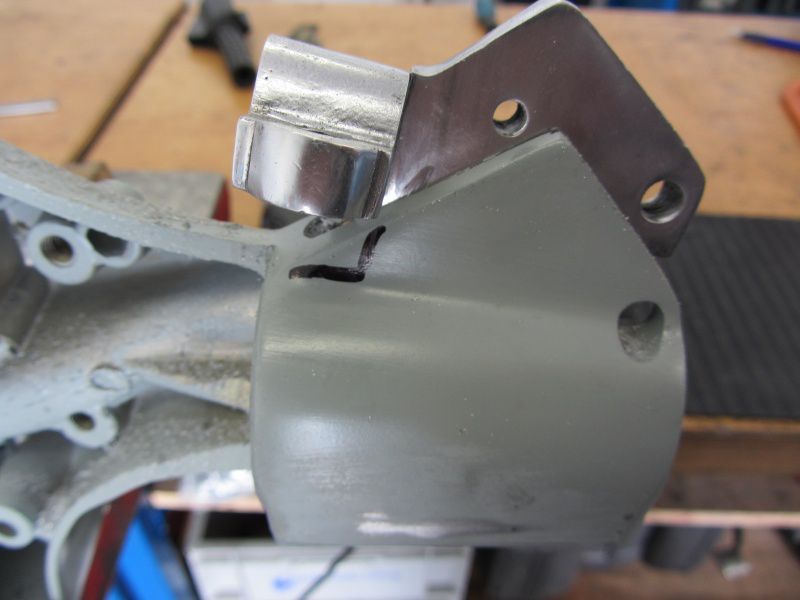
We use a complete LML disc brake for this. A T5 fender is to be mounted on the new steering tube. Since the T5 mud flap is a bit smaller, it is necessary to move the side holder.
The existing holder is therefore removed and the point at which it is to be welded on is prepared.
We bring the holder with the fender into the correct position.
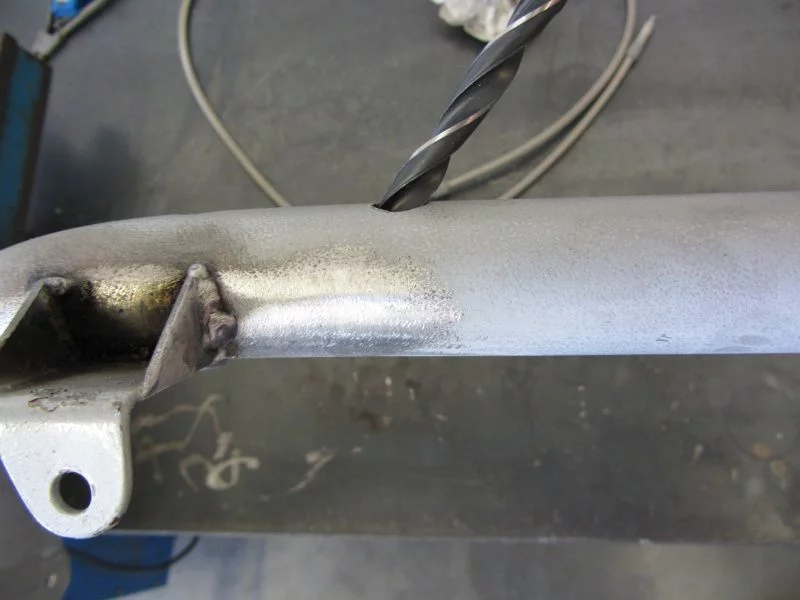
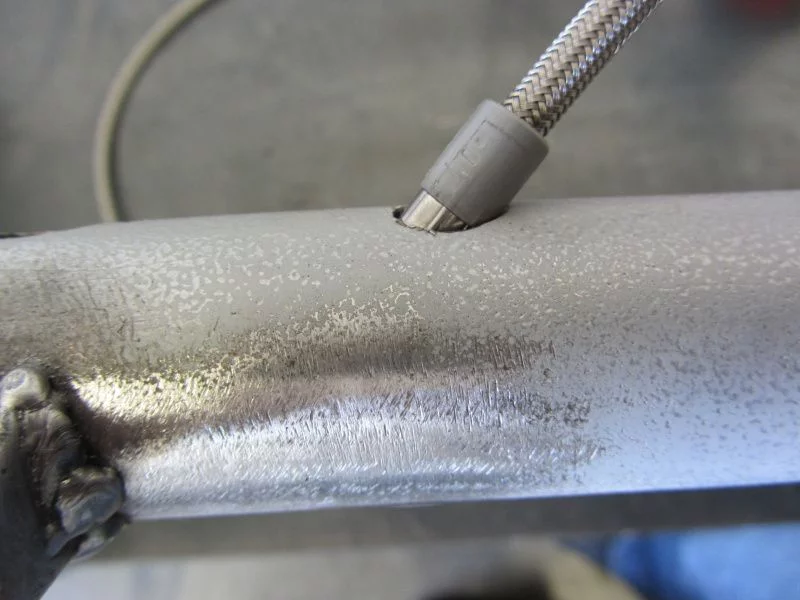
After the holder is firmly connected to the steering tube again, we prepare the hole for the steel braided brake line.
The bore is widened to 9mm so that the connections of the brake line fit through.
We are still dipping the steering tube in fashionable matt black, we hope the new color scheme does not unbalance the sophisticated color concept of the Silver Fern too much.
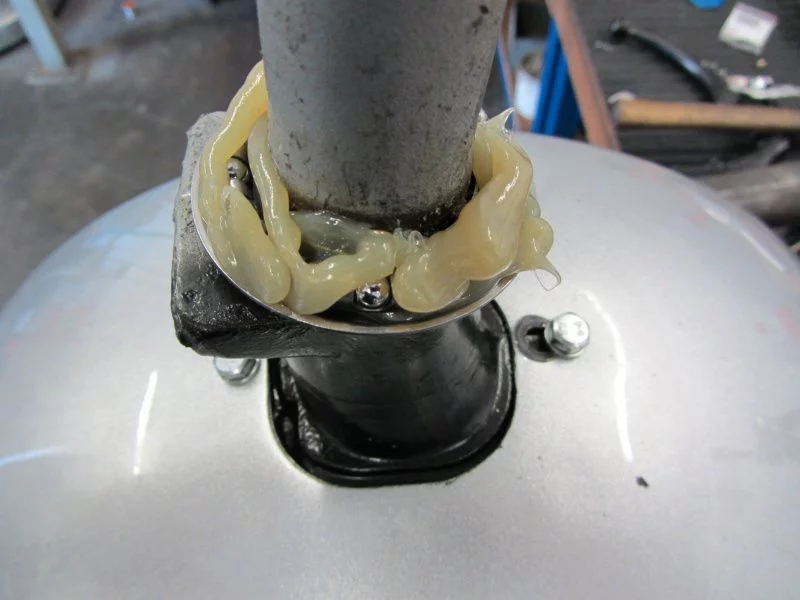
While the paint dries, let's turn to the steering head bearings.
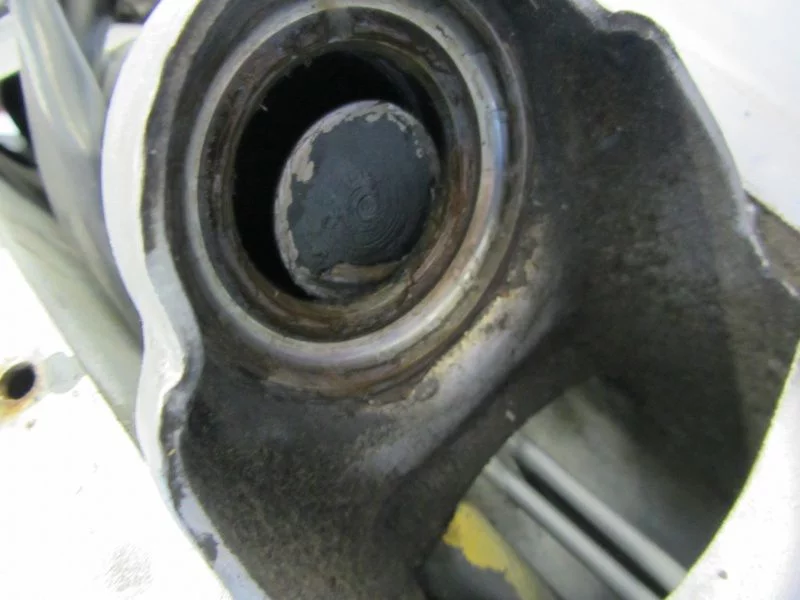
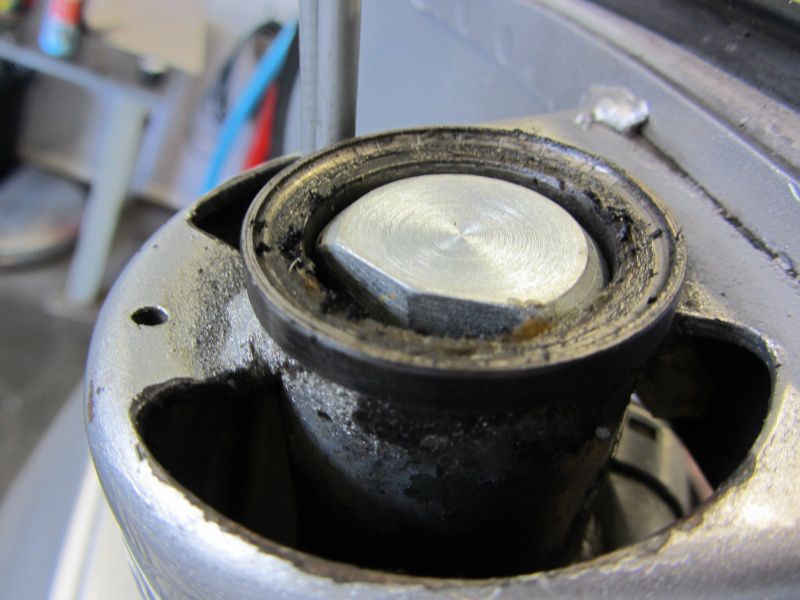
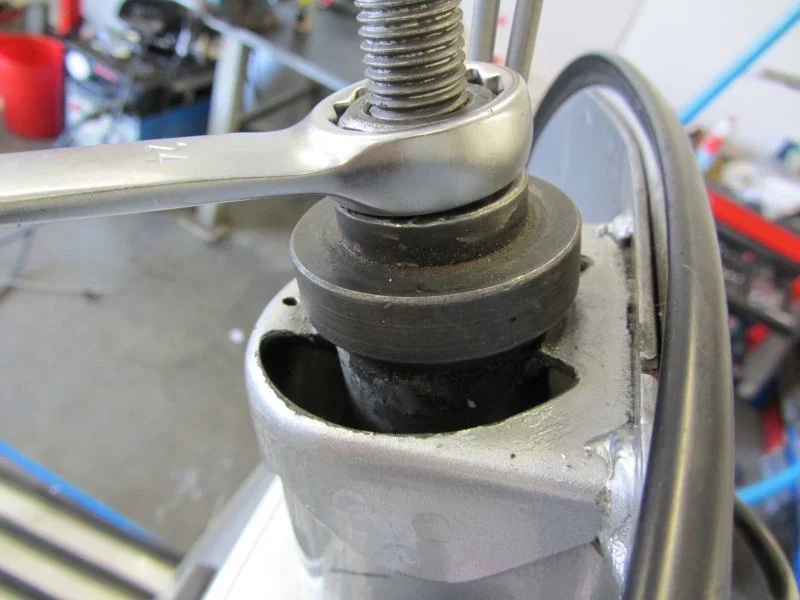
Special tools are required to remove the old shells.
With the plate ...
you get into the gap between the lower bearing shell and the seat.
The tool for the upper bearing shell ensures that the shell does not tilt in the head tube and widen the sensitive seat when it is removed.
When the old shells are removed, the new ones can be fitted with an insertion tool.
The steering tube is still drying. Therefore we only now turn to the handlebars.
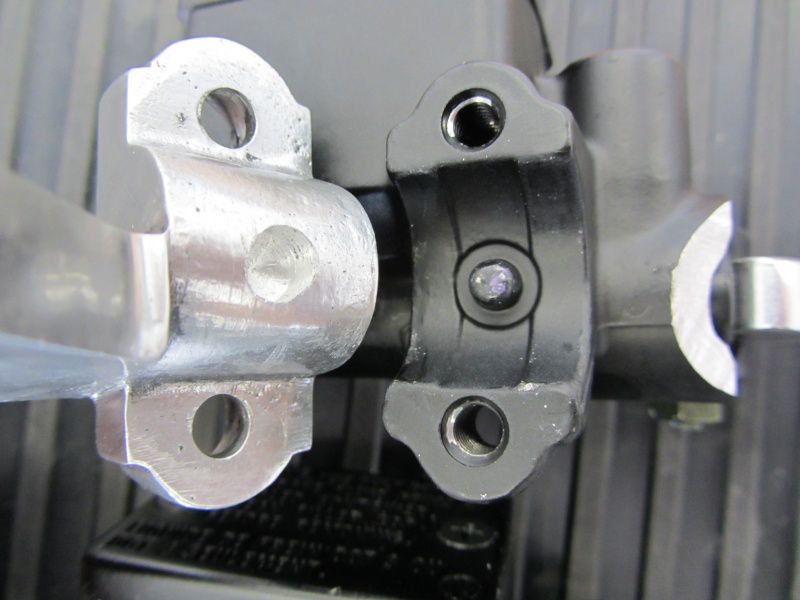
The handlebars must be prepared accordingly for the brake pump holder.
We are taking this step-by-step.
Cut in first ...
... and then mill out to match.
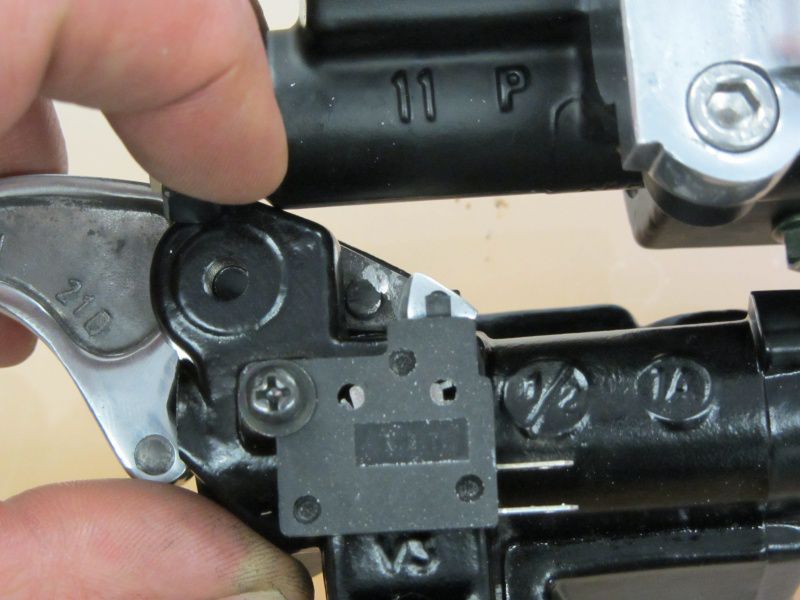
We will replace the supplied Nissin brake pump with one of the current Vespa S / LX models.
The reason for this is the smaller piston diameter, the Nissen pump comes in the classic
1/2 inch format therefore, with a piston diameter of 12,7mm, while the pump of the Vespa S is equipped with an 11mm piston.
The smaller piston diameter enables higher braking power with less manual force.
The greater lever path due to the smaller hydraulic reduction leads to better controllability.
The adapter and the pump need to be adjusted slightly.
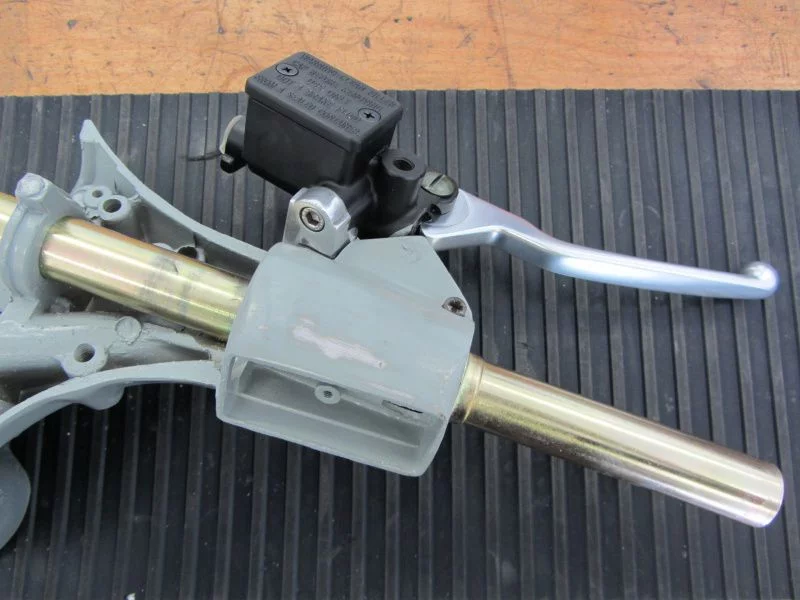
Fully assembled, it gives a very pleasing picture.
After the finished processing, the handlebar is also adapted to the new color concept and soon "shines" in matt black.
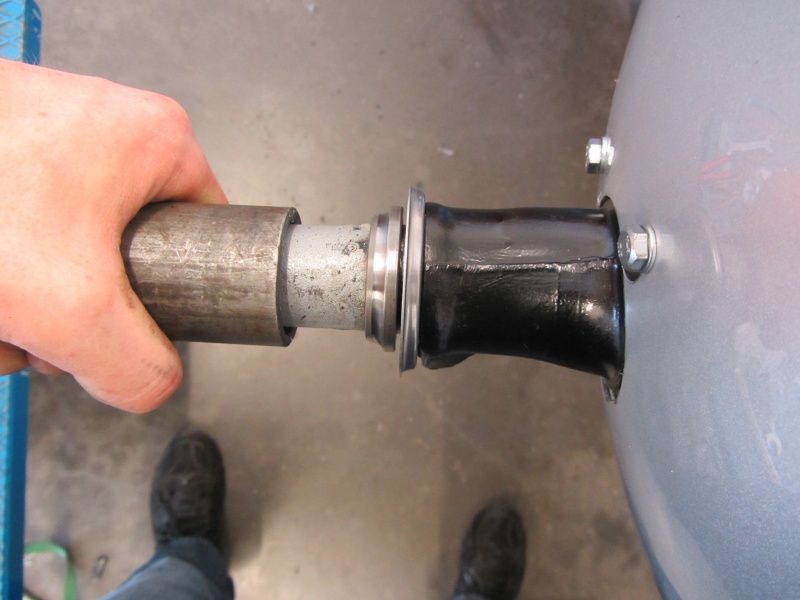
The steering tube is now dry. After the fender is mounted, the lower one
Open bearing shell and dust cover.
The steering tube is then inserted with plenty of grease for the bearings.
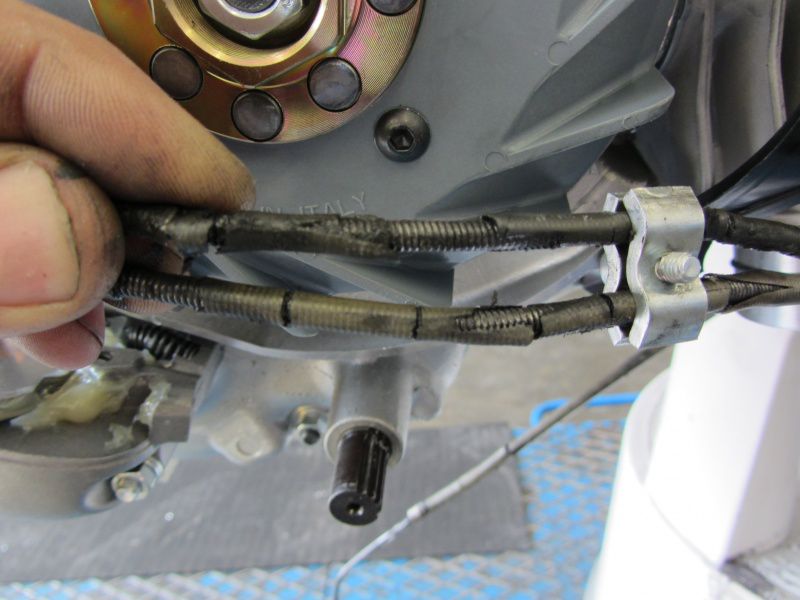
This one…
we replace with a set of new trains in Piaggio quality.
For the throttle cable, we use a universal throttle cable, the original Piaggio cable is unfortunately too short for the 28 Keihin.
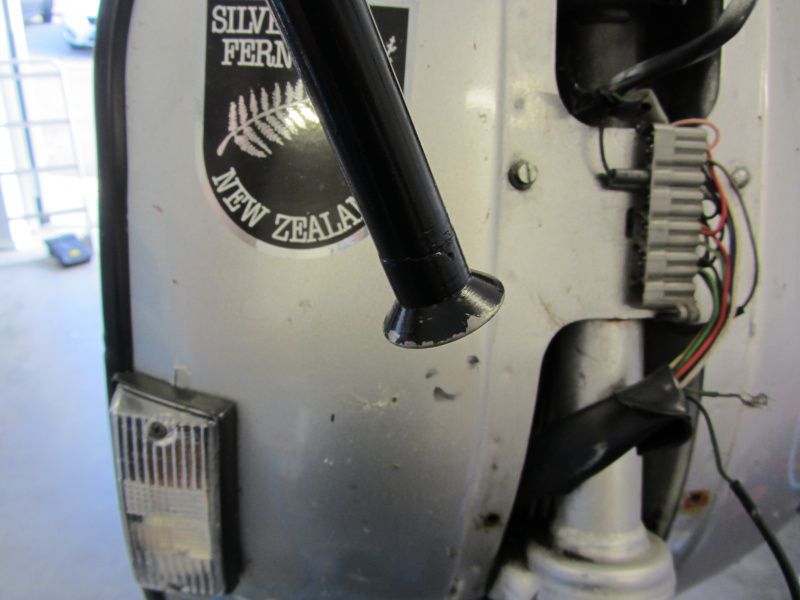
After all the cables have been threaded in and the switch cables have been laid, the handlebars take their place on the new steering tube. We still have to come up with something on the subject of gas pipes. In order to open the 28er completely, the original gas reel would even be sufficient, but you would have to grasp at least once with the “tap open” movement.
This results in 2 solutions.
On the one hand, quick throttle grips are preferred, they give a sporty touch.
However, if you prefer a restrained look, you might be better off with a very inexpensive solution.
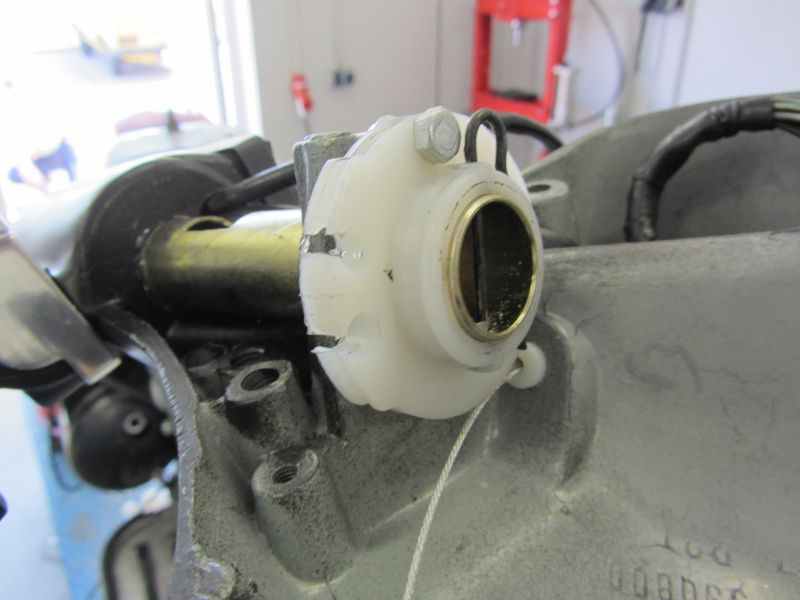
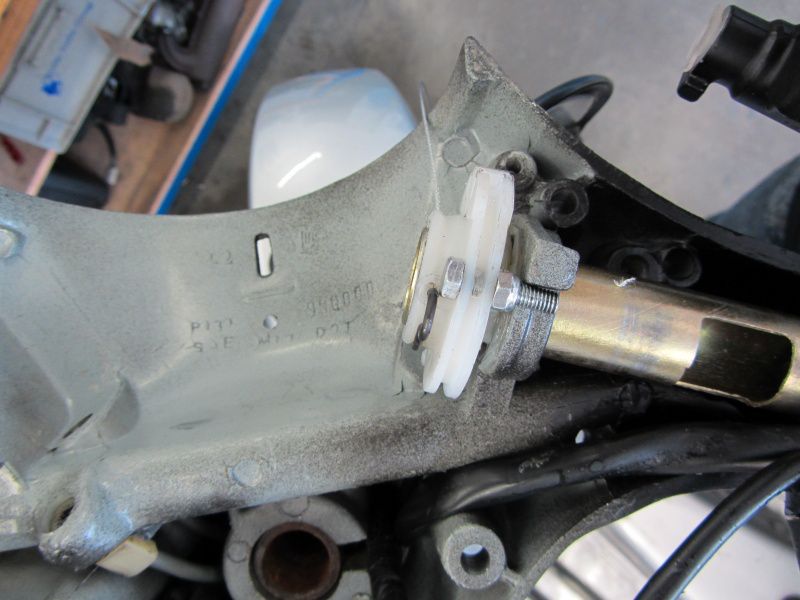
For some it is old hat, the pulley with stop.
There is no need to mount a suitable gas tube for quick throttle and the handlebars remain symmetrical.
Due to the conversion to a fully hydraulic brake system, there is no longer a brake cable running through the gas pipe, so we can freely choose the stop of the roller by positioning the screw.
However, if a brake cable continues to run through the gas pipe, then you are usually forced to drill new holes for the split pin attached to the pulley.

