KB-Racing Speedwheel for Vespa GTS 300 HPE
Here we had it for you speedwheel already presented. Today we take a closer look at the latest release from KP-Racing and show you in installation instructions how the Speedwheel is mounted on your Vespa.
With this little ingenious part the GTS speedometer is calibrated. A pleasant side effect: the GTS runs through it approx. 10 km / h faster. So if the speedometer shows 130 km / h, then the vehicle is actually running at 130 km / h. The speedometer's usual advance of 10 km / h is thus equalized.
The Speedwheel replaces the original ABS sound disc. By arranging the signal surfaces differently, the ABS receives the correct signals for detecting the speed. Since the HPE models are not limited by the speed but by the speed, the speed of the motor increases until the scooter runs into the soft limiter at 130 km / h.
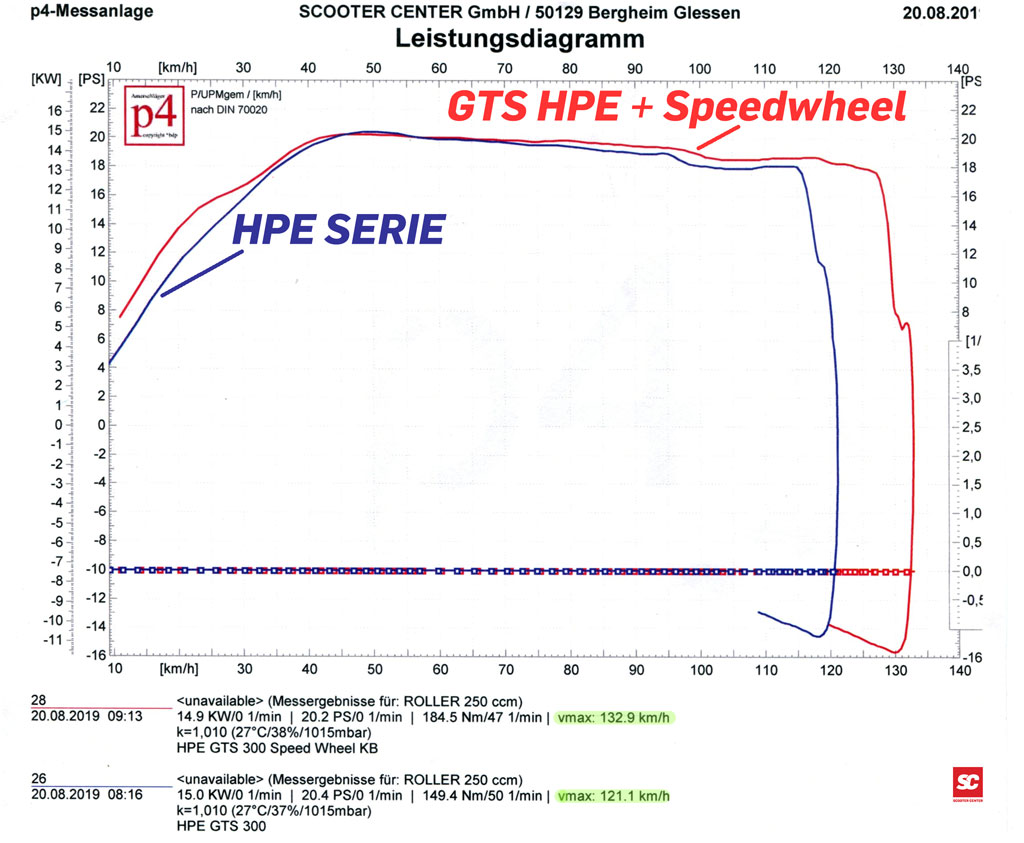
Test on Scooter Center Dynamometer + 11km / h
We tried the KB Speedwheel on our dynamometer to find out whether the difference was really measurable.
After installing the Speedwheel, the ABS must be recalibrated. This small task can be completed in just a few minutes. Download instructions as PDF.
Unfortunately, according to the speedometer, the increase in speed cannot be determined on the road.
Of course, the speedometer still shows 130 km / h, so only a test on the road with a GPS comparison or the test bench can provide clarity.
And really: after installing the Speedwheel, our HPE 300 Tech is running a whopping 11 km / h faster than before switching to the KB Speedwheel!
Order your Speedwheel here
Note: Even if the assembly of the Speedwheel is quite simple, we recommend having it installed by a specialist workshop.
Installation of the KB Speedwheel:
ATTENTION: Only work on a cold engine!
To do this, place the vehicle on the main stand on solid ground!
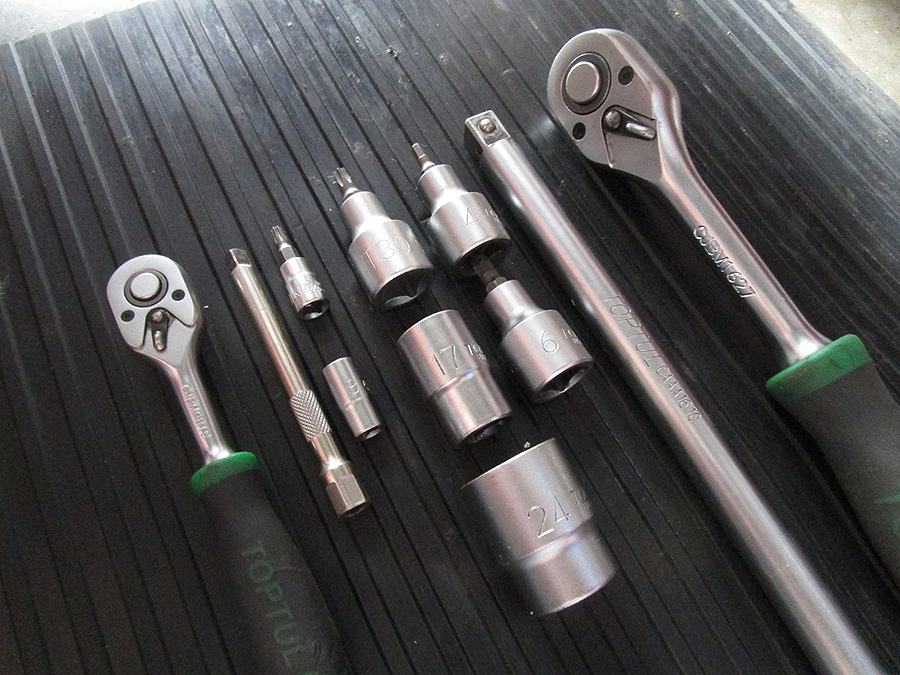
List of tools
- Ratchet 1/2 with SW17, SW24, IS4, IS6, TX40
- Ratchet 1/4 with SW8, TX20
- side cutters
material list
- 1 x KB Speedwheel (KBR10021)
- 1 x Split pin Ø 3,2 x 32 mm (4940034)
- 1 x High-strength screw locking (7676902)
- 5 x M6 x 20 screws, Tensile strength 10.9 (1667152 or 1271147 + 7676902)
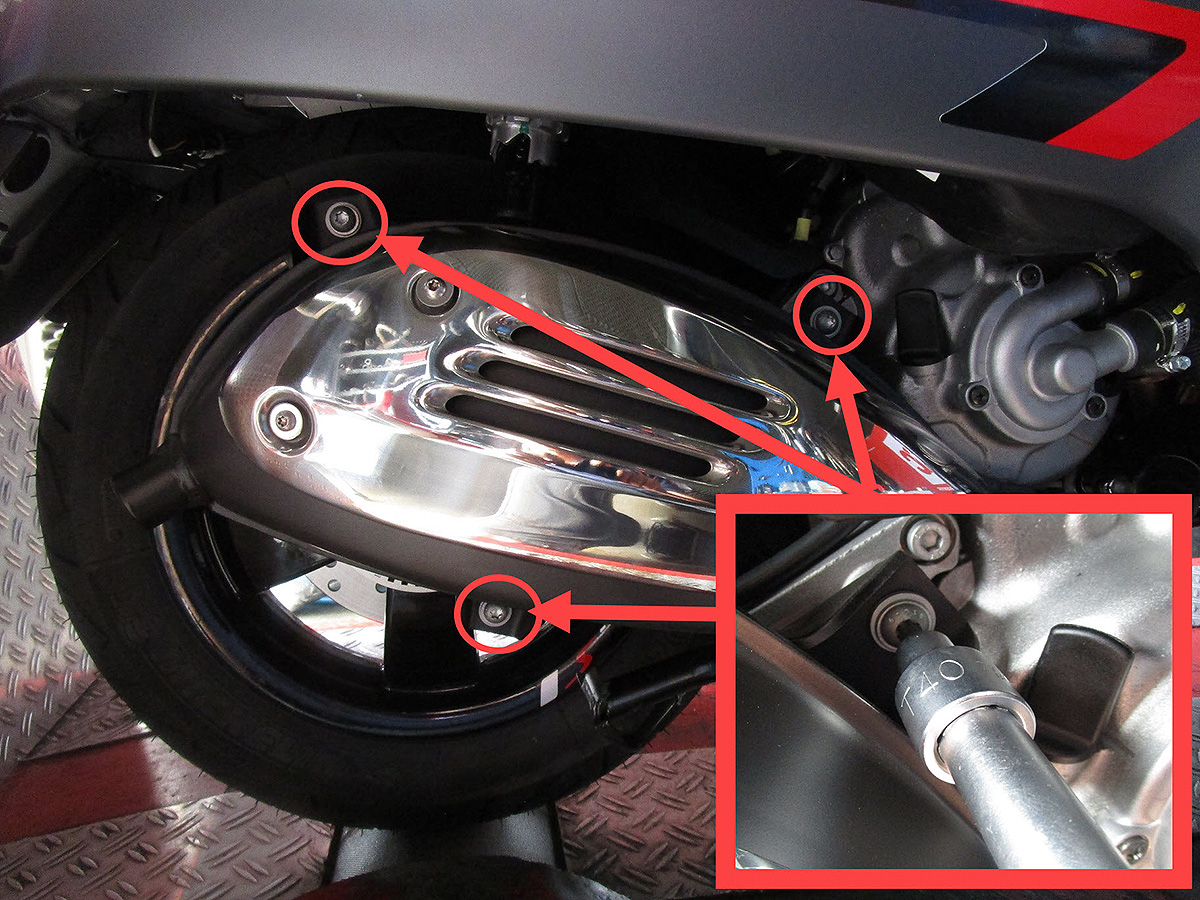
1) Dismantle the exhaust
A ratchet with socket wrenches SW17 and TX40 is required.
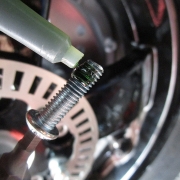
Loosen the screw of the clamp on the exhaust manifold with SW17.
Loosen three screws of the exhaust body with TX40. Do not pull out the last screw at the top left until the exhaust is supported downwards with your hand. This prevents deformation of the manifold and damage to the manifold seal. For vehicles with higher mileage we recommend the exchange directly of Vespa GTS manifold gasket.
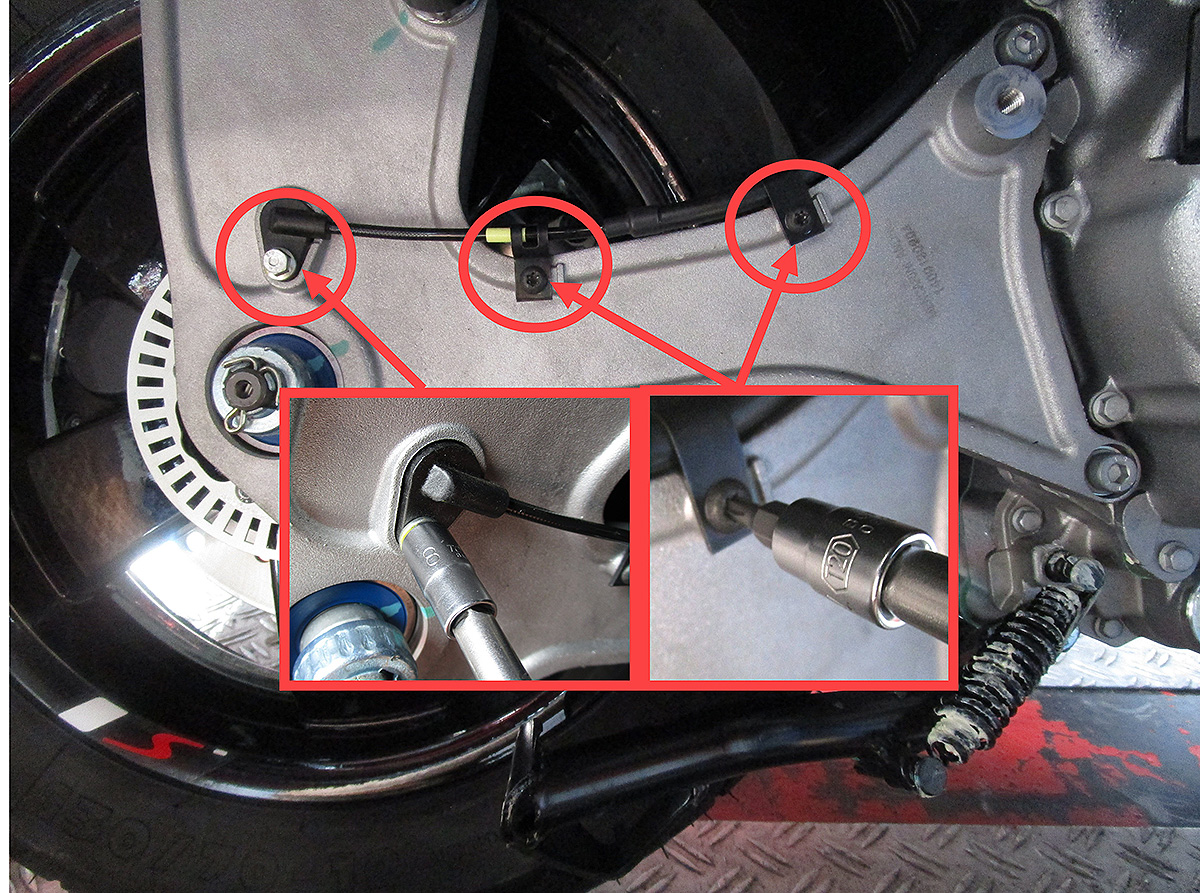
2) Dismantle the ABS sensor
A 1/4 ratchet with TX20 and socket SW8 are required.
Since the ABS sensor is magnetic, there may be metallic abrasion from the brake system on the sensor surface. This abrasion can easily be removed with a cloth. The cable and the sensor are sensitive to mechanical influences. Therefore, when carrying out the following work, ensure that the sensor and the cable are not damaged.
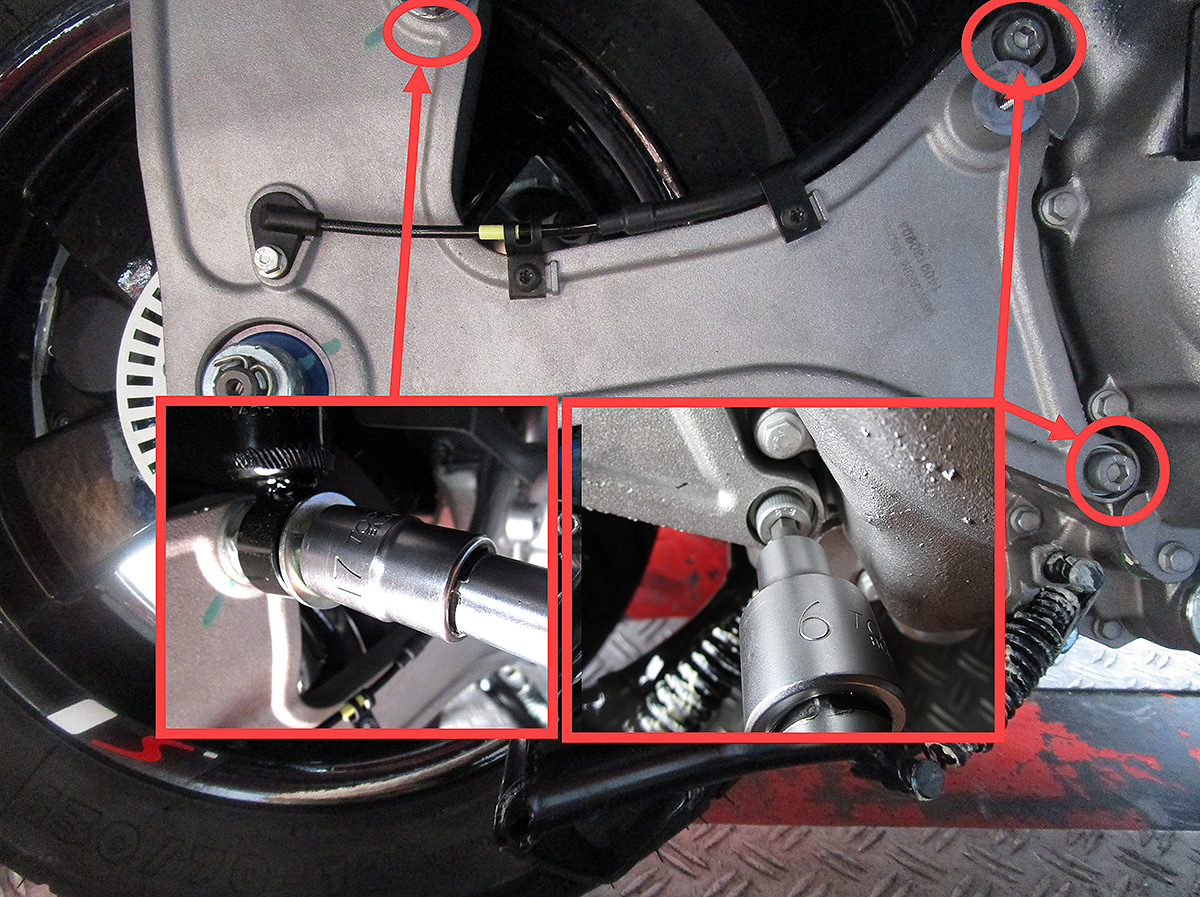
3) Dismantle the swing arm
Loosen the nut of the shock absorber mount with SW17. Remove the nut, thrust washer and shock absorber from the mount. The vehicle frame will sag by a few millimeters. That is perfectly normal and not a cause for concern. Loosen the two front screws of the swing arm with IS6 and pull out. Note the order in which the lock washers and washers are installed.
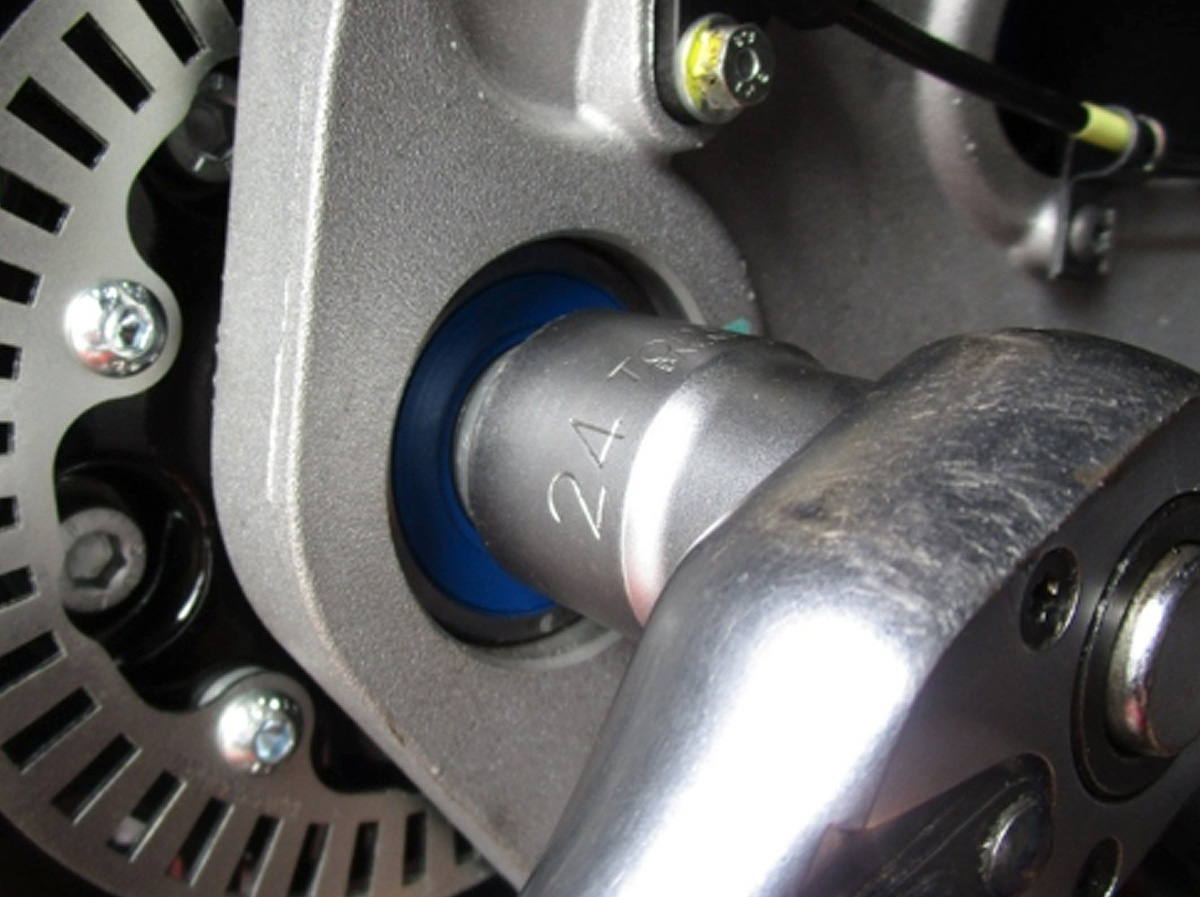
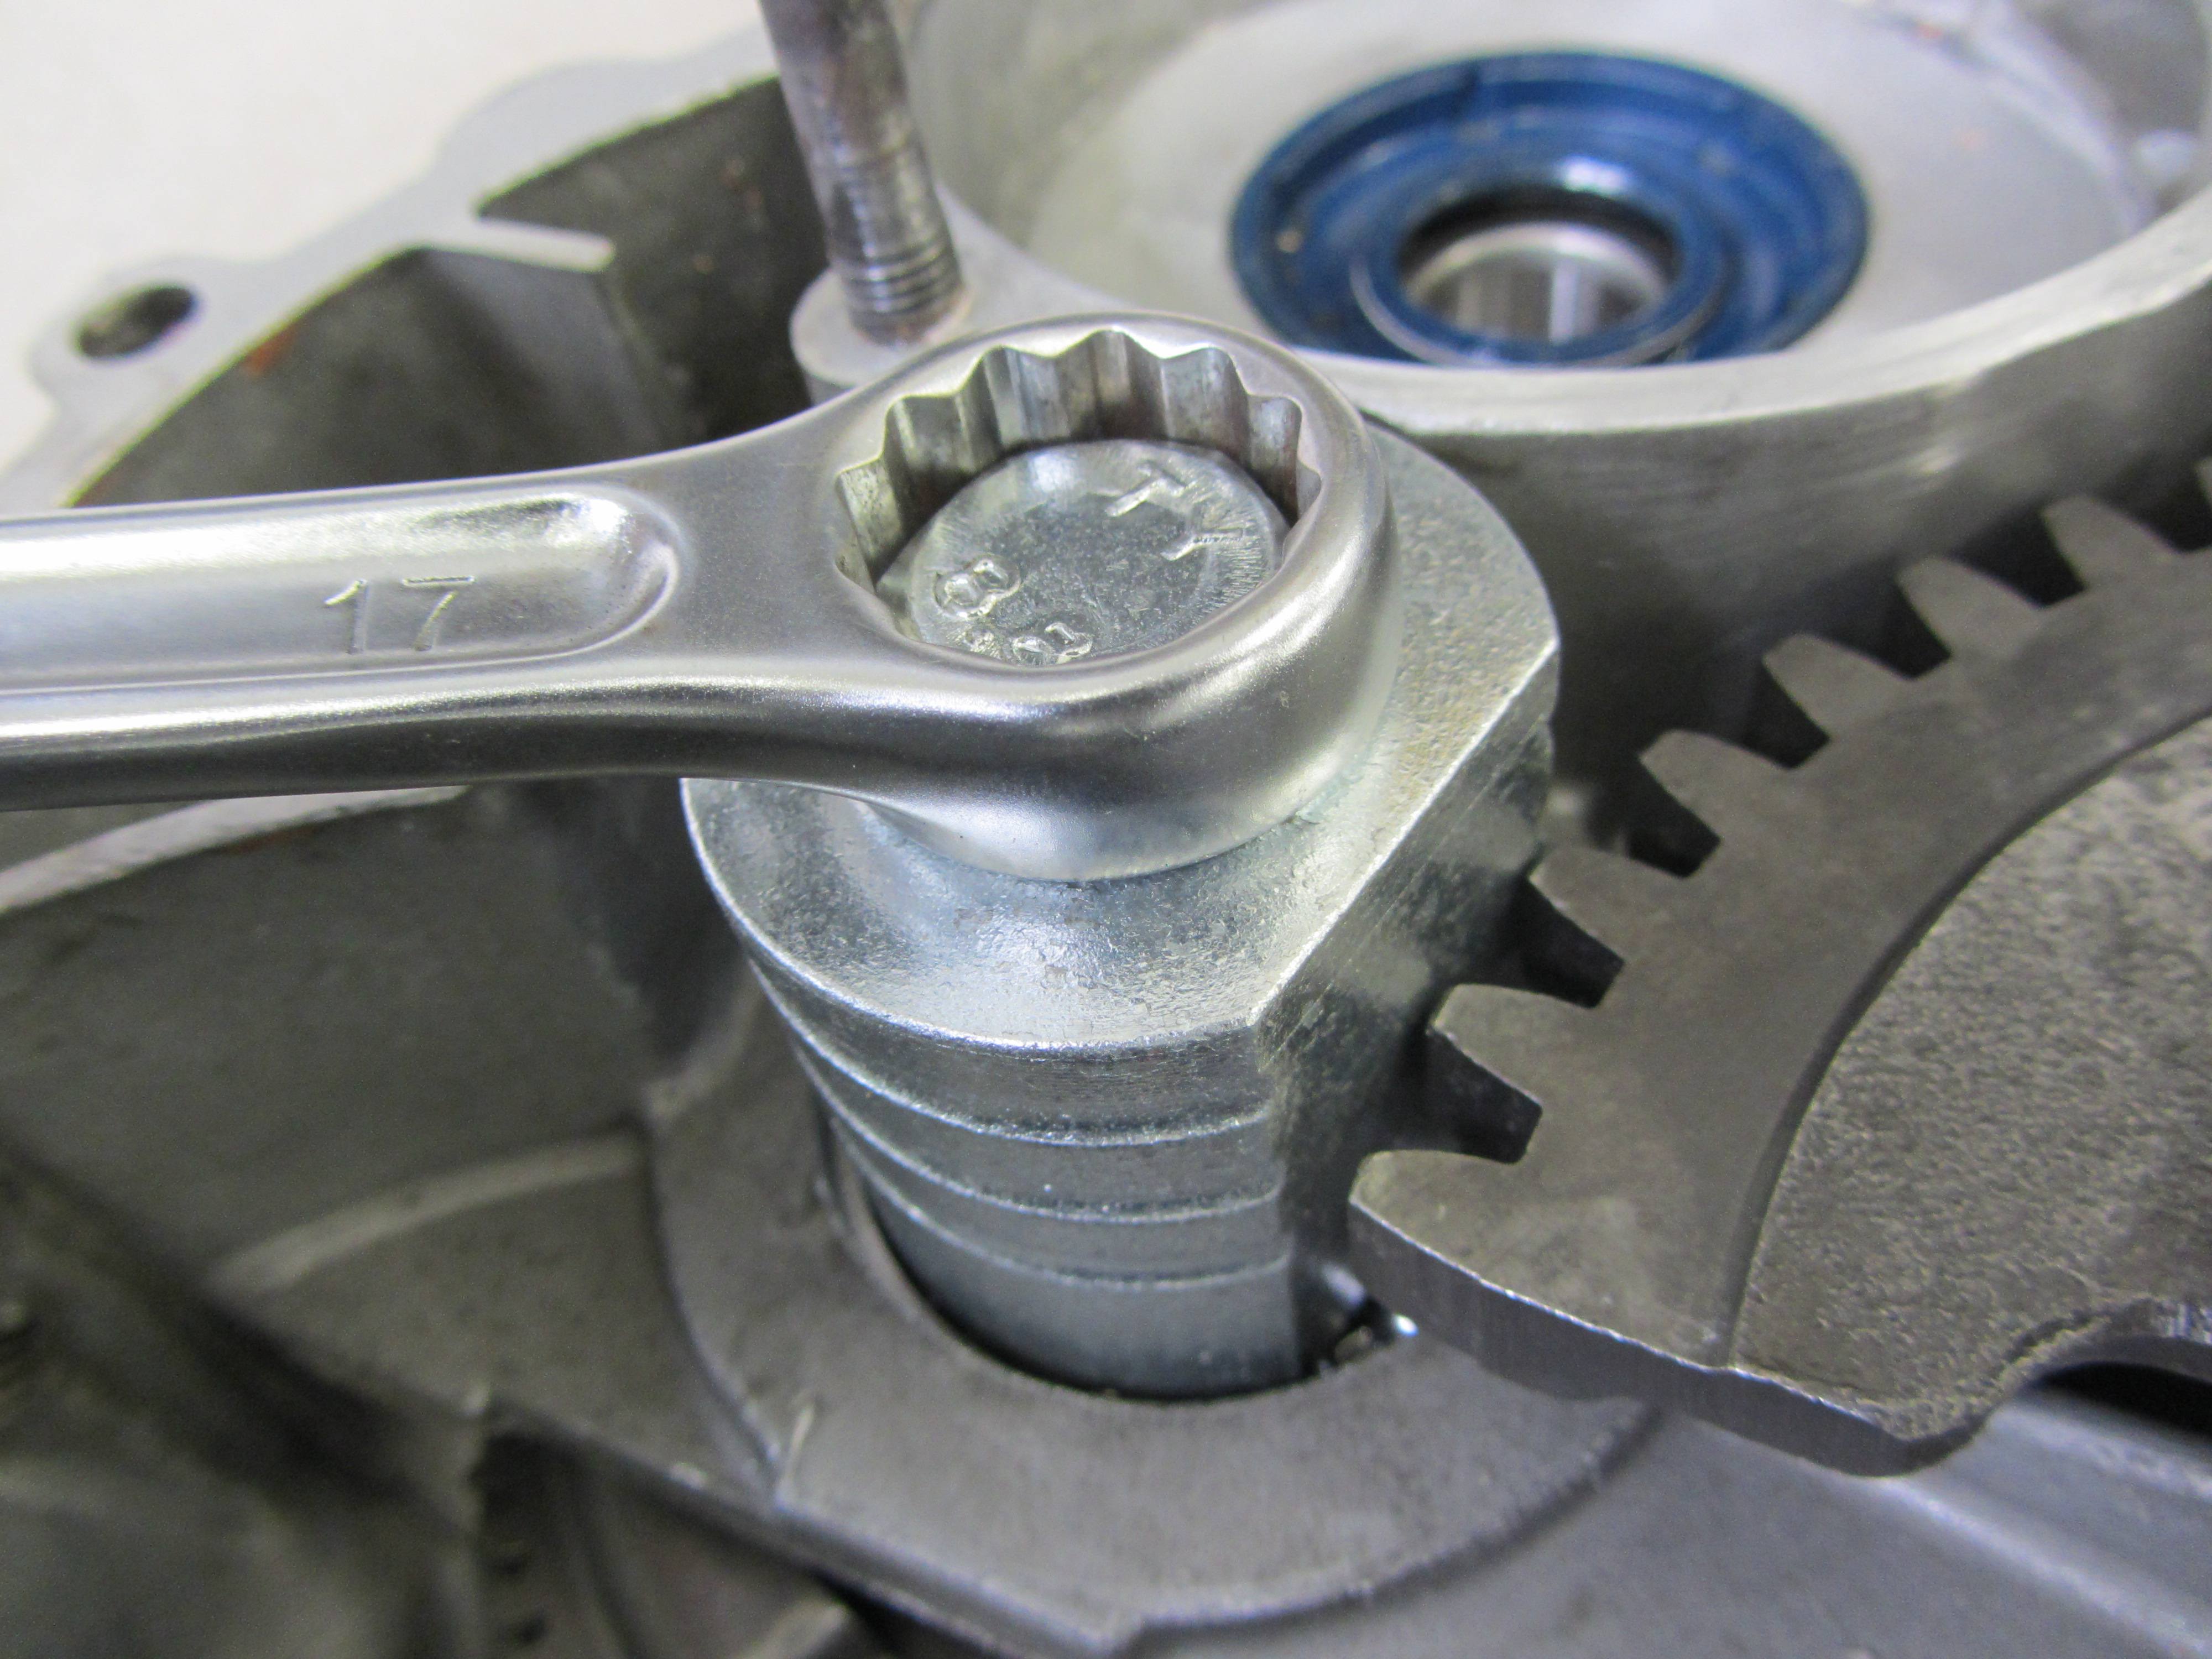
Cut off the head of the split pin of the main shaft nut with a suitable side cutter, pull the remaining ends out of the main shaft and pull off the safety cap. Loosen the nut of the main shaft with SW24. Remove the nut and the spacer underneath.
Pull the rocker off the main shaft.
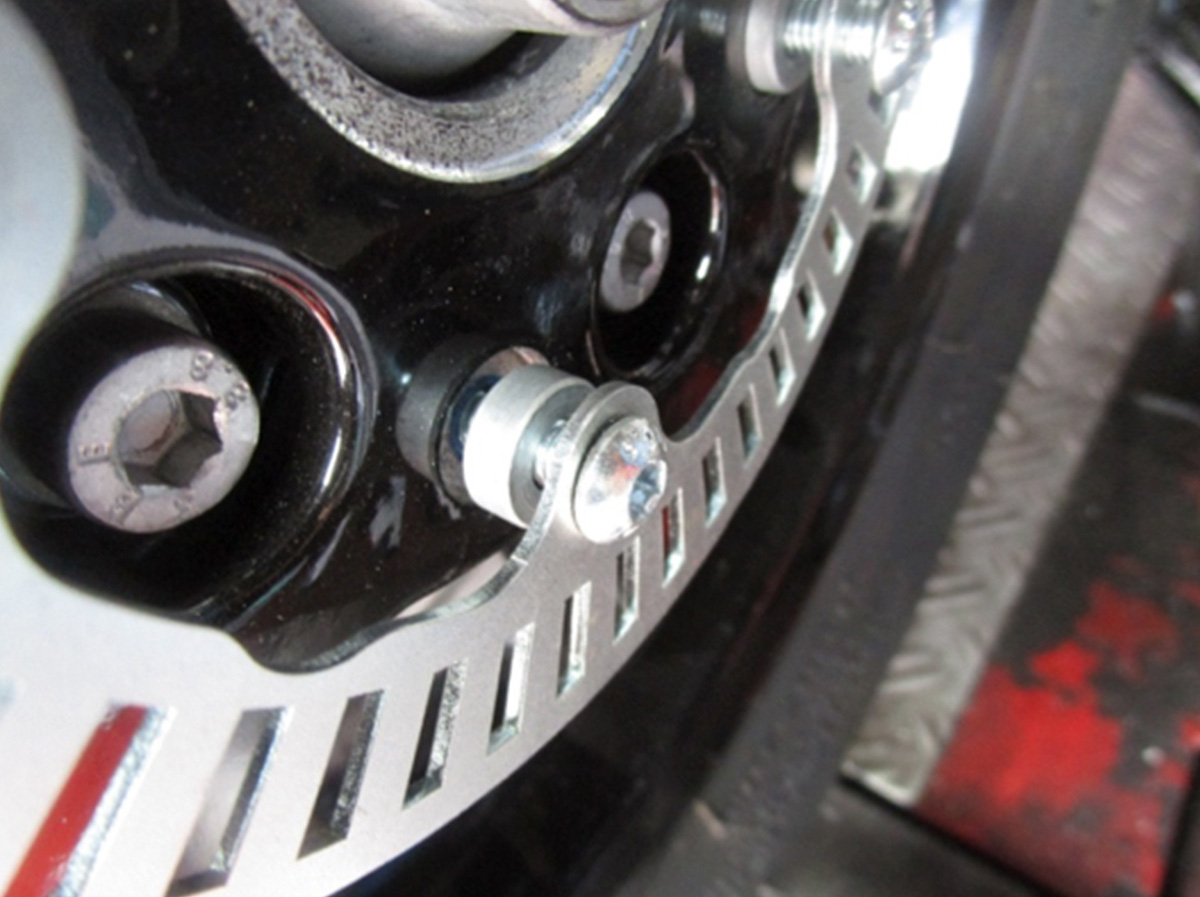
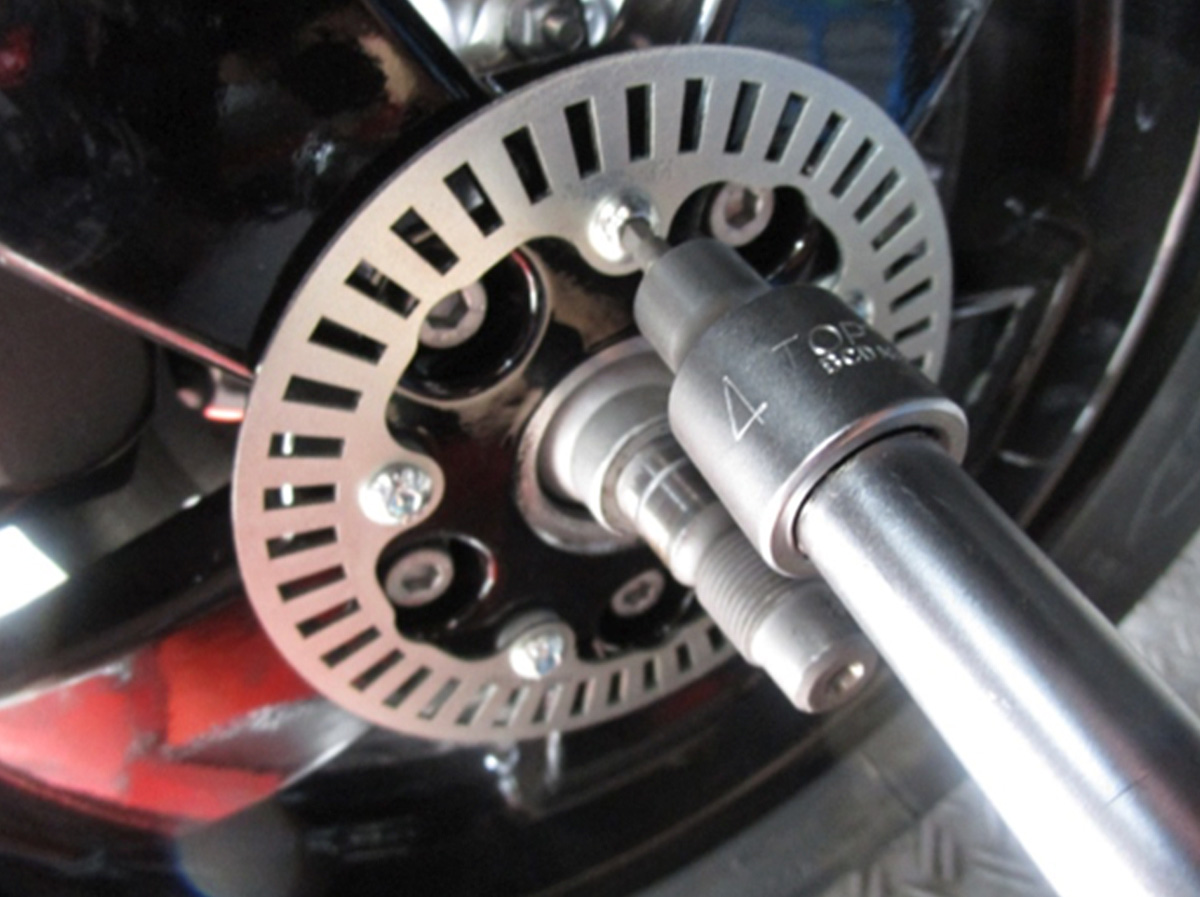
4) Dismantle the tone wheel
Loosen the original tone wheel with IS4. When removing the screw, pay attention to the location of the spacer rings.
CAUTION! Depending on the construction status of the respective model, the screws of the tone wheel can be secured to different degrees. If the screws cannot be loosened straight away, the rim must be dismantled and heated from the inside in the area of the screw connection of the tone wheel with a hot air blower in order to loosen the screw lock. Should new screws be needed, either article Screw 1667152 or Screw 1271147 zusammen mit Screw lock 7676902 use.
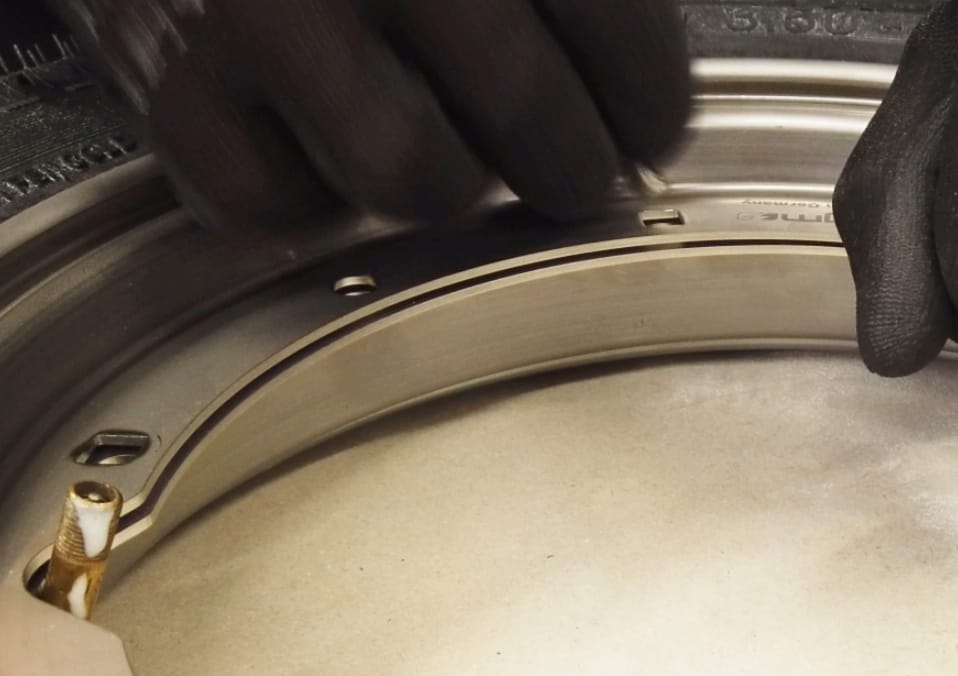
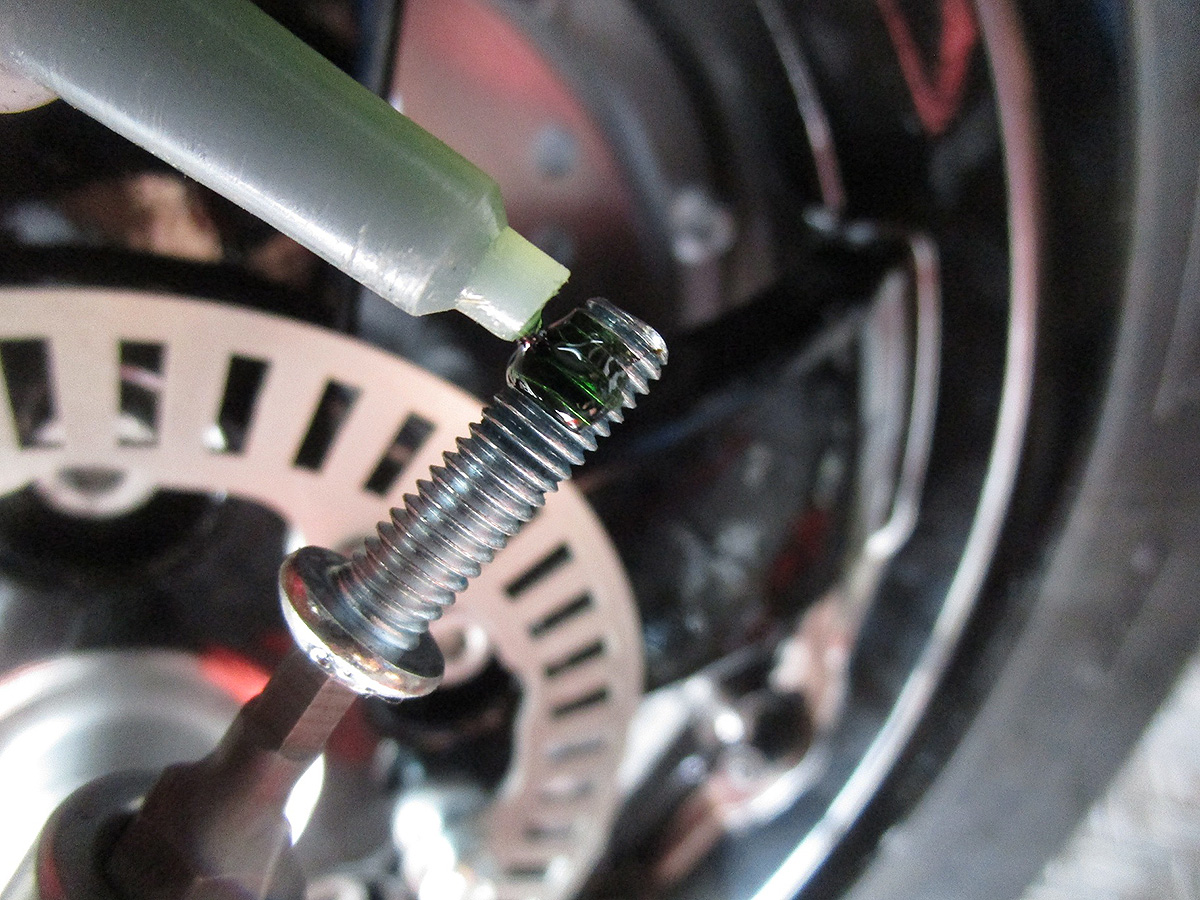
5) Mount the Speedwheel
Mount the Speedwheel together with the spacer rings on the rim. Should new screws be needed, either article Screw 1667152 or Screw 1271147 zusammen mit Screw lock 7676902 use.
The rest of the assembly is done in reverse order. The locking cage of the rear wheel nut must be secured with a new 3,5 x 32 mm split pin.
Assembly specifications and torques to be observed
- Tonwheel / Speedwheel screws, IS4 = 10-12 Nm *
- Rear wheel nut SW24 = 104-126 Nm
- Screws swing arm on the motor housing IS6 = 20-25 Nm
(ATTENTION! Only fasten the rear wheel nut after tightening)
- Nut shock absorber mount SW17 = 40-45 Nm
- Screws ABS sensor SW8 and TX20 = 4-5 Nm *
- Screws of the exhaust body TX40 = 20-25 Nm
- Screw of the clamp on the exhaust manifold with SW17 = 16-18 Nm
Information with *: there is no official information from Piaggio here. The values are derived from the DIN table.
Any guarantee could expire during assembly.
The Speedwheel is not approved for use on public roads.
If the vehicle is used on public roads, the ABE is no longer valid.
Order your Speedwheel here