Conversion to adjustable brake cable Vespa PX, Rally, Sprint,
The brake pad wear of the front brake of the PX series up to 1998 and the PK-XL can be easily adjusted without tools using the well-known knurled screw on the brake cable.
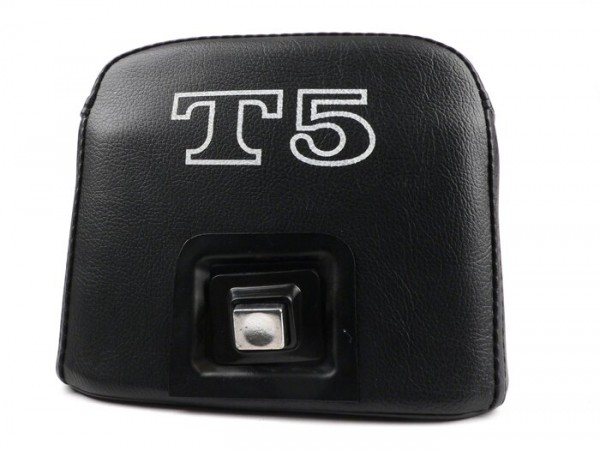
On the Vespa PX125T5, this luxury can even be found on the rear brake.
With this model, Piaggio has already seen that the fiddly-to-use adjusting screw in hard-to-reach places is no longer state-of-the-art.
We leave the no longer available Piaggio original part of the T5 in excellent quality reproduce.
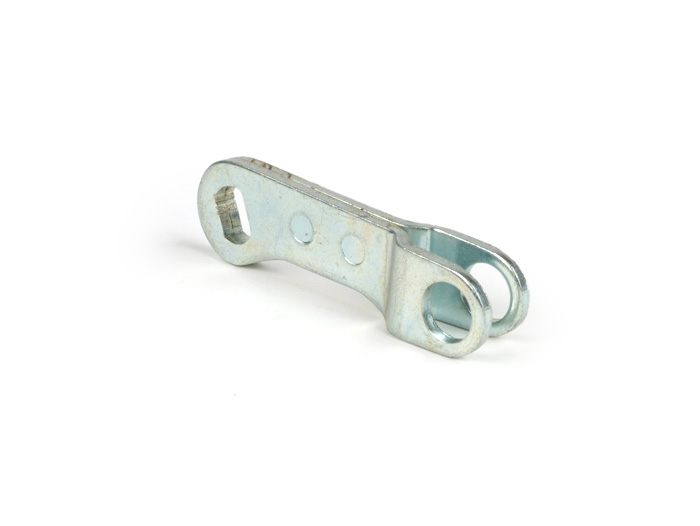
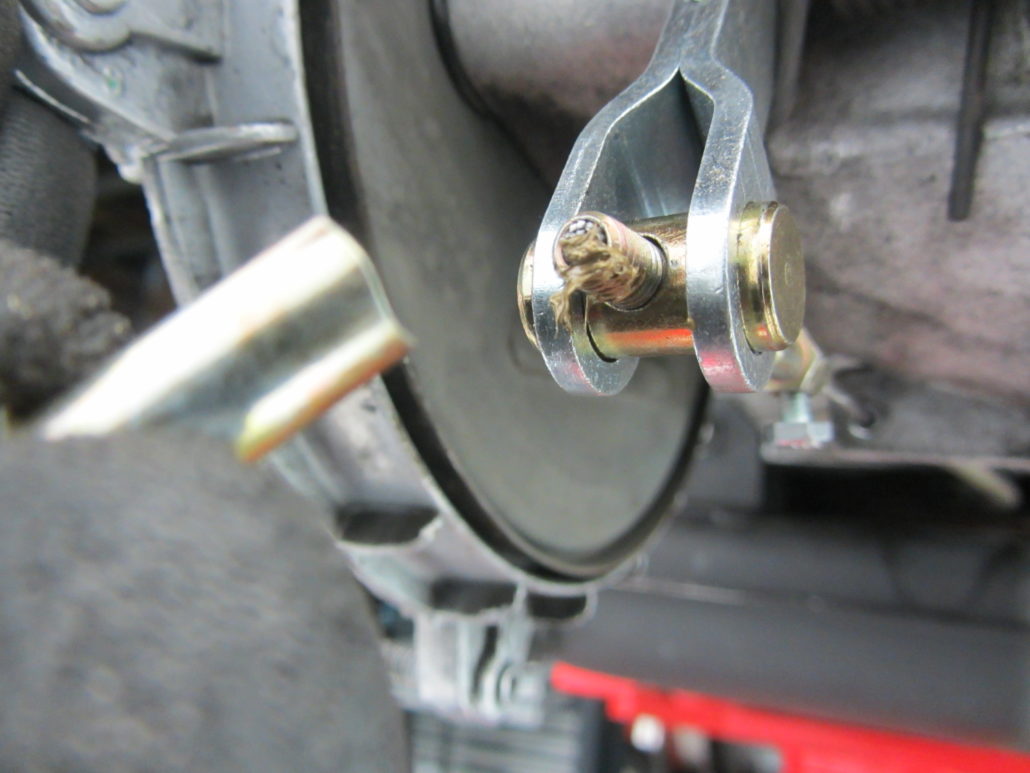
Greater braking force with the same pedal force
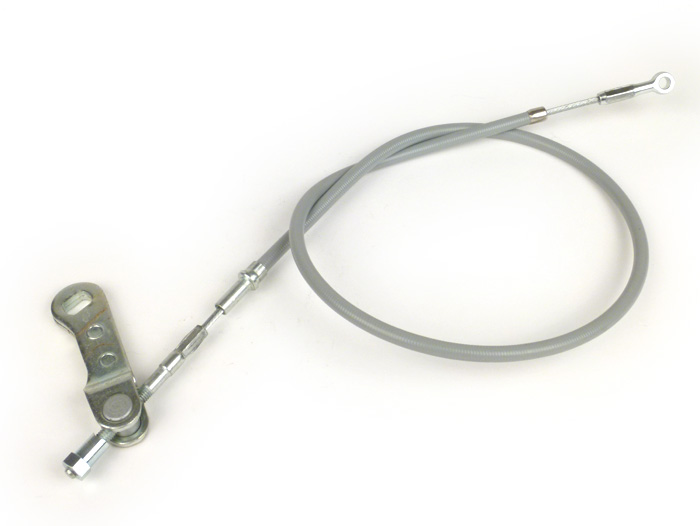
The brake arm fits almost all Vespa Largeframe Models and is one meaningful improvement especially for all PX before 1984, as well as rally, sprint and co, because the brake arm is longer and a greater braking force is generated with the same pedal force.
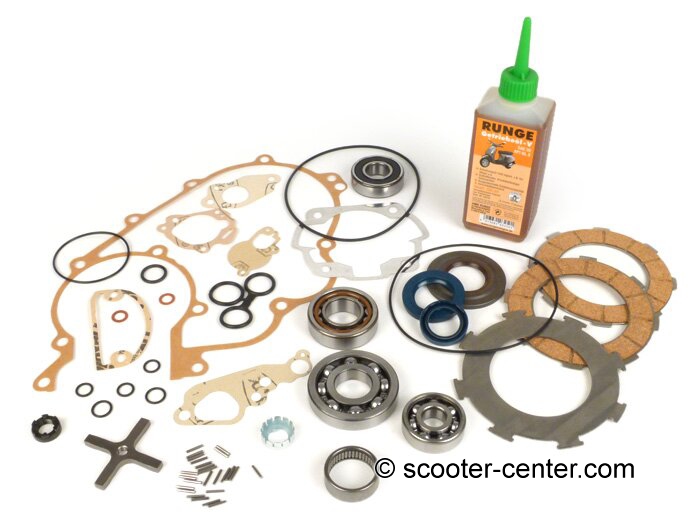
Our practical conversion kit
With the Set for retrofitting every PX can be brought up to the state-of-the-art.
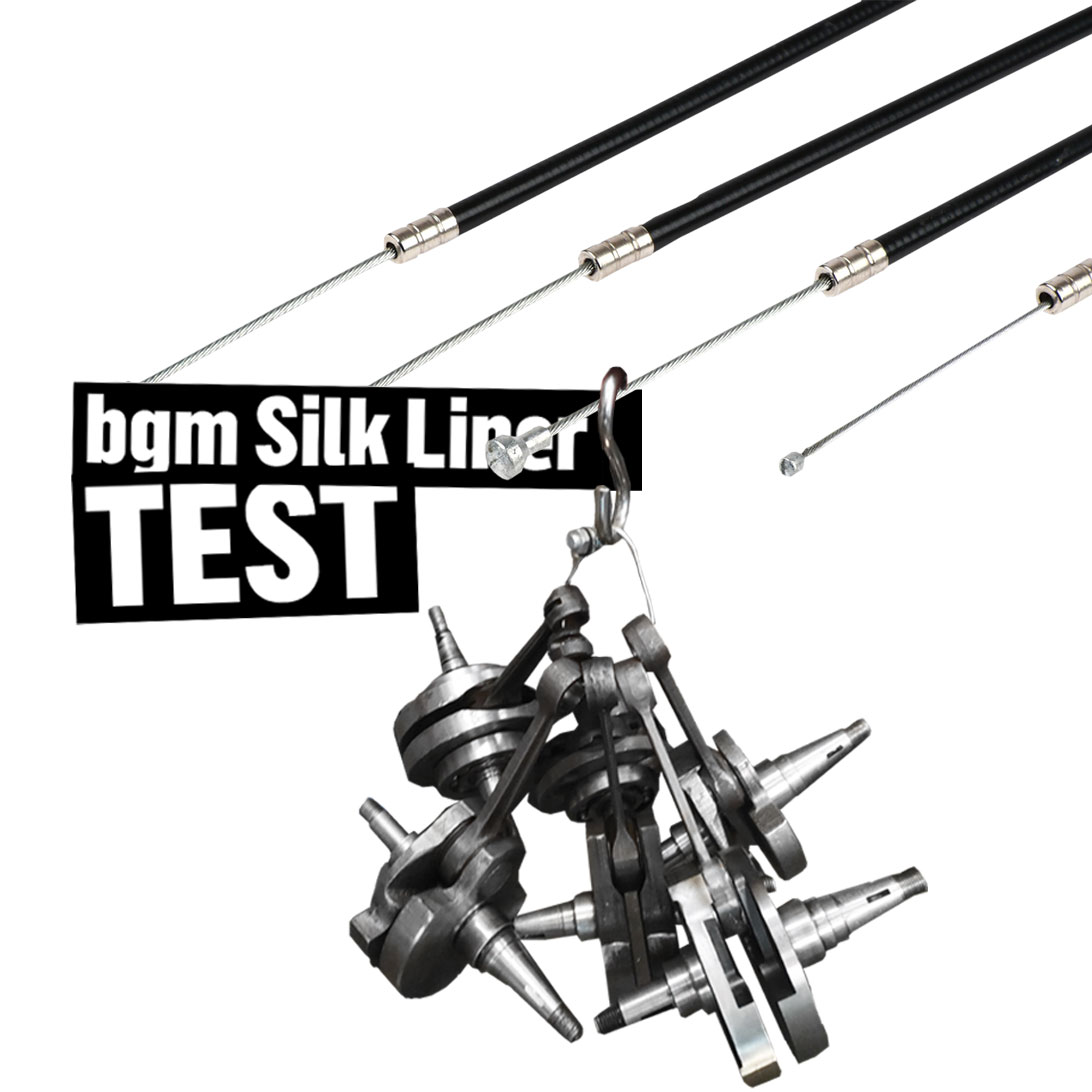
The solution for perfectionists with a T5 brake cable
In order to carry out the conversion, a slot must be made in the cable guide of the brake pedal. The T5 brake cable has a cast nipple at each end and can therefore no longer be threaded through the bare hole in the cable guide on the pedal. In addition, the M8 set screw on the PX engine blocks must be removed and drilled to the size of the brake cable abutment.
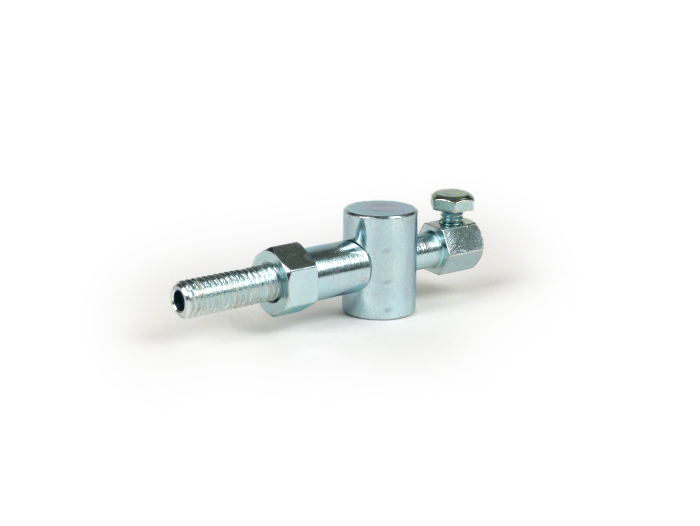
The simple adapter solution
Those who shy away from the effort described above can easily fall back on the variant with our adapter for the pulling thread:
If the brake cable is not to be completely replaced, we also offer a fast one Adapter solution
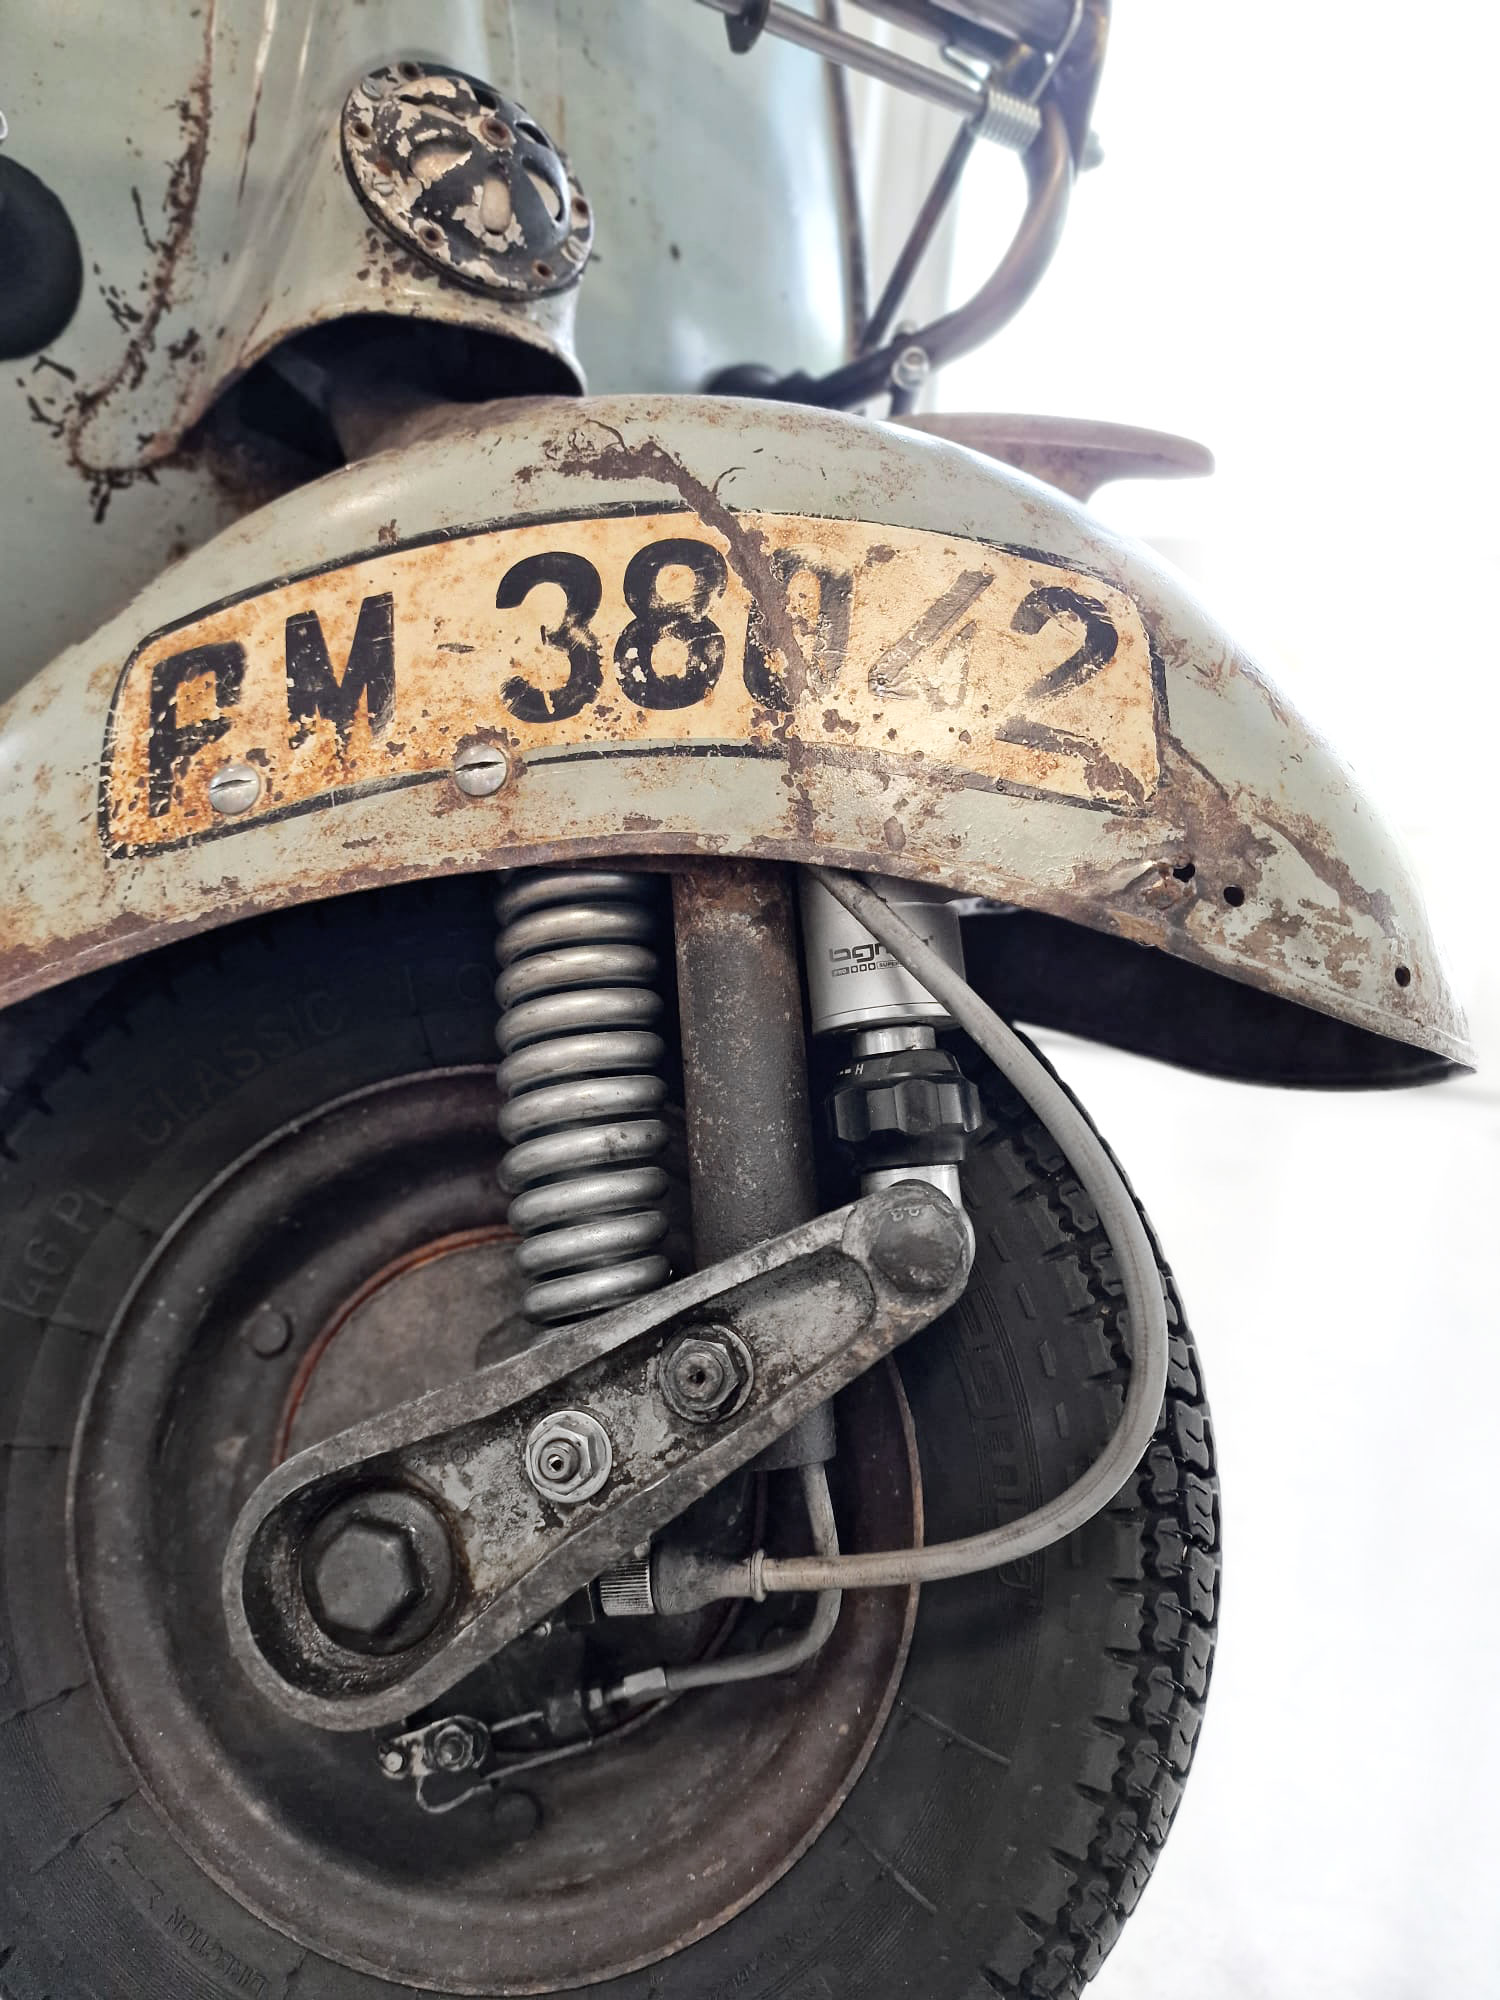
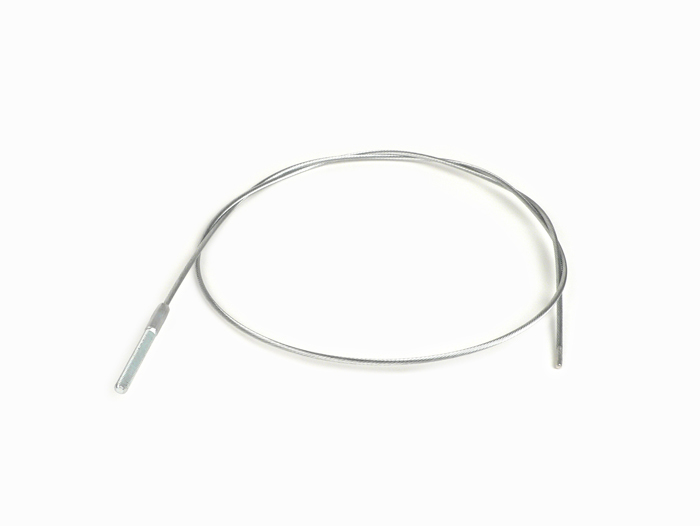
Conversion for Largeframe Our Oldies
For the Vespa Largeframe Models with an external brake pedal, such as Vespa Rally, Sprint, VNA, VNB, etc., can also be converted either with the adapter or with one loose brake cablethat has one end with the matching thread.
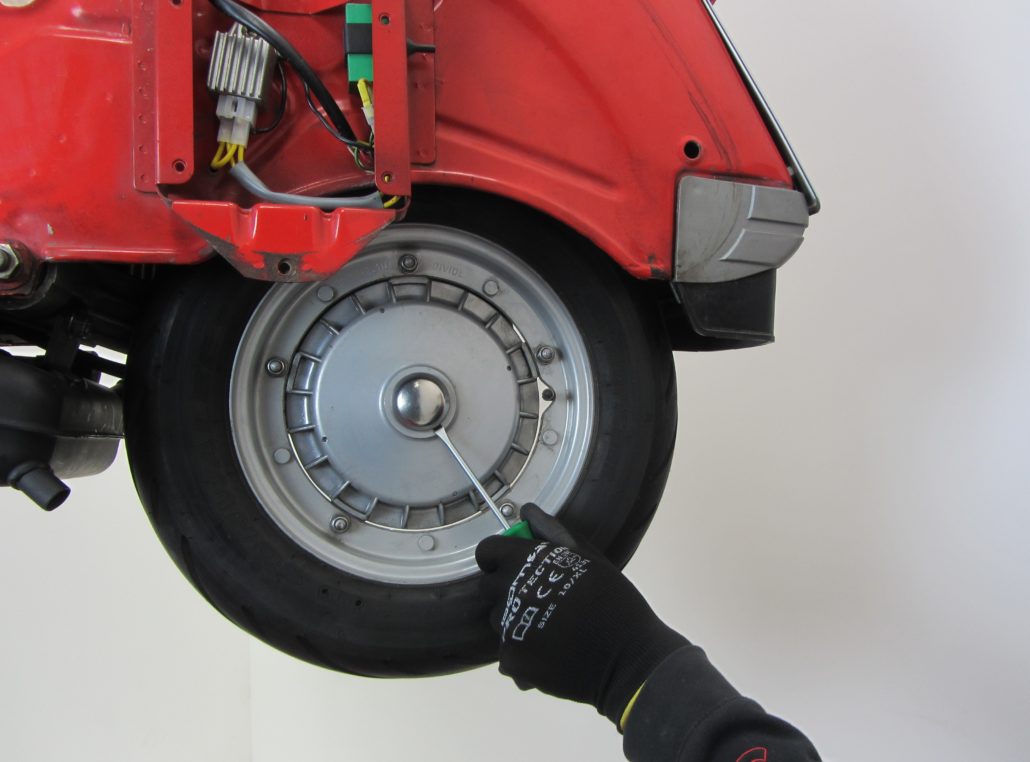
The simple installation using a Vespa PX
Here we briefly present the conversion using the example of a Vespa PX.
In order to be able to replace the brake arm, it is necessary to remove the brake cam.
In order to gain access to the cam, the rear wheel and the brake drum are dismantled.
cap and Sapwood remove
Dismantle the rear wheel
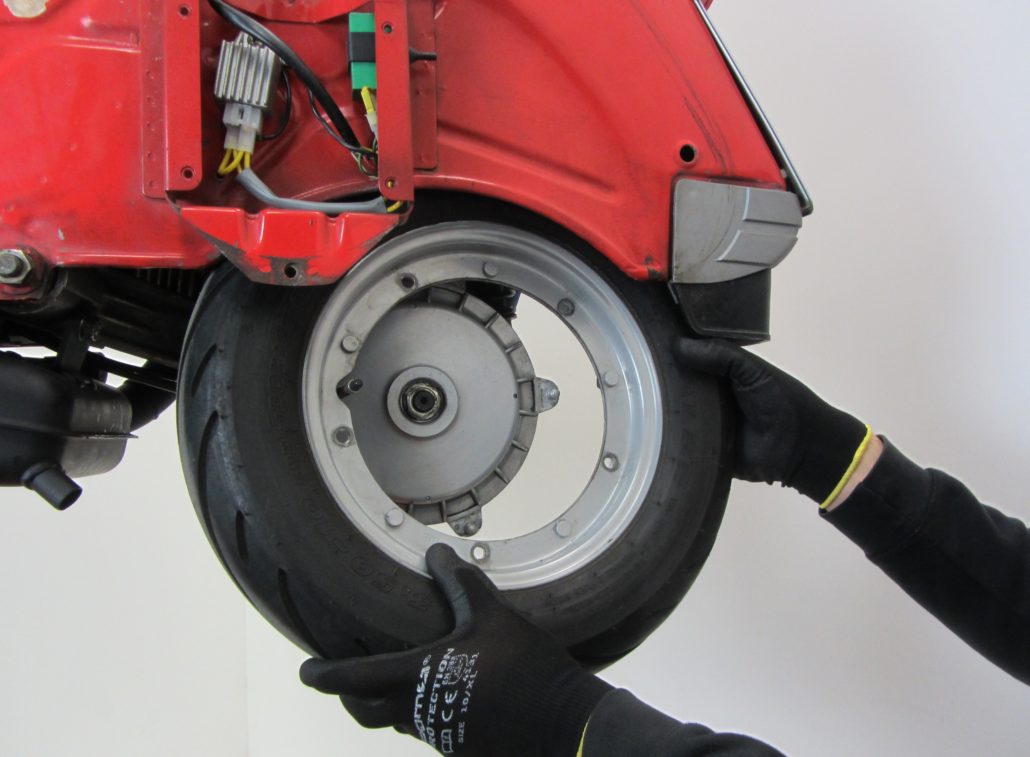
and then the brake drum remove.
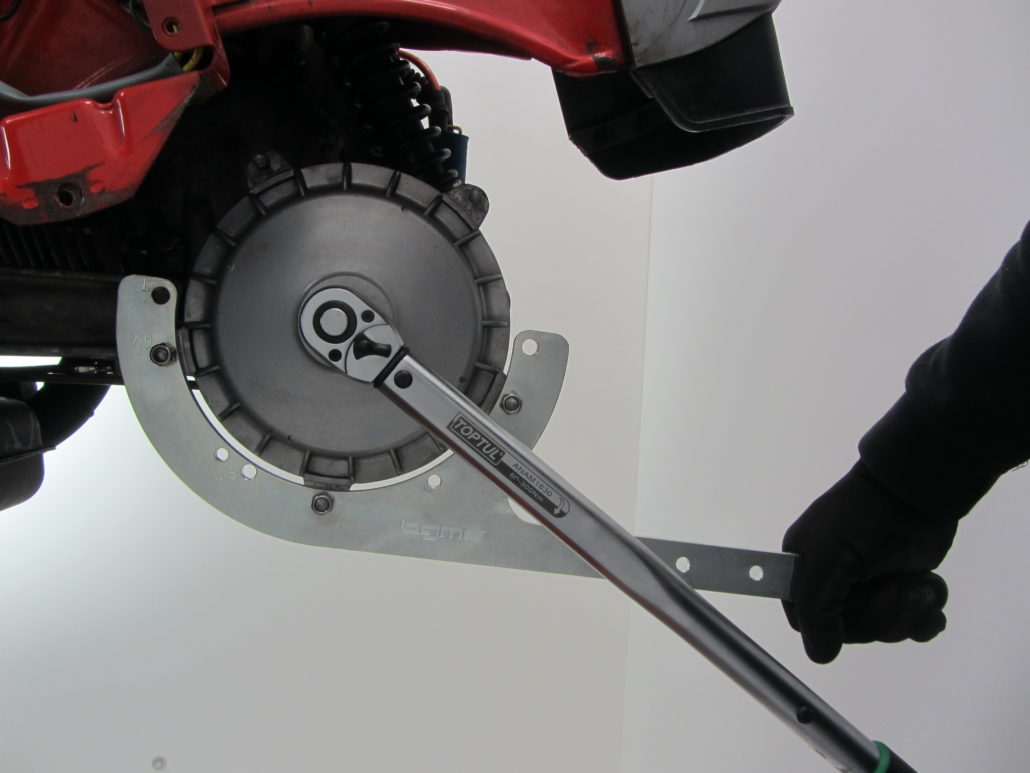
ohne impact wrench is the Holding tool for Vespa and Lambretta brake drums a real help.
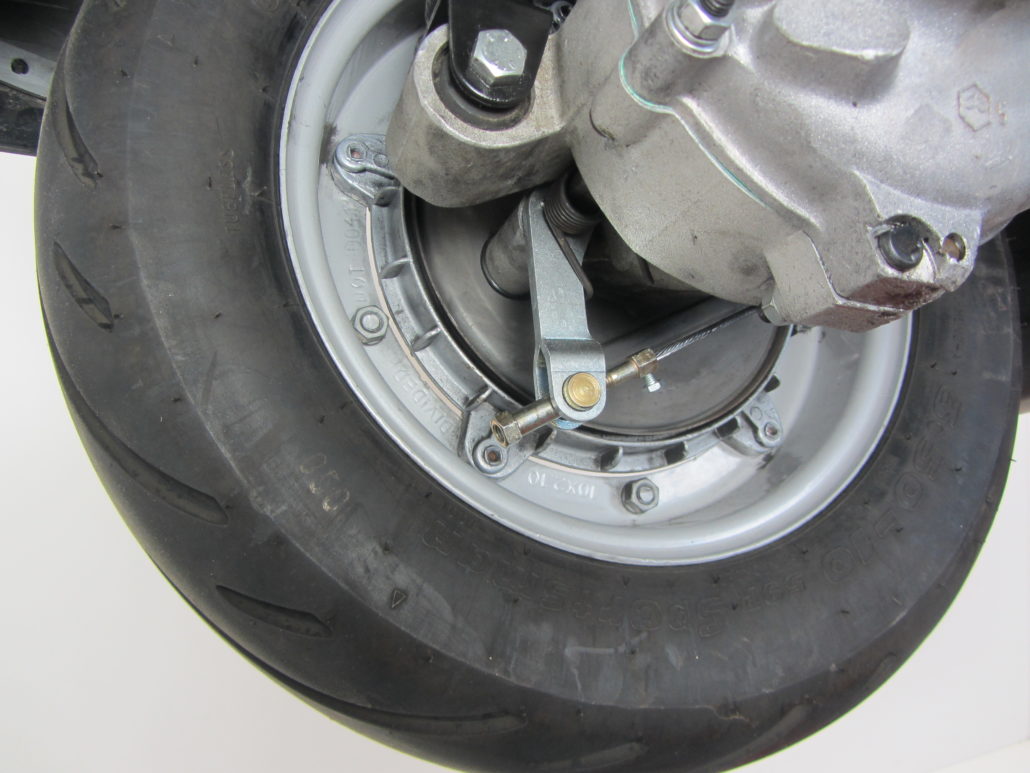
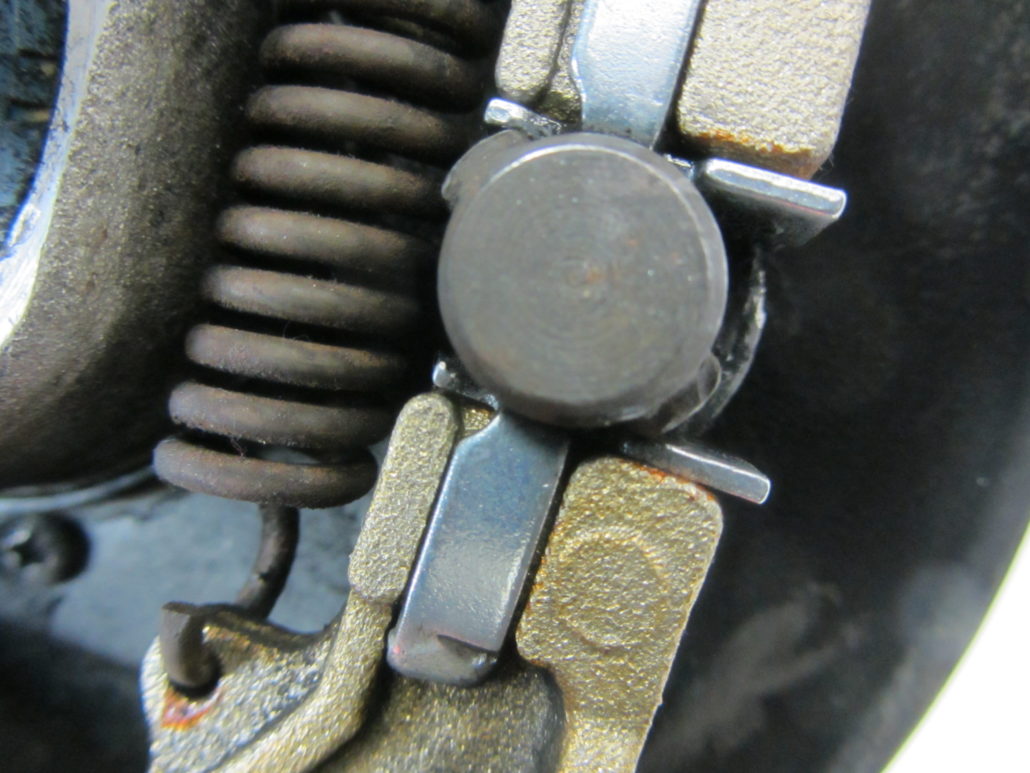
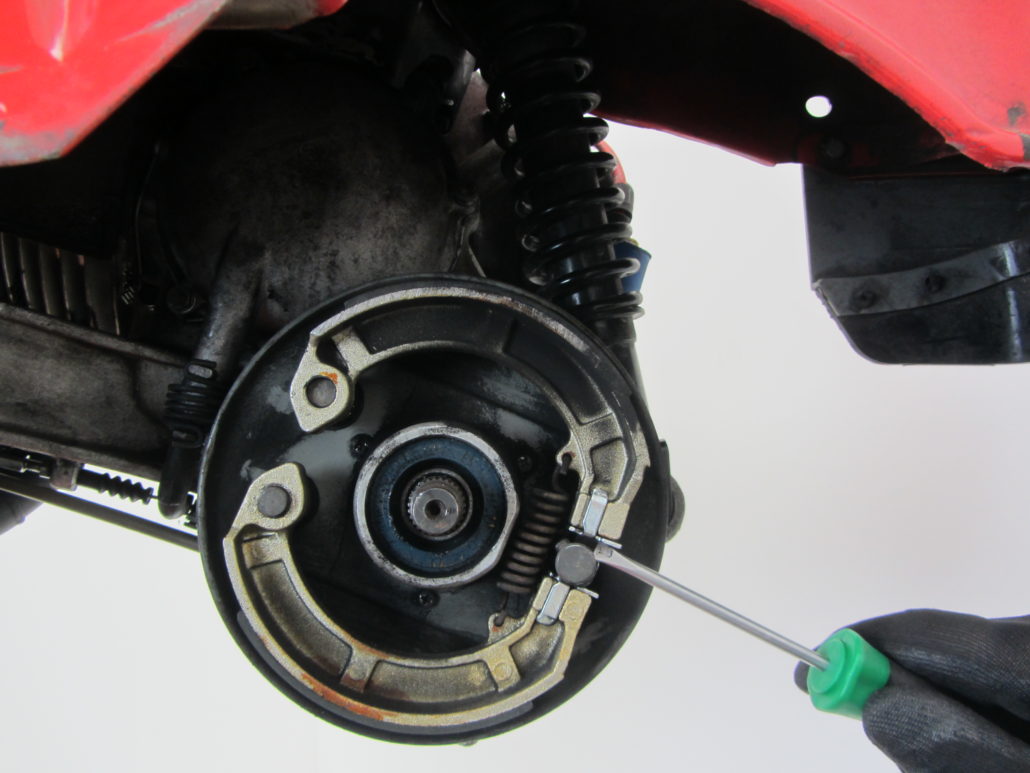
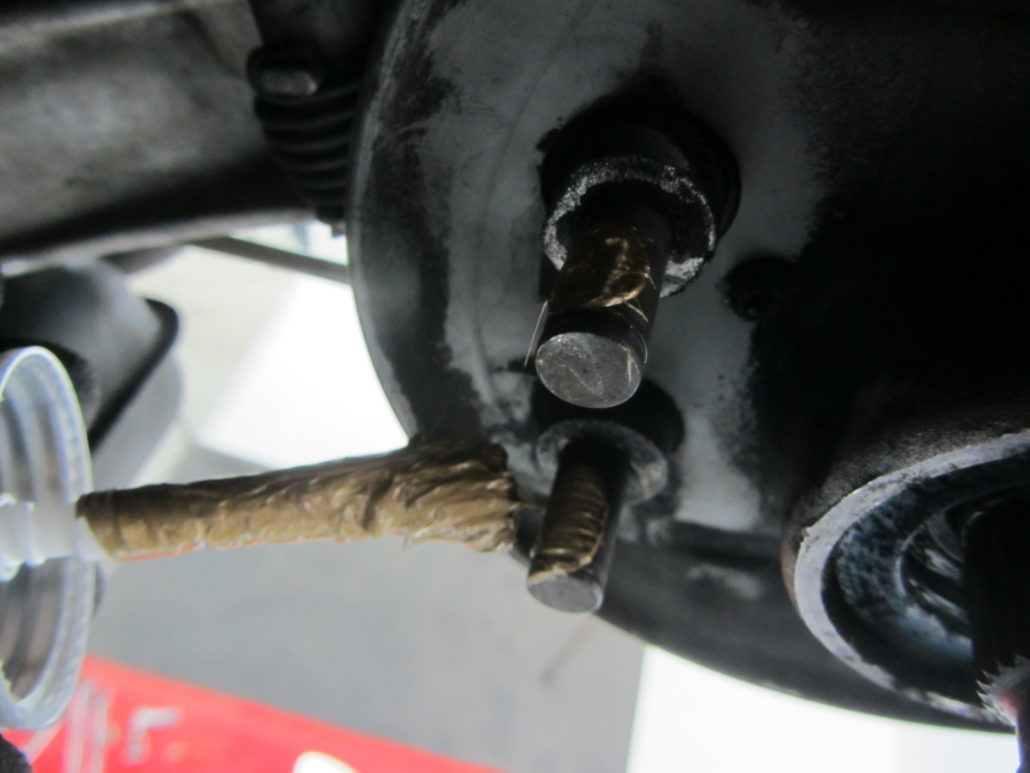
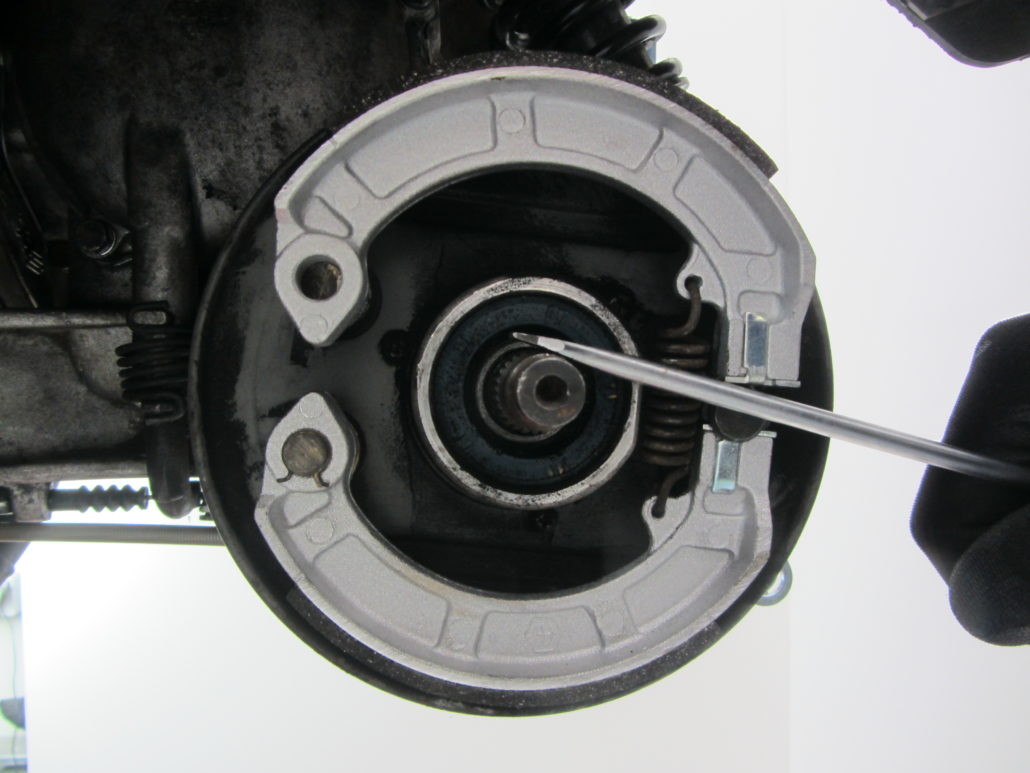
If the brake drum is removed, the brake shoes are freely accessible. Here it is worth taking a look at the position of the brake cam.
If the cam is almost 45 ° inclined to the brake shoes with the brake pedal unloaded, as shown here, this is an indication that the Brake shoes are soon worn out.
In order to be able to pull the brake cam a bit out of the guide, it is necessary to Brake shoes to remove. the Retaining rings can be removed quite easily.
However, care should be taken to secure the little nasty things against jumping away.
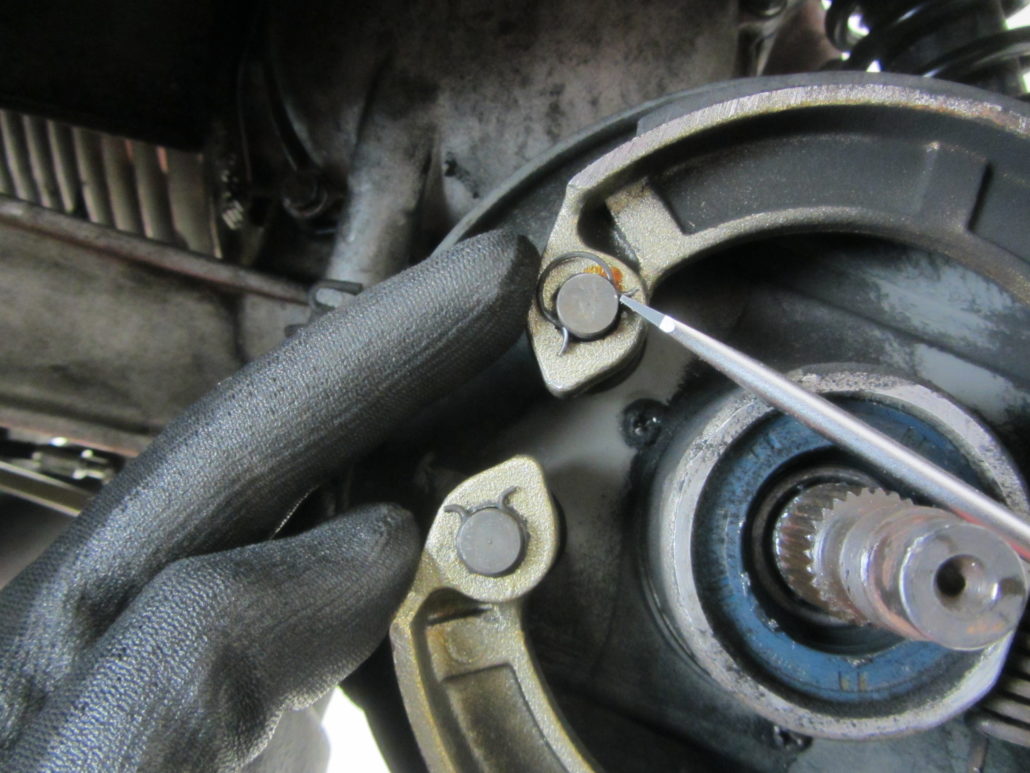
With a wider one screwdriver the jaws can be spread apart and removed one at a time. Shouldn't the brake shoes
are replaced, it makes sense to mark the installation position on one of the brake shoes. As can be seen in the picture above based on the abrasion,
the approaching brake shoe is subject to a different wear pattern than the decelerating brake shoe. Therefore, it makes sense to remove the brake shoes when reassembling
to put them back in their accustomed place.
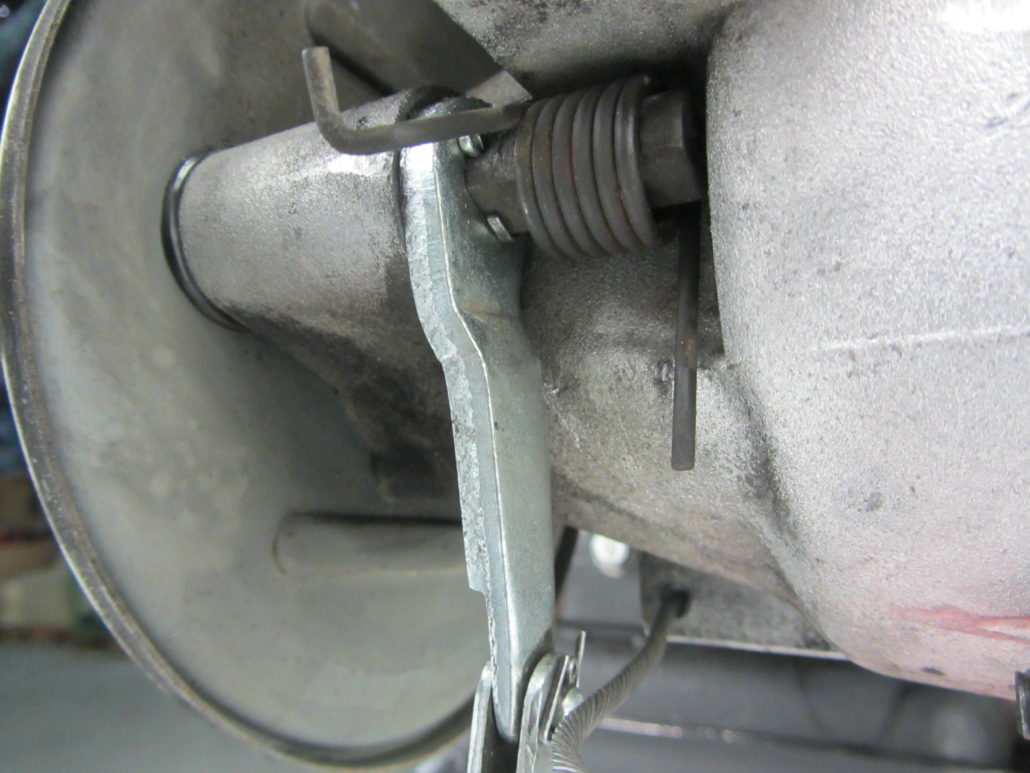
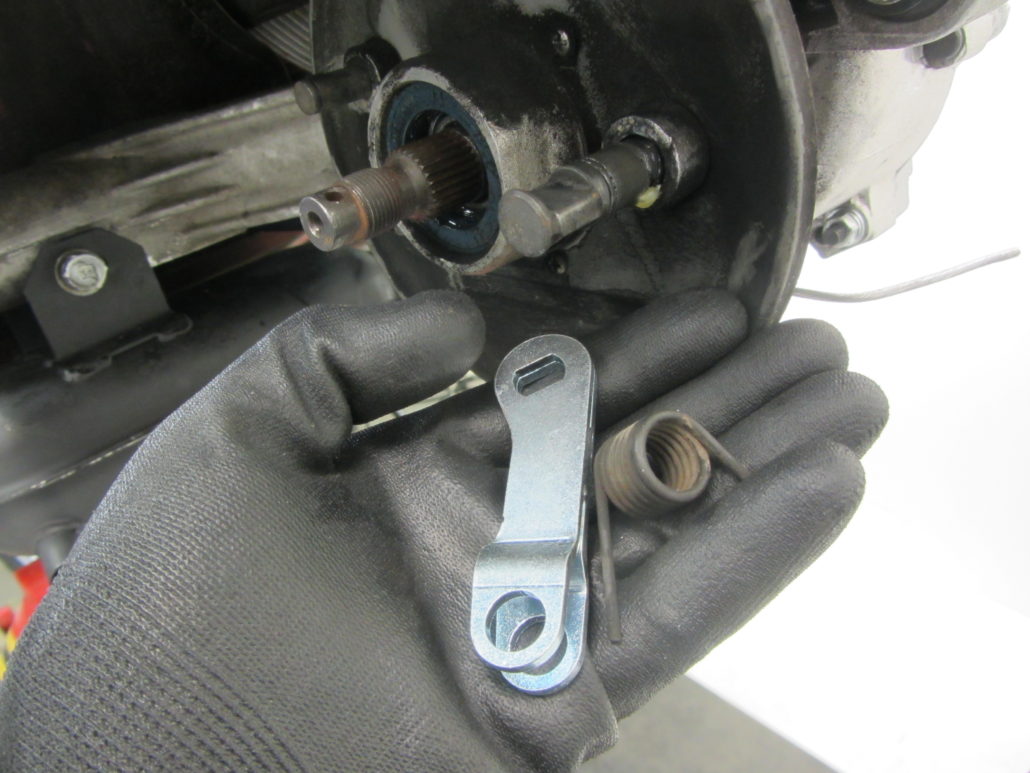
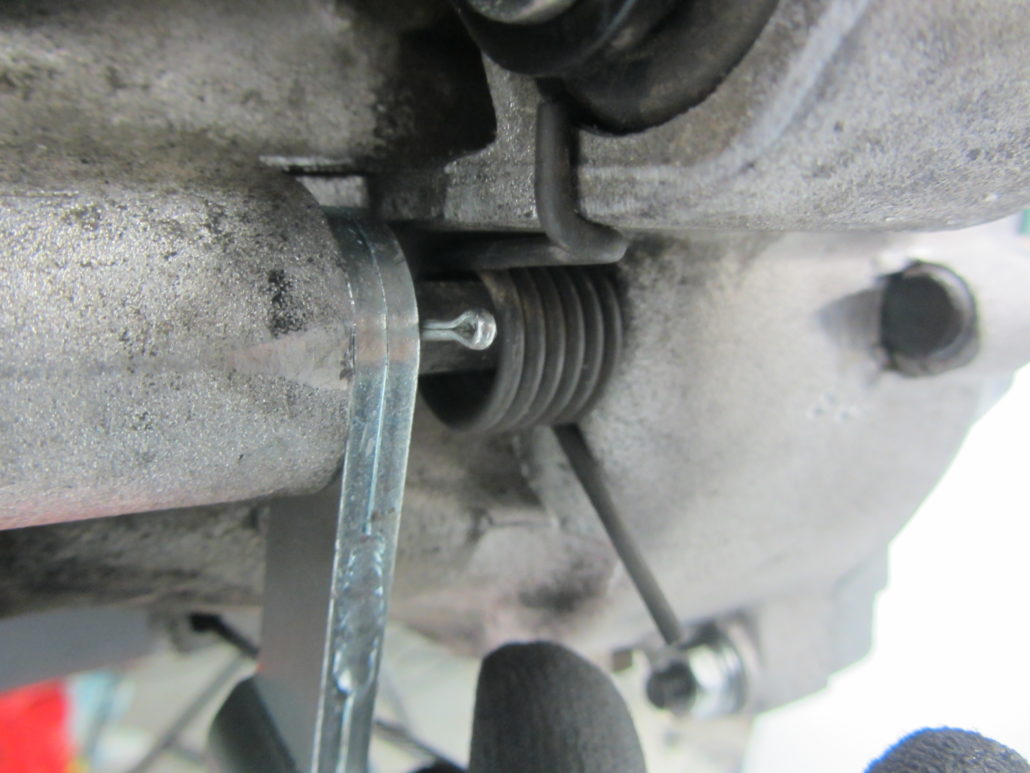
After unhooking the spring for the brake arm is the Safety split pin accessible. Once the split pin has been removed, the Brake cam pulled out
become and gives the Feder and the brake arm free.
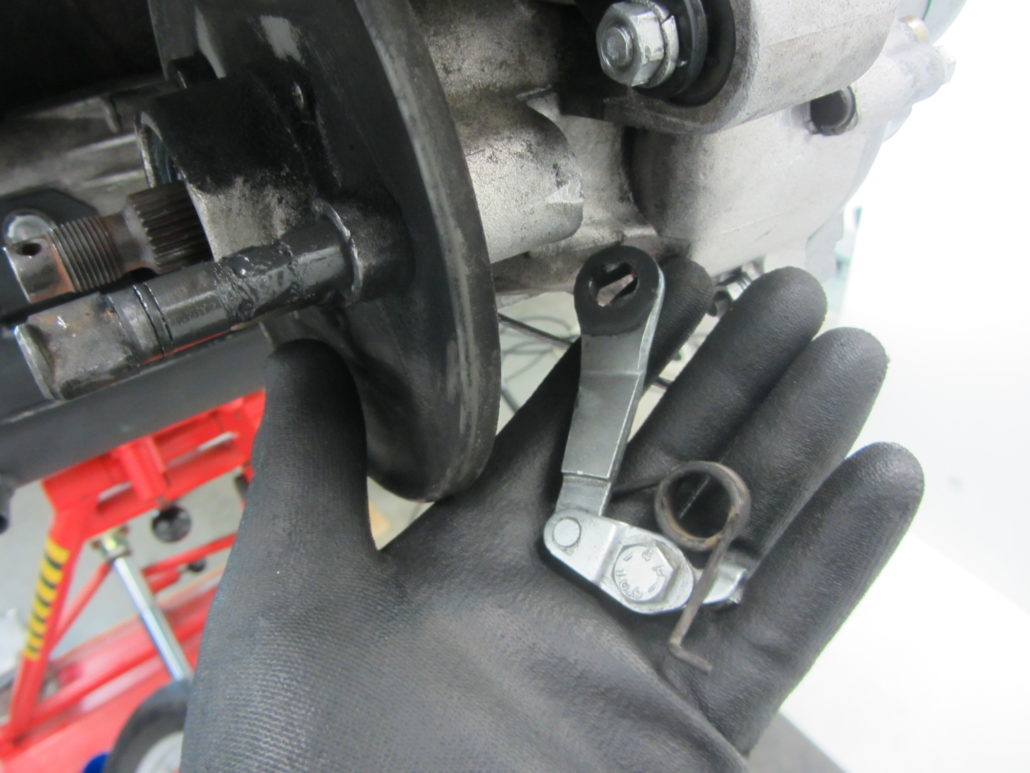
The brake cam is provided with a franking in which a Fat storage is introduced for long-term lubrication. Just fill up if necessary.
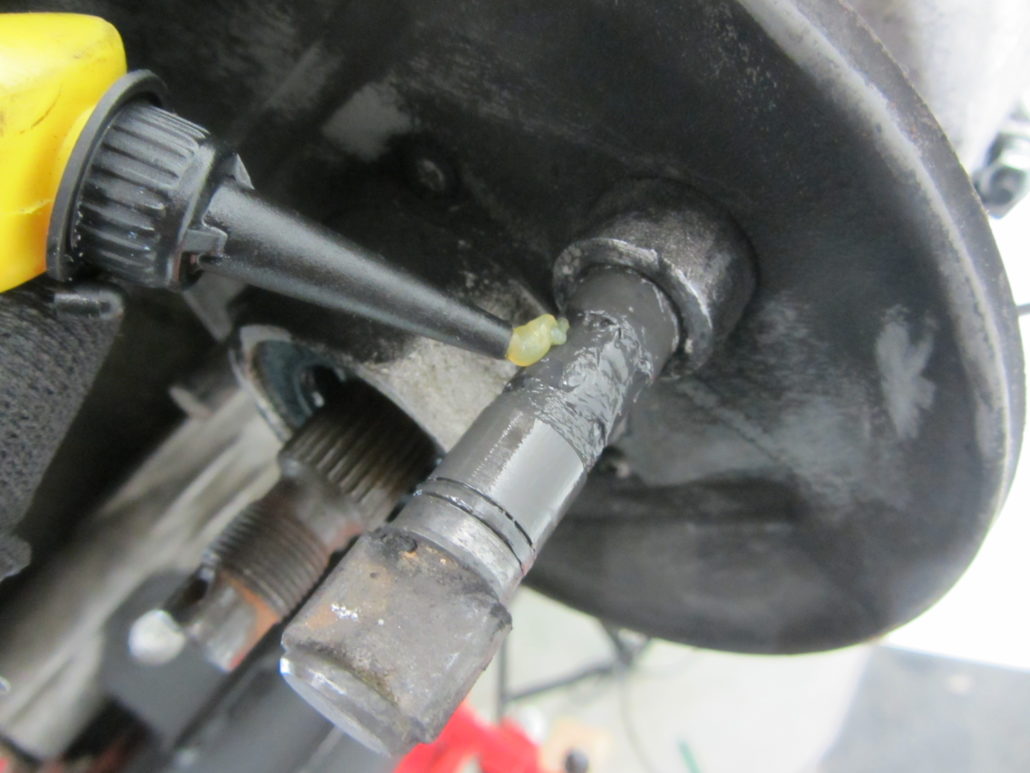
If the brake cam has the latest lubricant technology, the brake arm and the spring can be installed.
Do not forget the cotter pin before attaching the spring.
In this case, new brake shoes are used. To protect the guides from corrosion and to prevent the brake shoes from seizing up,
will be here copper paste applied.
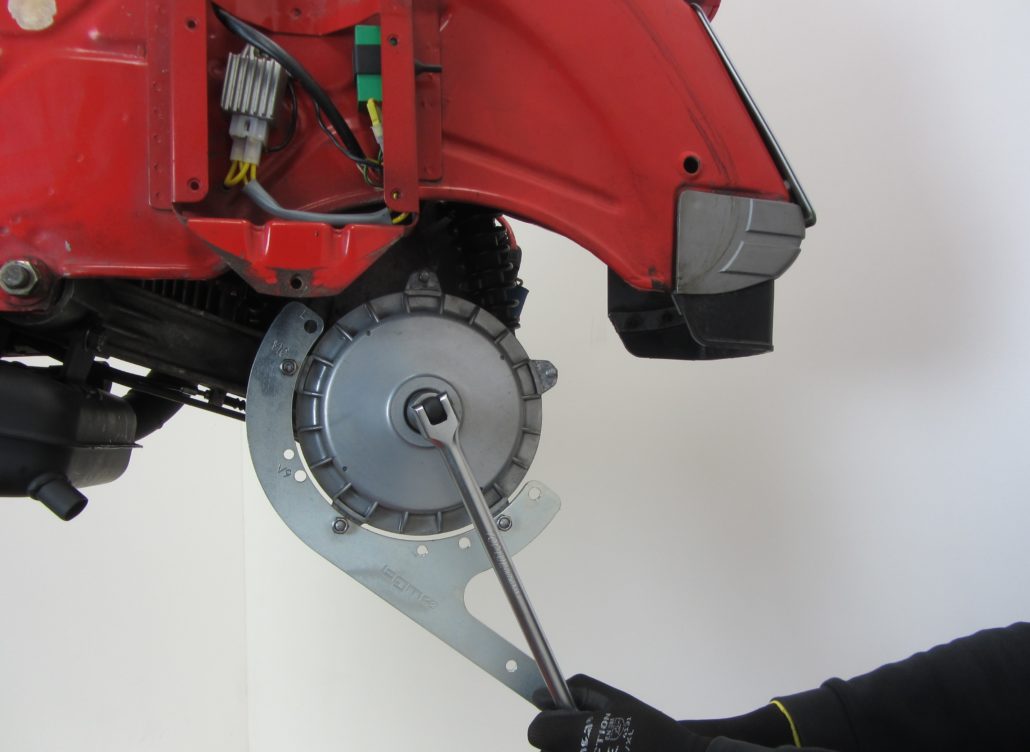
With the main shaft as support, the brake shoes are placed in the guides.
The Mother the Lusso main shaft with SW24, for example, is fitted with a torque fastened by 110Nm.
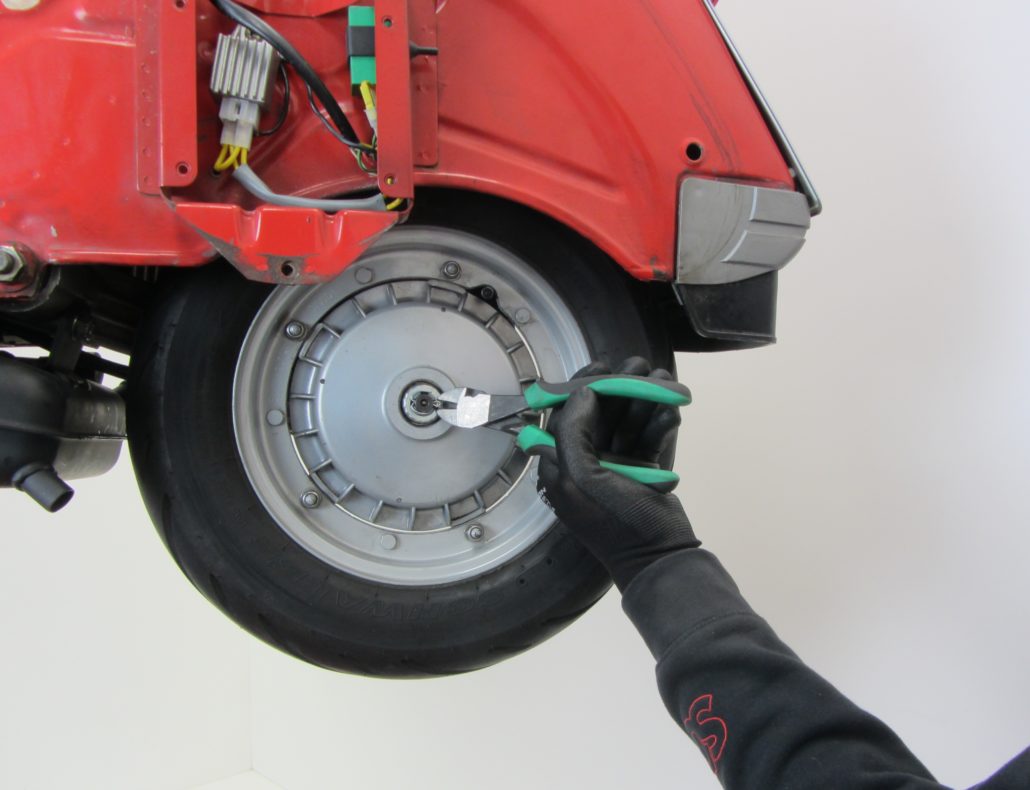
Before cutting the old inner cable to length, check whether the Adjusting screw is on “0”.
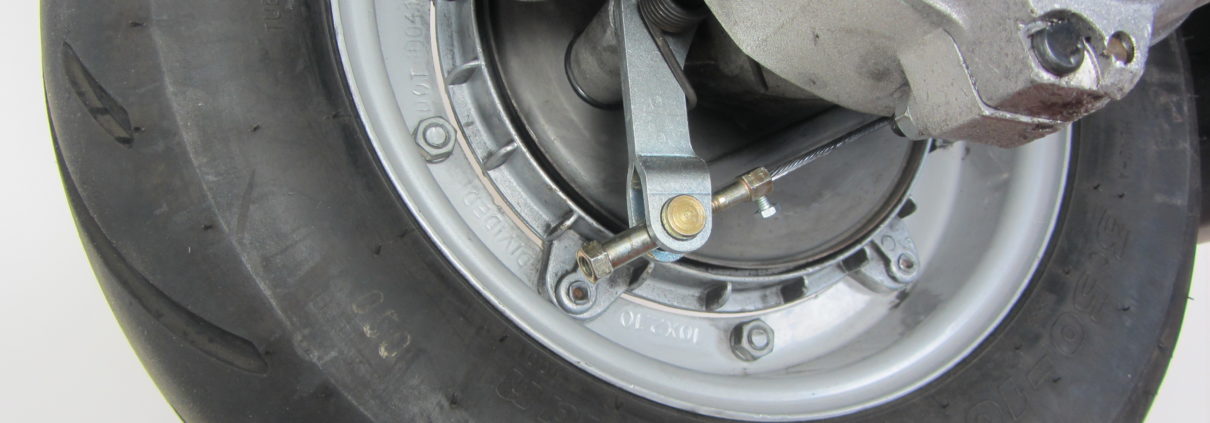
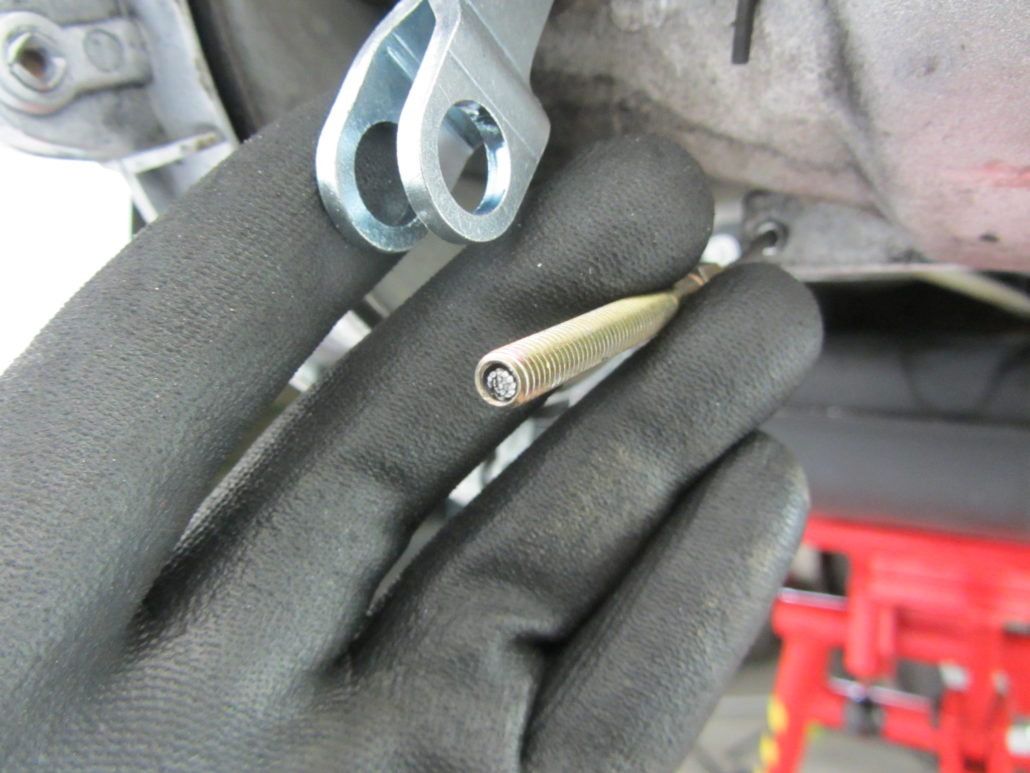
The required pull length for the adapter can be determined based on the position of the brake arm. The pull should be right right up to the end of the arm
are sufficient. the Cable shears ensures a clean and safe cut without the cable fraying.

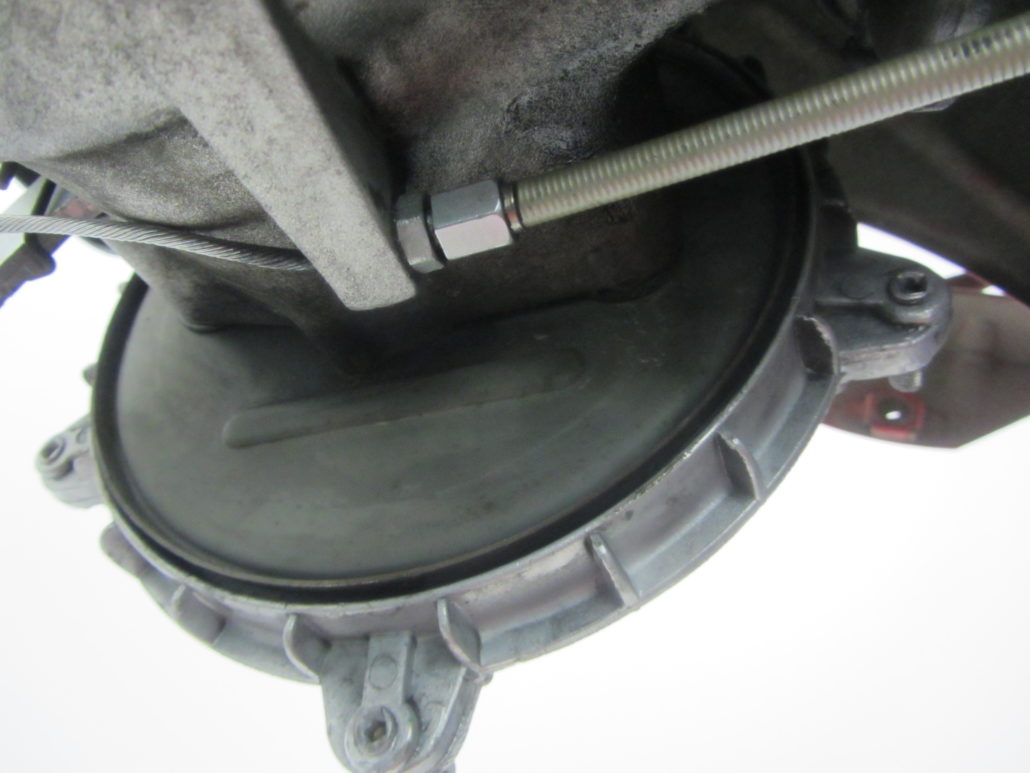
Push the adapter up to the end of the inner cable and secure it with the clamping screw. After the first test braking, check whether the end of the train
is still in the same position. If not, the clamping screw must be checked and retightened.
So that the adjusting nut on the adapter is easy to move at all times and does not corrode, a little copper paste can also be used here.
Mount the rear wheel again and the wild ride can go on.