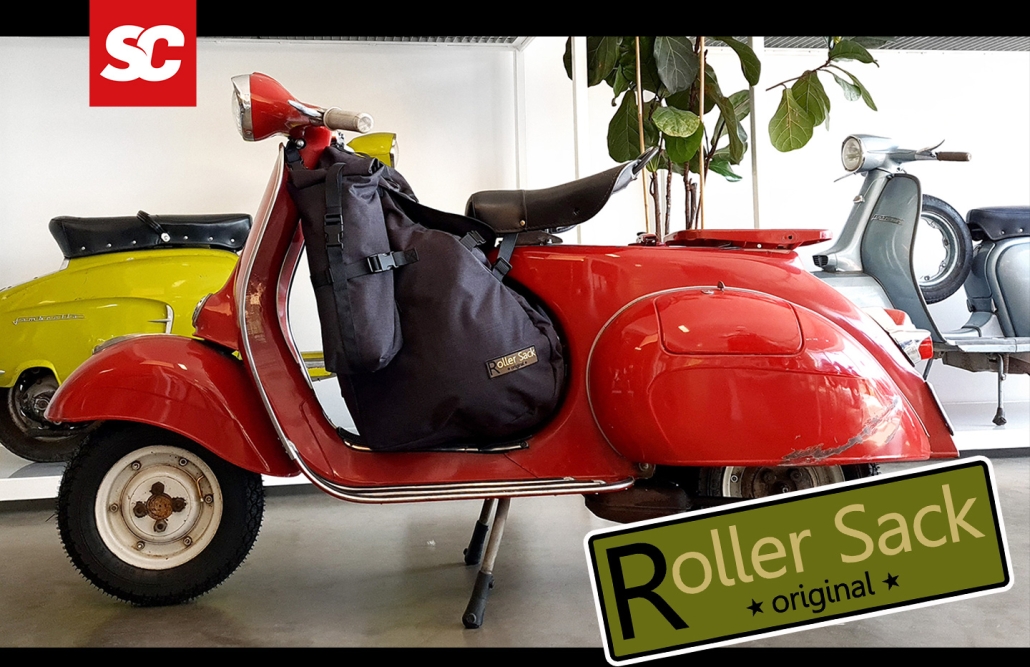
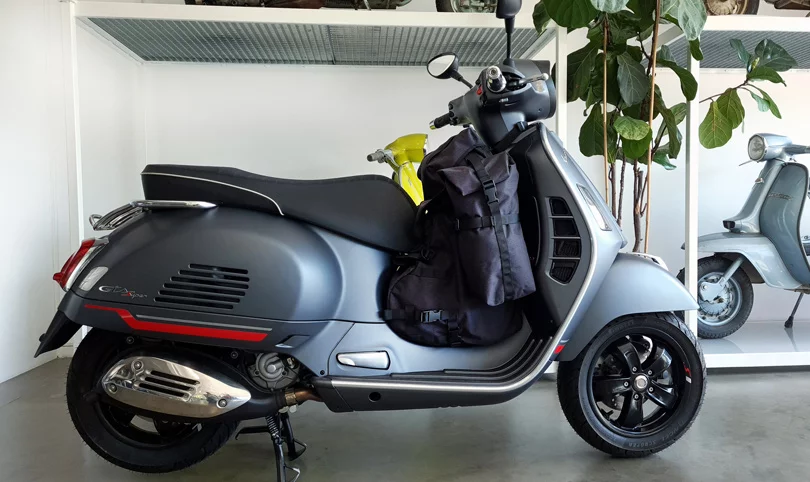
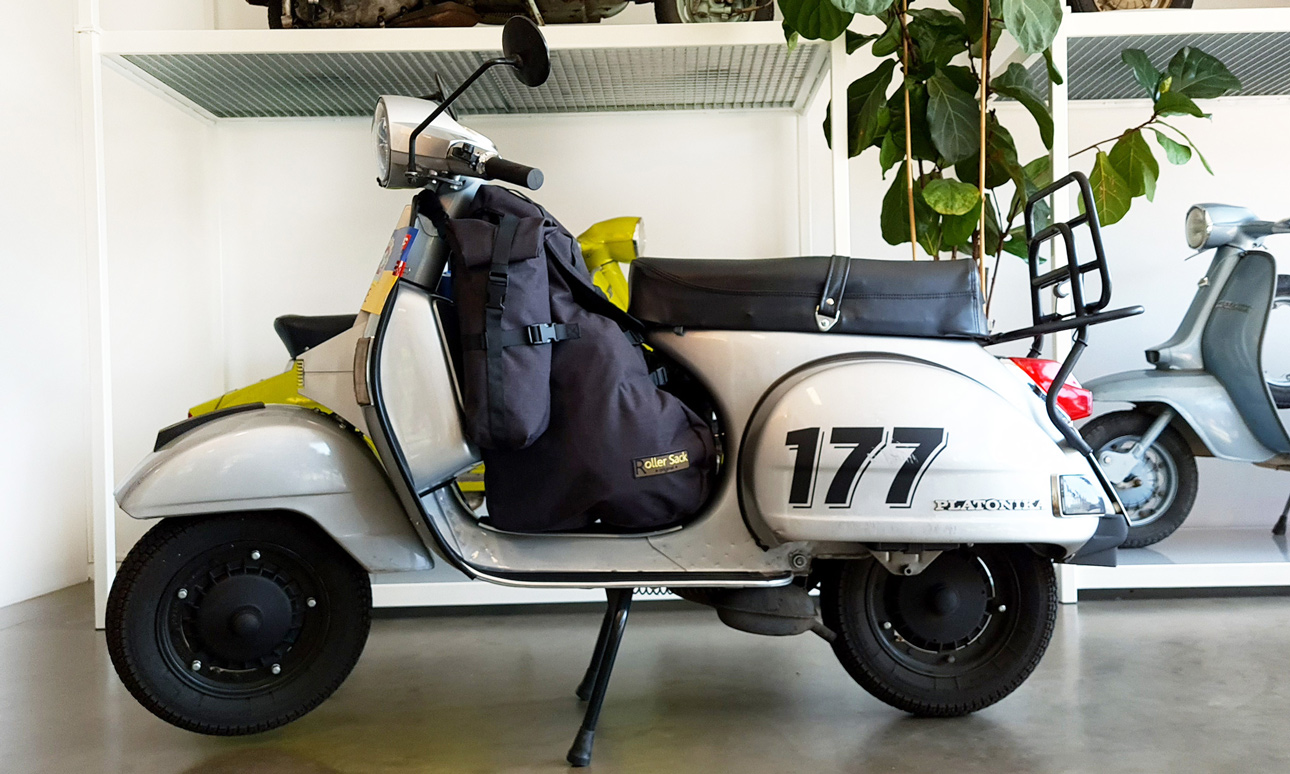
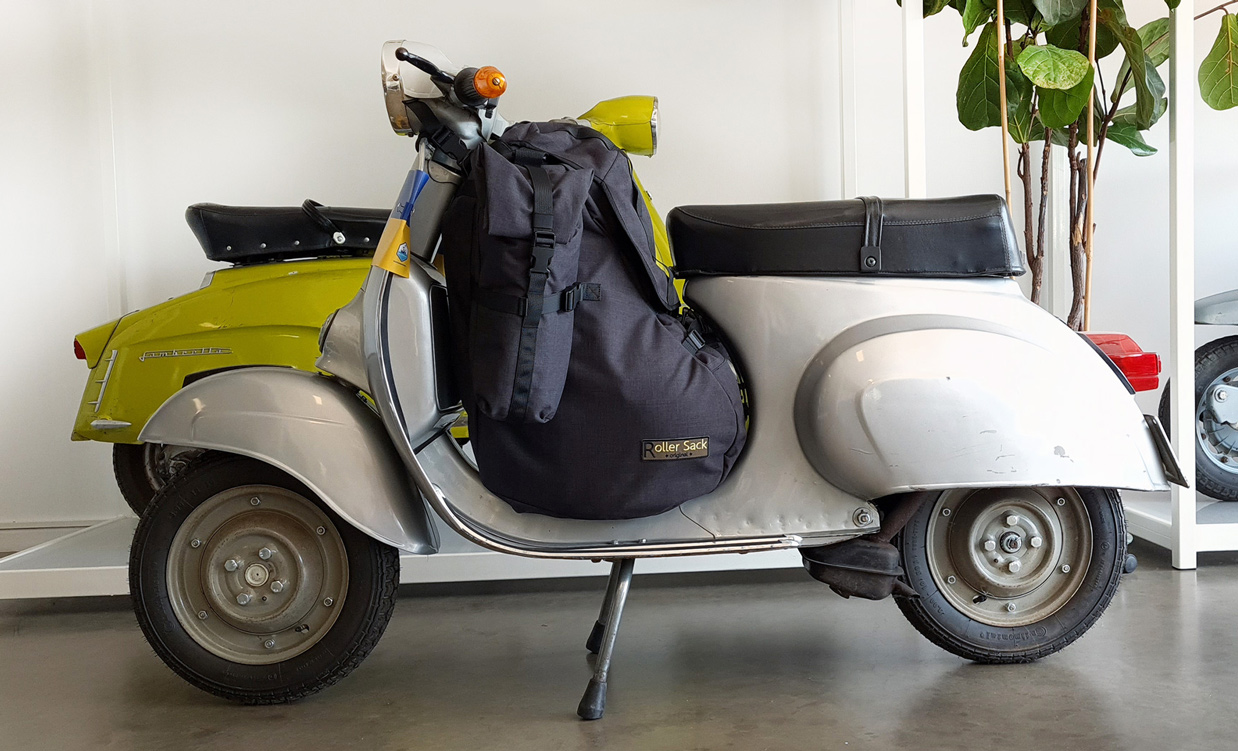
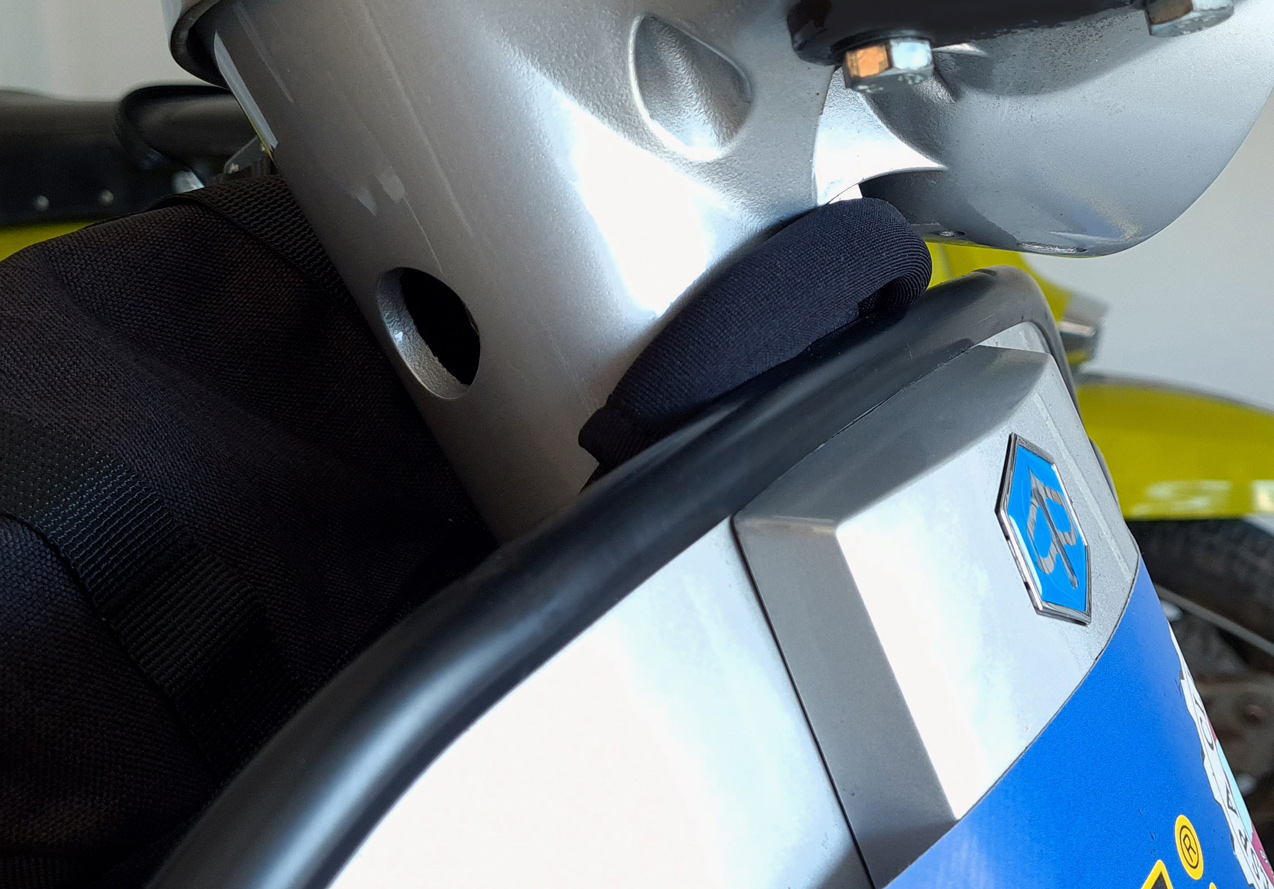
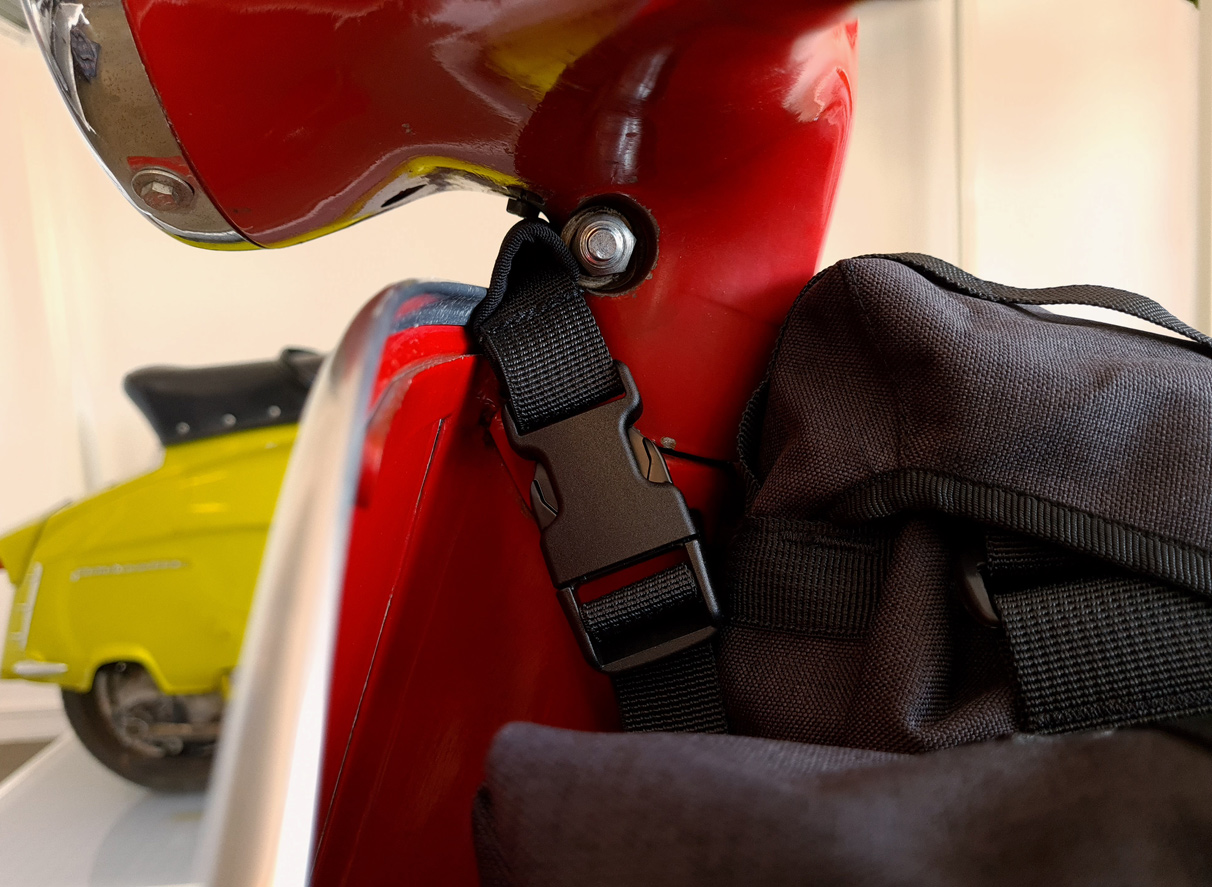
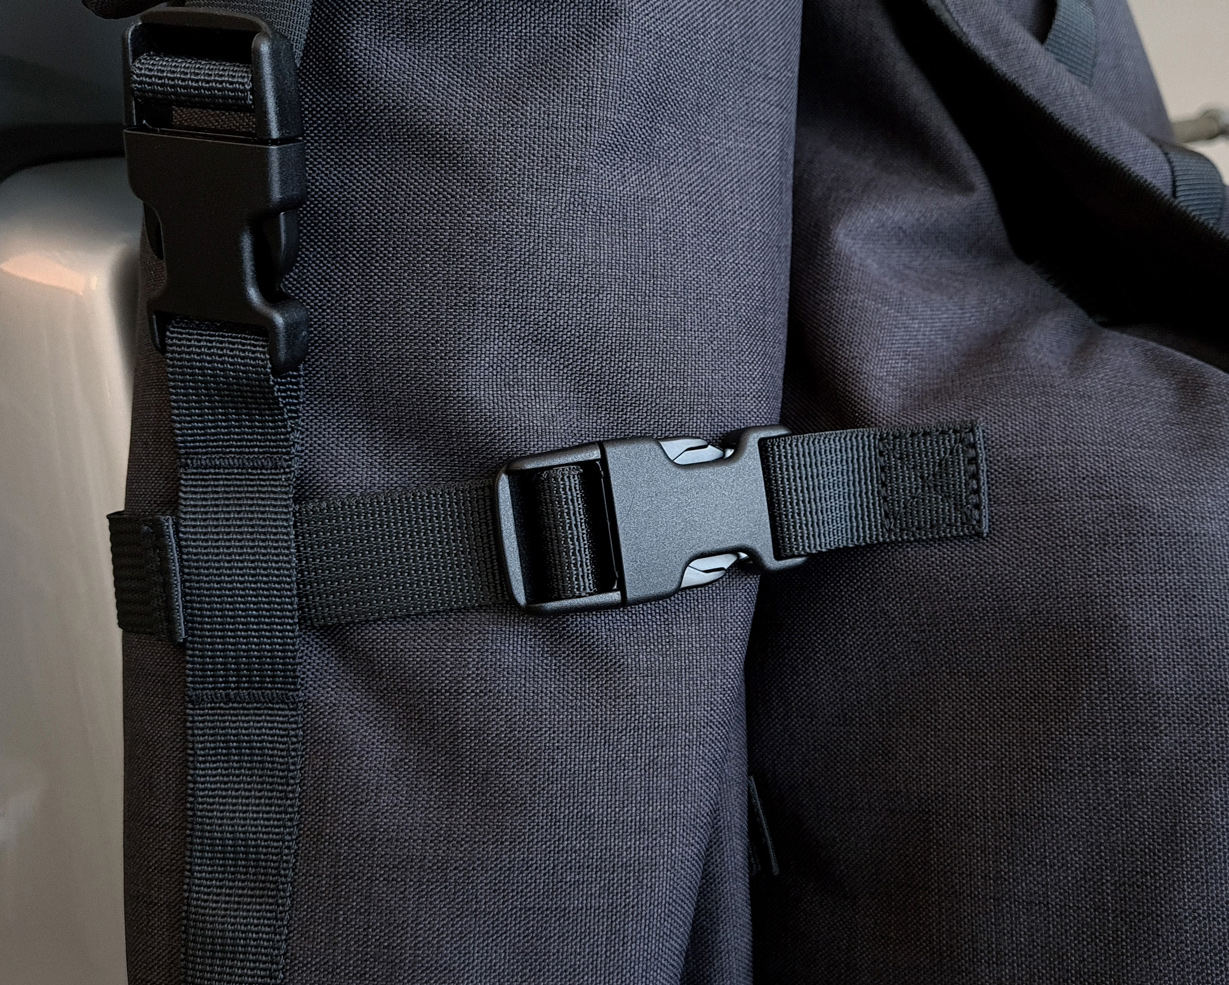
The (R)ollersack *original* now also in our store Scooter Center

We have the (R)ollersack *original* by Sabine brand new in our program. Sabine is a scooter rider herself and during her travels and meetings she discovered a need for specific travel bags for geared scooters. Now that she couldn't find an offer that satisfied her, she herself and with her sewing skills, developed a bag that was tailored to the needs of every scooter rider.
The focus was on functionality, the bag should fit well into the hatch, be secure and easy to attach without damaging the paintwork. In addition, the usual run luggage should fit in well and everything should be modular so that the system can be expanded. Sabine succeeded perfectly and we were able to convince her to launch a small series made in Europe with us. In contrast to this, all other (R)ollersacks *original* are specific and made by hand on customer request.
For an independent practical test, I asked our friend Atze to take a look at it. As a globetrotter with his Vespa and with over 72.000 km under his belt, the perfect candidate to submit an expertise for suitable scooter luggage.

atze

For every scooter

The scooter bag has been designed according to the dimensions and characteristics of a derailleur scooter, making it more comfortable to ride and to reach the brake without anything getting in the way.
Maintaining stability without carrying extra weight front or back.
Of course, it also fits on Vespa GTS & Co. However, the strap cannot be used to attach it to the handlebars.

Details

In addition, the packing cords that secure the bag to the scooter are attached at strategic points without the need for additional racks or extra hooks.

explanation video

How do I pack my sack?
First of all, it should be said that the sack has a huge volume, but you can't stuff everything into it wildly. It also depends on the pack size of your tent and sleeping bag, how you pack it best.
Since body size and shape as well as the riding position are very individual, everyone has to try it out for themselves, and you shouldn't necessarily grab it at the last minute before the first tour.
It is important that you do not exceed the width of the bag too much, especially in the front area, otherwise you will have problems with the brakes.
First you should carefully attach all pockets to the sack when empty. When threading the Velcro through the belt loops, you can squeeze the Velcro together slightly, then it is not so fiddly.
Then you first place your tent vertically in the front of the bag. My tent is 57 cm high.
If you are traveling without a tent, you should definitely ensure vertical stability, possibly with a bag or packing bag with the approx. dimensions H 57-60, W 20 x, D 18.
You can then pack the sleeping bag into the curve. It is advisable to use a compression bag here in order to achieve the smallest possible size.
If you have a sleeping pad with a very small pack size, it can also be stowed in the sack or under the lid.
Then you can tie the middle fasteners together to shape the sack.
The bag should be stable with that.
Next I would fill the top right pocket. You should not pack any hard things in here, otherwise you will encounter resistance at knee height when braking. Here, if possible, only clothing.
The top left pocket is great for small items of clothing, towel and toothbrush.
You can also swap out the top pockets. Maybe you like it better if you use the smaller pocket on the right side.
Now you put the sack on the scooter and bring it into the best position for you. The neck strap should then be attached and the loops for the luggage hook should be placed and tightened
If you have luggage loops fitted in the step-through, these are also a good option to keep the bag away from the brake. But it also holds up very well without it.
Now you can do a test round and test the comfort factor and repack if necessary.