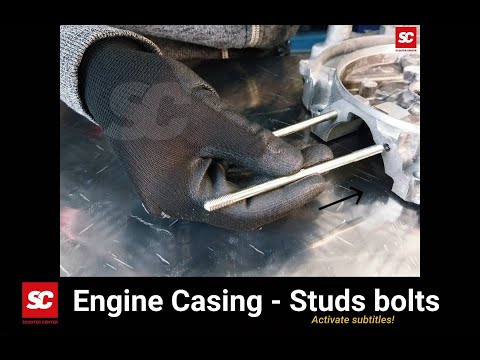
How are stud bolts mounted on a Vespa?
In the context of our project Platonika which we are putting on the wheels together with Maryzabel, we prepare many important steps of the assembly also in videos as tutorial.
Our first tutorial shows the important differences between the different types of studs and the correct mounting.
Frequently asked questions such as
- “Which side is screwed into the engine housing? "Or
- "Will the stud bolt be glued in?"
are answered in this Vespa tutorial.
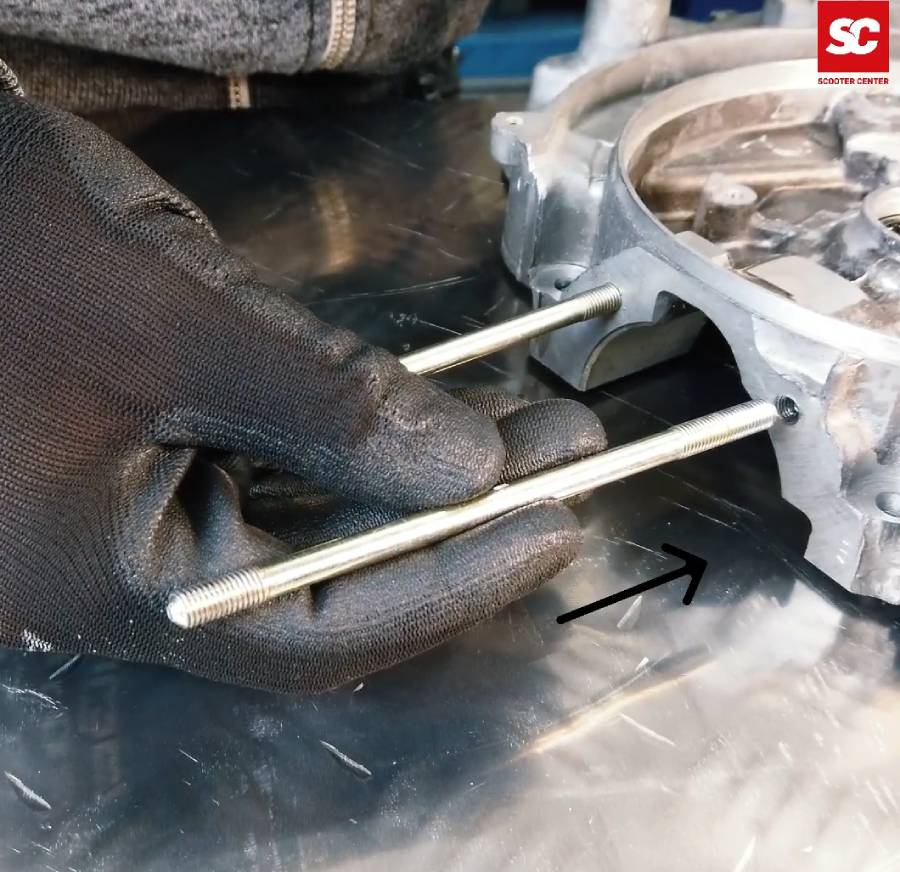
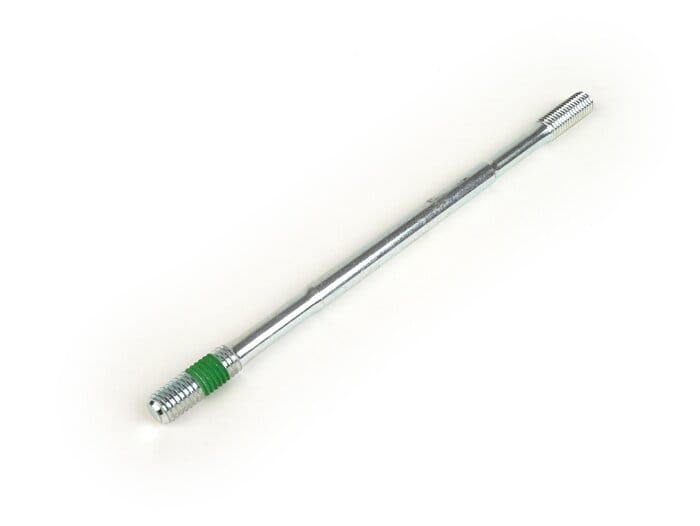
In the Vespa area the threads of the original stud bolts have a “thick” and a “thin” side.
The thread is shorter on the thin side and longer on the thick side.

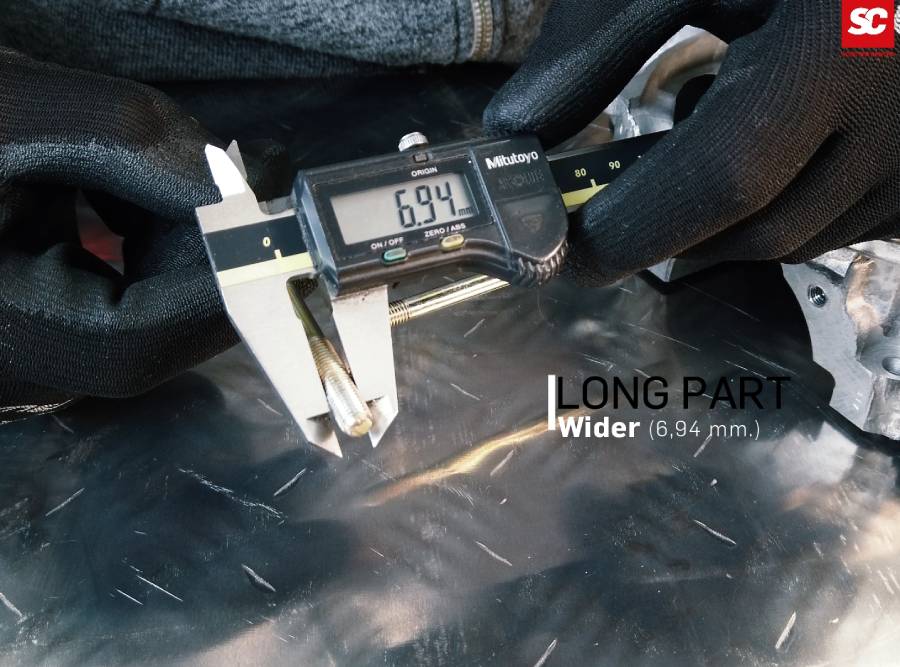
The side with the thicker thread is therefore screwed into the motor housing and, provided the motor housing is intact, it clamps there automatically. The stud bolt is thus secured against self-loosening. The free length that remains above the engine housing is determined by the cylinder and cylinder head.
Different variants
Apart from the different lengths of the threads, there are other features to distinguish them.
Here are the most common ones:
- Rounded end or paragraph
If one of the ends is rounded or distinctly offset by a stud bolt and the other end is flat, the rounded side points towards the cylinder head and the side with the flat end is screwed into the engine housing. Stud bolts with a shoulder also allow easier mounting of the washers and nuts in the cylinder head later on.


-Marking on the shaft
On one side of the stud bolt, a mark in the form of a ring is made below the thread. The marked side points towards the cylinder head and the side without marking is screwed into the engine housing.

-Impact or point marking on the front face
If one end face of the stud is marked, which can be a point, a star or a kind of cross, this is the free side of the stud and the opposite end is screwed into the housing.
Stud bolt -M7 x 59mm- 22-17-20mm

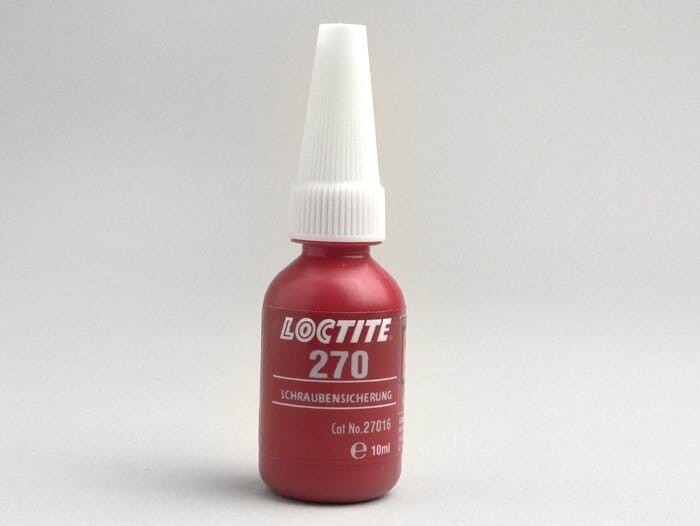
- tight screw lock
Stud bolts with manufacturer-applied screw locking are easily identified by the material. The side with the screw lock, clearly visible in blue, green or red, is screwed into the housing. The free page is blank, without any order of backup.
-Special cases
are for example stud bolts which have a clearly marked side but whose installation side to the motor housing does not have a thicker thread. These studs must be mounted with screw locking.
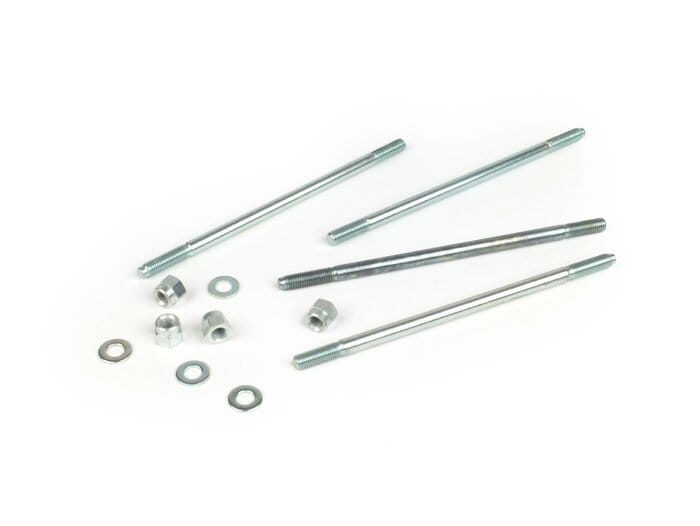
Installation of the stud bolts for Vespa
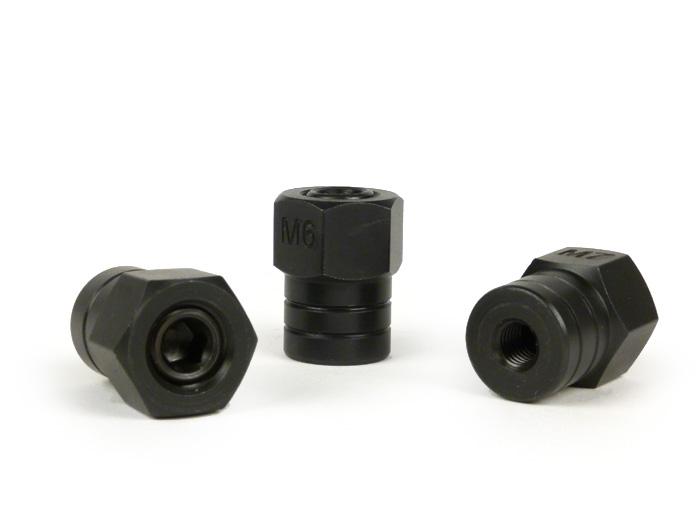
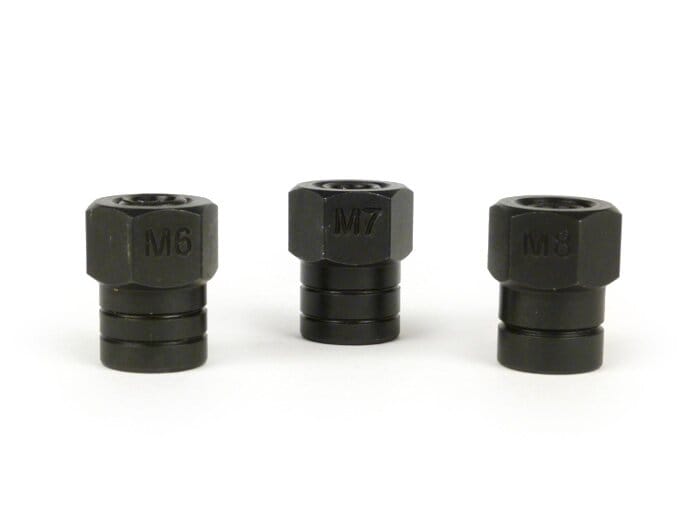
To mount the stud bolts safely, we offer this simple but ingenious stud bolt mounting set. This ensures that the stud bolt is securely fixed when screwed in and cannot simply twist through, as is often the case with two countered nuts.
Stud bolt assembly tool set -BGM PRO- M6 / M7 / M8
Vespa Platonic
Platónika is the name of the scooter. A Vespa PX, which we completely rebuild with new parts from the Scooter Center floor. Of course we use our best BGM parts. Benefit from our know-how, receive many tips and take a look behind the scenes.
Follow the project here on the Scooter Center blog
Watch all the videos on our YouTube channel
https://blog.scooter-center.com/das-herzstueck-vespa-platonika-bgm-177/