How do I measure the pinch edge on the cylinder head?

In our second tutorial we describe how to do one bgm177 cylinder can Pinch edge is measured and adjusted. The process can of course be used for all other cylinders, but the dimensions can vary greatly depending on the manufacturer or the desired application of the cylinder and differ from our dimensions in the video.

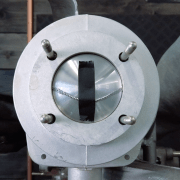
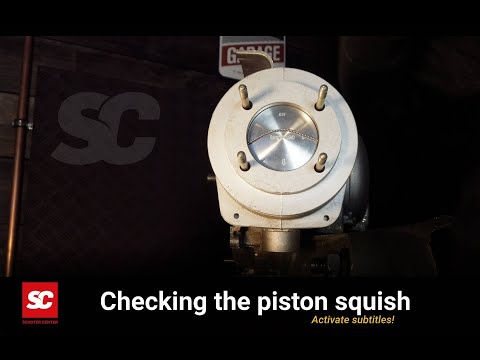
For the heart of Platónika we have that bgm177 cylinder first mounted dry.
This means that the piston is initially mounted without piston rings and only with the upper bearing of the crankshaft. So if the cylinder has to be assembled several times in order to set the correct squeeze dimension, the threading of the piston rings is bypassed until the final assembly.

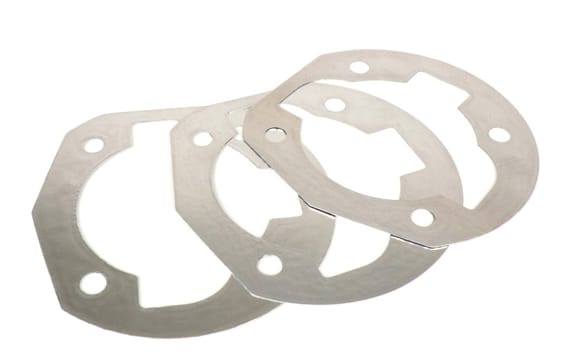
The bgm177 cylinder lie several and with 0,2; 0,4 and 0,6mm different thicknesses Seals for the cylinder base.

The cylinder is mounted without a seal for the cylinder base. We use to map the squeeze dimension soft solder with a diameter of 2mm.

The length of the piece of solder should correspond to the diameter of the hole. A little excess length doesn't do any harm to position the solder appropriately with adhesive tape on the piston, parallel to the piston pin.

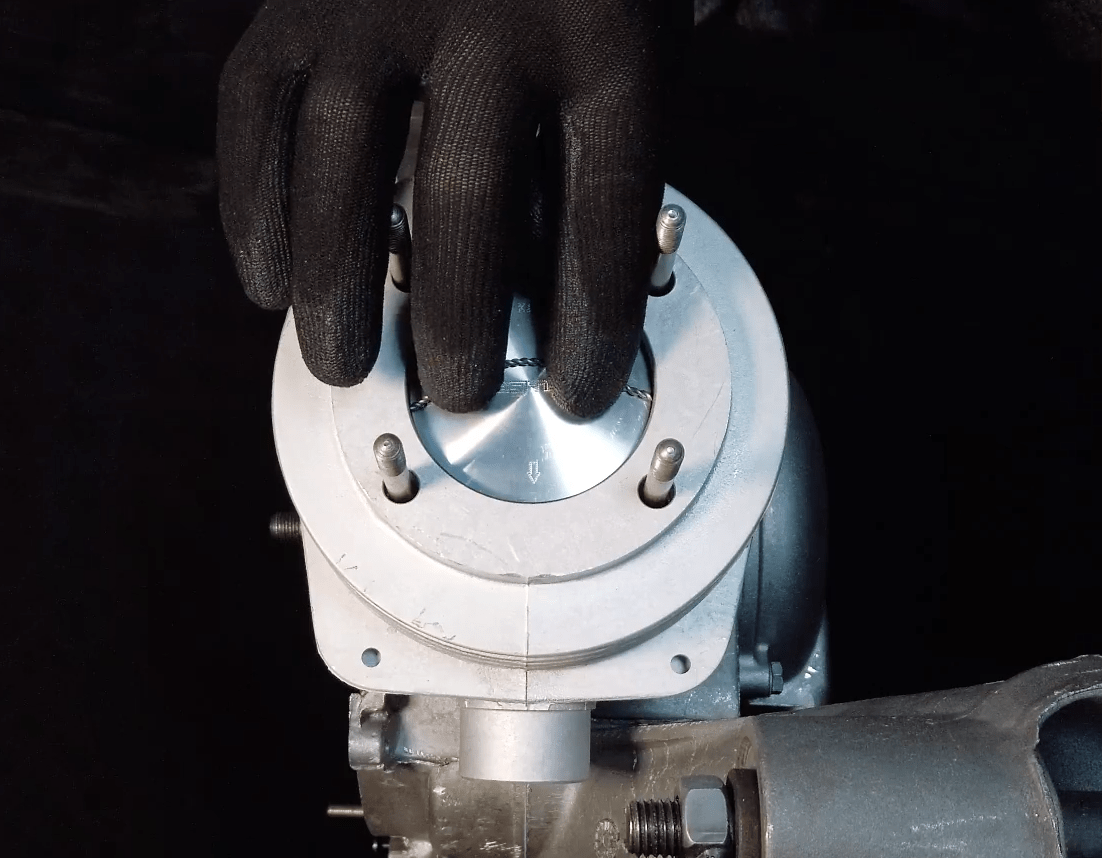
The cylinder head is assembled and fastened together with the gasket. By turning the crankshaft, the piston is turned once above TDC = top dead center. There the solder is squeezed together between the piston crown and the squeeze surface of the cylinder head to the squeeze dimension and thus forms the current crush dimension .
After the cylinder head has been dismantled again, the pinched solder can be easily removed at the ends measured with the vernier caliper become. In our example this results in a dimension of 0,62mm.
The Instructions from ours bgm177 cylinder gives us a recommendation Crush dimension of 1mm.

How do I change the crush dimension?

In order to get from 0,62mm to 1mm with the existing squeeze dimension, a cylinder base gasket of 0,4mm must be added; in order to arrive at the desired dimension of 1mm purely mathematically.


Scooter Center Tutorial Vespa PX - Checking the piston squish (Activate subtitles)


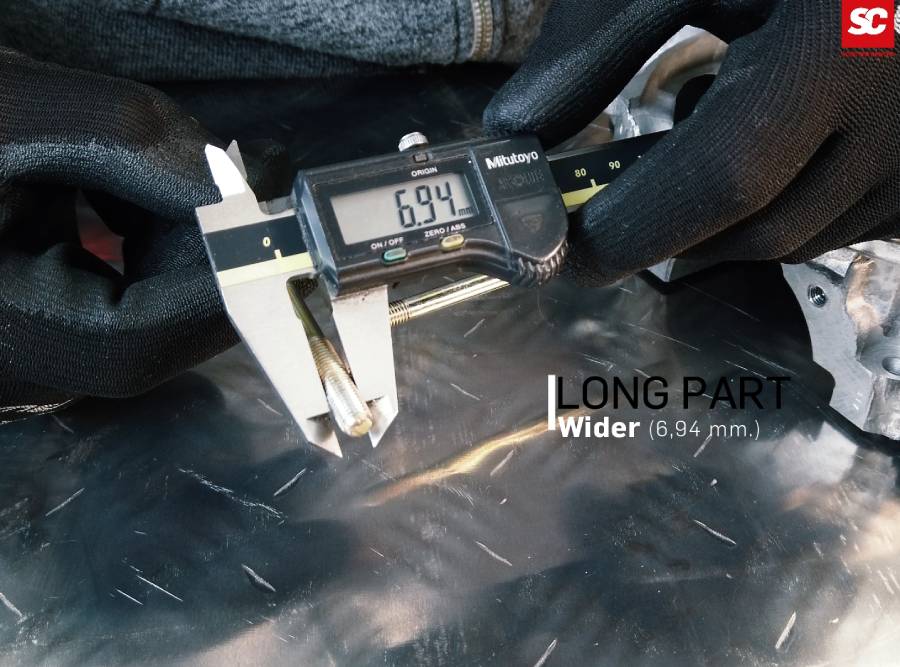
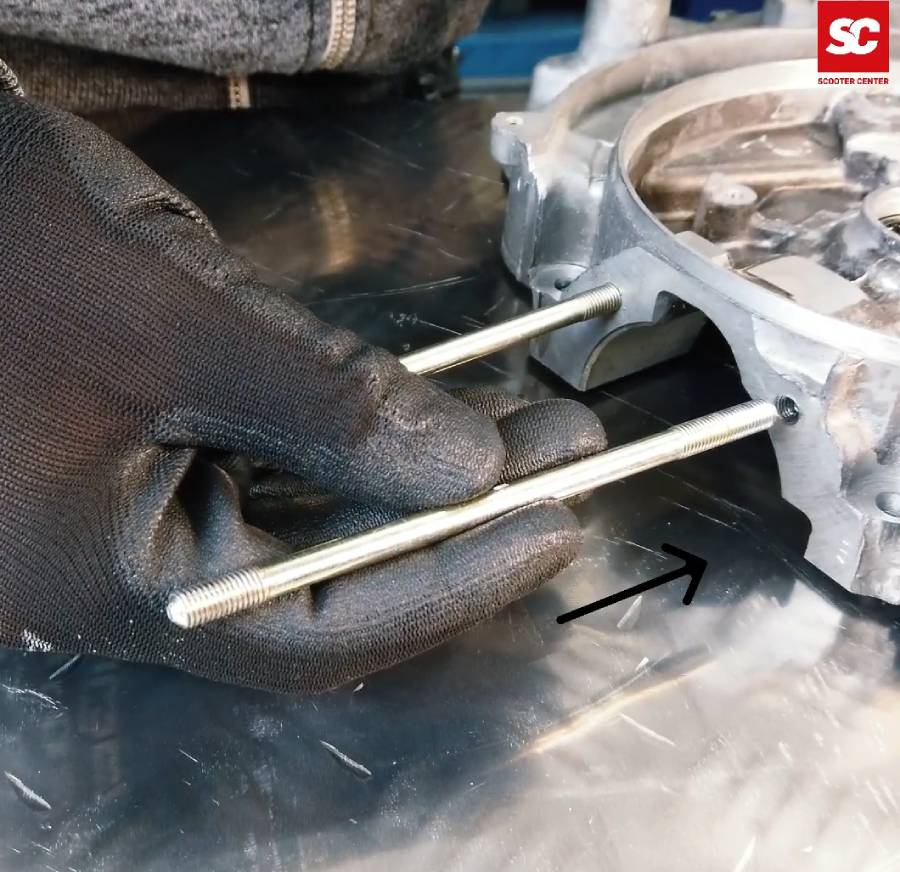
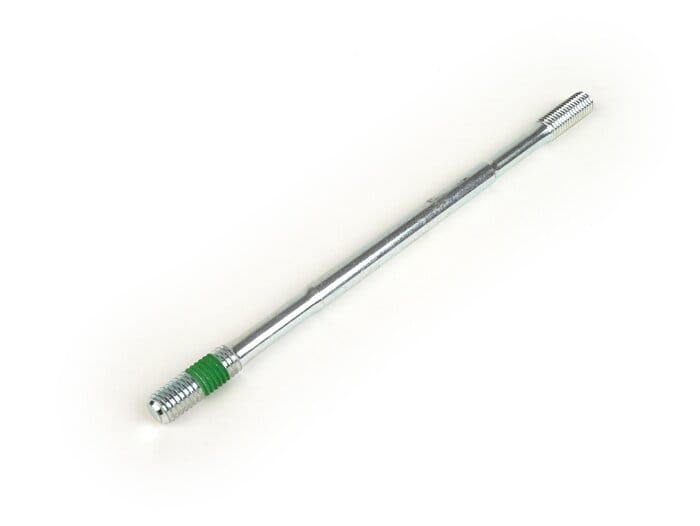
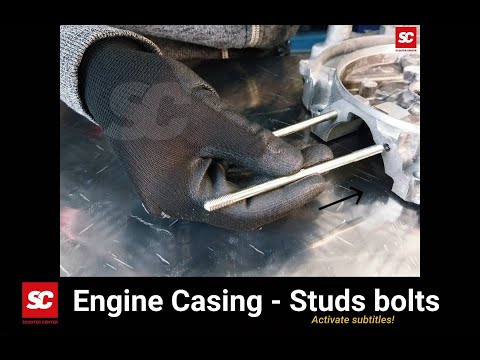
https://blog.scooter-center.com/tutorial-stehbolzen-vespa-px/


How are stud bolts installed on a Vespa?

As part of our Platonika project, which we are putting on the wheels together with Maryzabel, we are also preparing many important assembly steps in videos as tutorials.
Our first tutorial shows the important differences between the different types of studs and the correct assembly.
Common questions such as

  • "Which side is screwed into the motor housing?" or
  • “Will the stud bolt be glued in?”

will be in this Vespa tutorial answered.

In the Vespa range, the threads of the original stud bolts have a "thick" and a "thin" side.
The thread is shorter on the thin side and longer on the thick side.

The side with the thicker thread is screwed into the motor housing and clamps there automatically, provided the motor housing is intact. The stud bolt is thus secured against self-loosening. The free length that remains above the engine housing is determined by the cylinder and cylinder head.

Different variations

In addition to the different lengths of the thread, there are other features to distinguish them.
Here are the most common:

- Rounded end or paragraph

If one of the ends is rounded or clearly set off by a stud bolt and the other end is flat, the rounded side points towards the cylinder head and the side with the flat end is screwed into the engine housing. Stud bolts with a shoulder also make it easier to assemble the washers and nuts in the cylinder head later.

Stud set -M7 x 140mm

-Marking on the shaft 

On one side of the stud bolt, a marking in the form of a ring is attached below the thread. The marked side points towards the cylinder head and the side without a mark is screwed into the engine housing.

Studs -M8 x 160mm

-Blow or point marking on the face 

If an end face of the stud bolt is marked, which can be a point, a star or a kind of cross, this is the free side of the stud bolt and the opposite end is screwed into the housing.

Stud -M7 x 59mm- 22-17-20mm

- solid screw lock

Stud bolts with screw locking applied by the manufacturer are easy to recognize by the material. The side with the screw locking device, which is clearly visible in the color blue, green or red, is screwed into the housing. The free side is blank, without any application of security.

Studs -M8 x 165mm

-Special cases

are, for example, stud bolts that have a clearly marked side but whose installation side to the motor housing does not have a thicker thread. These stud bolts are to be mounted with screw locking.

Stud set -M7 x 158mm

Installation of the stud bolts on Vespa engines

In order to mount the stud bolts securely, we offer this simple but ingenious one Stud mounting set on. As a result, the stud bolt is securely fixed when it is screwed in and cannot simply twist, as is often the case with two locked nuts.

Stud assembly tool set -BGM PRO- M6 / M7 / M8


SC Tutorial Engine Casing Studs bolts (activate subtitles)

Vespa Platonic

Platónika is the name of the scooter. A Vespa PX that we use with new parts from the Scooter Center Create a completely new warehouse. Of course we use our best BGM parts. Benefit from our know-how, get lots of tips and take a look behind the scenes.
Follow the project here in Scooter Centerblog

Watch all the videos in our YouTube channel


https://blog.scooter-center.com/das-herzstueck-vespa-platonika-bgm-177/

Vespa tutorial video

Instructions and tutorial videos for your Vespa PX

In the next week we start with ours Vespa tutorial videos, a series from the Vespa Platónika bgm177 project from Scooter Center.

  • How do I install a Vespa cylinder?
  • How do I measure the pinch gap cylinder / piston / cylinder head?
  • How is a carburetor assembled?
  • Tips for cylinder studs on a Vespa!
  • How is a Vespa clutch fitted?
  • How do I install a new gearbox in my Vespa PX?
  • ...
New Vespa PX tutorials by Scooter Center inspired by the Platónika's project

Vespa Platonika (Platonika)

Platónika is the name of the scooter. A Vespa PX that we use with new parts from the Scooter Center Create a completely new warehouse. Of course we use our best BGM parts. Benefit from our know-how, get lots of tips and take a look behind the scenes.
Follow the project here in Scooter Centerblog:

https://blog.scooter-center.com/category/sc-shop-demonstrator/platonika/

https://www.youtube.com/watch?v=qRbF3LEss

Would you like to know which parts are built into the Vespa Platónika?


1 The Wishlist - Project PLATÓNIKA Vespa px bgm 177

Only the best of the best, i.e. a multitude of specially developed products from the bgm brand. It would not have been easy for me to pick the best products, but luckily the technical department of the Scooter Centers actively supported here and created a never-ending list in painstaking detailed work in just a few hours.

The whole thing would have cost me months, because this is not just about him Cylinder -BGM PRO 177 cc, can BGM Pro SportTouring bench or the Shock absorber -BGM PRO SC F1 SPORTbut really ALL parts, from the washer to the Chassis complete LML Star. Thanks to the wish list function of the Online Shops you can now see all parts that are built into the Platónika:

Platónika wish list

Tip: Create wishlists and share them with your friends so that they can choose gifts to give you for Christmas this year.