Project Racer - Tuesday 14.02.2012/XNUMX/XNUMX
We cleverly ground in the cones before installing the auxiliary shaft and crankshaft.
So today we can simply install the clutch and the ignition.
Let's start with the clutch.
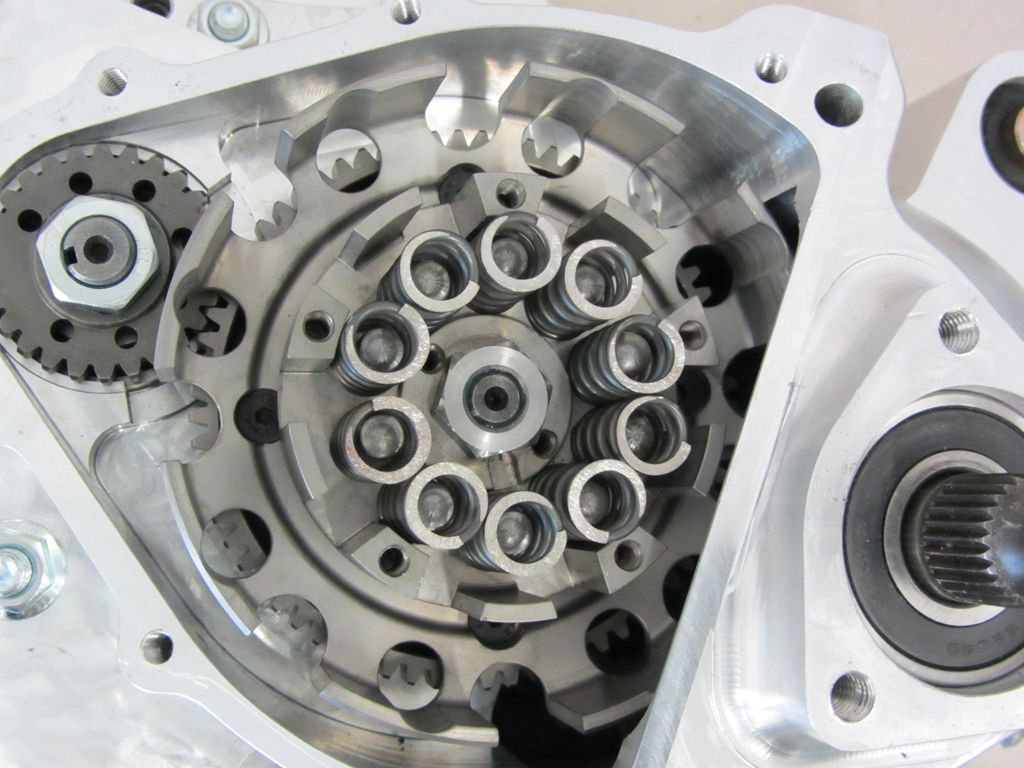
We installed the springs directly with the primary gear, so it is now the turn of the large, outer clutch basket.
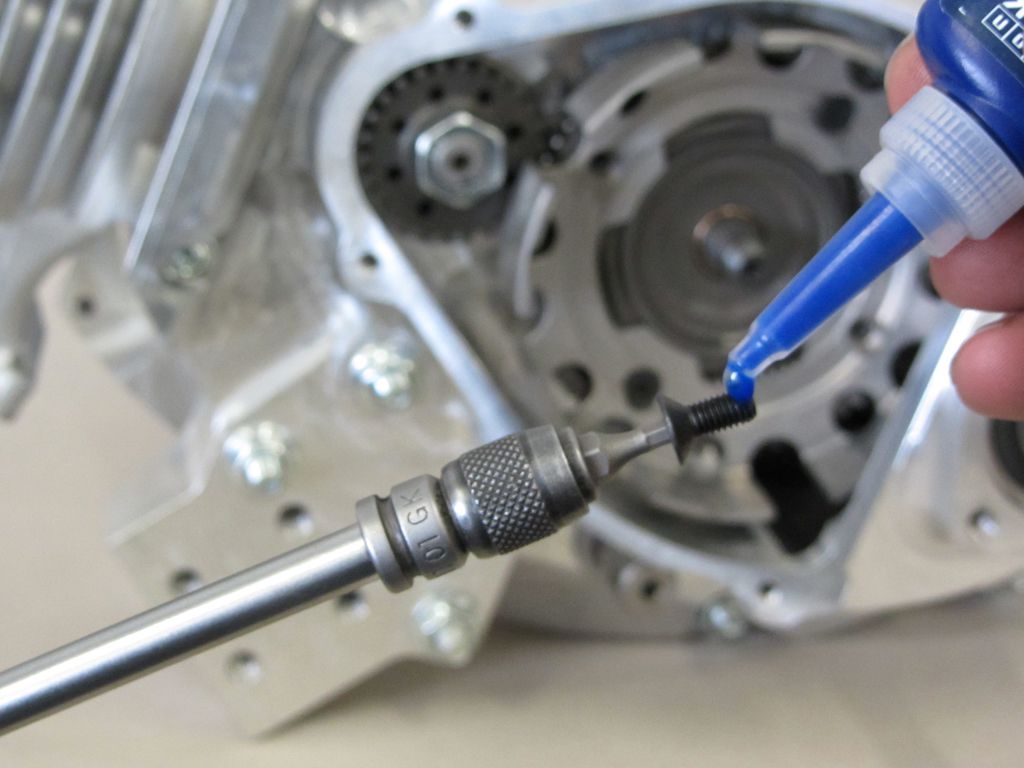
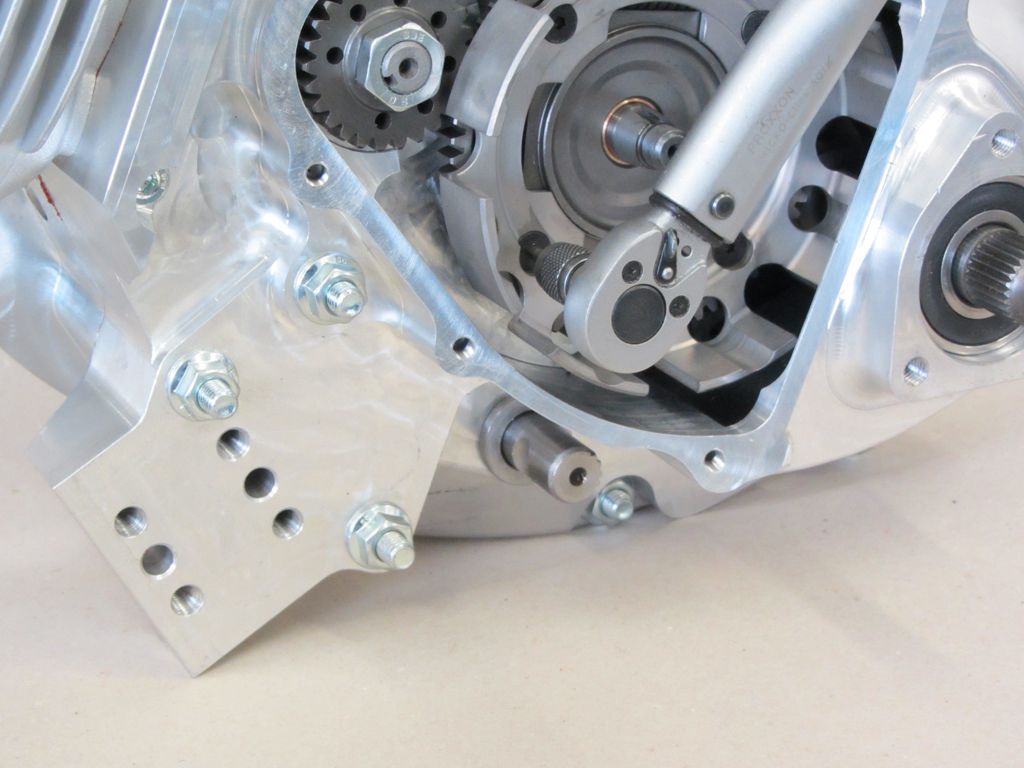
The screws are fastened crosswise with screw locking and 6-7Nm.
It is important that when the screws are tightened, the primary springs jump correctly into the pockets of the basket and do not get jammed.
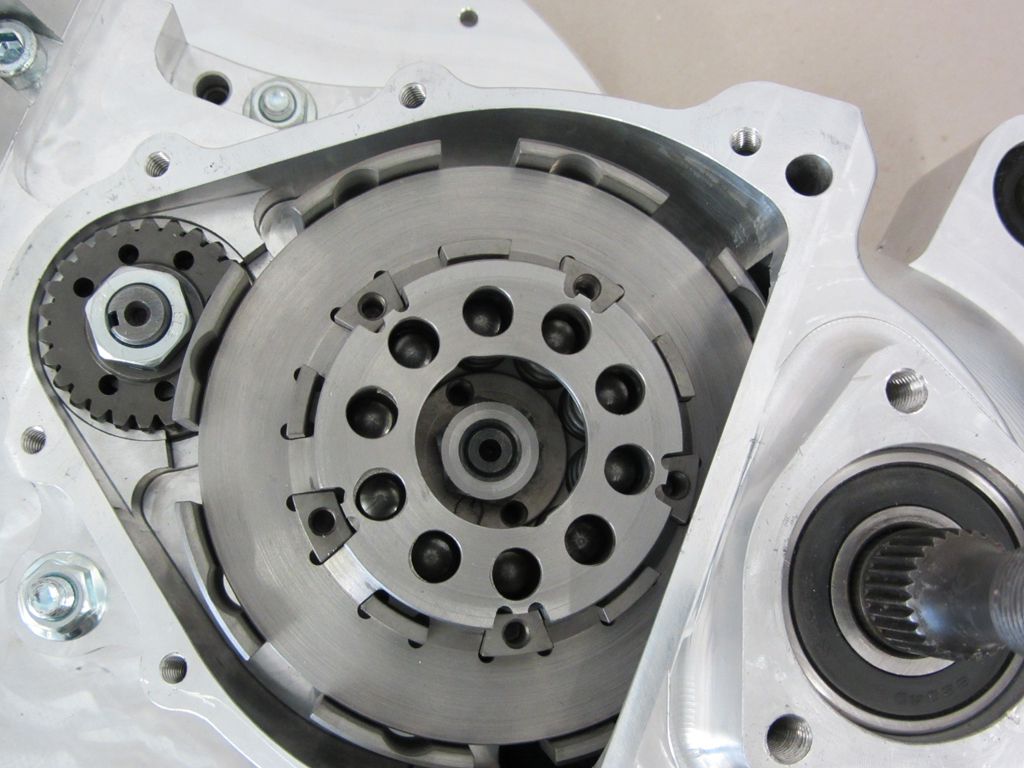
The next step is to mount the small inner basket, also known as the coupling spider.
Since the beginning of the year, DRT has been delivering the auxiliary shafts with a stronger thread (M11x1).
A real improvement in terms of thread durability, of course. Due to the larger diameter, the auxiliary shaft or coupling nut can be tightened with the necessary torque and the flatter thread pitch increases the self-locking of the nut against automatic loosening.
But you should take a closer look during assembly….
Right! In the worst case, two edges of the nut cover the thread for the assembly aid of the coupling. Not really that bad, considering the tightening torque, the nut can still be turned a little further. Just stupid if, before something like this is noticed, you have already sorted all the springs, base plate and discs and then have to get the whole circus out again ...
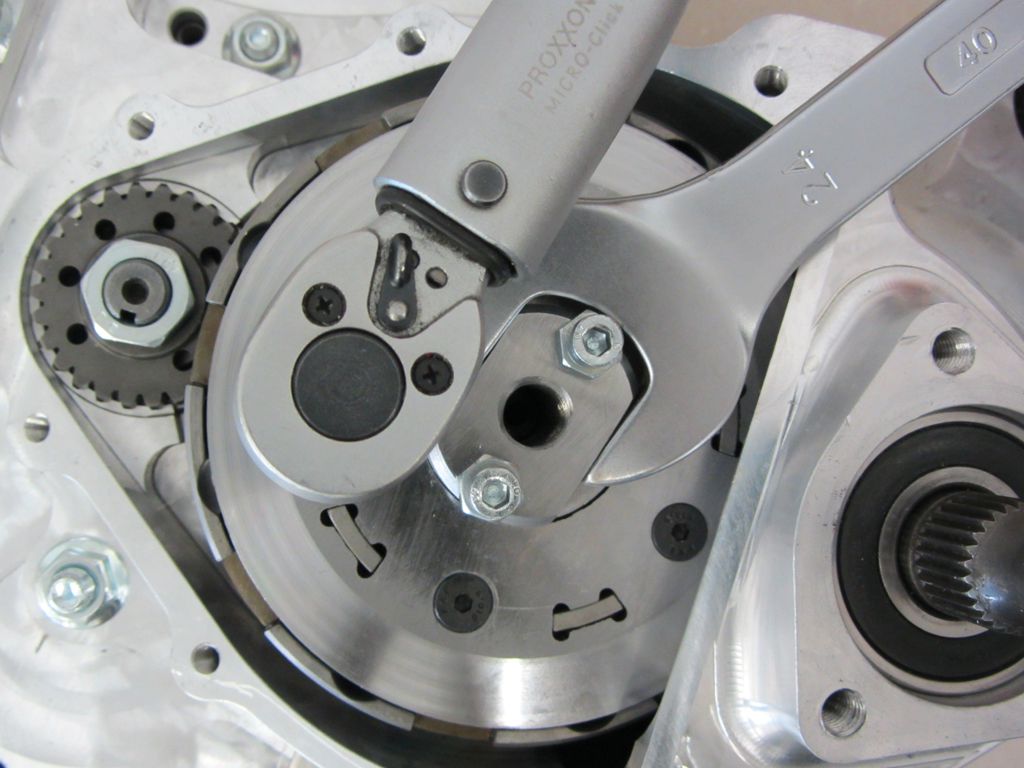
So we re-adjust the coupling nut with 75Nm so that the threads are freely accessible.
After the inner basket is attached, the primary gear has to be attached to the crankshaft.
For engines that are used in racing and have a little more power, the primary wheel should be attached with approx. 60Nm.
It is less advisable to fix the primary wheel by blocking the large clutch basket, as the torque acting is correspondingly multiplied by the primary transmission. This means that if the nut for the small primary gear is tightened to 60Nm, a torque of 3.00Nm (!) Is obtained with a reduction of, for example, 180 on the clutch basket.
Everyone can imagine that it is no fun when a clutch basket blocked by hand with a screwdriver slips off. A holder on the threads for the clutch cover is also not a good idea, the high torque would almost certainly damage the slender M6 threads in the aluminum of the housing.
What do you do then?
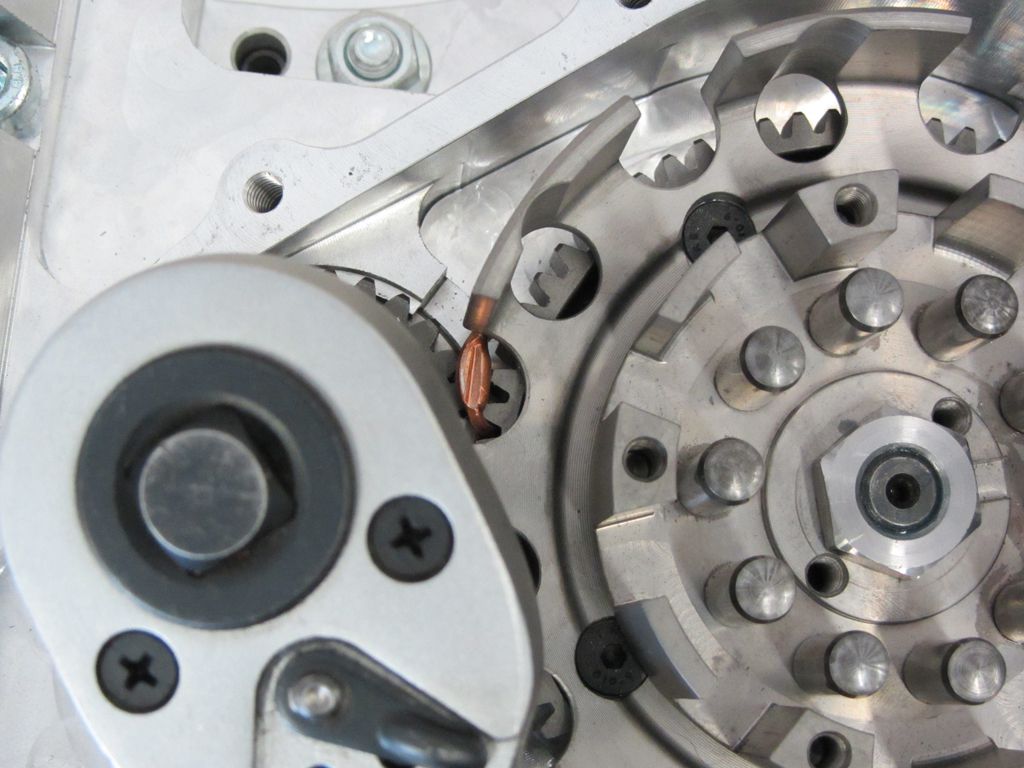
A piece of soft metal, copper or simply a 1-cent piece placed between the gears of the primary drive as a blockage enables reliable tightening.
Hard metals, screwdrivers, nuts, etc. could seriously damage the tooth flanks.
The 1-cent piece must of course be removed again. We remember scenes of drivers who had to open the engine again on the racetrack because the little helper in the gearbox was forgotten ... :-)
Is everything stuck?
Then the feathers can be sorted….
... and the base plate can be put on.
With the assembly aid, the springs are pretensioned to such an extent that the friction and drive disks can be used.
It is also sufficient to put a little oil on the pads during assembly.
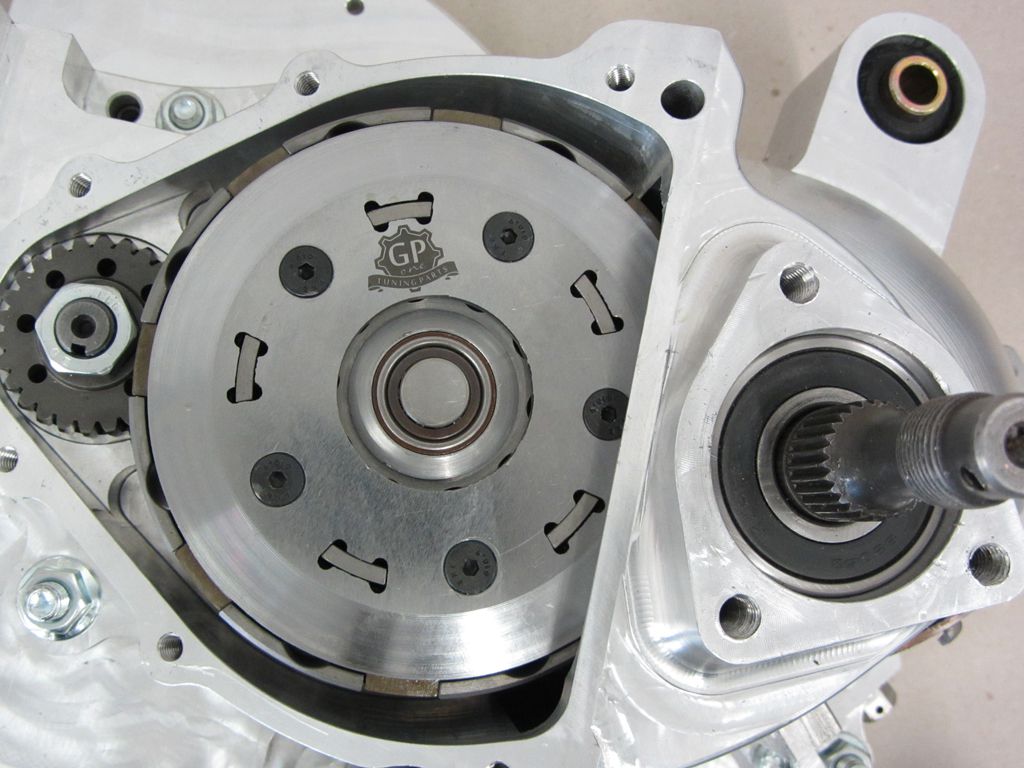
The cover panel can then be fitted.
When the cover plate is firmly in place, the assembly aid is removed.
Now all that's left to do is release bearing in his seat and ...
... are inserted into the base plate,
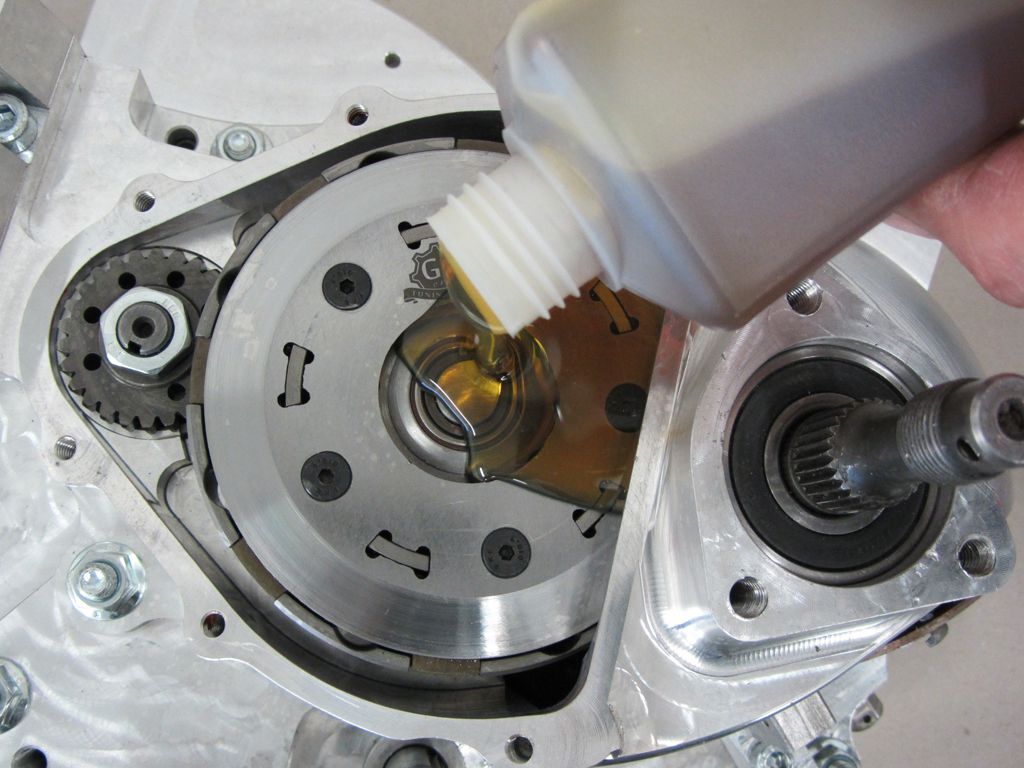
Then we fill directly through the "big hole" Olive oil a. Usually 400 - 500ml for high-revving engines. With engines left in their original state, the usual filling quantity of 250ml is sufficient.
then the lid comes on.
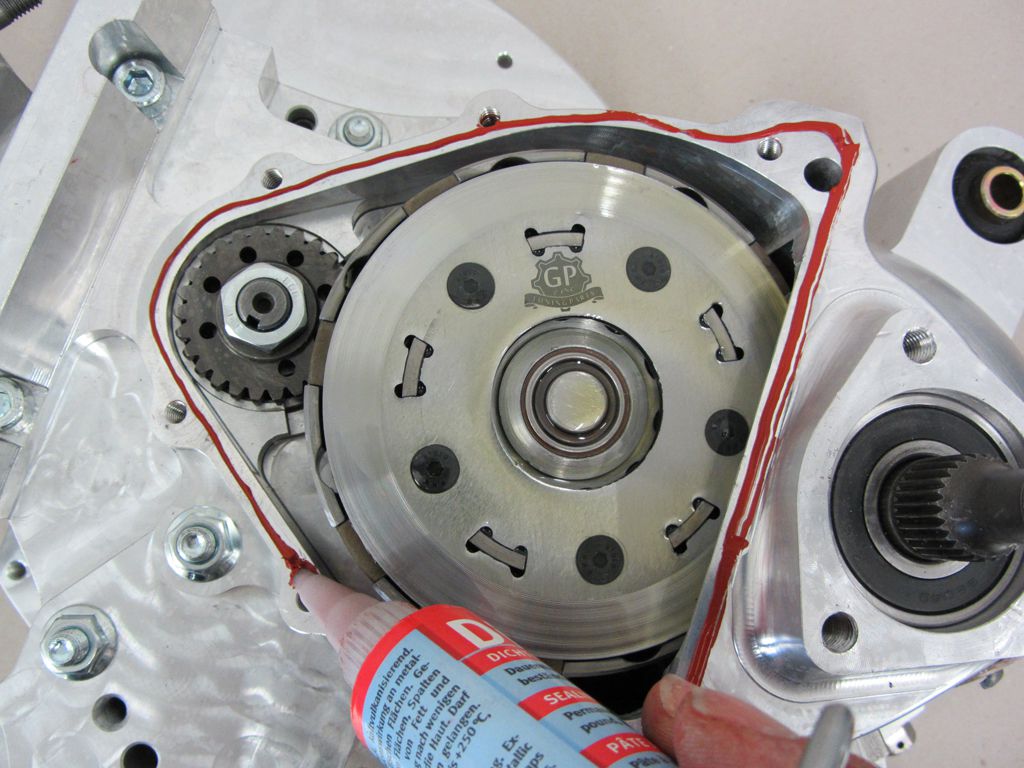
With the massive design of the housing and clutch cover, you don't need any Solid seal more. After we have checked the freedom of movement, we put the lid with it Sealant .
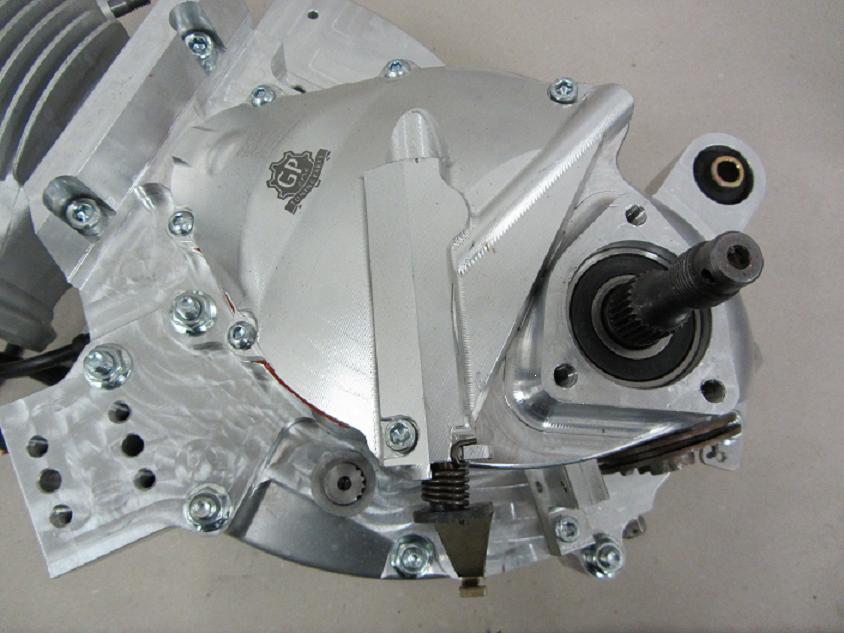
Cover closed ...
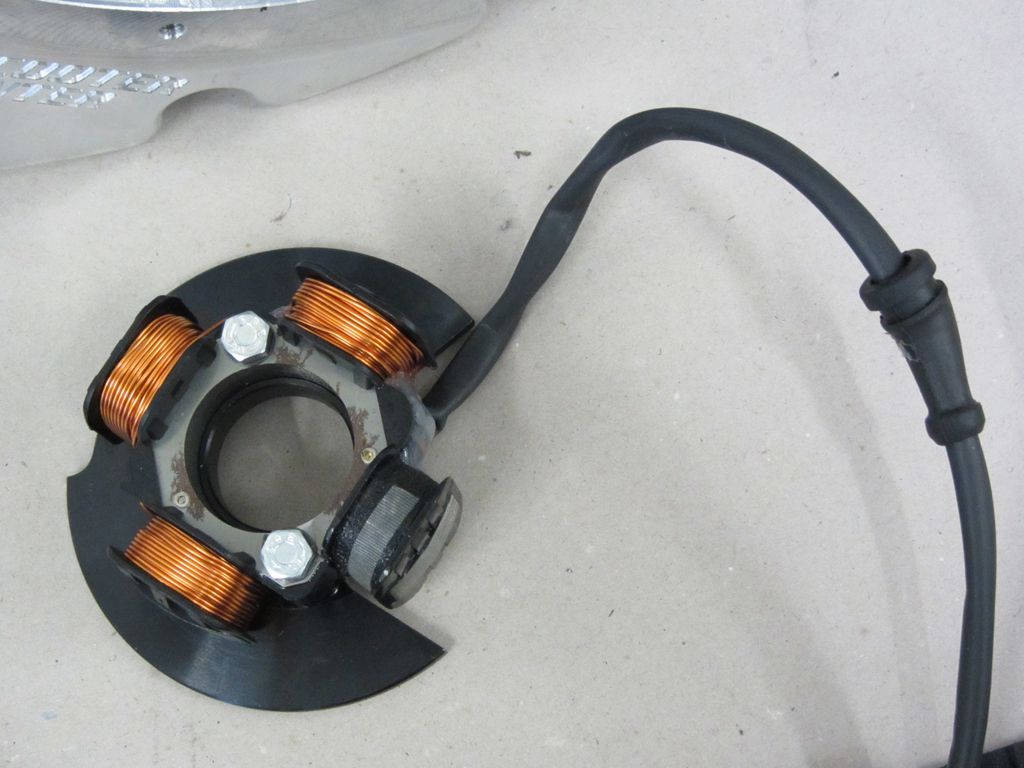
Something quick about the ignition ...
The cable branch of the Vespatronic will be another Grommet so that the cables cannot chafe against an edge.
There will be more about ignition tomorrow ...
So - take a look again.







Leave a Reply
Want to join the discussion?Feel free to Contribute!