Posts

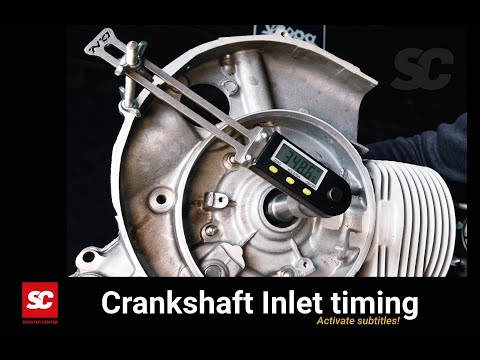
A continuación mostramos el correcto montaje de los neumaticos, como ejemplo usaremos el Neumatico bgm Classic

1. Disminucion of the friction

La cámara interna está expuesta a la fricción al rodar el neumático, por lo que tiene sentido reducir this fricción con Talc. Esto reduce su desgaste.

It distributes a pequeña cantidad de talco dentro del neumático y la recámara se infla un poco, espolvoreándola también un poco.

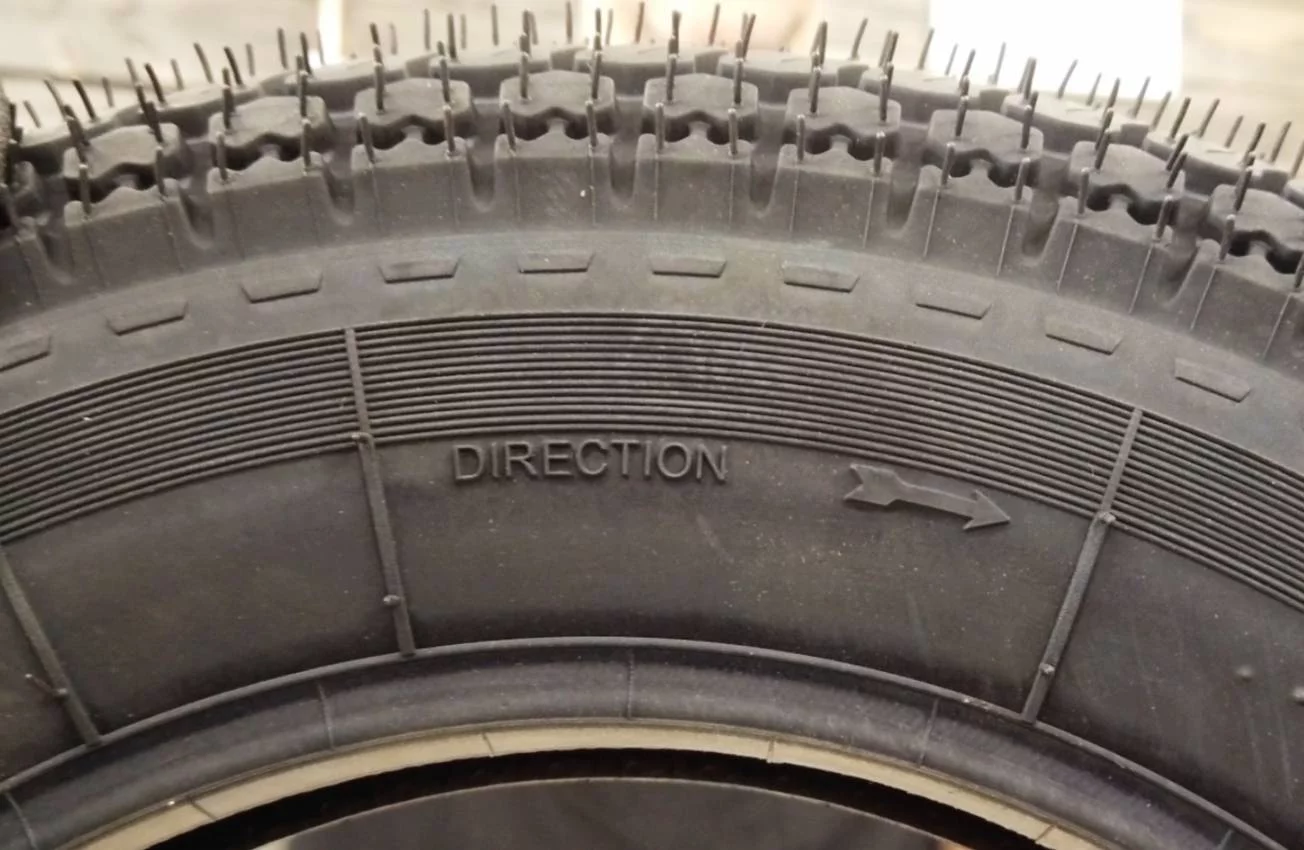
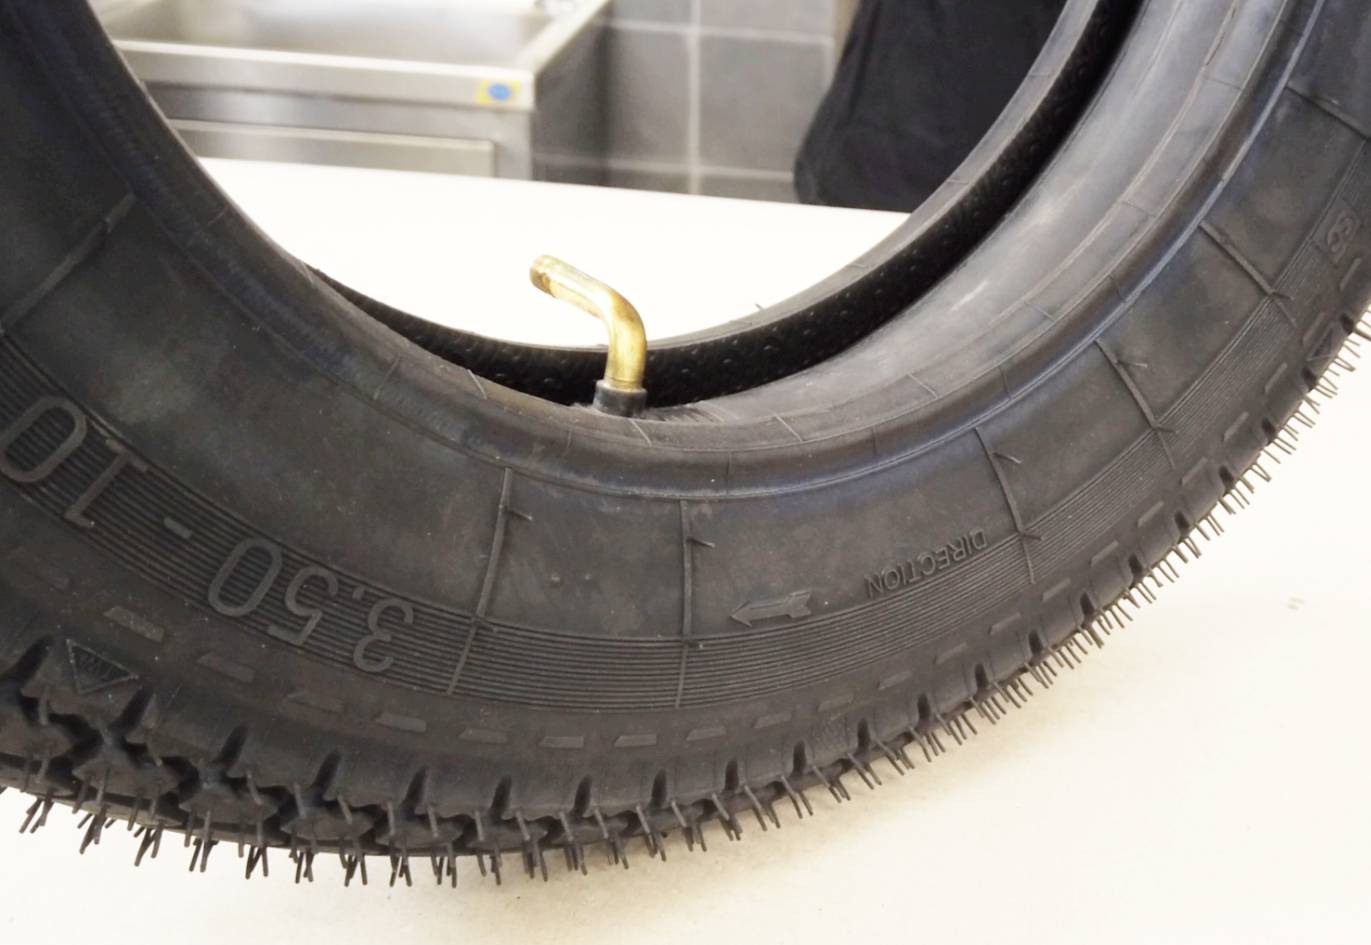
2. Compare the direction

Antes del montaje de la cámara compruebe si el neumático tiene una dirección de rotación especificada por el fabricante. En nuestros Neumaticos bgm Classic It must be with a flecha that apunta the direction of rodamiento cuando se conduce.

Luego se inserta la camera para que coincida con lado de rotación del neumático, de modo que la válvula típica de Vespa apunte hacia el lado izquierdo en la dorección de desplazamiento.
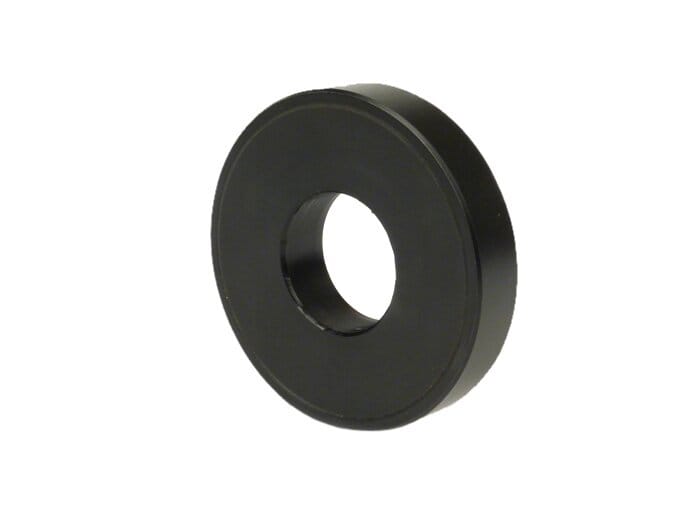
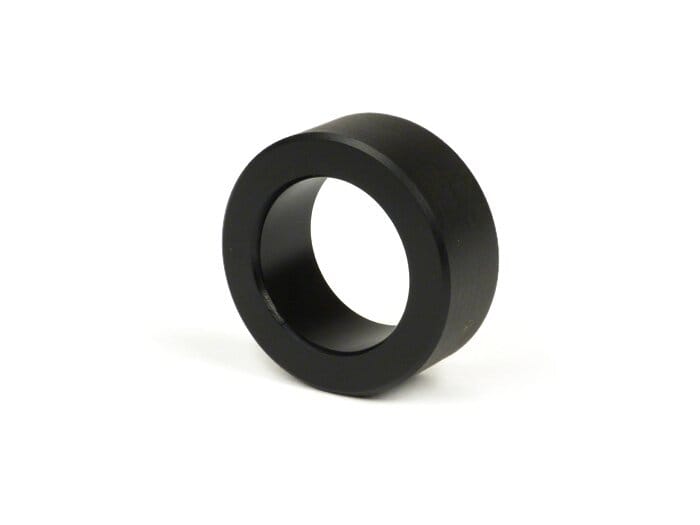
3. Assembly

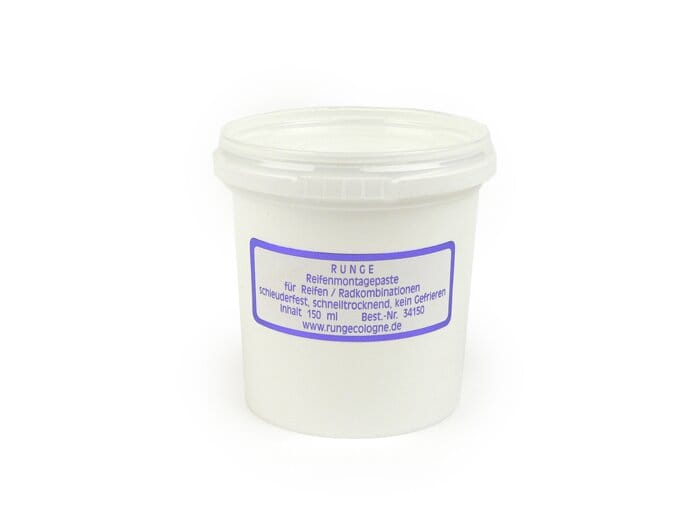
Para el montaje de los neumáticos en los rines / llantas, la Pasta de Montaje será de gran ayuda. Esto permite que el neumático se desplace sobre la llanta / rin, logrando que atornillar las dos piezas sea mucho más fácil

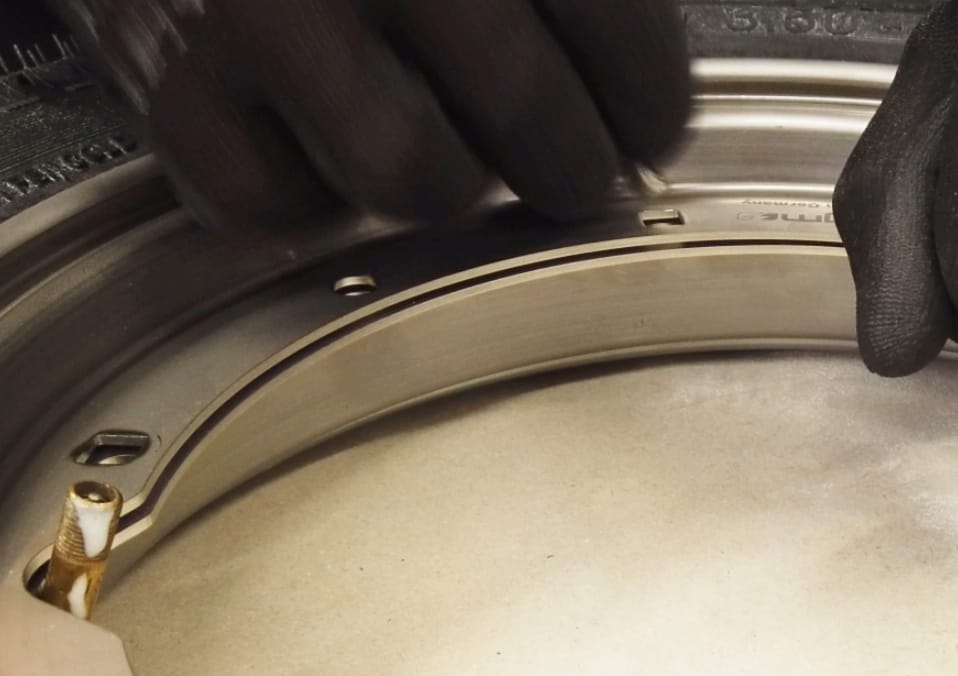
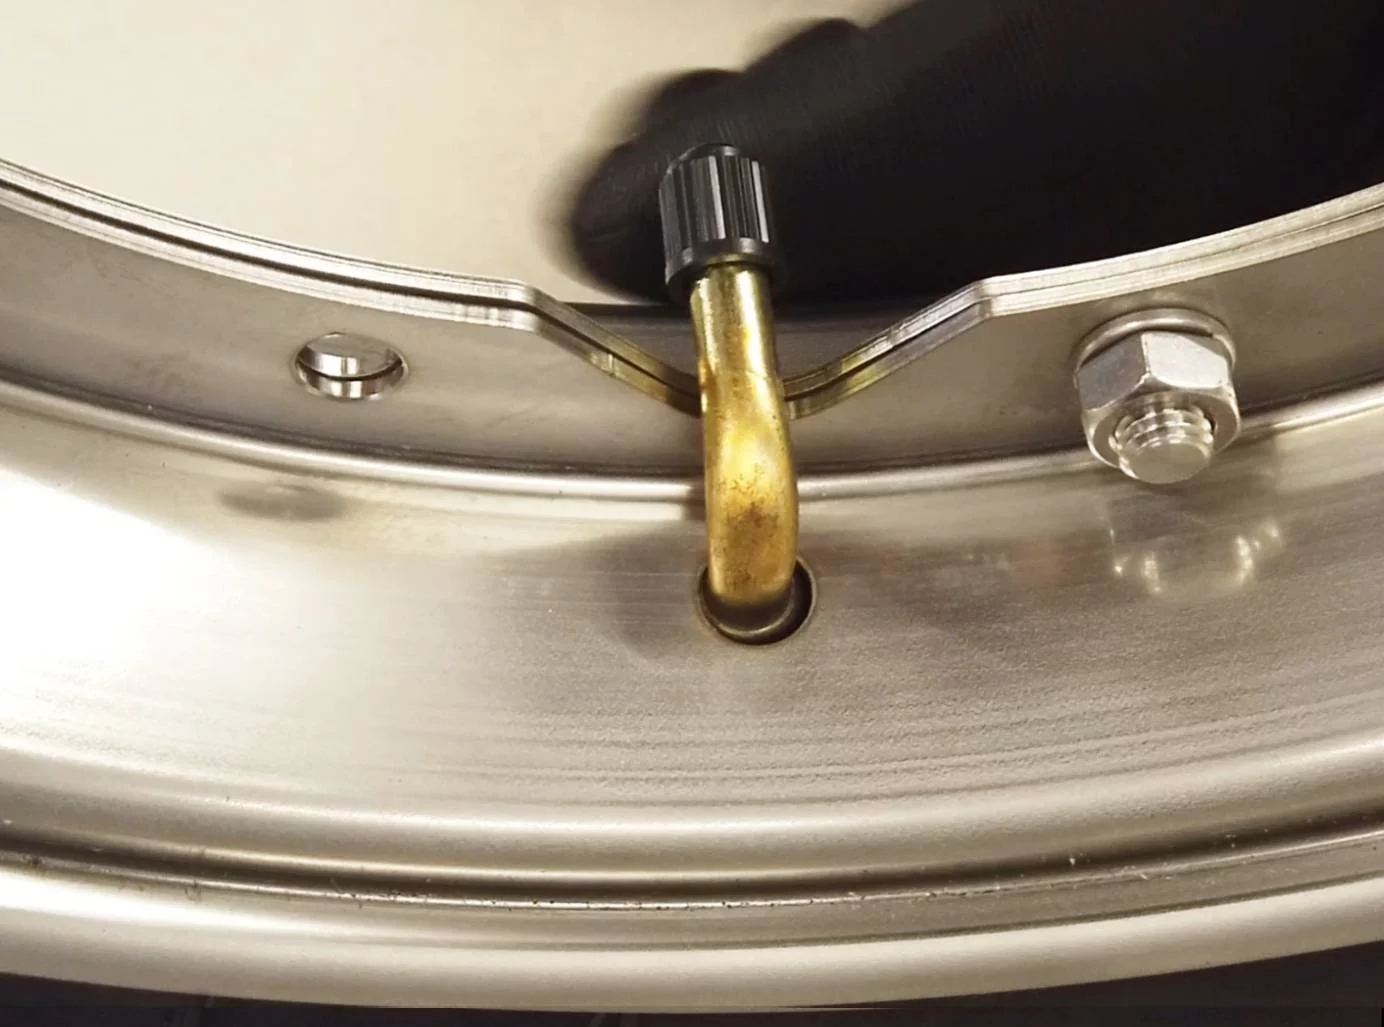
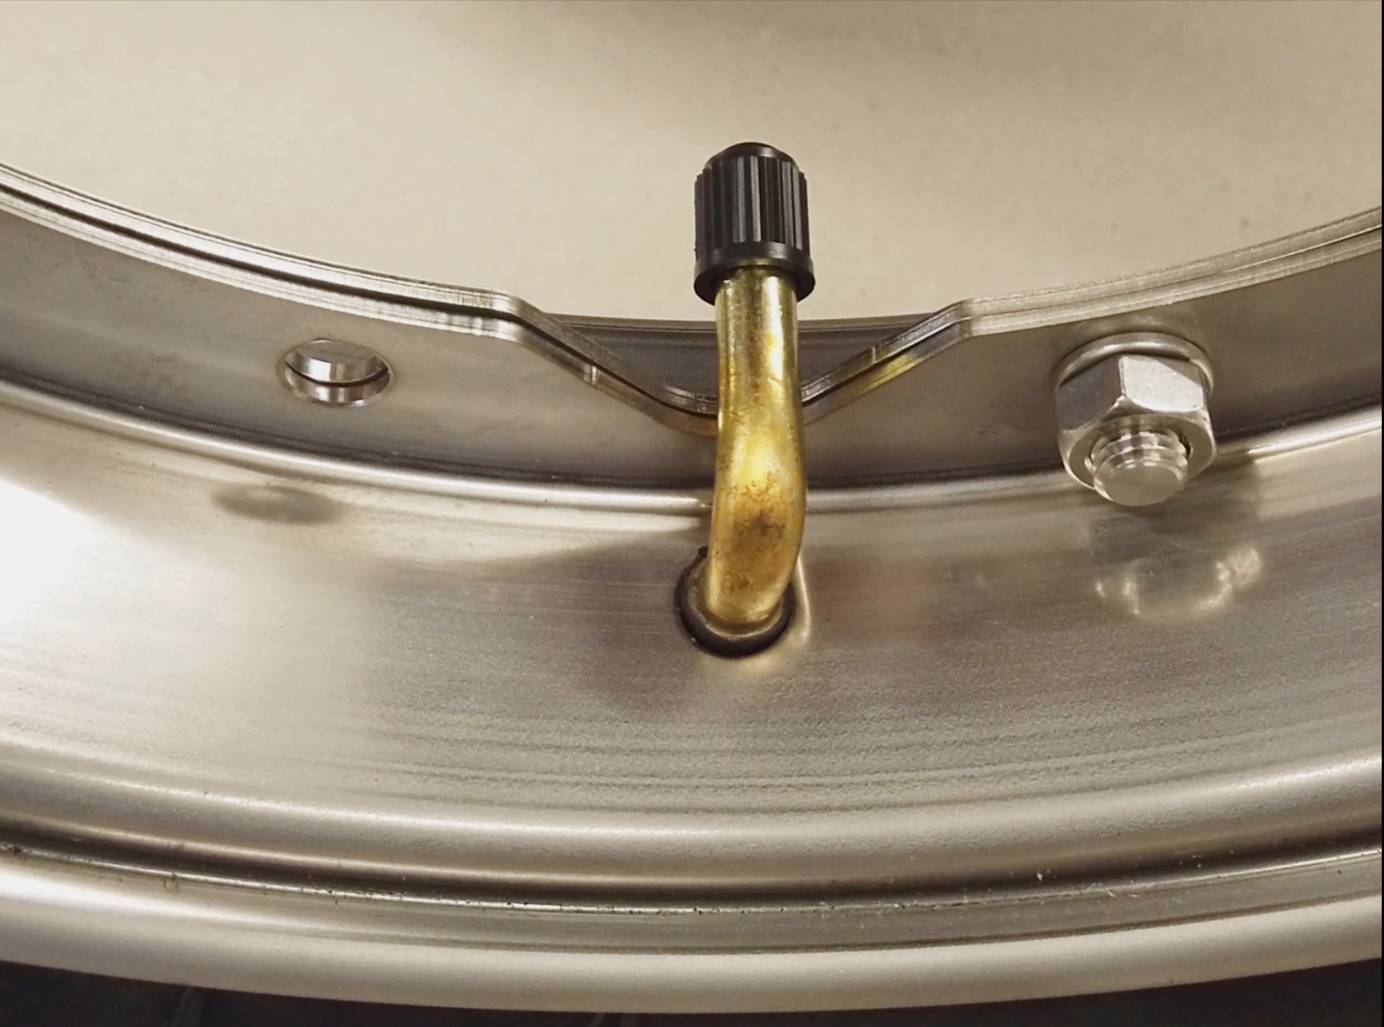
Primero se inserta la válvula a través de la mitad de la llanta / rin ancho y luego se empuja dentro del neumático. La mitad del delgada, también tiene un espacio libre a través del cual se puede acceder a la válvula, al insertarla, asegúrese de que el espacio libre para la válvula sea congruente con el de la mitad ancha ..

Our Llanta / rin bgm tienen pernos intercambiables, los cuadrados seran los que le indicaran donde atornillar, evitando la rotación del tornillo.

Las 5 tuercas de la llanta / rin se atornillan en cruz con un torque de 16-18 Nm. Al fijar, asegurese de que la Camera no question of atrapada between the mitades del border.

Finalmente infle el neumático a 2 bar y verifique que el neumático y la válvula estén correctamente asentados en la llanta / rin.

and ready!


Tutorial How to assemble the bgm CLASSIC tires for Vespa


Music: Rene Winkler from SC / NXT Level Amount: First one dub 4


https://blog.scooter-center.com/neue-10-zoll-rollerreifen-von-bgm-reifen-sport-bis-180km-h-classic-bis-150km-h-made-in-germany/

Our video and blog today is about measuring the inlet angle, also known as the inlet timing.
The inlet angle should move in a certain range which is given in degrees crankshaft. As a fixed point, the measurements always start from the top dead center, or TDC for short.
The inlet area is therefore divided into the values ​​“before TDC” and “after TDC”, since the inlet is opened before top dead center and closed after passing through top dead center.

For a Vespa engine with rotary valve control, the values ​​of approx. 100 ° before OT and 65 ° after OT have resulted for a good touring concept.
For very performance-oriented concepts that sometimes have to operate at a higher speed, the values ​​can also be significantly higher. 120 ° from OT and up to 75 ° after OT can be found here. The inlet angles must always be selected to match the desired concept. Here the principle applies in favor of a simple tunability of the carburetor and a homogeneous power development to make the inlet area as large as necessary and as small as possible in order to achieve the desired values.
The two-stroke heart of Platonika should be a powerful aggregate and therefore the inlet should be in the range from 100 ° BCE to 65 ° BCE.

In order to determine the angle of incidence exactly, some tools and materials are required.
• Motor housing
crankshaft
• cylinder and piston
• Bearing dummies

BGM PRO- 613912 (25x62x12mm)                                                       BGM PRO-NBI 253815 (25x38x15mm)

• Dial indicator with holder

Degree disc or similar measuring device

Bearing dummies

Since it is very likely that the inlet area in the motor housing will have to be machined in order to achieve the desired angle, the use of so-called bearing dummies is advisable.
With these dummies, the crankshaft can be removed from the engine housing for machining any number of times without the bearing seats of the crankshaft or engine housing being stressed each time and already experiencing wear before commissioning.

The bearing dummies are available for every size of the bearings commonly used in the Vespa and Lambretta range.
The first step is to insert the bearing dummies into the motor housing. Then the crankshaft is simply inserted into the bearing dummies and the motor housing is screwed into the stator housing using the stud bolts.

Trade Shows

In order to determine the TDC, the cylinder and the piston are required. The piston is pushed into the cylinder without rings so that the work goes smoothly. The dial gauge is screwed onto the cylinder with the holder and the TDC of the crankshaft can be determined.
The alternator side of the crankshaft is provided with a degree wheel or a digital protractor. Various options are available here. The easiest to use are digital measuring tools such as the Buzz Wangle indicator, which does not require a reference point to the engine housing.
If the crankshaft is in TDC, the degree disc, whether digital or analog, is set to "0" and then the crankshaft is rotated to start and close the inlet. The value read on the gauge then shows when the inlet is open or closed.

Increase the admission time

In order to bring the inlet to the desired level, the crankshaft is moved to the desired value and the position of the crank web is marked on the engine housing.
If this has happened for the value before and after TDC, the engine housing can be opened again and, thanks to the position dummies, the crankshaft can easily be removed again.
Care should be taken when working in the inlet area. The surfaces that seal the rotary valve must not be less than approx. 1mm overlap with the crankshaft on the sides.

Once the inlet has been machined to match the markings set and the crankcase has been cleaned of machining residues, the crankshaft is reinserted for inspection.
The measuring device is then used to check once again whether the desired control angle has been achieved or whether reworking is necessary.

Scooter Center Tutorial - Setting the Inlet Timing Vespa PX