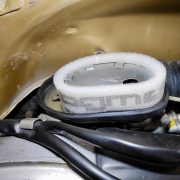
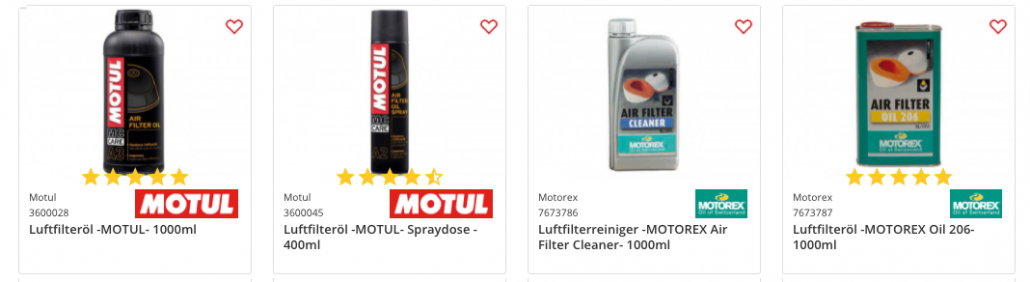
Many models of Motovespa Largeframe tien instalados los mismos filtros de aire. A menudo, this importante pieza para la protección del motor falta o this en un estado no utilizable. Por lo tanto, hemos fabricado un Insert the air filter of high quality for the modelos de Vespa Largeframe con licencia espanola.
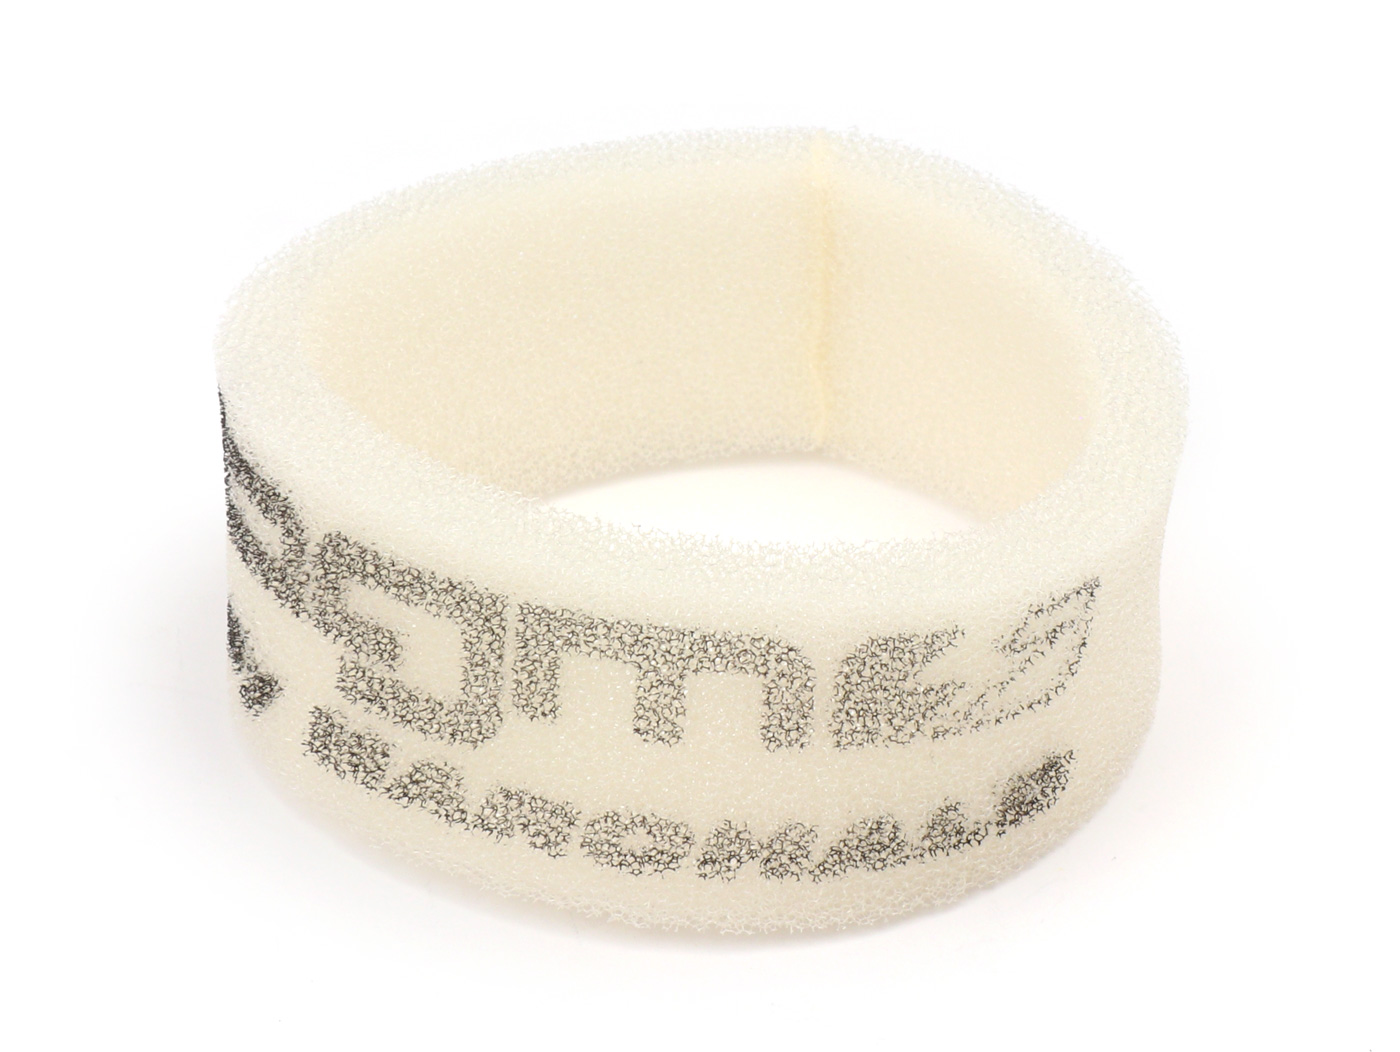
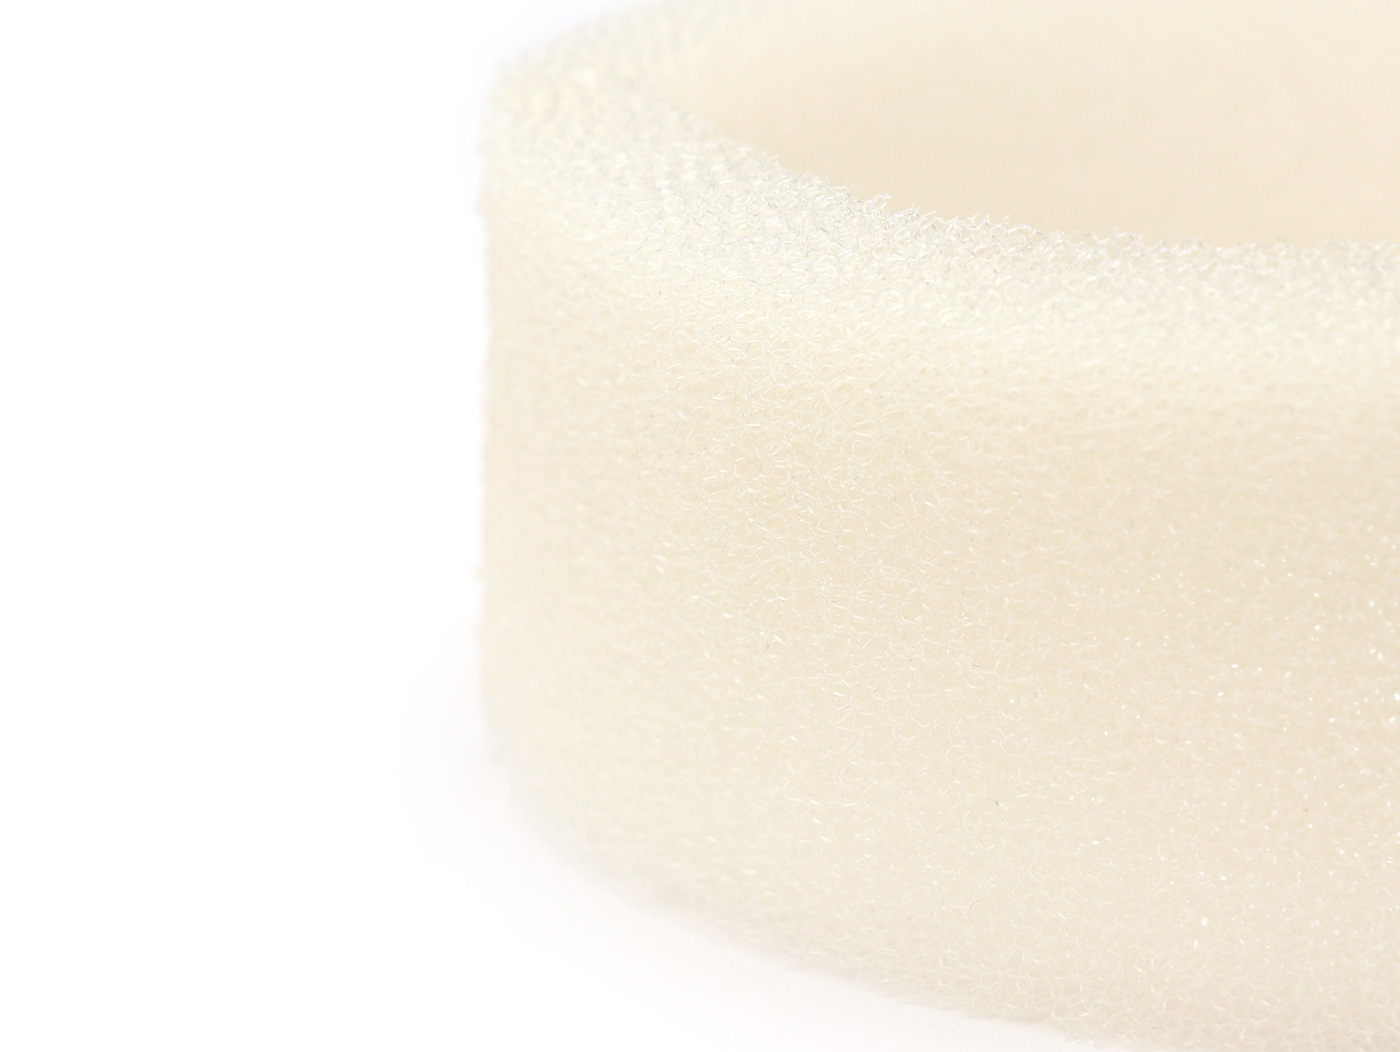
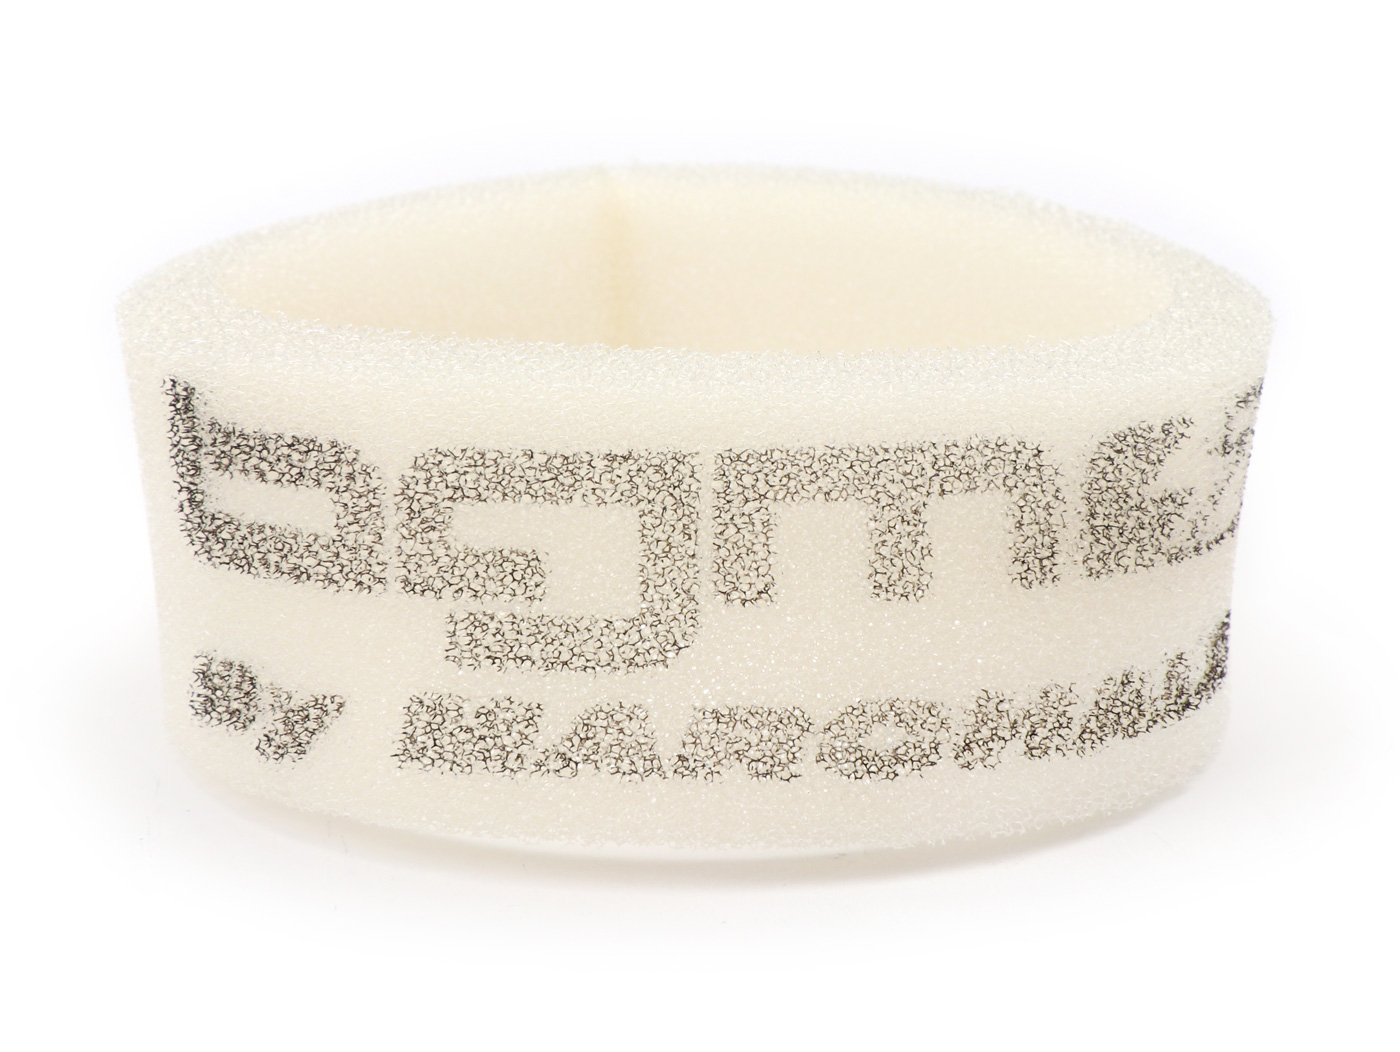
Vellón filtrante de alta calidad de Marchald (Italia), hecho para bgm PRO. Adecuado para los motores de administration directa (el carburador se asienta directamente en el cilindro) de los motores Largeframe Motovespa.
La sustitucion del elemento filtrante del aire es muy sencilla. Después de quitar el capó del lado derecho, se tiene immediateamente una vista de la caja del filtro de aire.

La tapa se fija con dos tornillos M5. He pueden aflojar con un destroyer de ranura de tamaño 5 a 6.
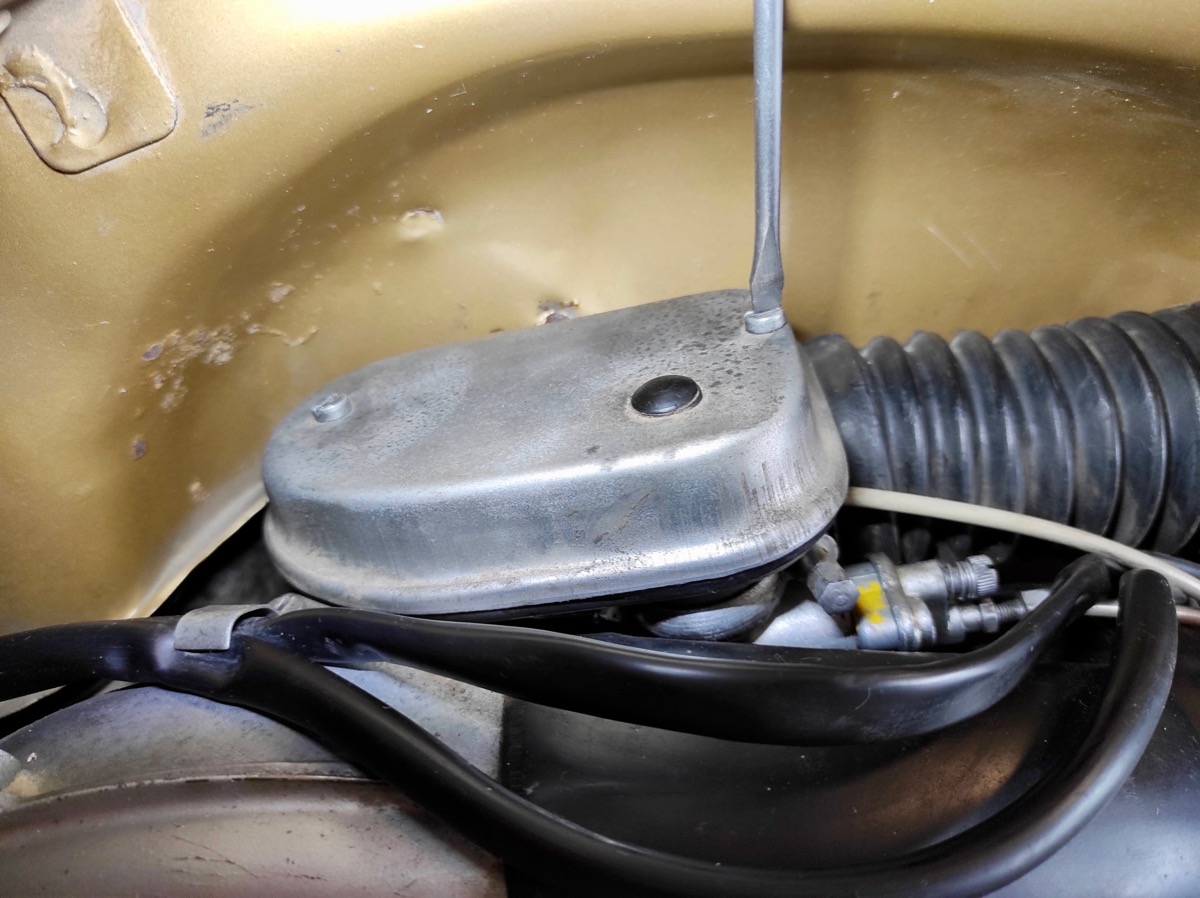
Después de retirar los dos tornillos, the tapa puede sacarse simplemente hacia arriba. Aquí, en nuestro ejemplo, el Insert the air filter original from the Motovespa ni siquiera esta presente!
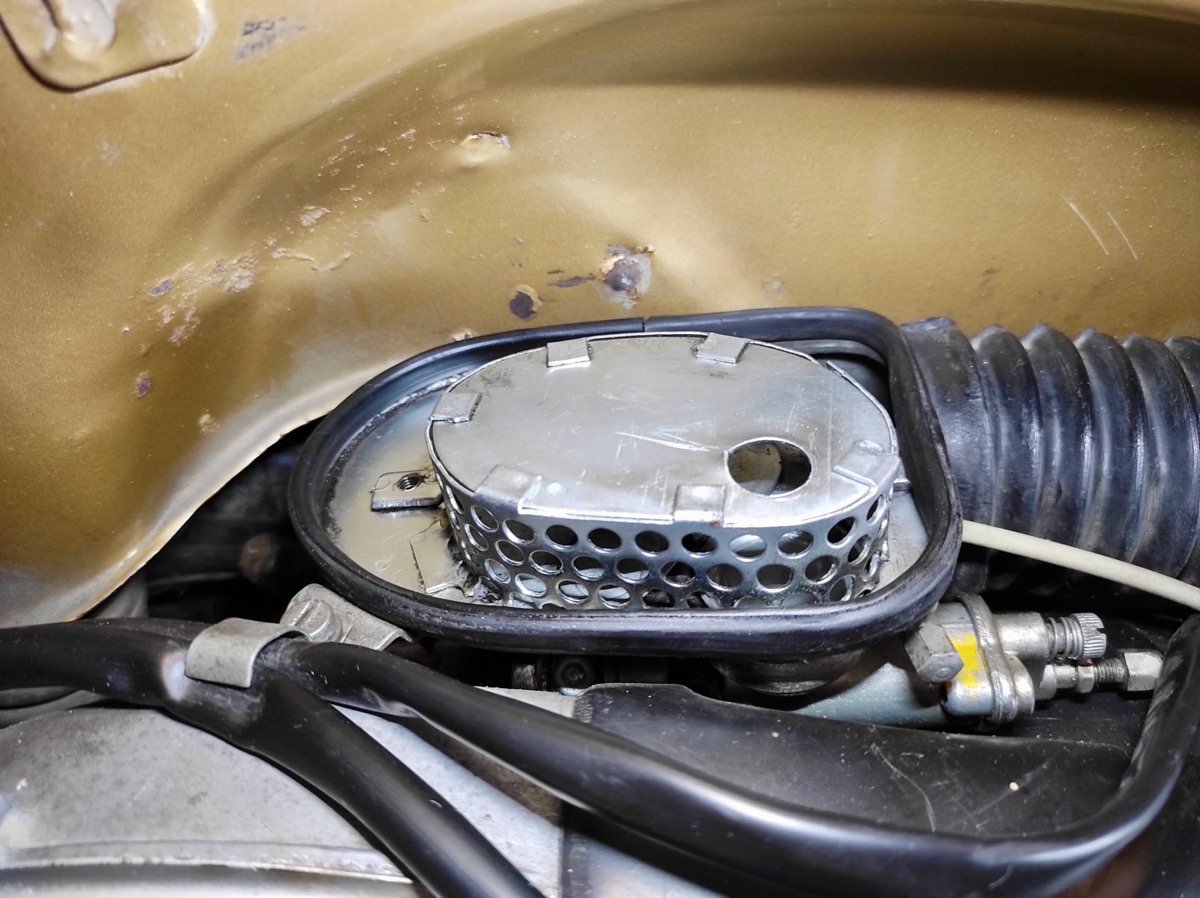
The inserto del filtro de aire no tiene ninguna orientación de montaje y simplemente se puede deslizar en la carcasa del filtro desde arriba.
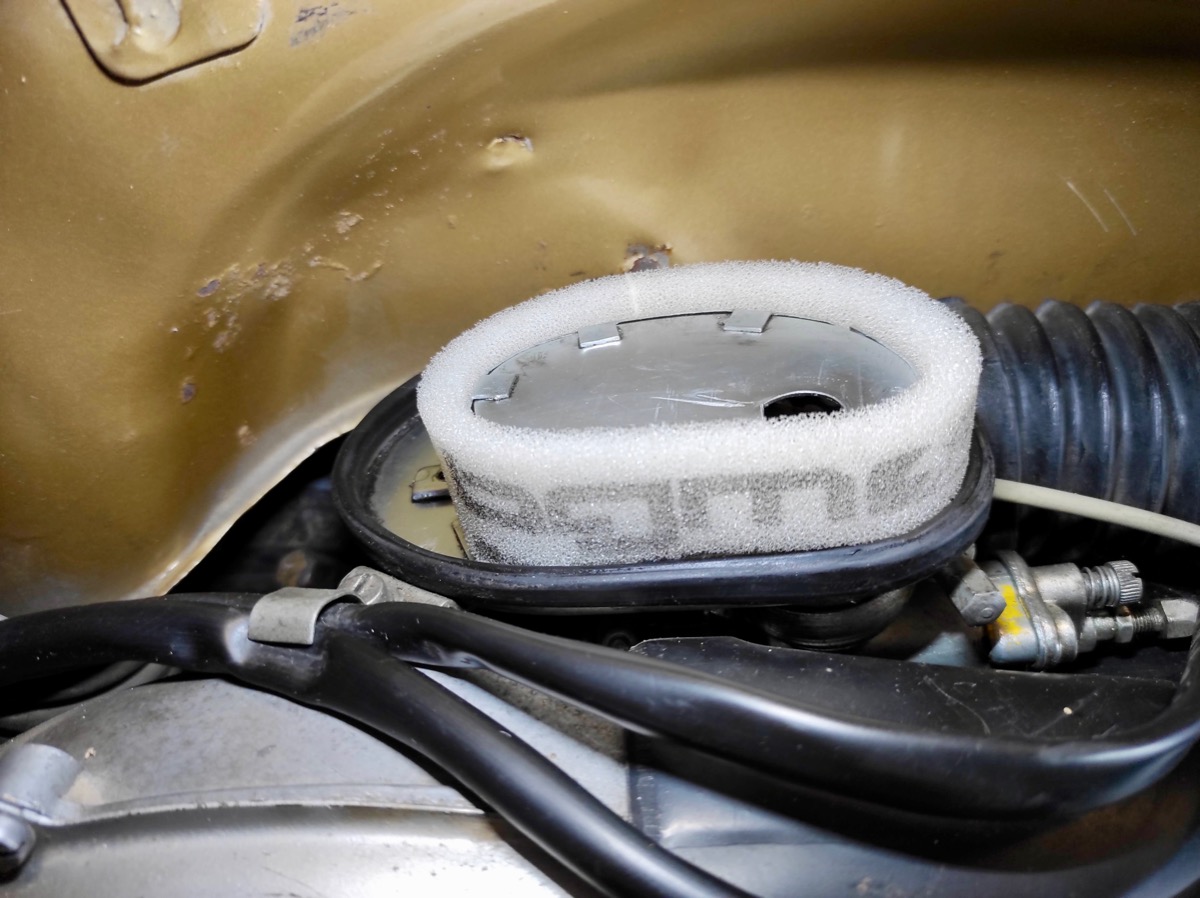
La protuberancia restante del inserto del filtro de aire se sella hacia la tapa de la caja del filtro de aire cuando se ensambla. Vuelva a colocar la tapa de la caja del filtro de aire con los dos tornillos, vuelva a colocar la tapa lateral y el cambio está completeto.
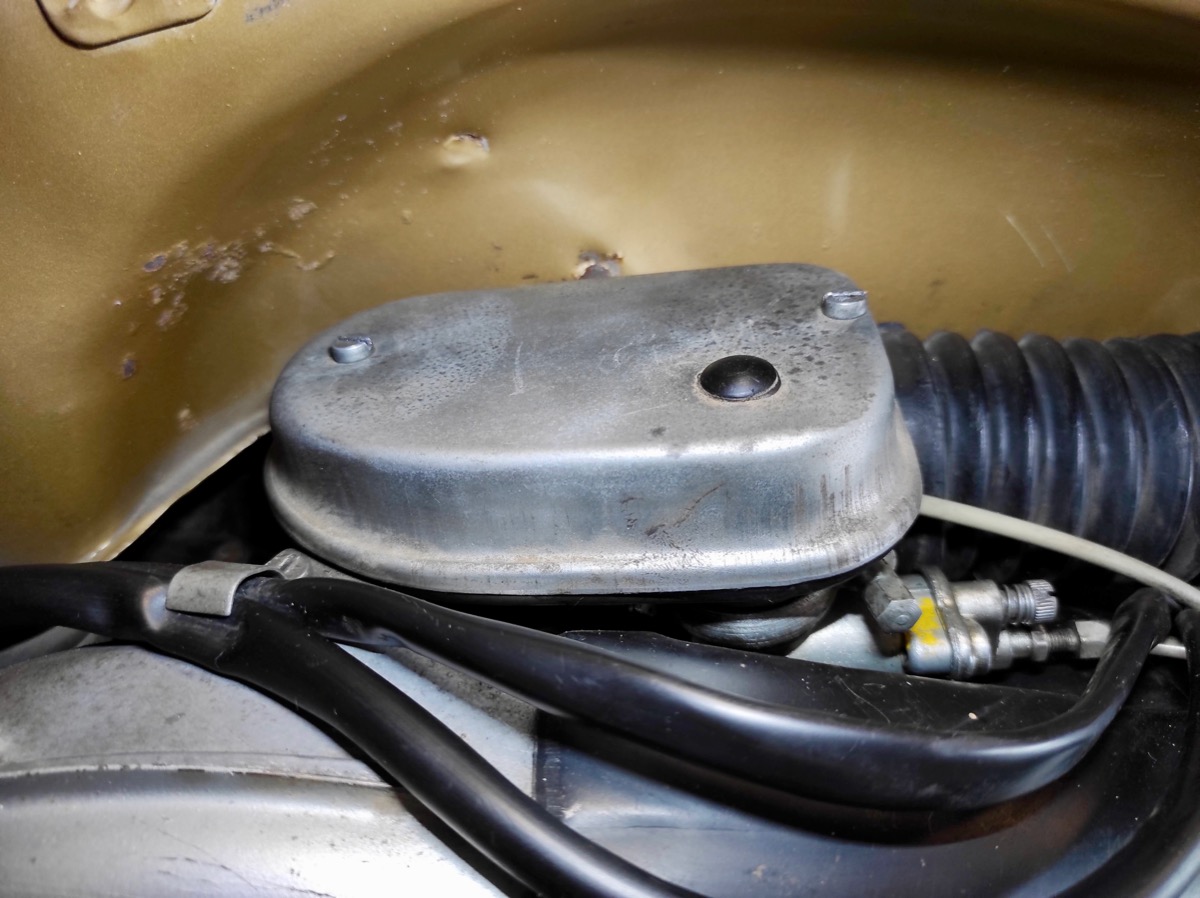
To record a return of the filter to the mayor, the insertion of the air filter can be used with oil for the air filter. Sin embargo, there is no absolutamente necesario debido al material filtrant de alta calidad del filter bgm PRO.
The correct time to start the important thing for the thermal insulation of the engine:
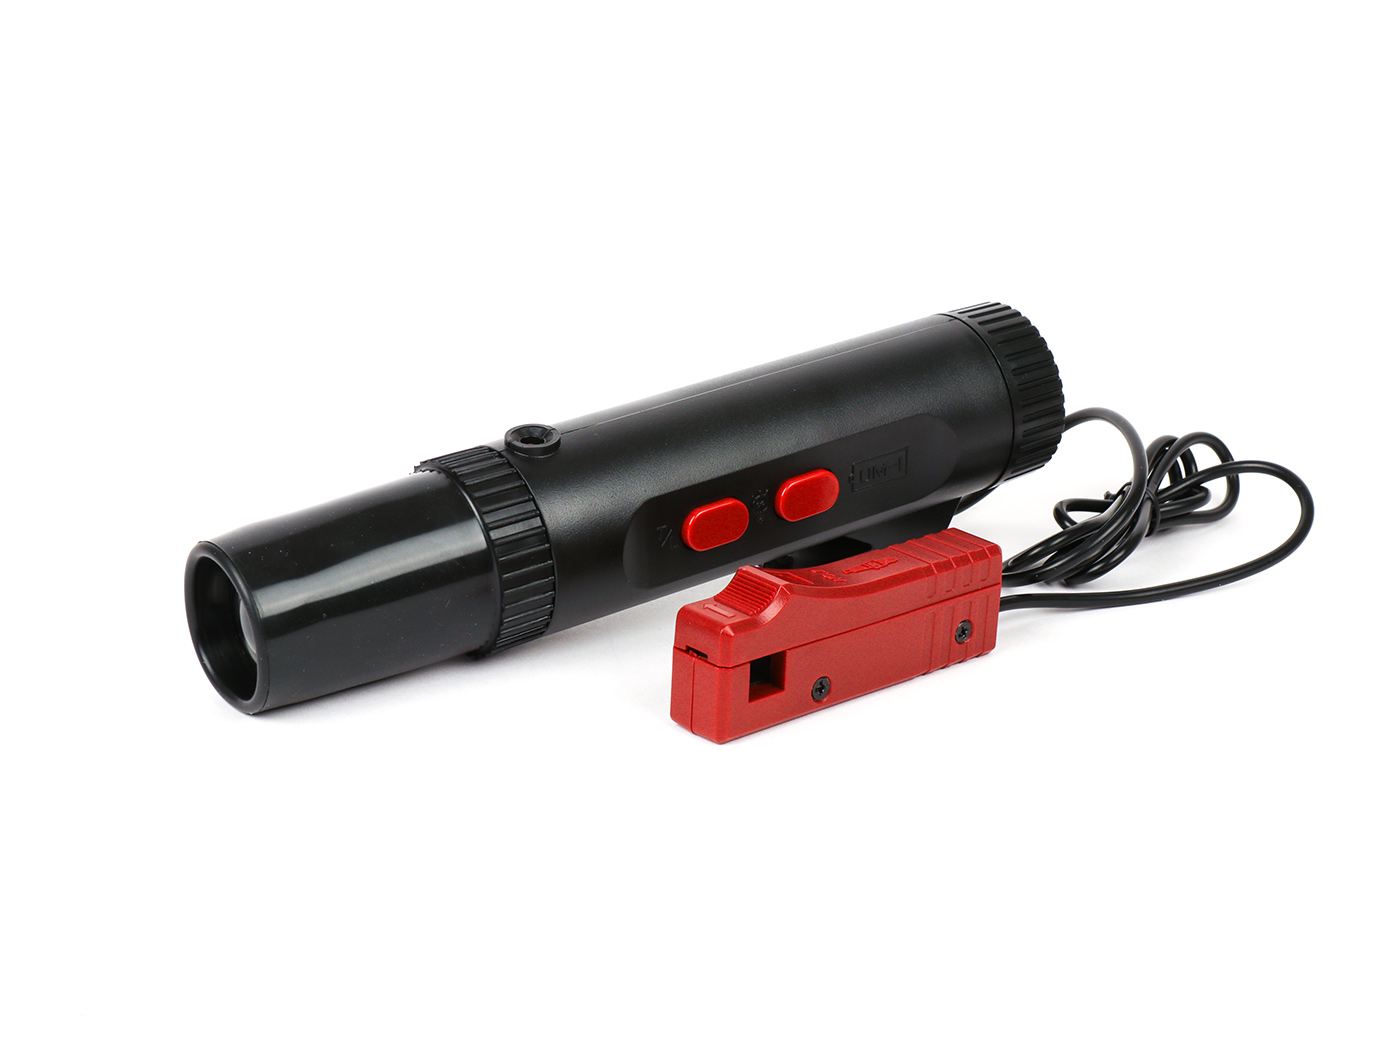
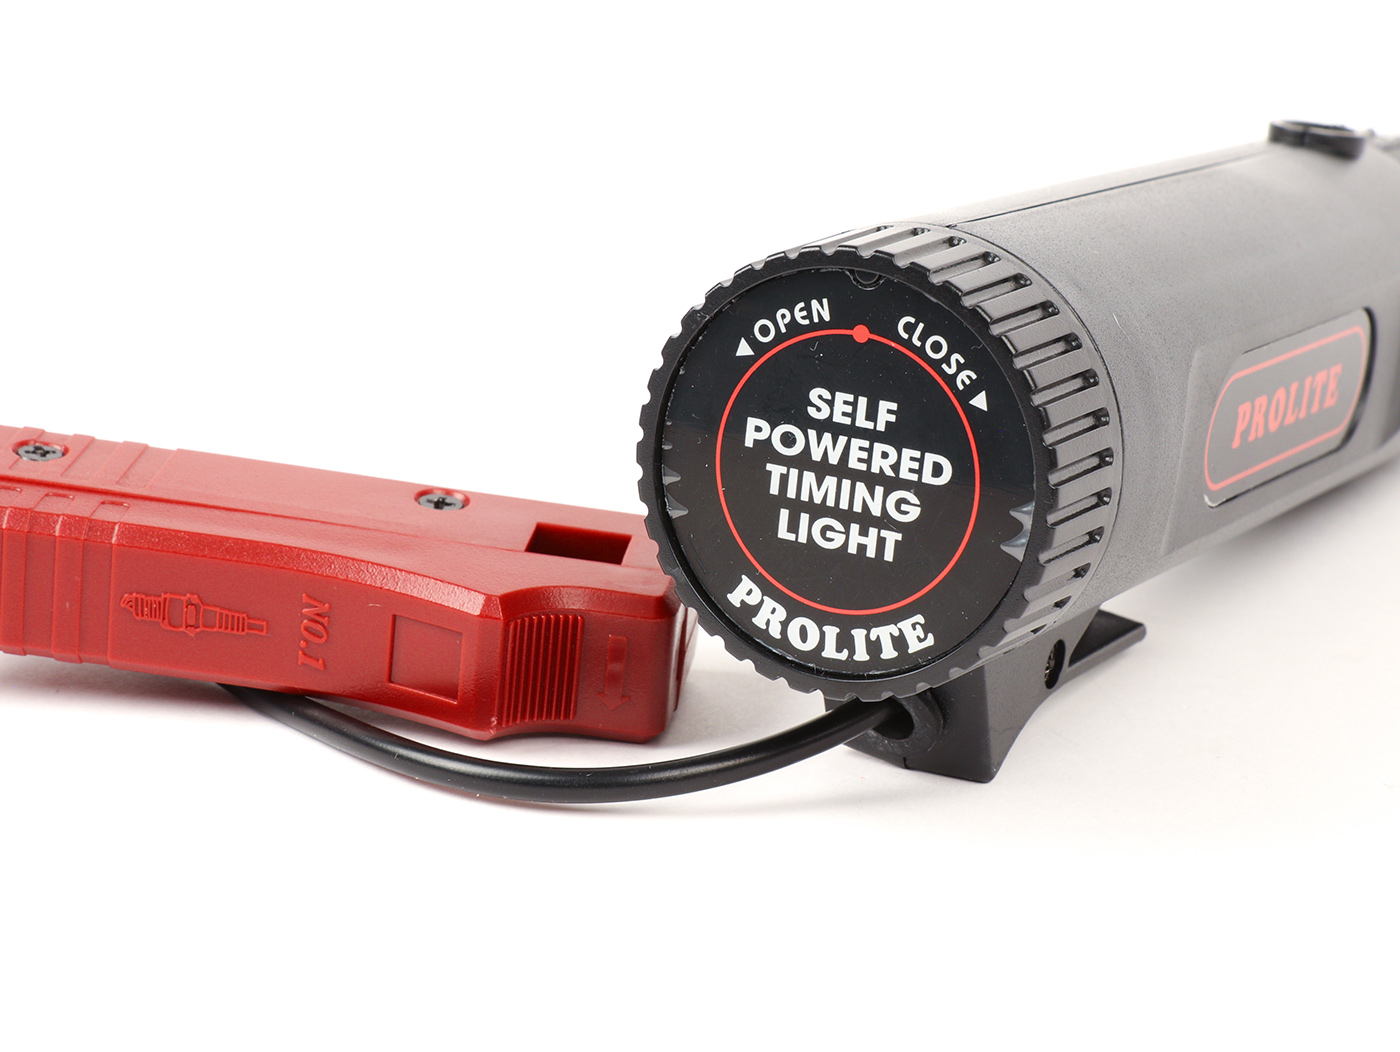
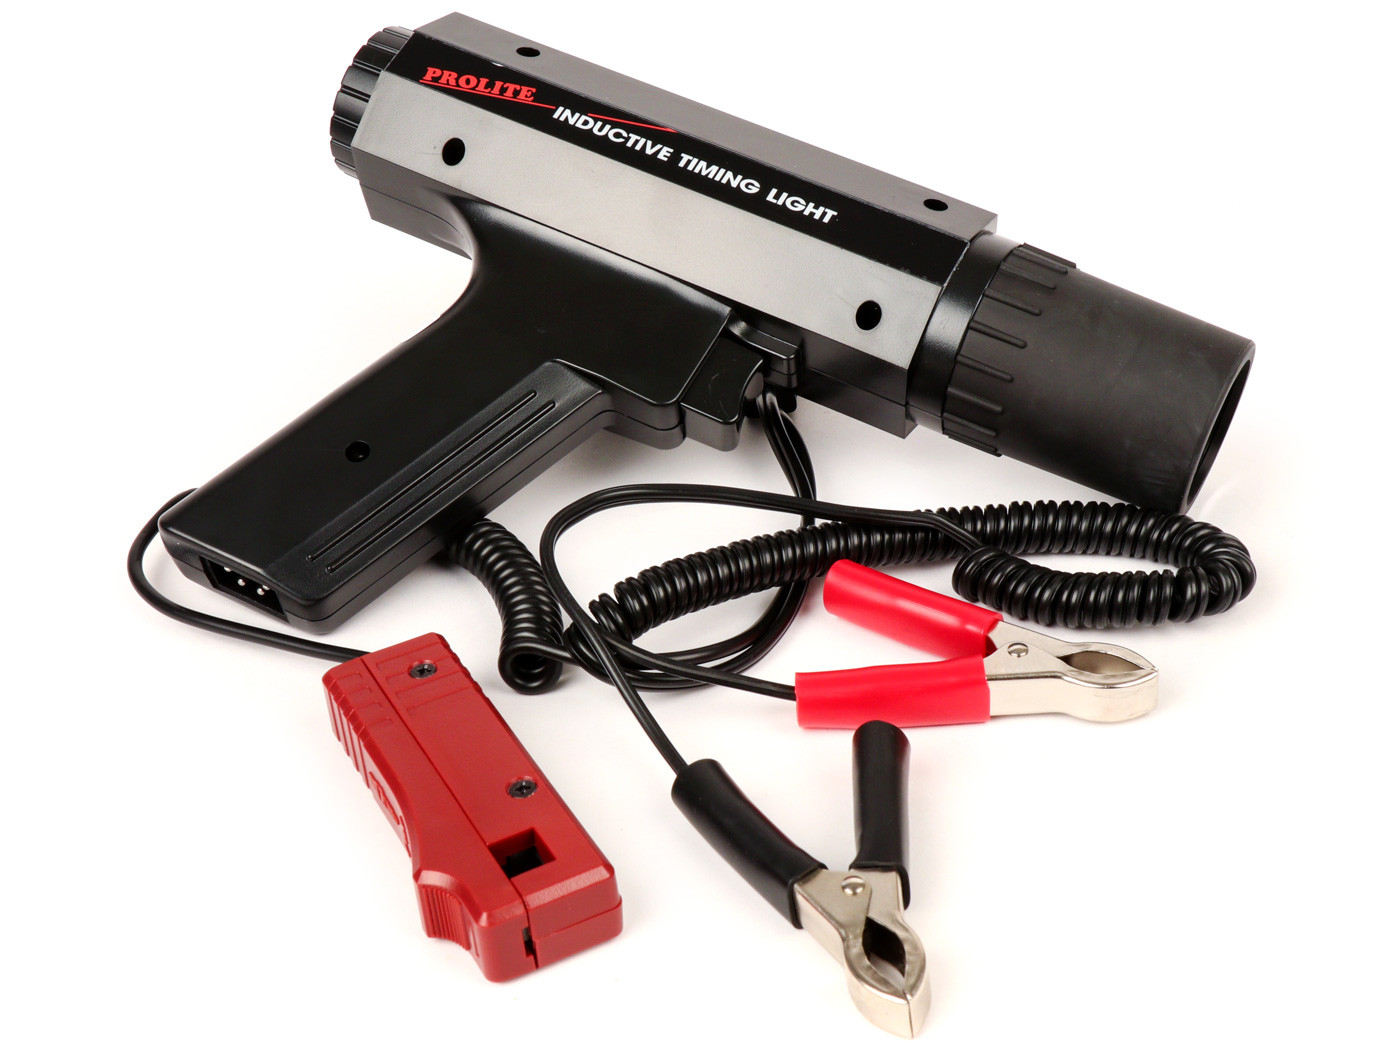
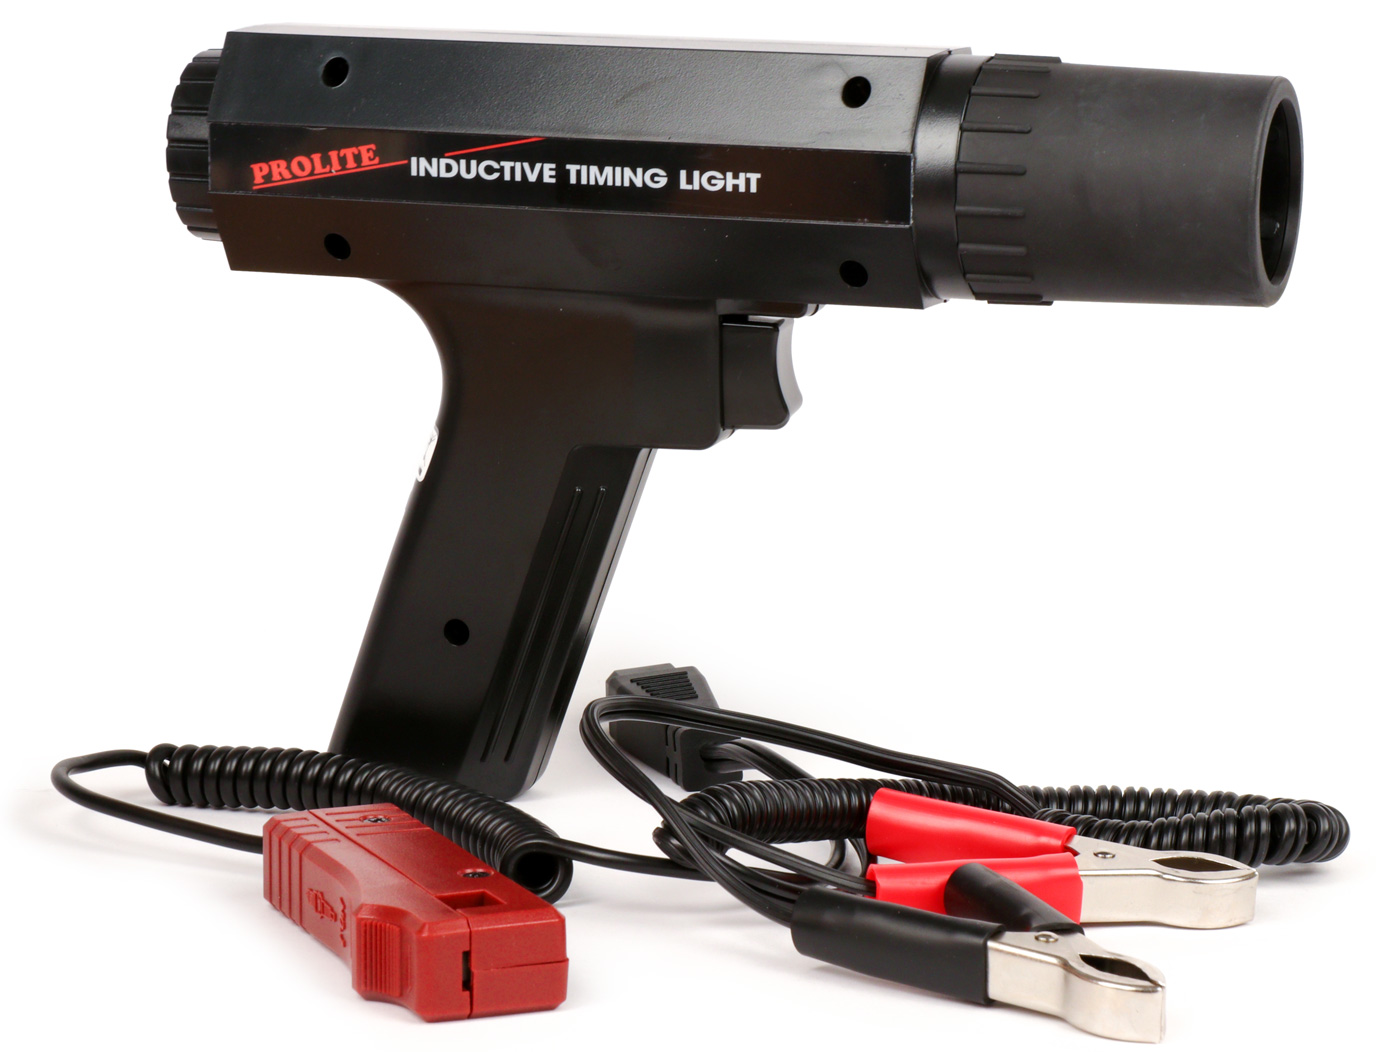
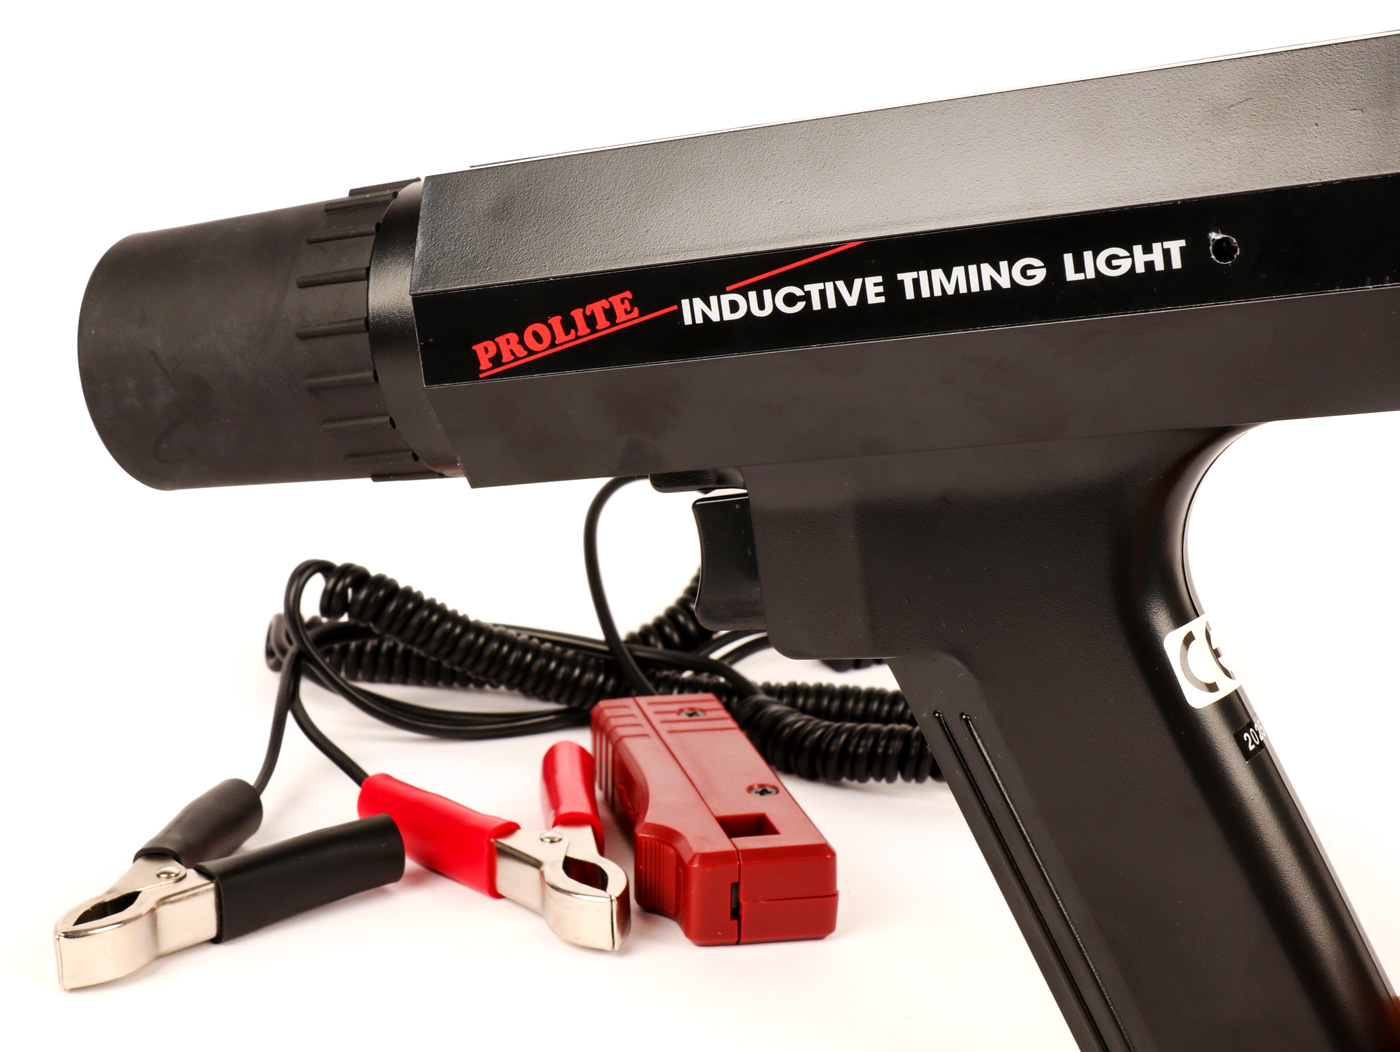
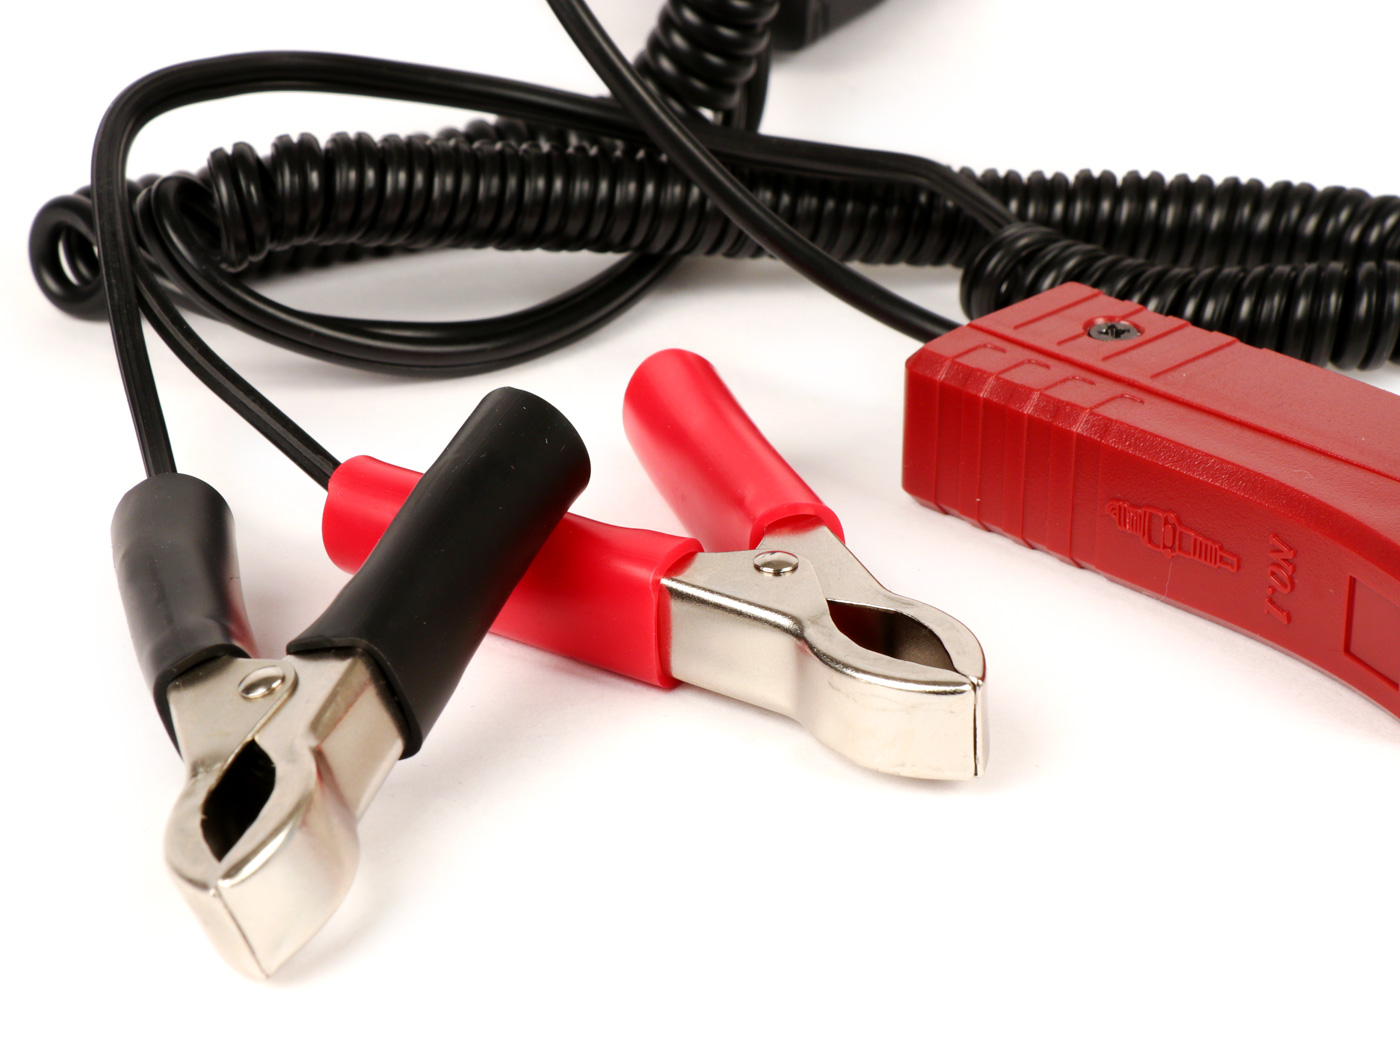
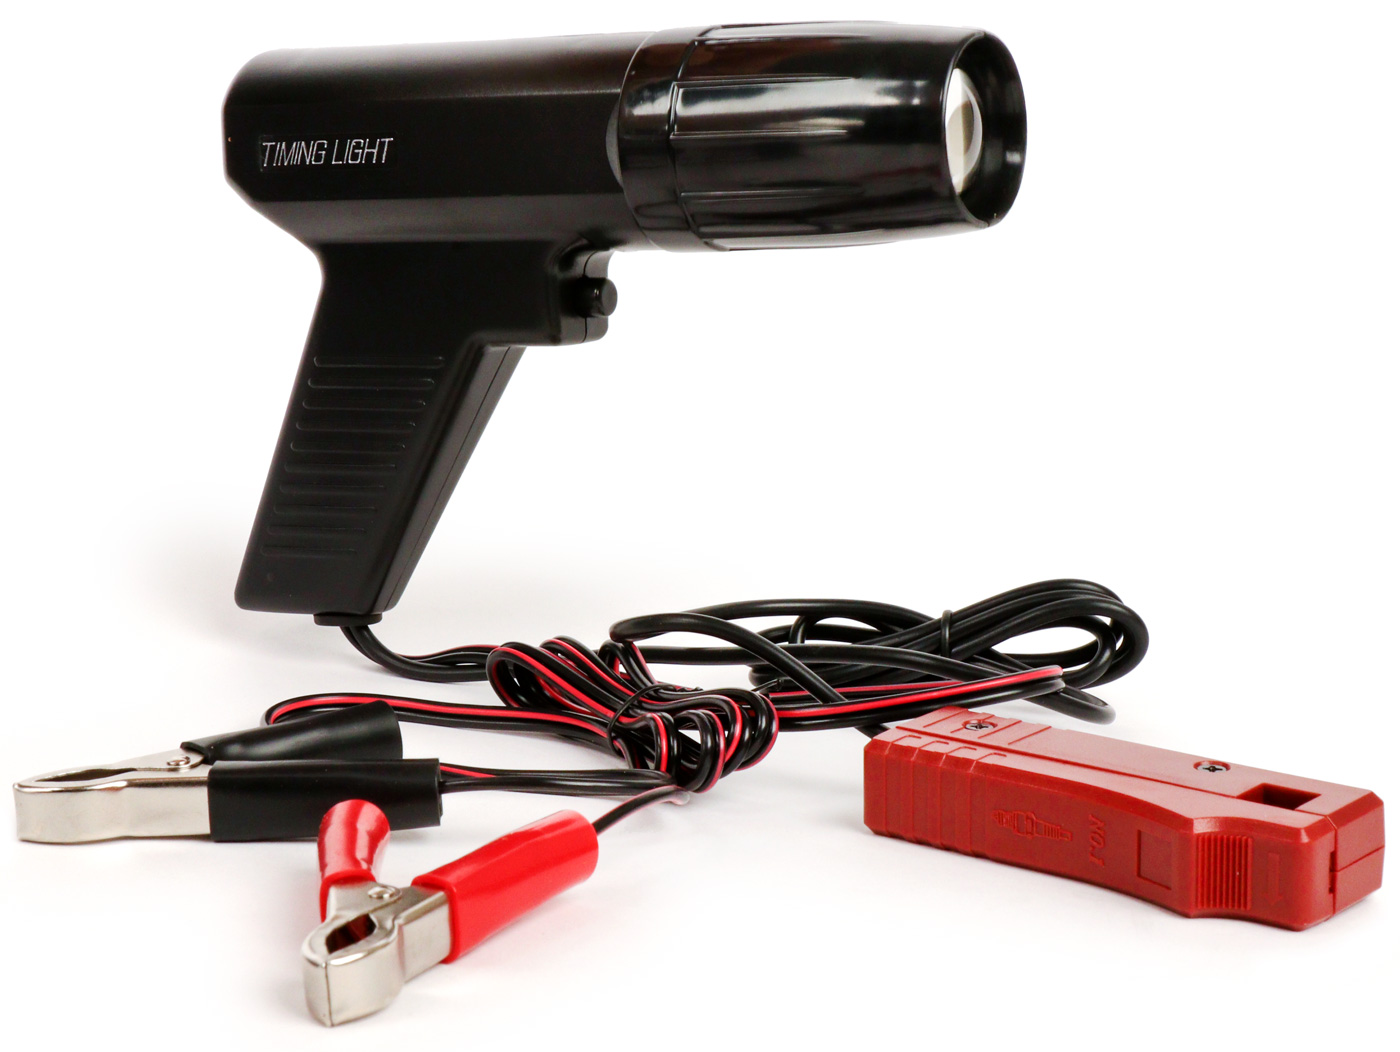
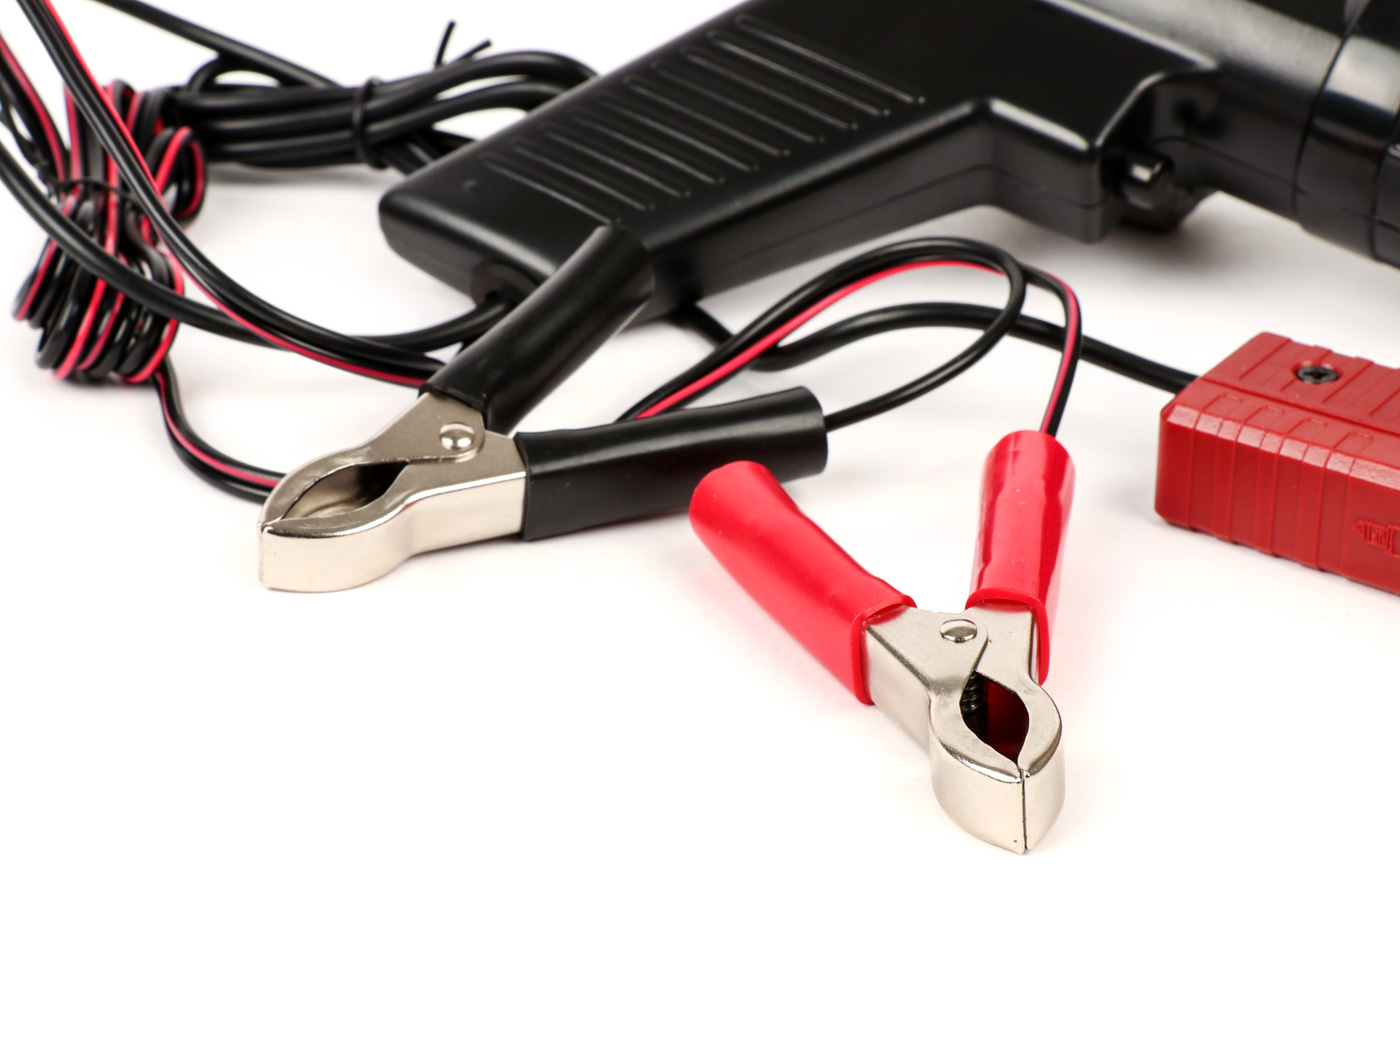
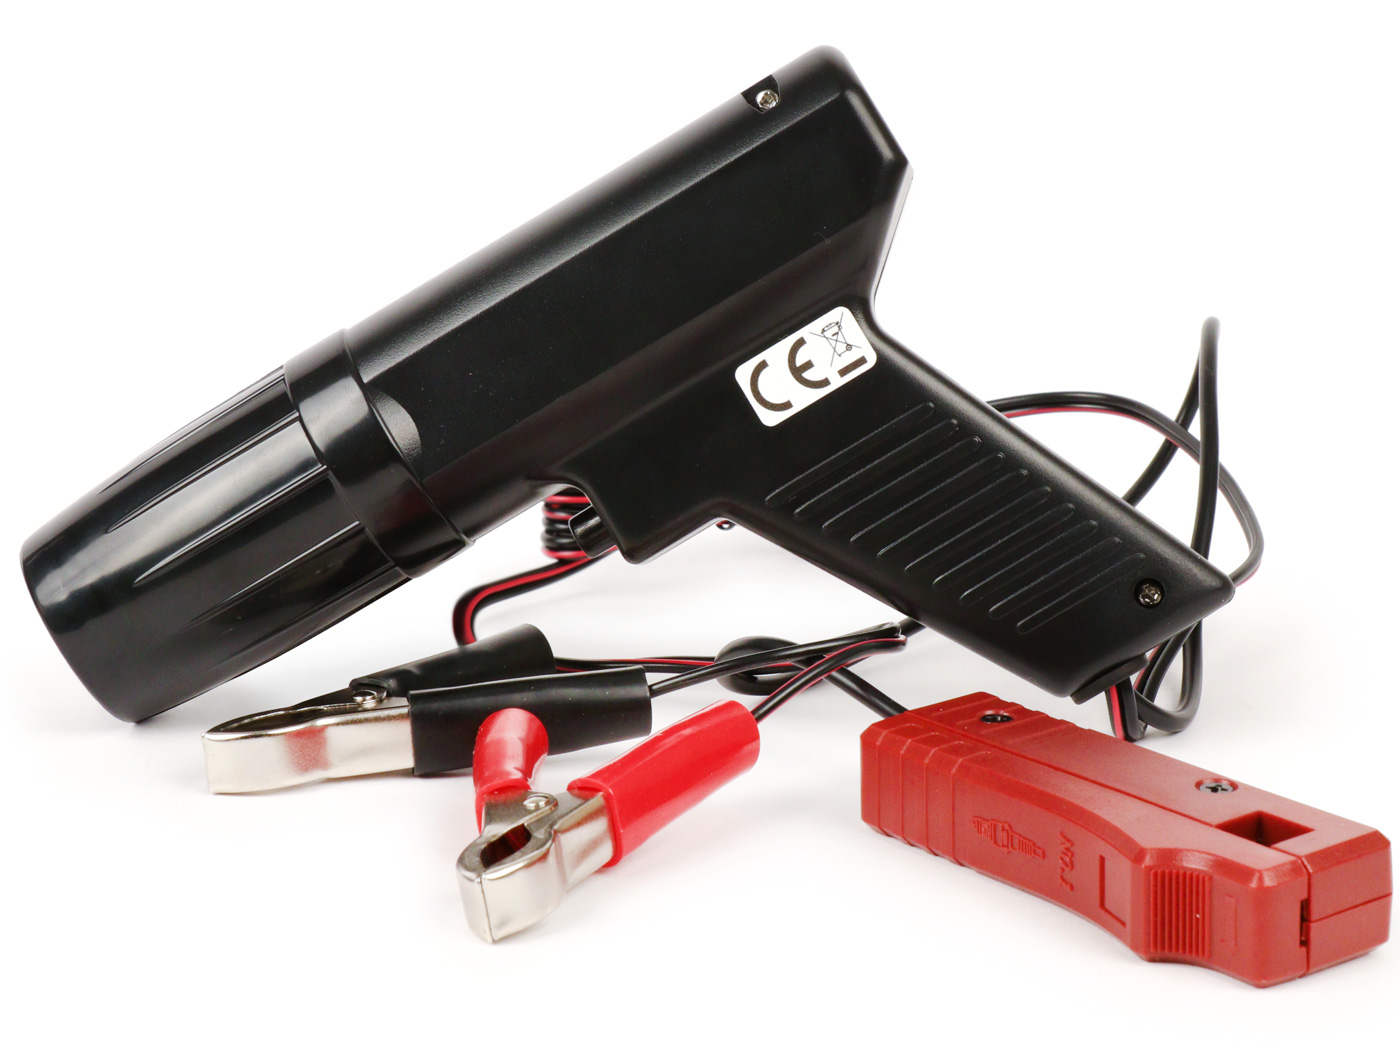
Quién has the Vespa or has to be reconstructed in the course of a restoration, no debe confiar en las marcas existentes en the alojamiento of the motor, the magneto and the plate base of the encendido for the adjustment of the encendido, sino que debe medirlo el mismo y adjust the encendido de la Vespa correctamente. Bill correcto adjusted del encendido en su motor Vespa it fácilmente posible con estas Pistolas de sincronización de encendido electrónico para motores de gasolina con encendido por contacto o electrónico -> sistema de encendido por transistor (encendido CDI como en serie con ET3, PK, PX, Cosa, T5 etc.) Por supuesto, esto también funciona con los encendidos Lambretta. Con estas pistolas de encendido This means that you can adjust the encendido Lambretta. ¡Con these pistolas estroboscópicas puedes ajustar tanto los viejos encendidos de 6 voltios como los modernos de 12 voltios!
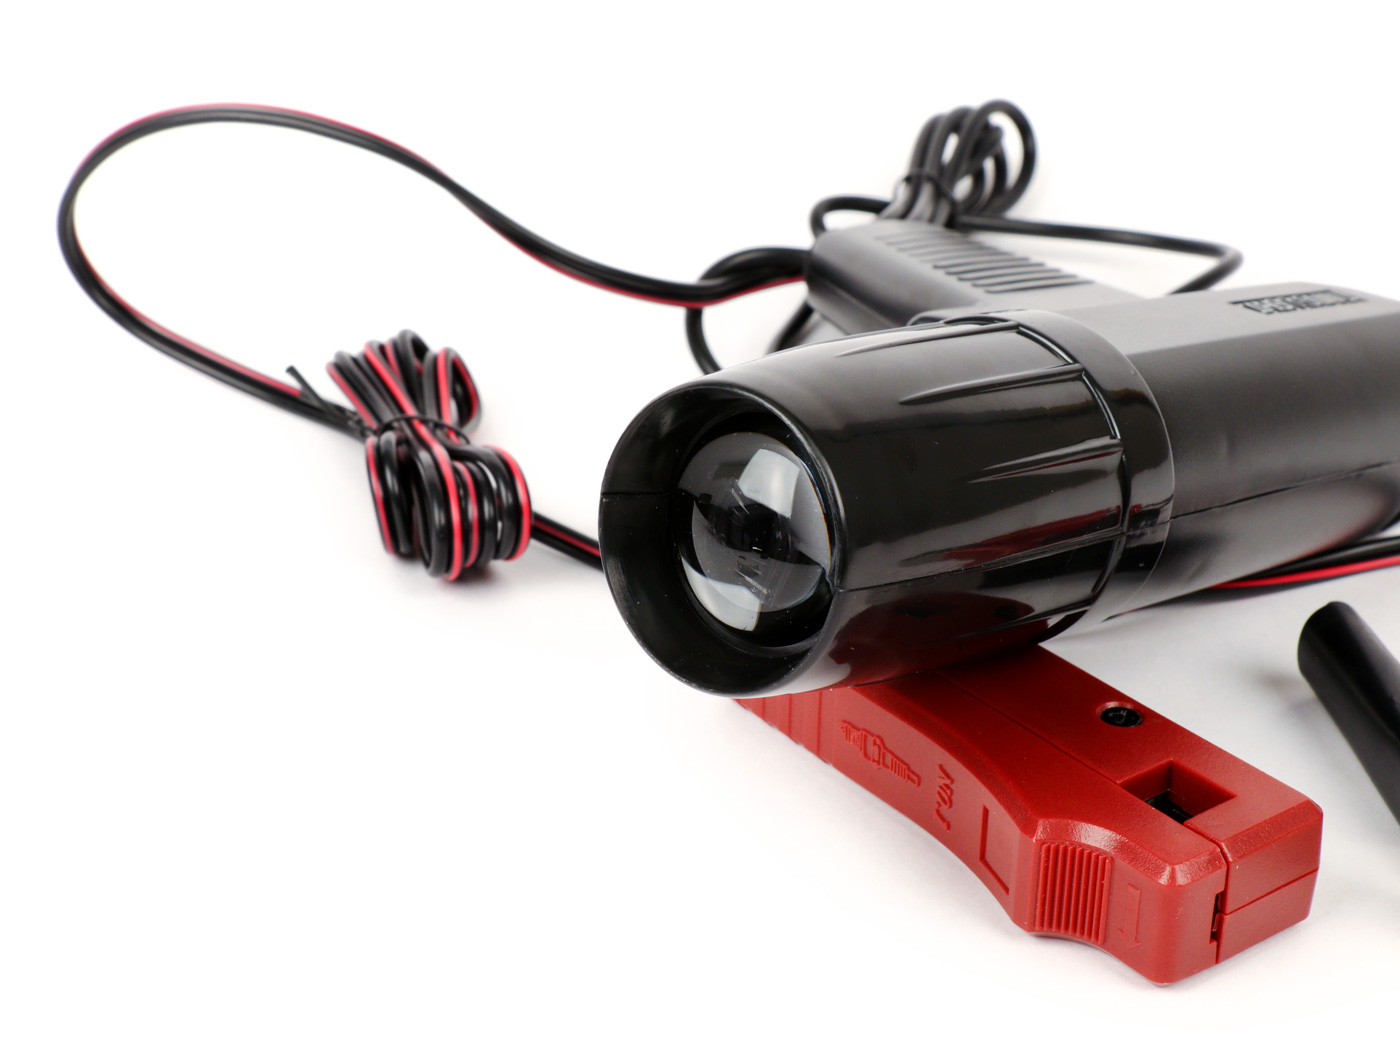
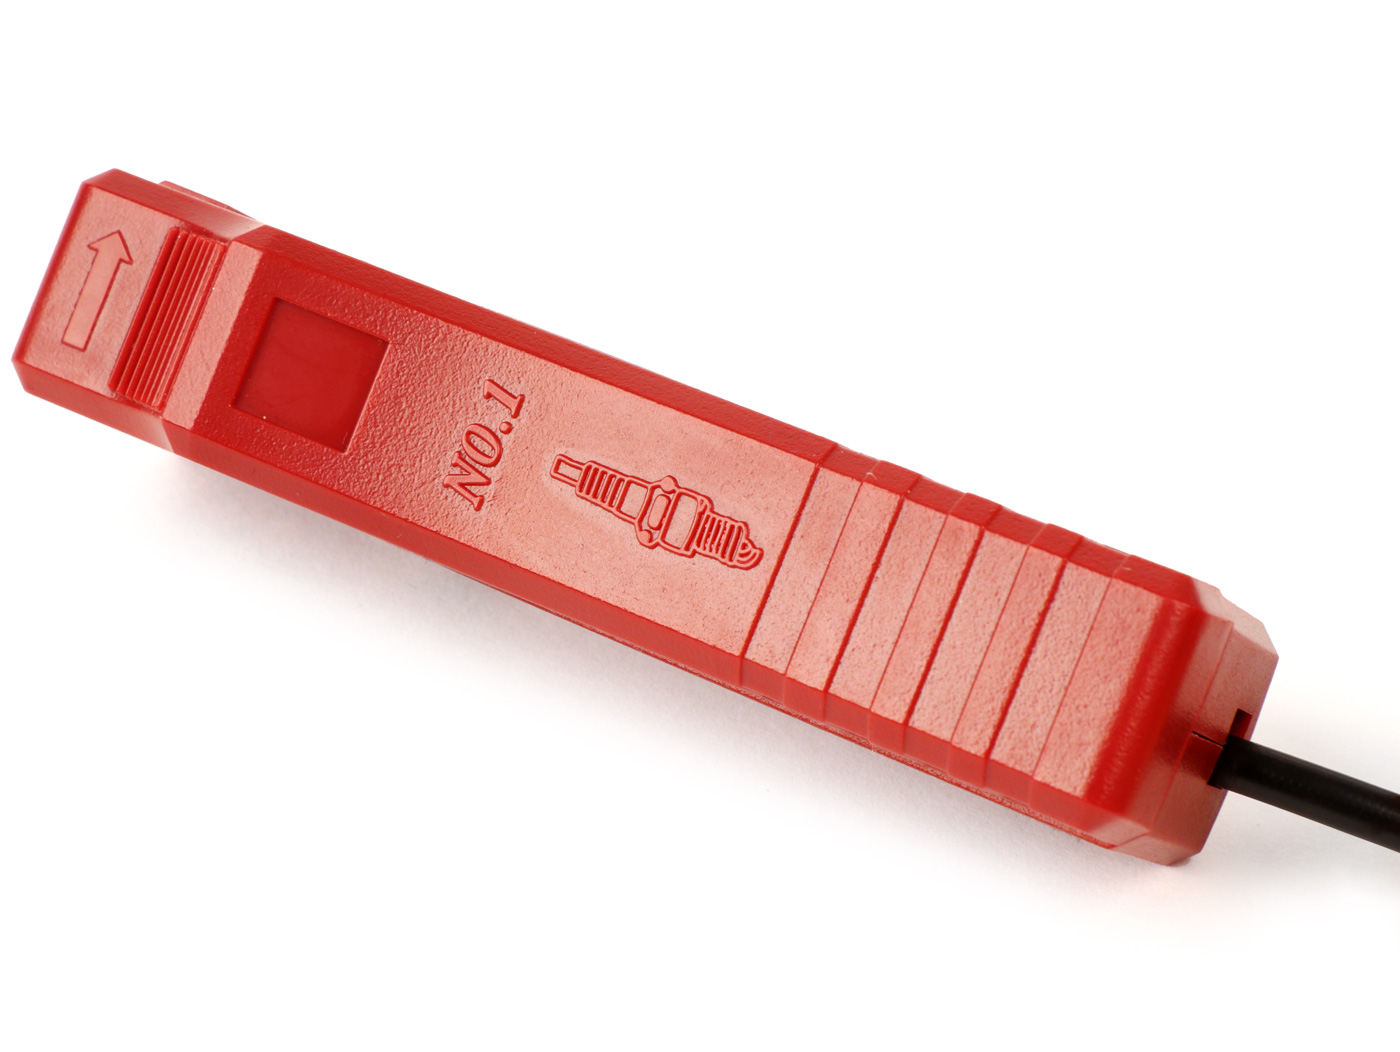
A las pistolas de luz de ignición en la tienda One video tutorial Adjust the power of the Vespa te mostramos como Maryzabel y Alex ajustaron el encendido de nuestra Vespa Platonica: [su_espacio] https://www.youtube.com/watch?v=ZDv-mouT_mk&t=11s [su_espacio]A tubo de xenón superbrillante y una lente convergente especial garantizan una visibilidad óptima de las marcas fijas de estas pistolas de luz de ignición: including a velocidades superiores a 8000 rpm en el campo cercano. La pistola se conecta por medio de una pinza inductiva en el cable de la bujía directamente al aislamiento de goma, without direct contact with the cable trenzado. Nuestras pistolas de tiempo de ignición están equipadas con un revestimiento de rubber en la lente. This protector protects the carcasa de plastico asi como la lente y asegura el mayor tiempo posible de disfrute del producto.
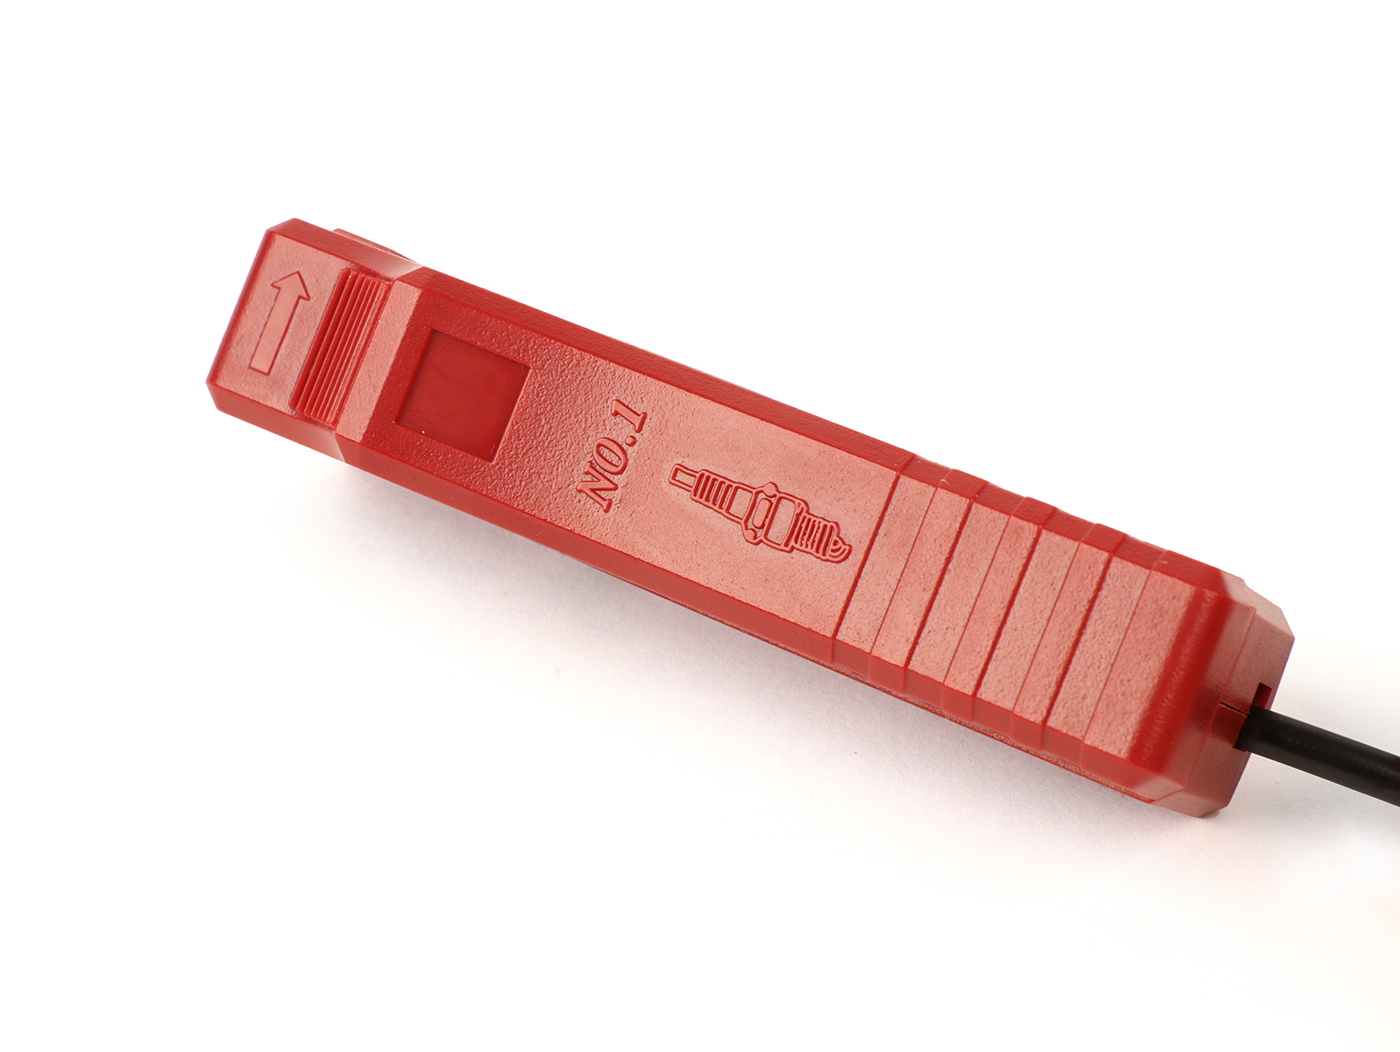
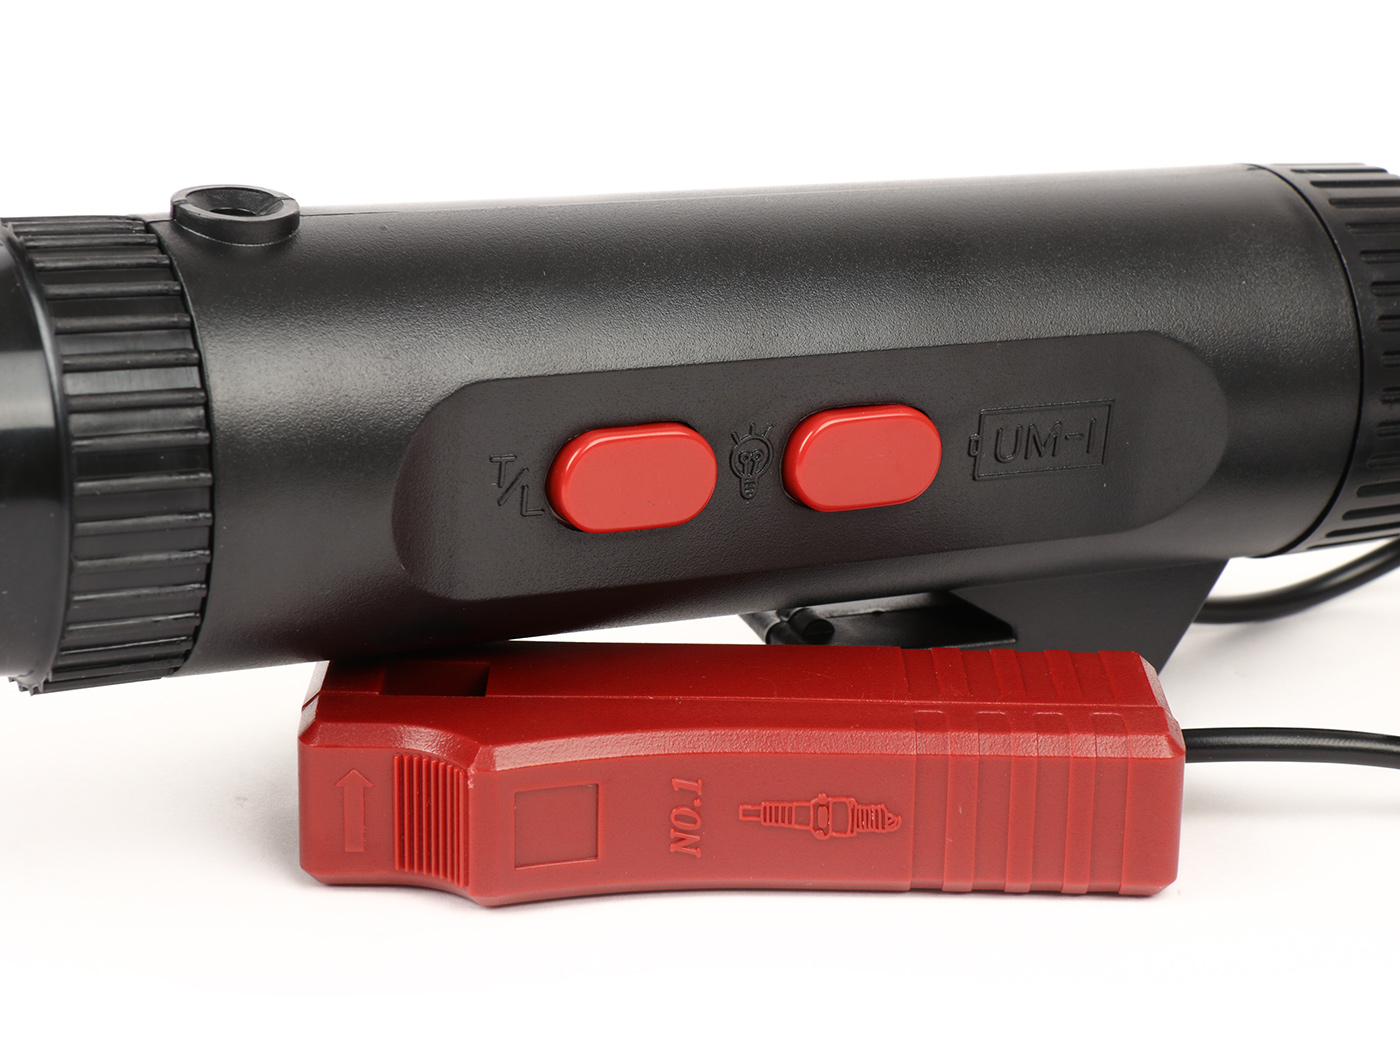
Pistola de luz de ignición TRISCO-ProLITE (doble-D) (- lámpara estroboscópica pistola de flash - ignición 6V / 12V Artículo Nº: MN911B  No need for external food supply. Se utilizan dos baterías D (Mono, LR20, MN1300) for the suministro de energía, ¡no están incluidas en elcance del suministro! Pero puedes pedirlos aqui mismo. Además de su uso aso pistola de luz de ignición, también puede ser usada como lampara de work
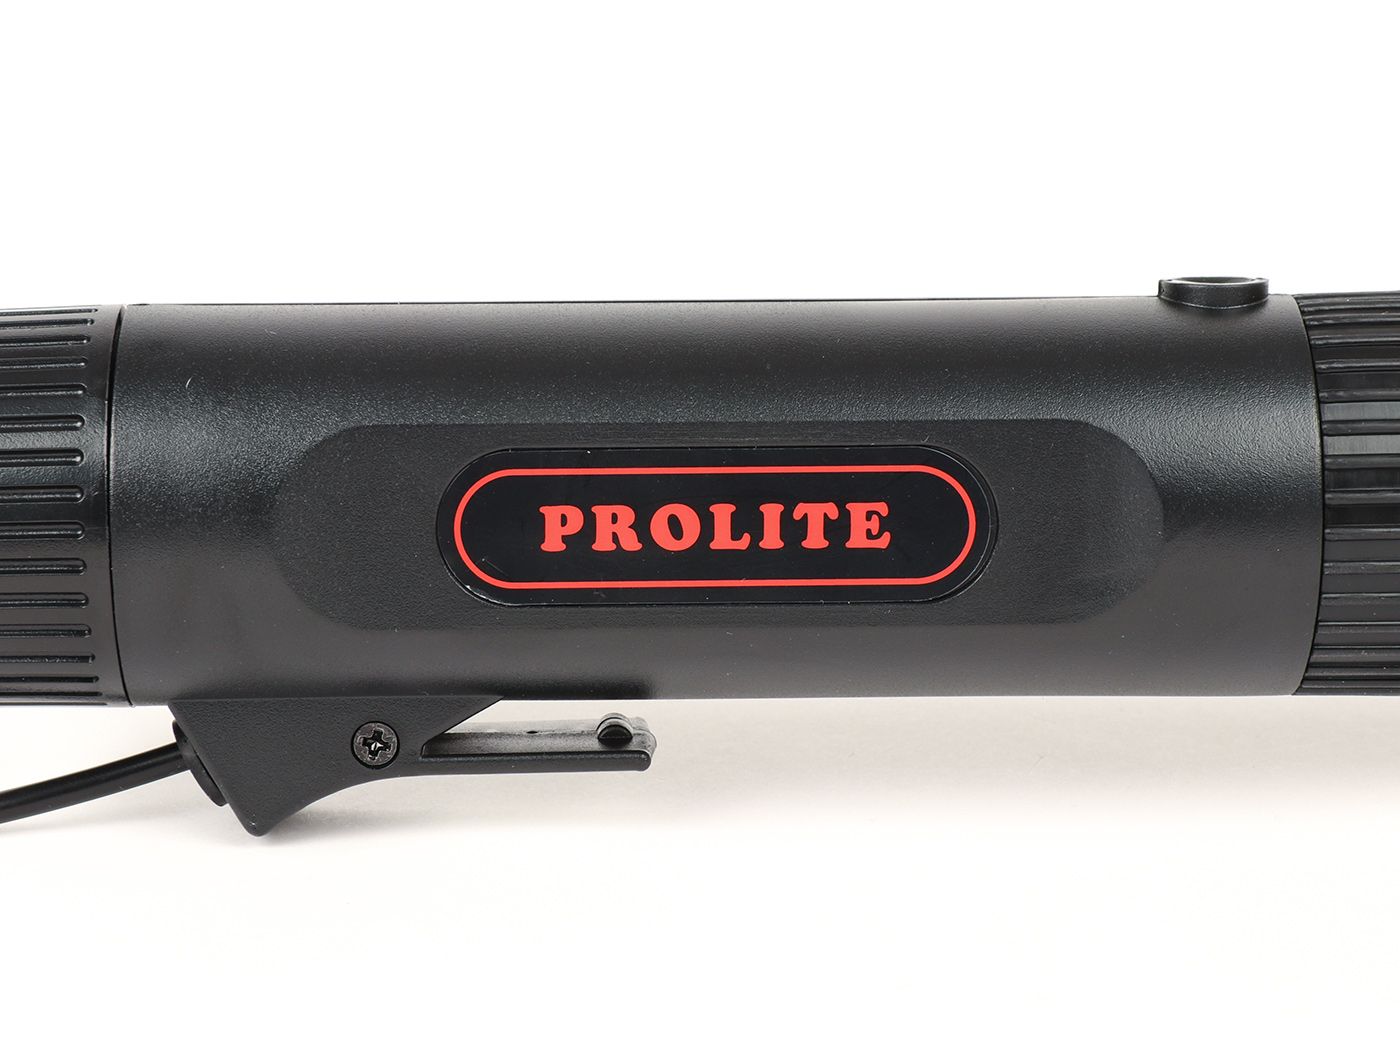
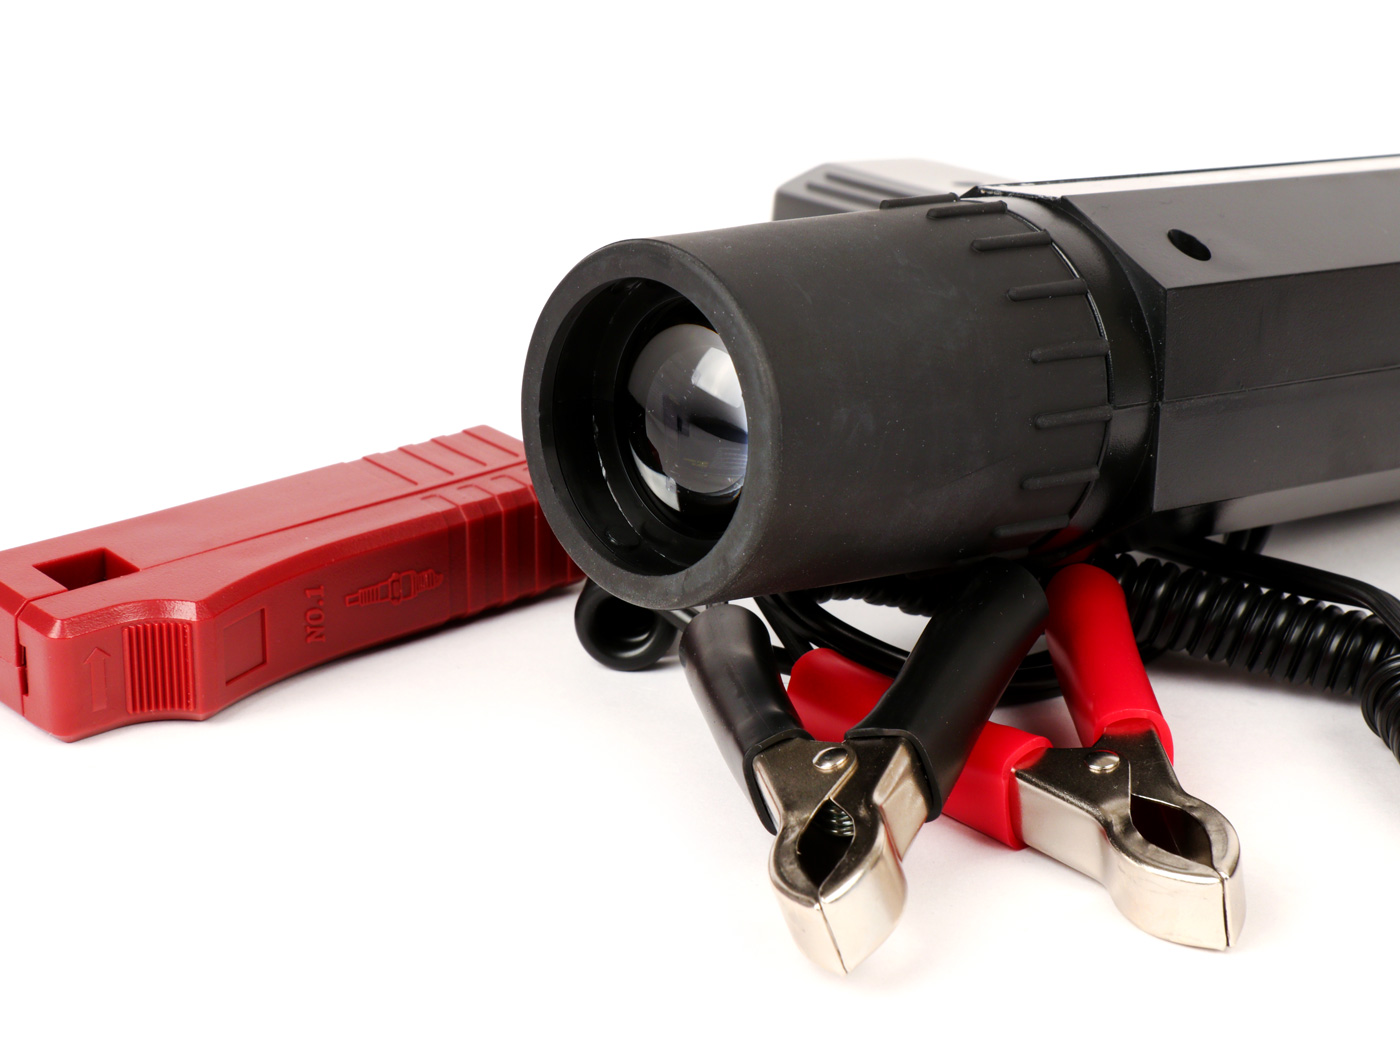
Pistola de luz de ignición TRISCO-ProLite - lámpara estroboscópica pistola de flash - ignición 6V / 12V Artículo No .: MN922  Esta es la pistola más grande que se ajusta perfectamente a tu mano. El cable con las dos pinzas cocodrilo es un robusto y práctico cable en espiral, que se conecta a un enchufe de la pistola. Pistola óptima para el ambicioso destornillador y afinador - version PROLITE. No importa si la ignición es de 6V or 12V, siempre se requiere There is an external energy source for 12V (por ejemplo, la battery de un coche), a menos que el vehicle ya tenga una.
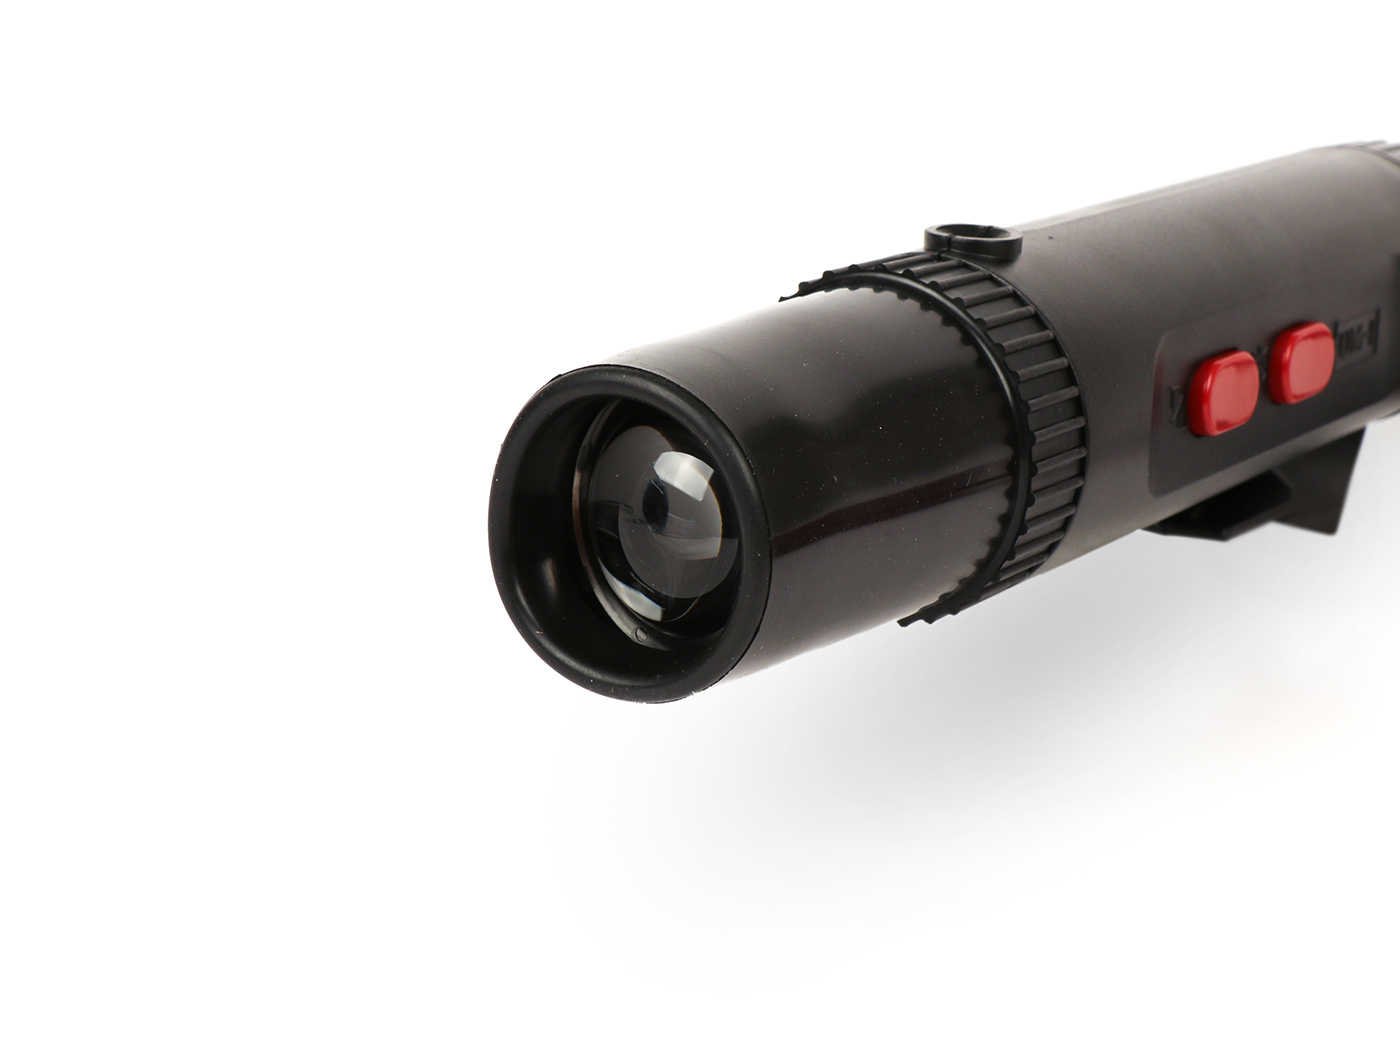
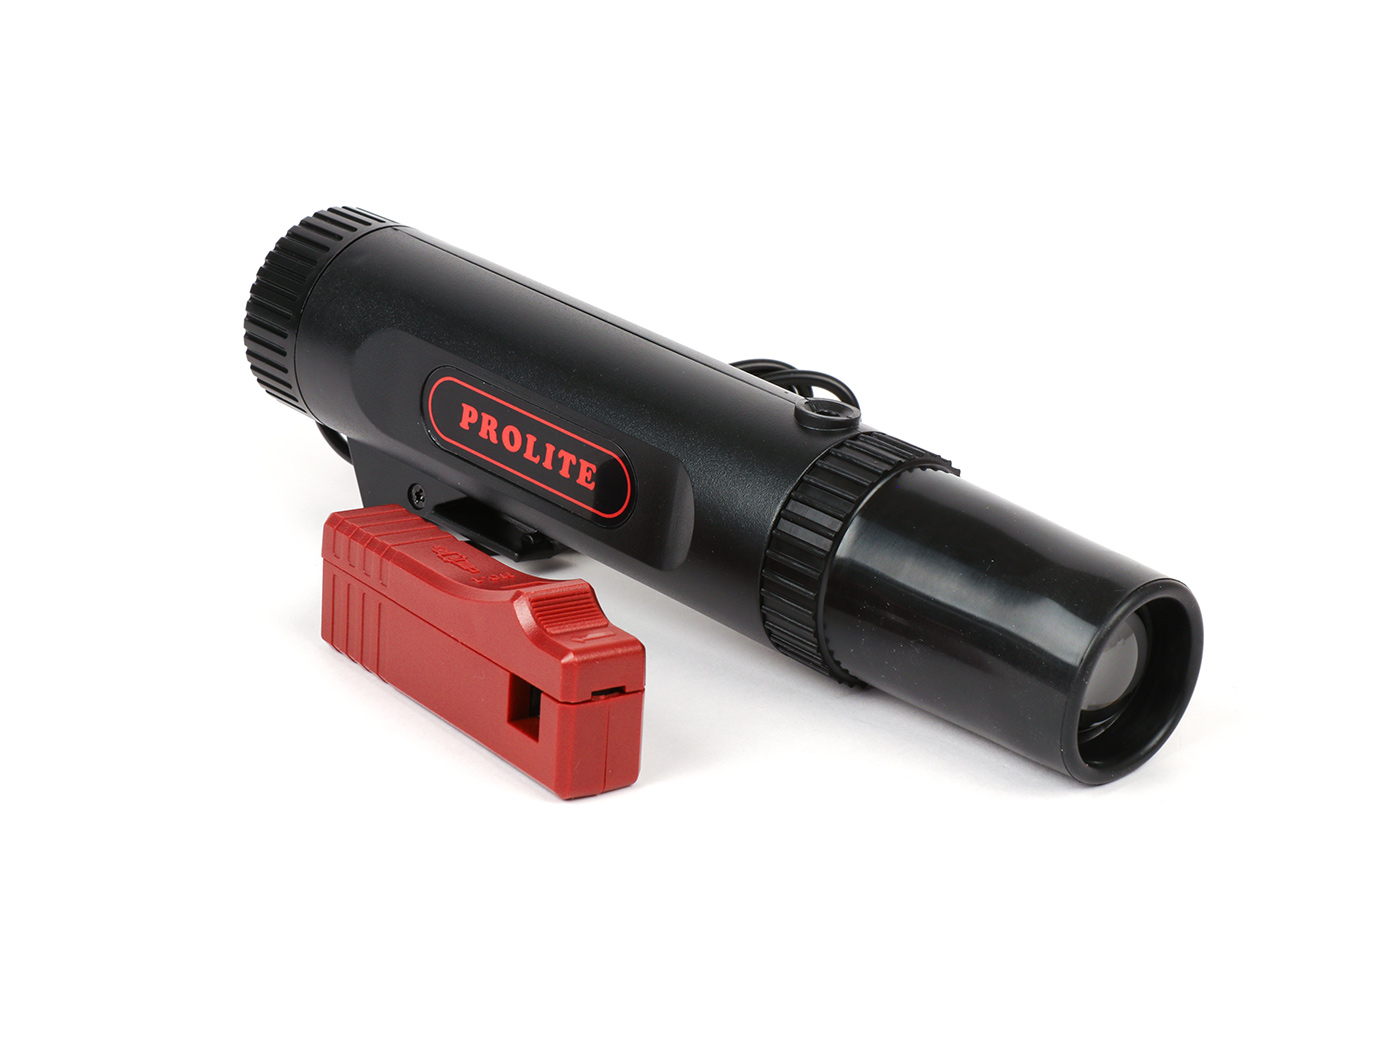
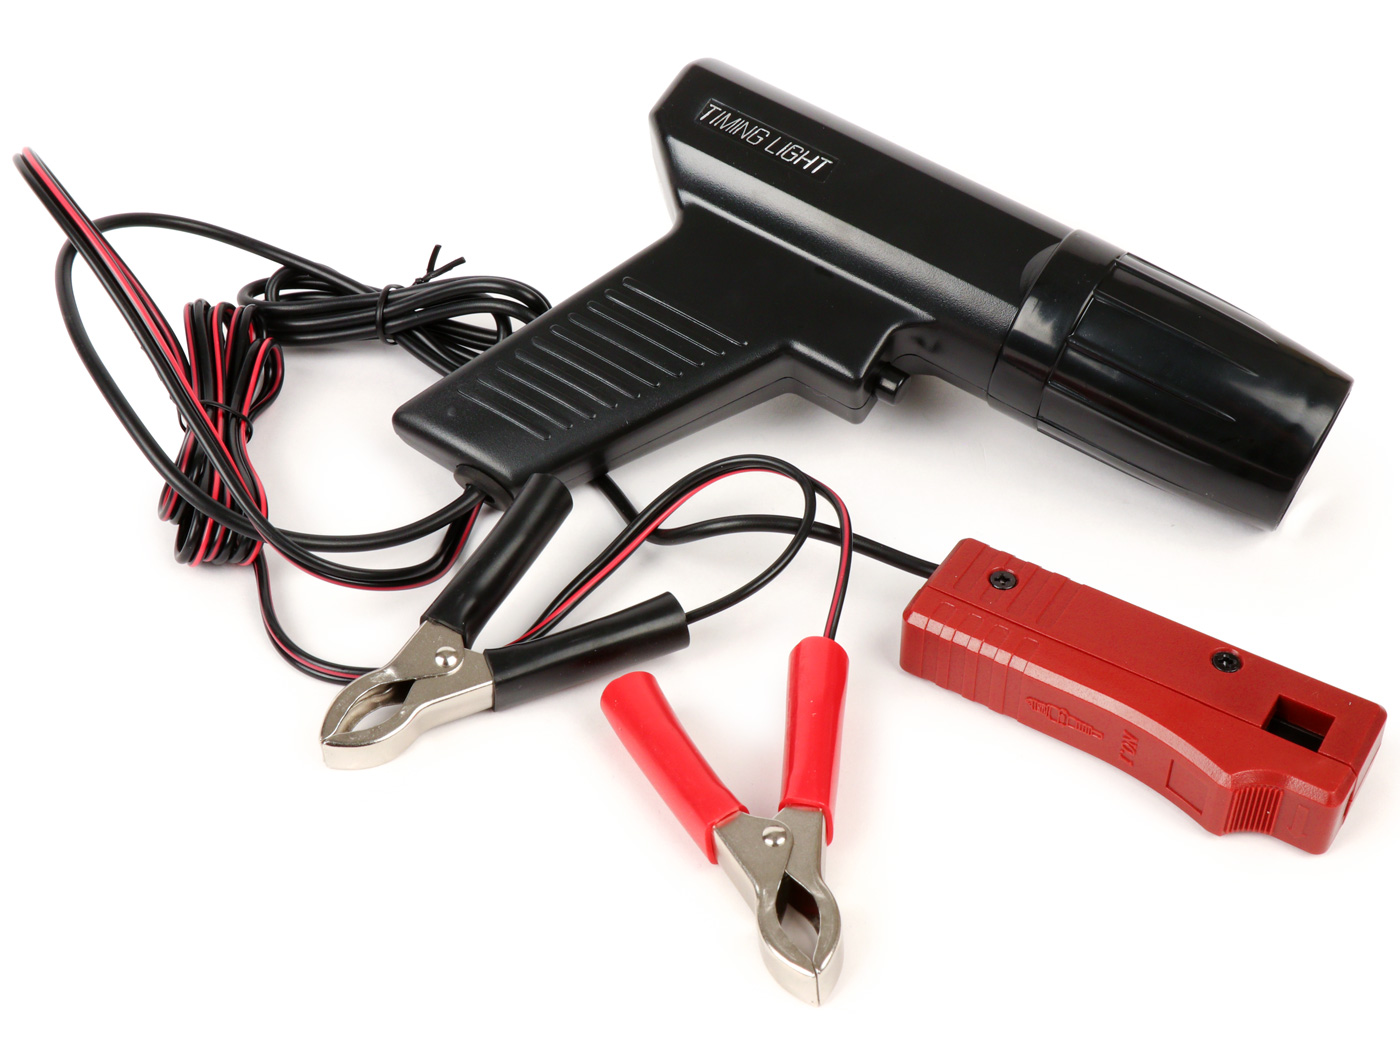
Pistola de luz de ignición Pistola de flash con lámpara estroboscópica TRISCO-ProLite - ignición 6V / 12V Artículo No .: MN912  Para el ajuste ocasional del encendido tenemos esta ligera y práctica pistola de luz de ignición TRISCO-ProLite en nuestro programa. Está bien en la mano y por supuesto también tiene el protector de goma. Los cables established firmemente conectados a la carcasa de la pistola. No importa si la ignición es de 6V or 12V, siempre se requiere There is an external energy source for 12V (por ejemplo, la battery de un coche), a menos que el vehicle ya tenga una.
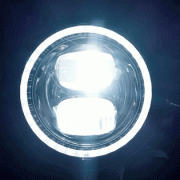
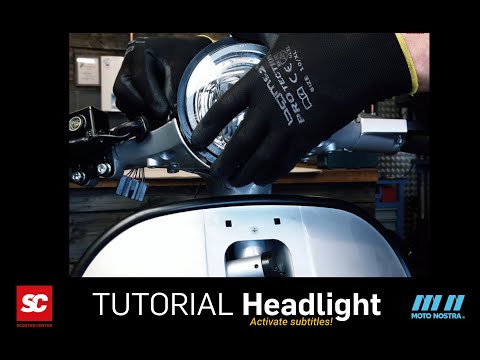
A video tutorial de Vespa te mostramos cómo instalar nuestra luz delantera LED Vespa PX para la Vespa PX. La luz delantera LED MOTO NOSTRA high power also be installed in other cases (Lambretta, Vespa GTS, Sprint, Rally). Con el marco específico del coche incluido, the installation de la luz delantera LED Vespa PX, como por ejemplo la luz delantera LED Vespa PX, it muy fácil
CONTENT
Instructions de montaje para print to PDF
El limit with las bombillas convencionales de Bilux en la mayoría de los scooters it una bombilla de faro con 45/45 W. El encendido de 80 W a un máximo de 120 W no da más. The luminosidad medida en lumenes es inferior a 400 y el faro LED tiene una luminosidad tres veces mayor (1300 lumenes). El consumo de energía es sólo de 20 W. Esto corresponde a la eficiencia luminosa de un foco convencional de 100 vatios. Esto significa que con un determinado alternador/alimentación de energía se puede lograr una iluminación considerablemente mejor. Además, queda más capacidad para otros consumidores
Let's use the video
Faro LED with marking E9 (homologation of the carretera) and luces largas y cortas de high intensity. Otra characteristica es una luz de posición que se puede cambiar por separately. With a diameter of 143 mm it is also perfect in the cabezal of the direction of the models PX and Cosa, as is the case with the bisel de las lamps de, for example, Vespa Sprint, GTR and Rally.
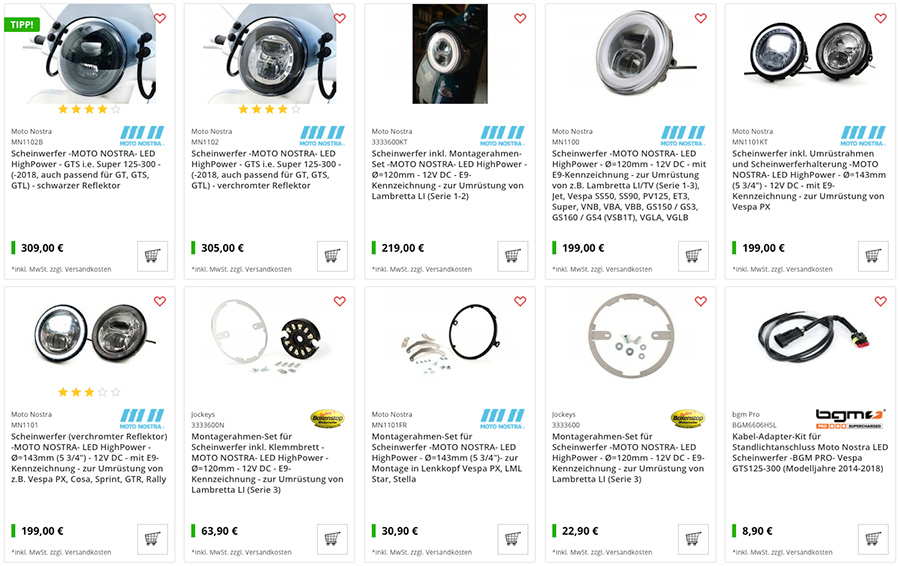
Luminosidad 1300 lumen Voltaje: 12 Volt DC (corriente directa) Consumo de energía: 1.8A / 1.3A Consumo de energía: 21.5W / 15W / 1.9W Diámetro: Ø143mm Profundidad total del cuerpo: 54mm (medido desde el anillo del faro sin abultamiento del vidrio) Profundidad total del cuerpo: 79mm (medido desde el anillo del faro sin abultamiento del vidrio con entrada de cable)
Elfoco LED exclusive function with corriente Continua, por lo que necesita una batería u otra fuente de energía equivalente with 12V DC. The funcionamiento con una fuente de voltaje de corriente alterna conduce a un defecto inmediato

La semana que viene empezaremos con nuestros videos Tutorials de Vespa, a series del proyecto Vespa Platónika bgm177 del Scooter Center.
[su_espacio]
[su_espacio]
Platónika is the name of the new project, a Vespa PX, which is completely reconstructed with new pieces of the stock Scooter Center, between Ellas nuestras mejores piezas bgm. Aquí compartiremos todo el conocimiento de nuestro equipo, donde recibirás muchos consejos y podras echar un vistazo tras bambalinas.
Sigue el projecto en nuestro blog: