Posts
In the fourth part of our little blog series we make the following changes to our test engine:
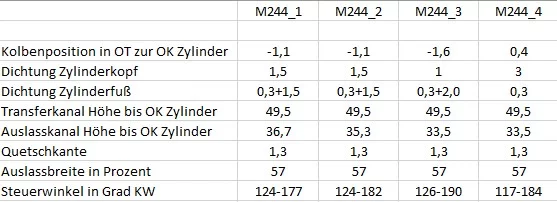
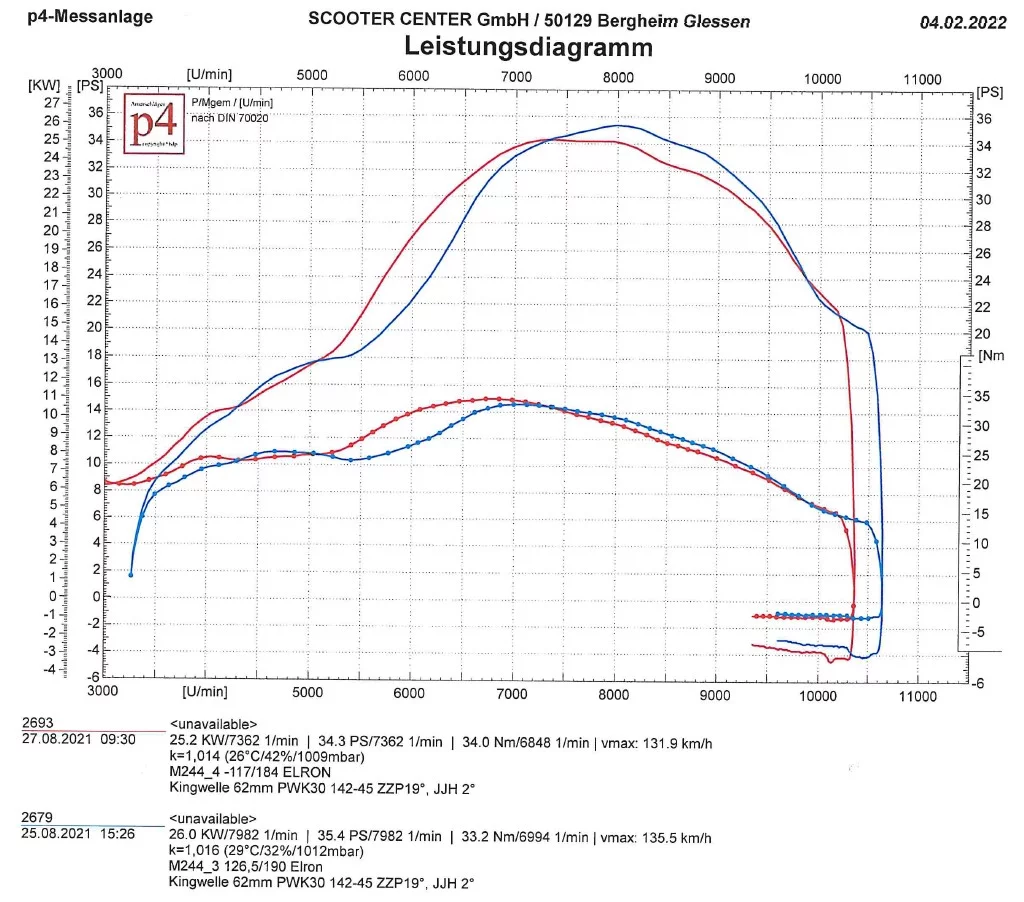
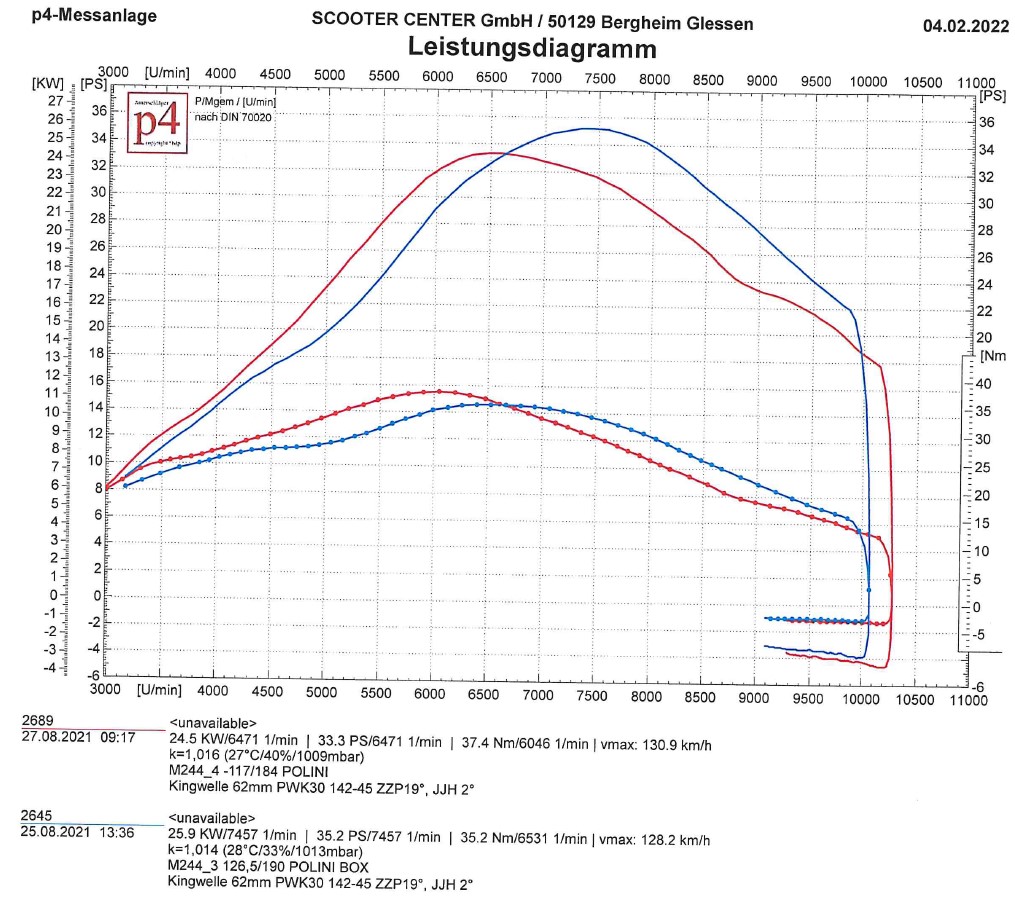
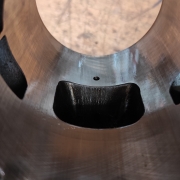
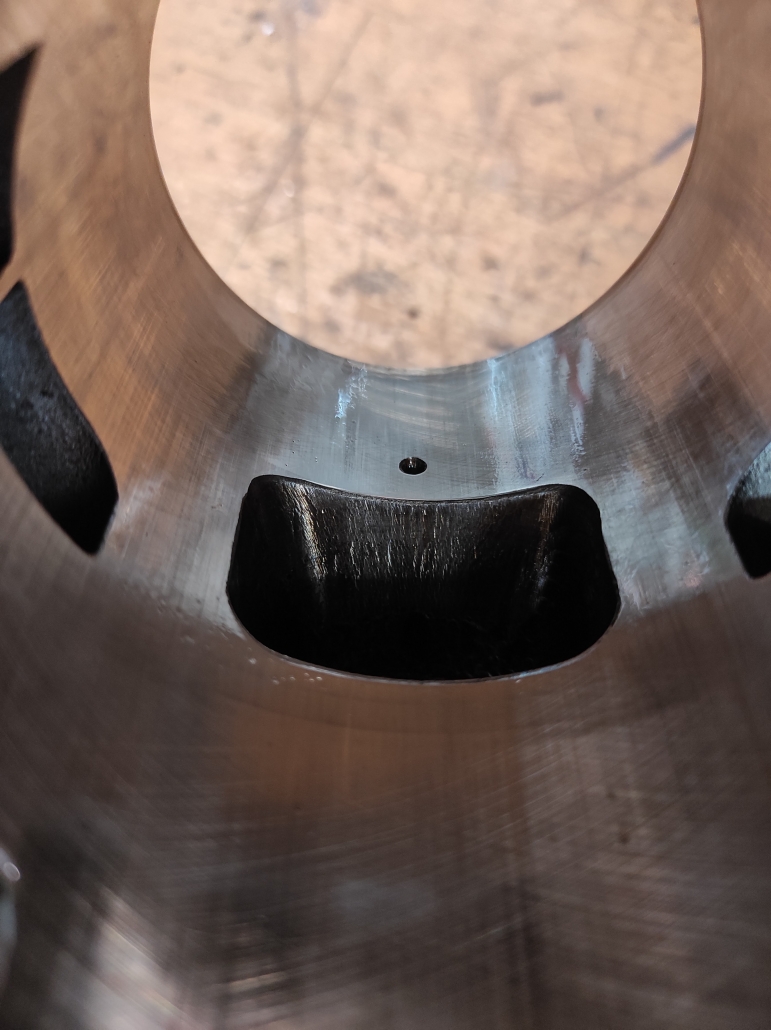
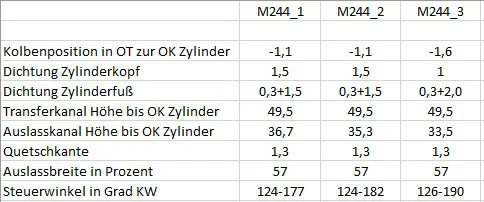
The cylinder is attached at the foot with two 1mm Spacers increased by a further 2mm compared to level 0.5. This changes the steering angle of the transfer channels from 124° to 126°. The outlet is adjusted to a control angle of 190° by milling. To do this, the outlet in the cylinder was raised by 1.8mm. The outlet width remains unchanged at 57%.
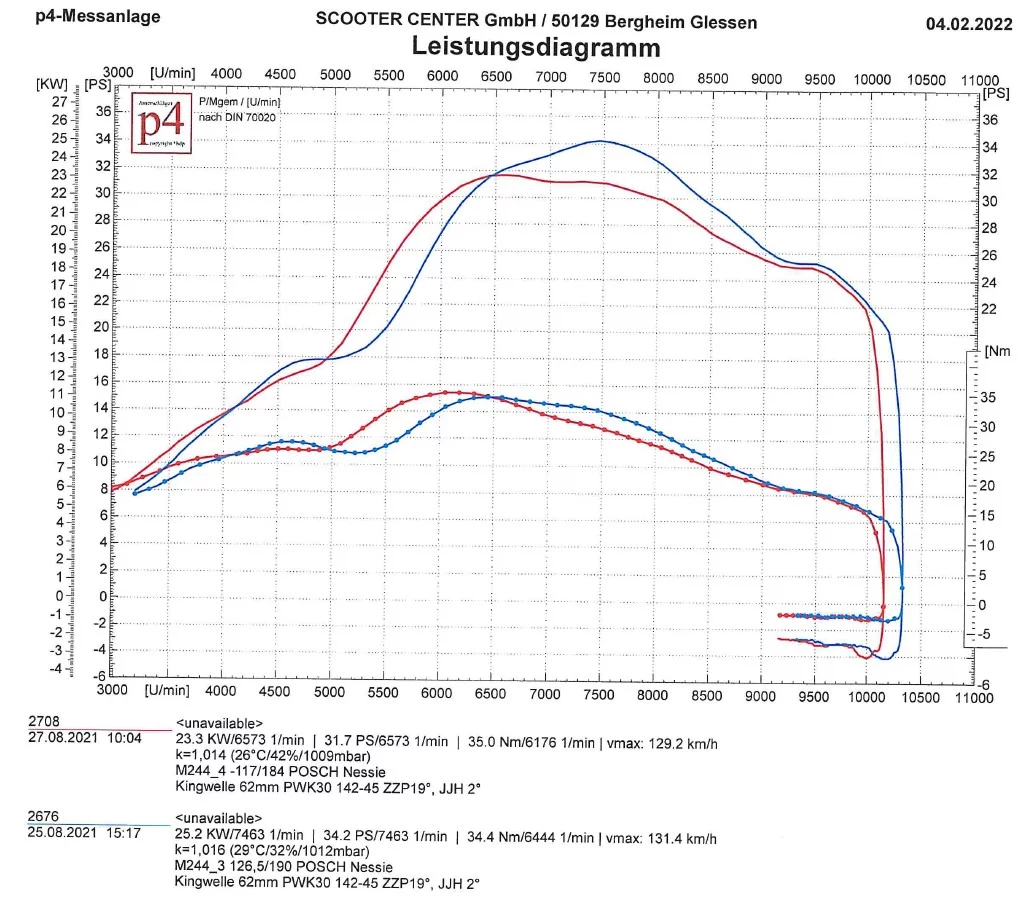
The first attempts are made with the Elron
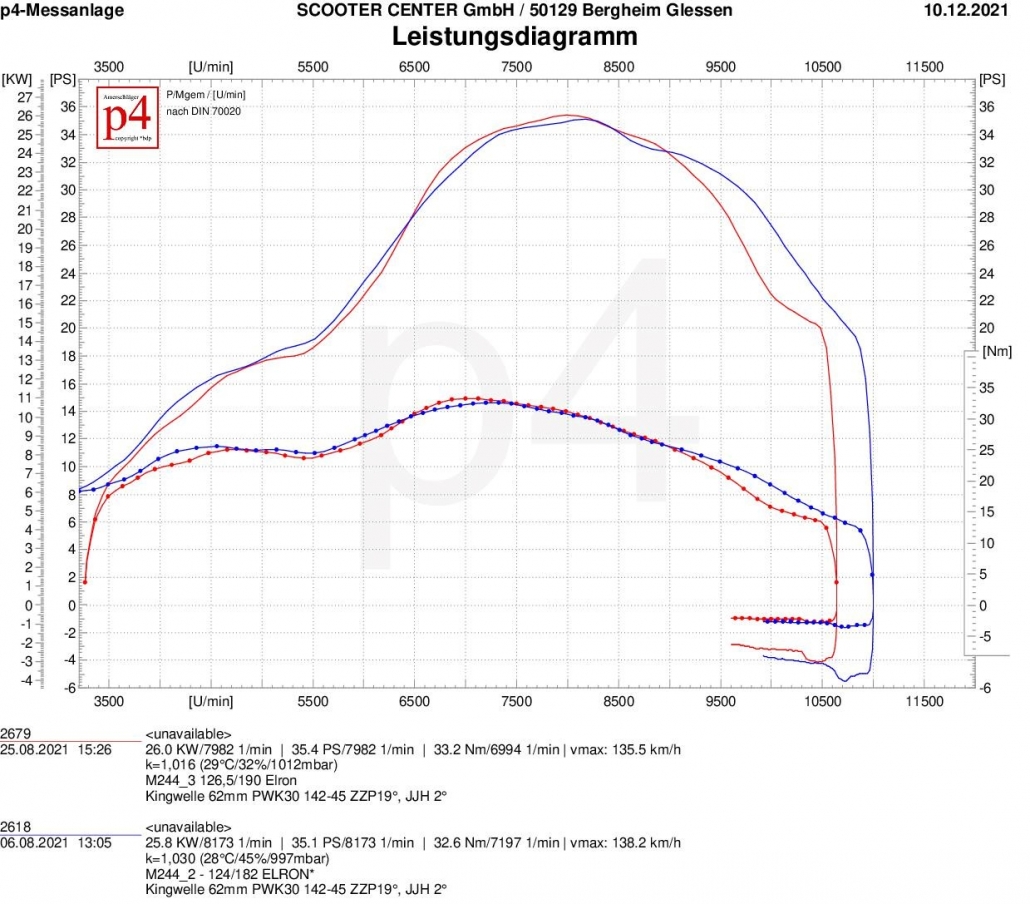
A little more nervous exhaust systems would show a clear shift in the direction of performance with the changes made, but the Elron is almost unimpressed by the specifications of the cylinder and retains control over the characteristics of the engine. A slight increase in the maximum values after the decimal point only indicates that the Elron has noticed that the cylinder is sending a clearer signal through the exhaust. However, the maximum torque remains at the same level as in the first construction stage.
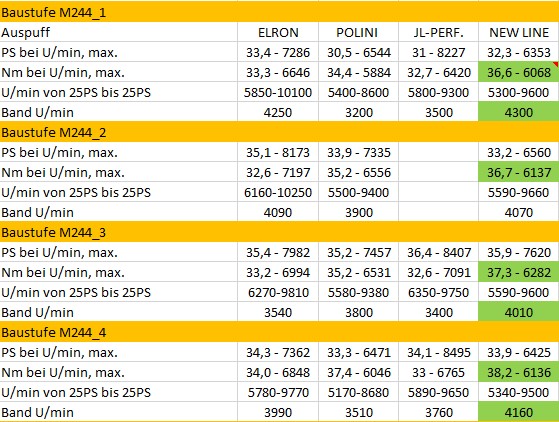
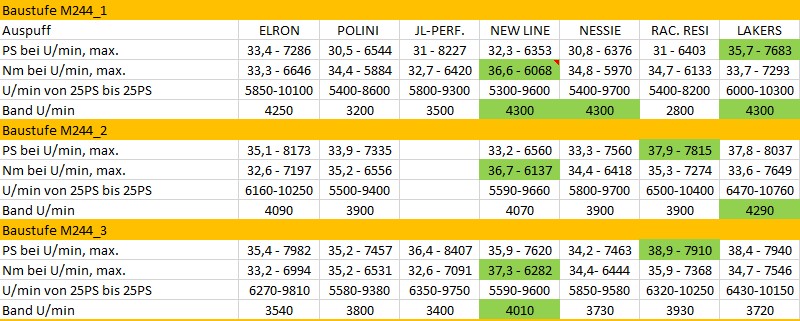
The available speed range is reduced by 500 rpm to 3540 rpm.
Polini box
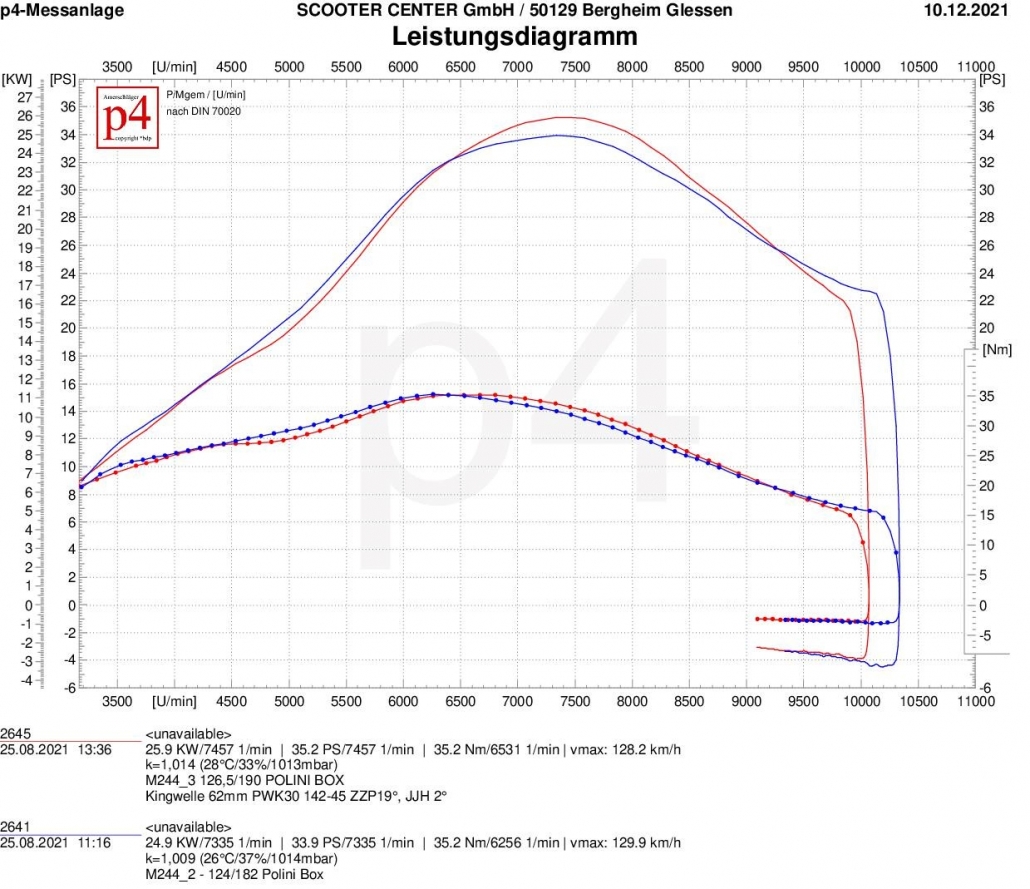
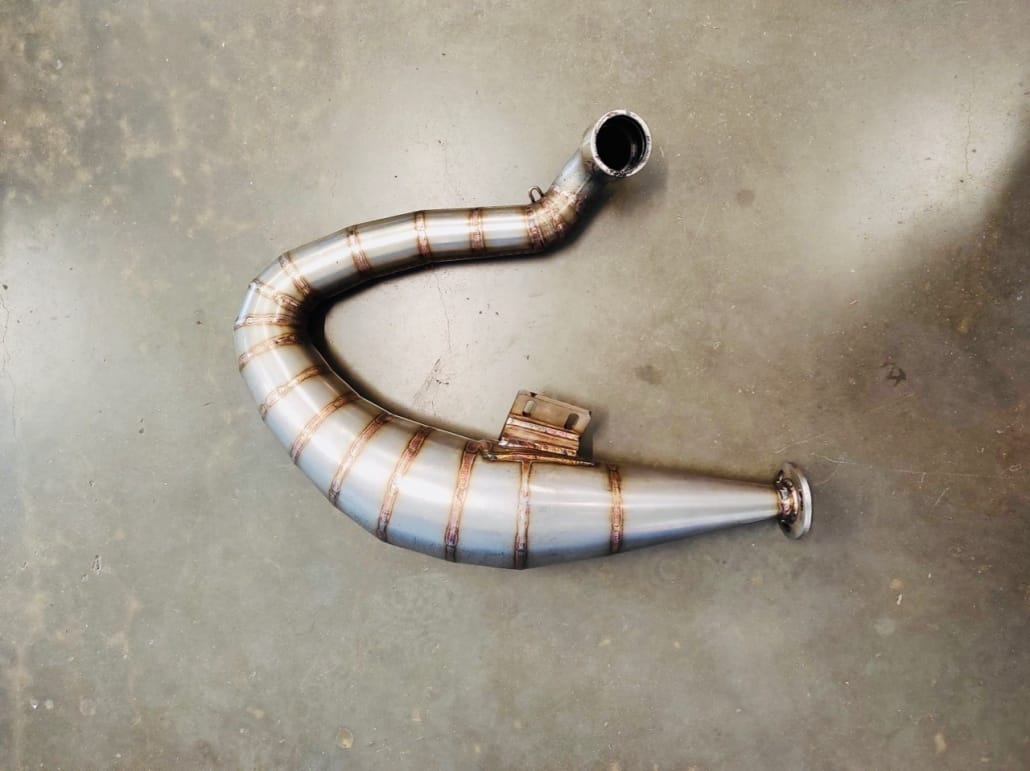
As a box exhaust, the Polini exhaust system reacts more as expected. Similar to the Elron, the can from Italy only shows small reactions. The lower effective compression makes the curve dip a bit in the rise between 4000 rpm and 6200 rpm. The system converts the slightly increased time cross-section at the outlet window with a gain of just over one horsepower at peak.
The maximum torque remains the same at 35.2Nm and is only shifted by a few hundred revolutions in the direction of higher speeds.
With a bandwidth of 3800 revolutions, the Polini system is slightly behind stage 2, but this test shows that the box does not necessarily prefer the very small steering angle. In a direct comparison to stage 1, the bandwidth and maximum values have increased significantly.
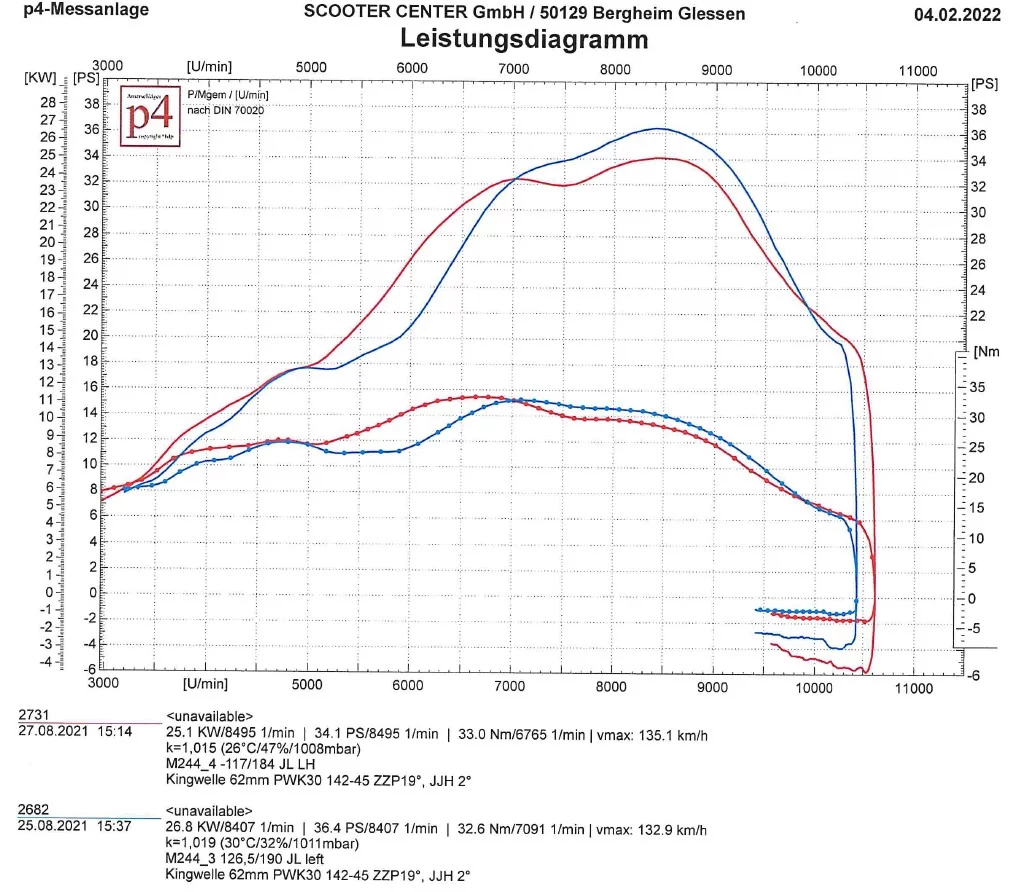
JL left hand / JL performance
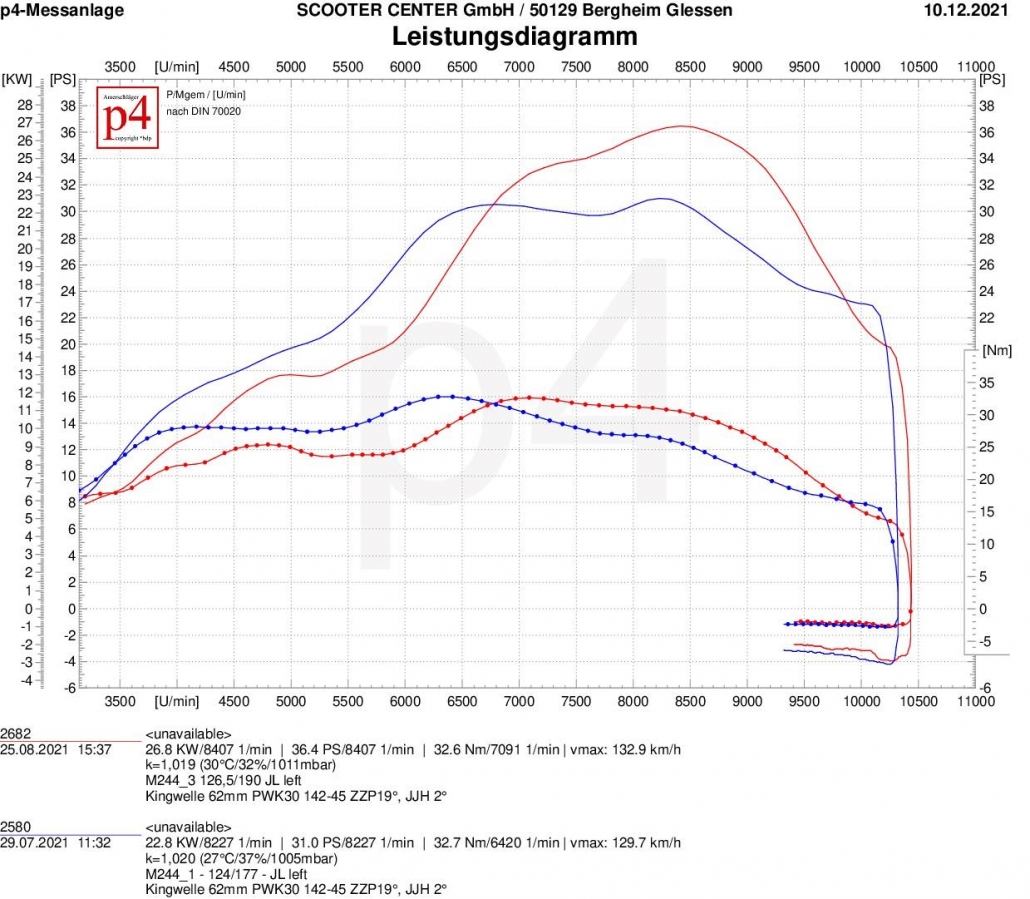
Our test subject had a short break in the previous construction stage due to appointments away from home; but now plays again in the third construction stage. So here is the comparison between levels 1 and 2.
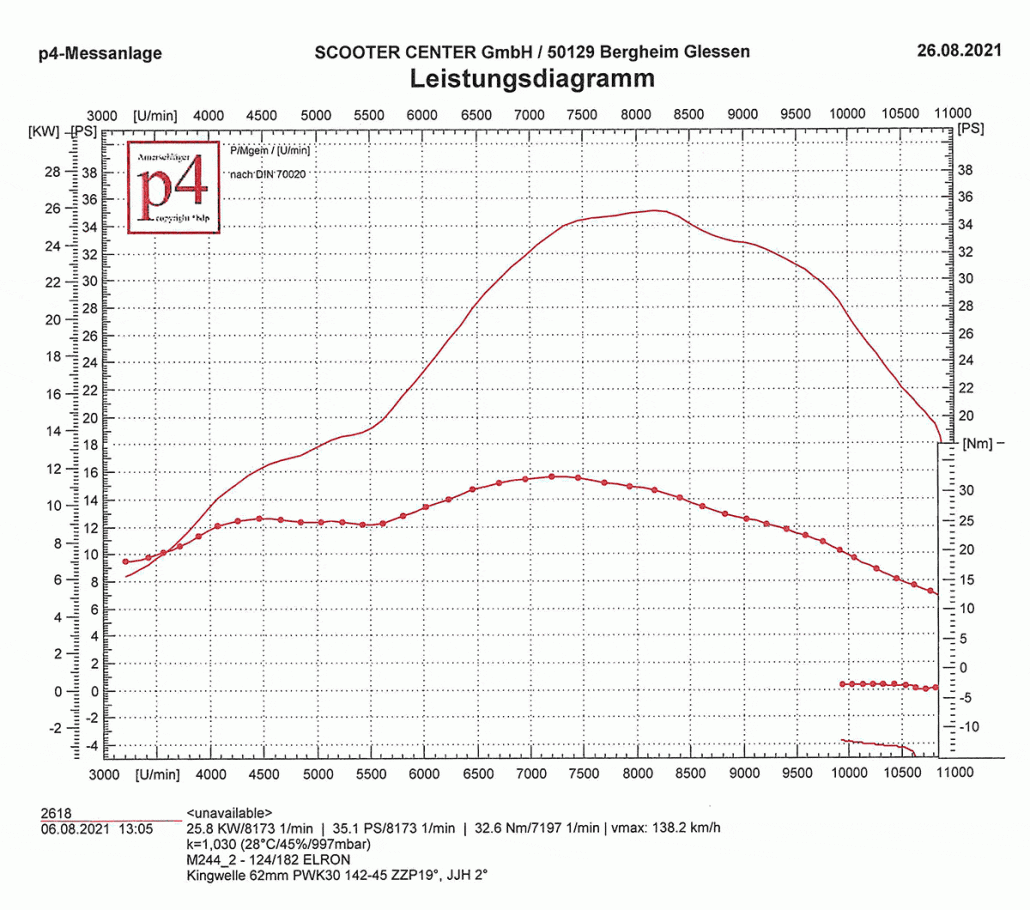
This also shows how clearly an exhaust can behave when it is operated from other steering angles. The JL, which is considered good-natured, turns out to be a very approachable partner in the search for performance.
At the top, the JL provides almost five and a half more horses and climbs over the 36PS line in the graph. The torque remains at 32.6Nm at the same level as in the first attempt. However, the torque extends over a much wider range - beyond 7000rpm. The performance peak is reached with 36.4PS at 8400rpm. The JL falls below the 25 HP line considered in the bandwidth only beyond 9600 rpm and can therefore not be described as a lazy speed. In general, the graph shifts significantly in the direction of higher speeds. With a bandwidth of only 3400 revolutions, the JL even lags behind the Elron and brings up the rear in terms of bandwidth in this construction stage.
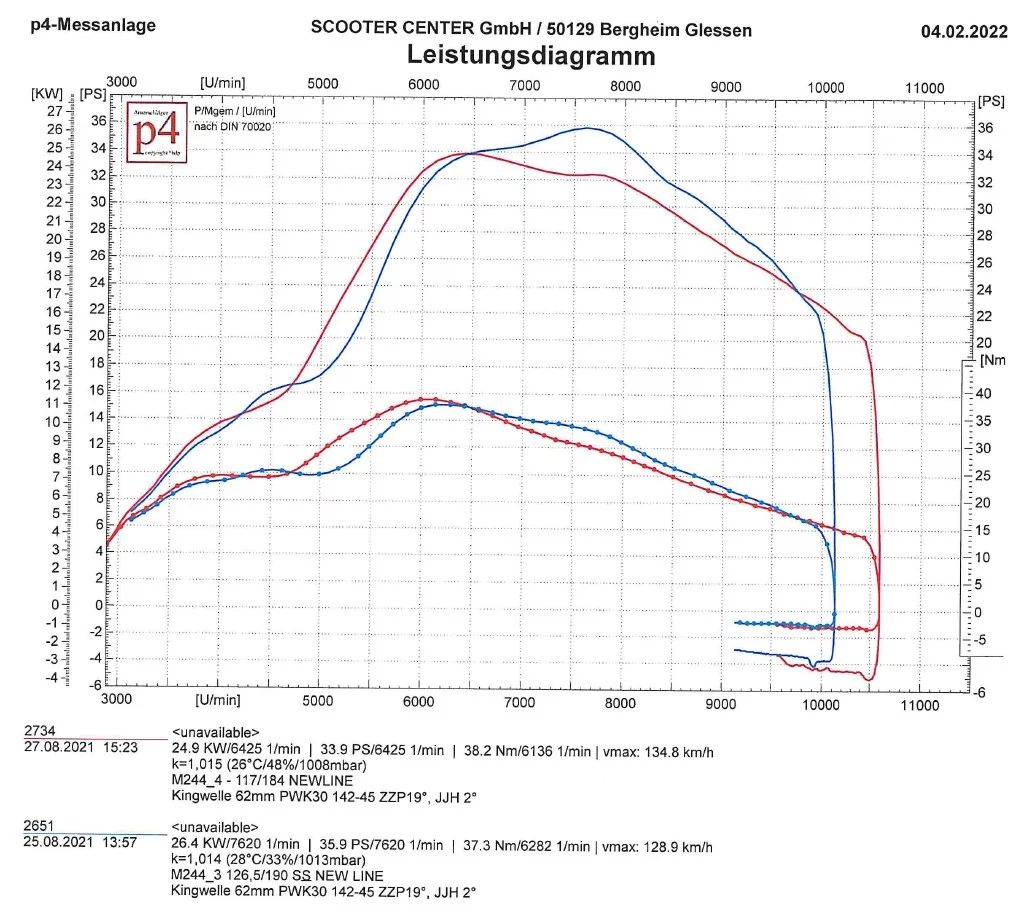
Scooter and Service Newline
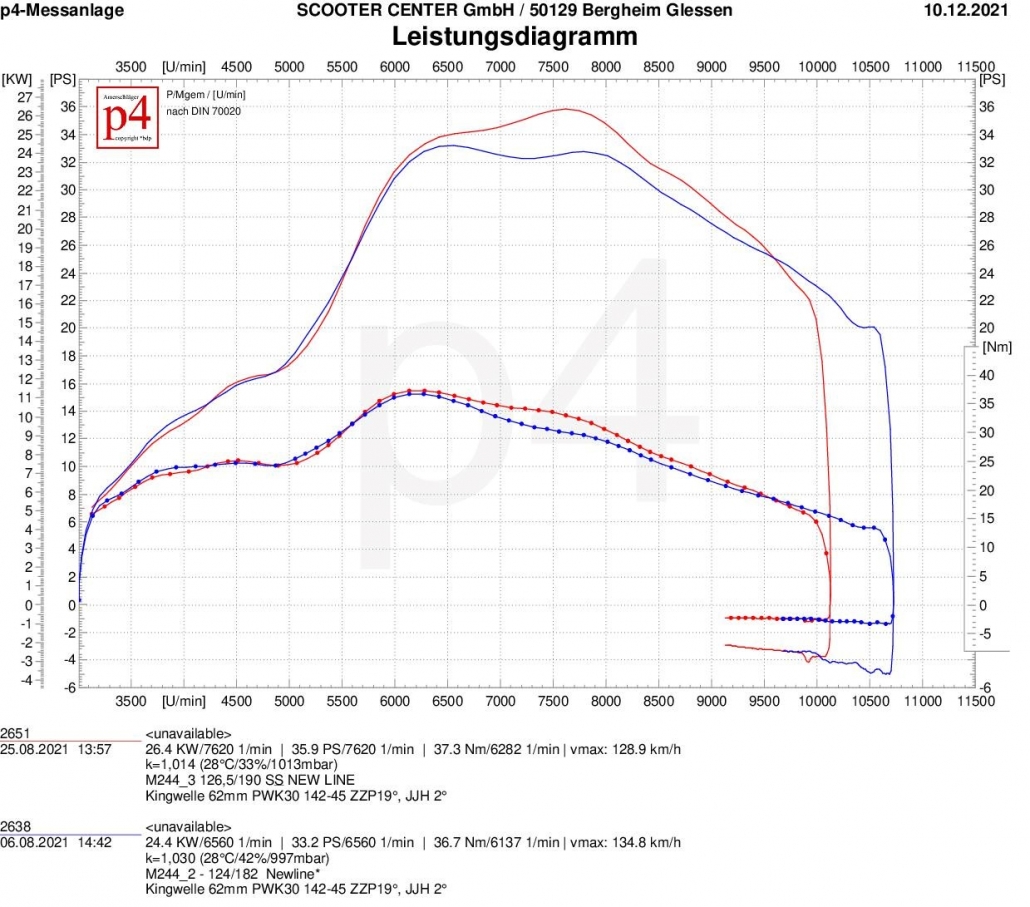
The edgy powerhouse from the north feels really comfortable in this expansion stage and takes two best values with it.
There are no notable changes in the rise in the newline, but it does quite a bit due to the larger advance angle in the engine speed range. With 37.3Nm, it takes the top position in terms of torque in the third construction stage. The available speed range is narrower compared to the previous tests, but here too the Newline achieves a range of 4000 revolutions. With these values, considerations germinate after a longer primary with 24-60 ...
Nessie
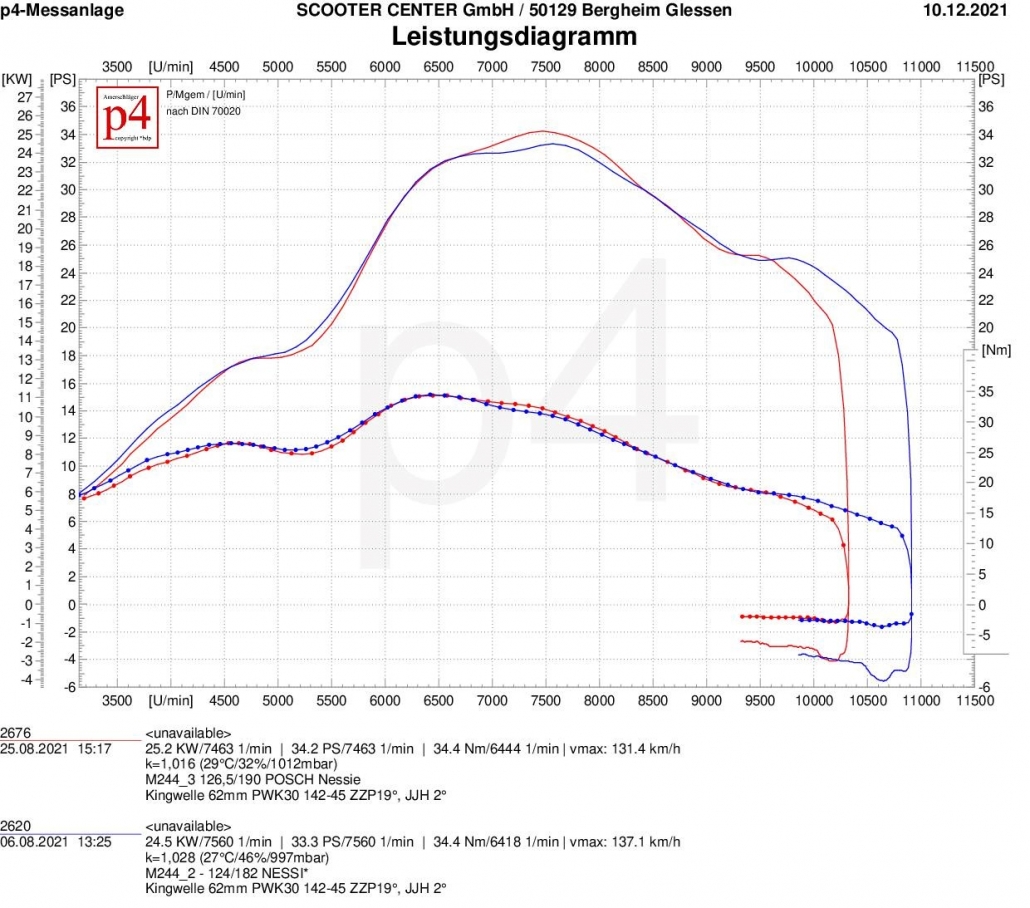
Like the Elron, the sea monster from Posch Performance is not quite sure what to do with the changed control angles. Maximum torque remains the same and peak power increases by one horsepower. While the Nessie was still way ahead in level 1 with 4300 rpm in terms of bandwidth, the available speed range in level three is a bit on the dip station and is in the upper midfield with 3700 rpm.
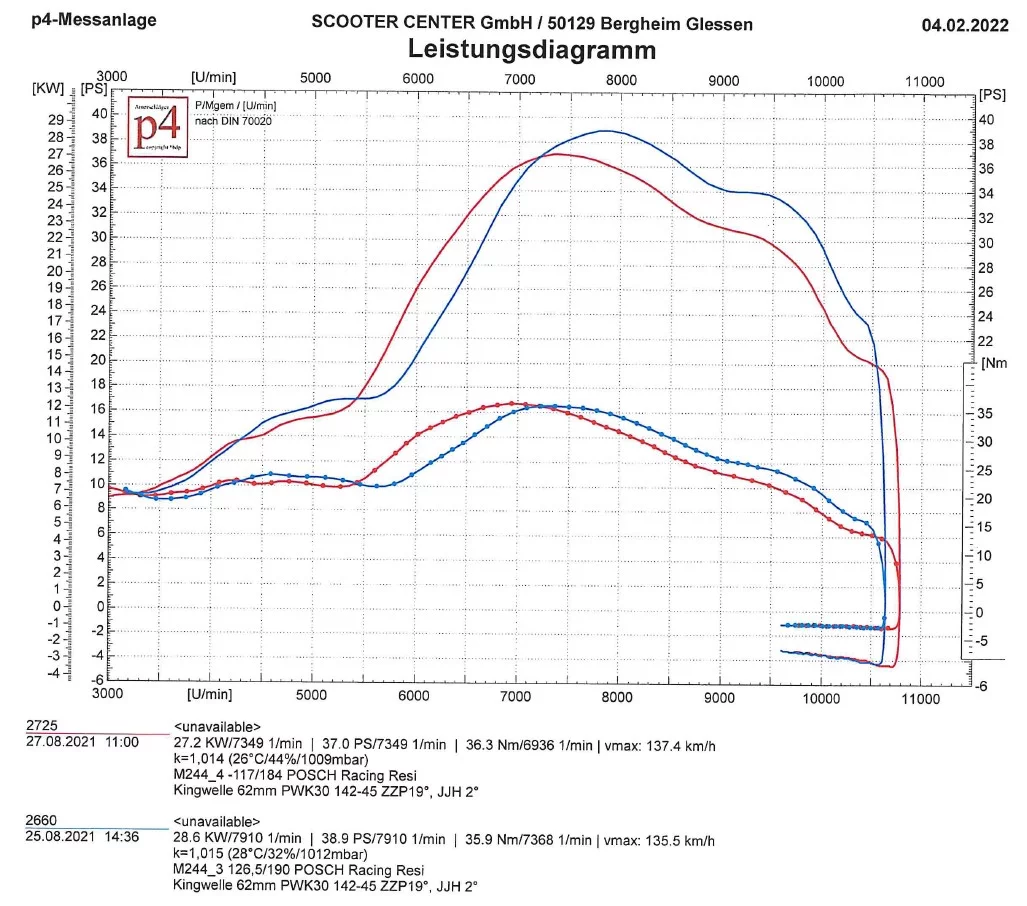
Racing Resi
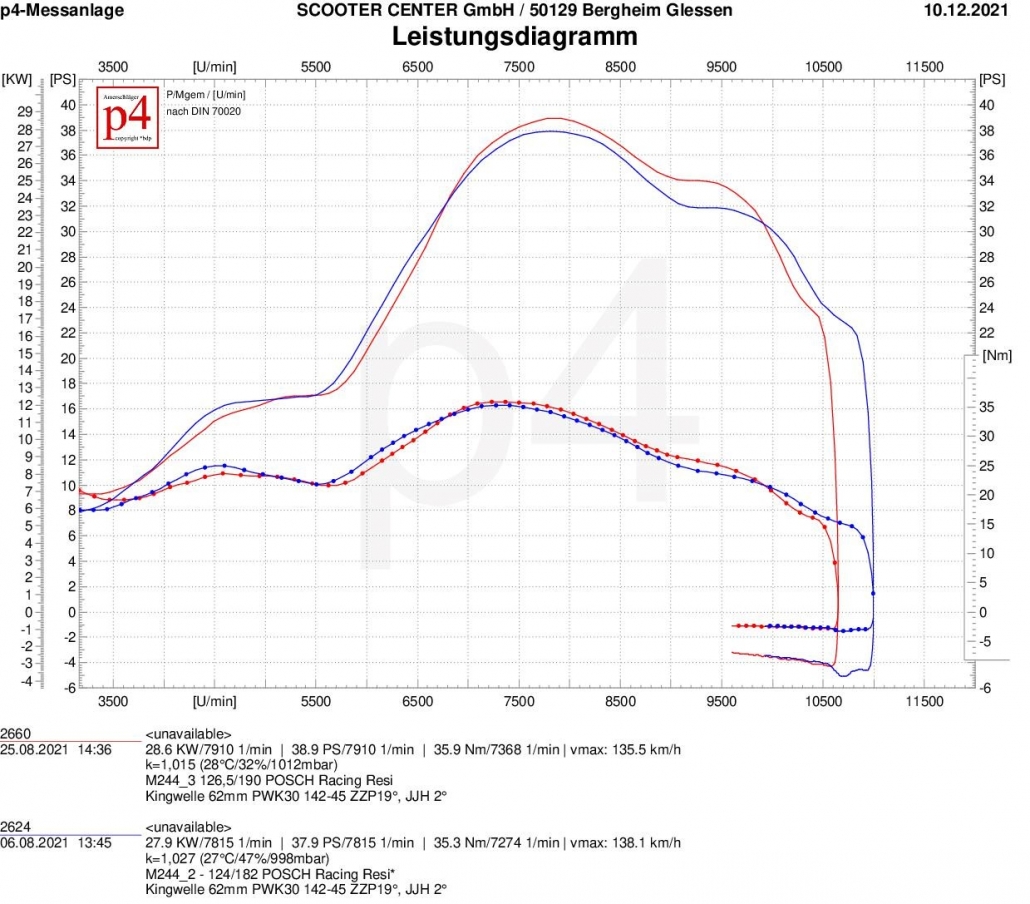
The Racing Resi taste the changes better. Rather devoted to the higher control angles, the Resi develops one more horsepower at the top and adds torque, which hardly affects the bandwidth on the 25hp line. In absolute terms, the Resi holds the position of the highest peak power with 38.9 hp in this level. We are slowly approaching the 40hp mark with the expansion stages.
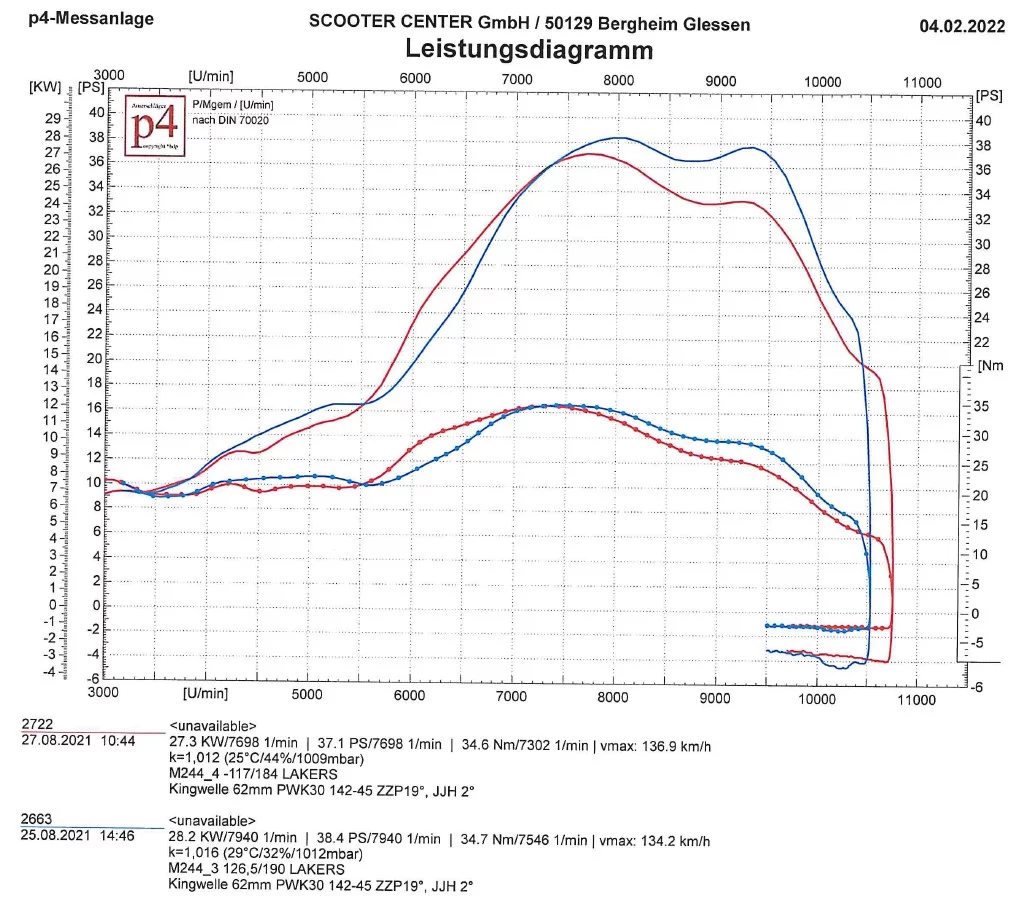
Lakers
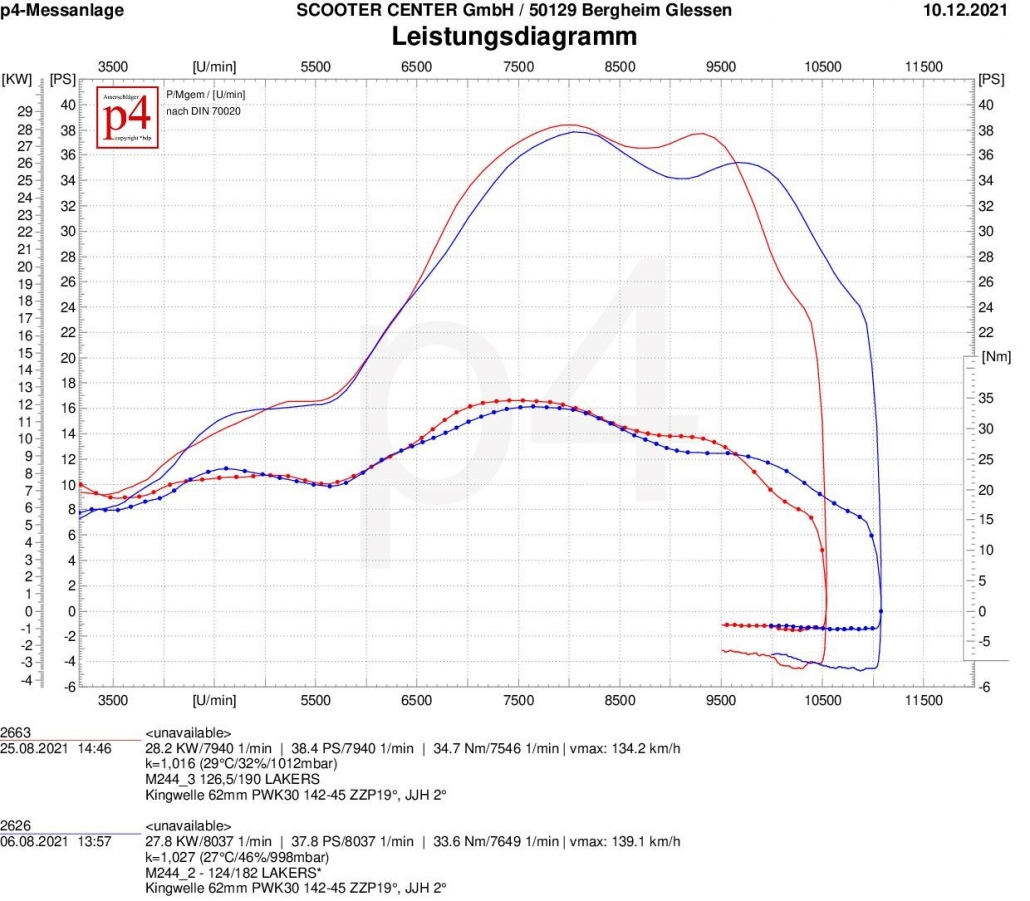
With 126° to 190°, the Lakers are not yet playing in their comfort zone. Although it also clearly converts the changed control angles into performance. With 38.4 hp at the top, it is only just behind the Resi. With a speed range of 3700 rpm, which already extends to 10.100 rpm, the Lakers shows where the journey can go with suitable peripherals.
Here is an overview of the results. Best values are highlighted in green.
M&R VESPABAG - PER LA TUA VESPA DI IERI
The bags: M&R VESPABAG
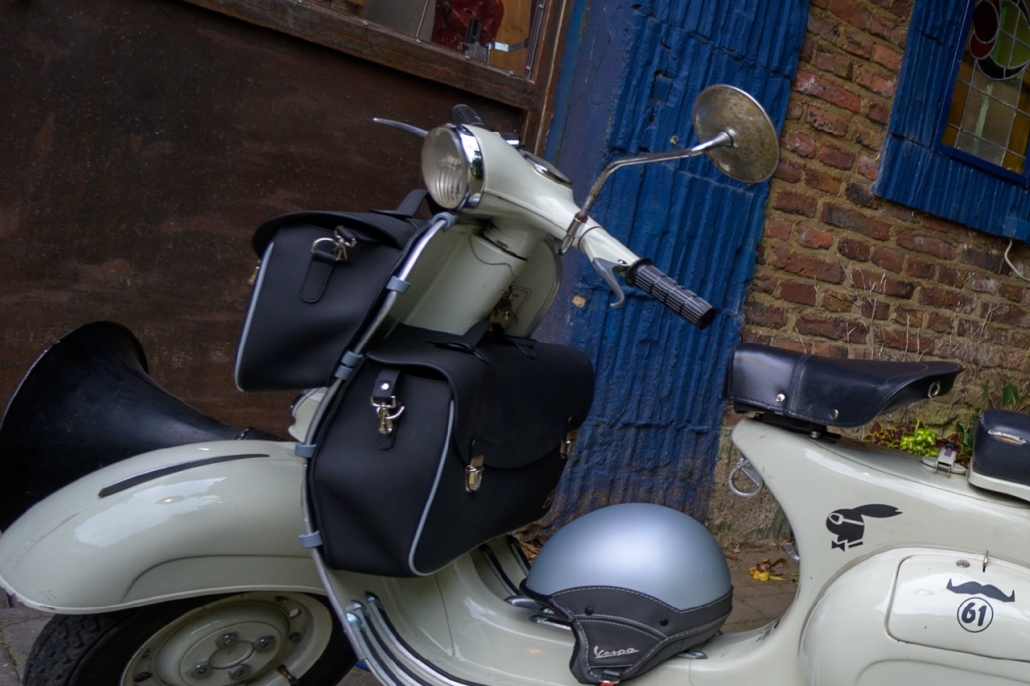
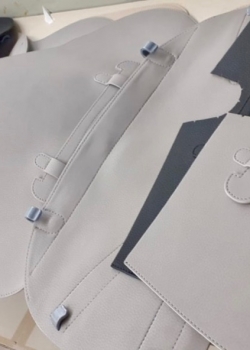
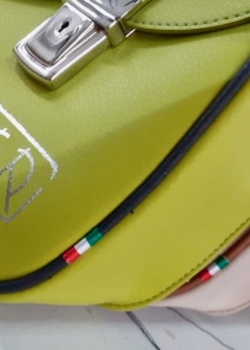
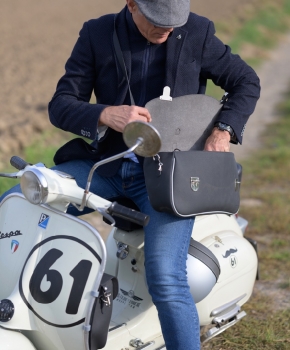
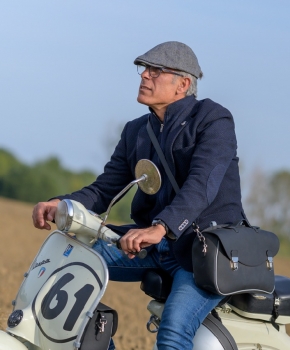
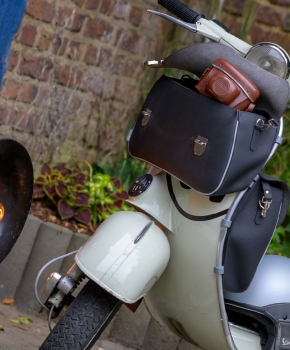
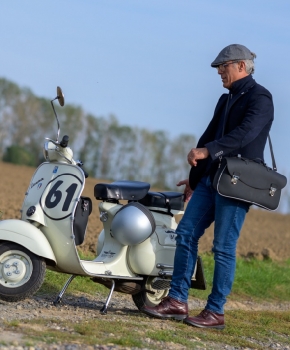
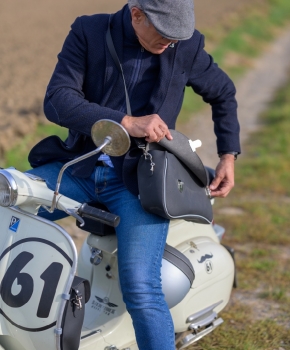
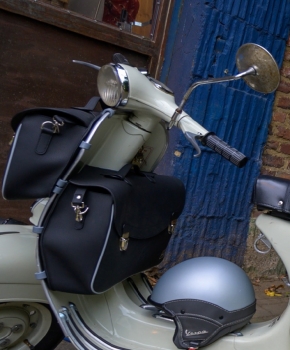
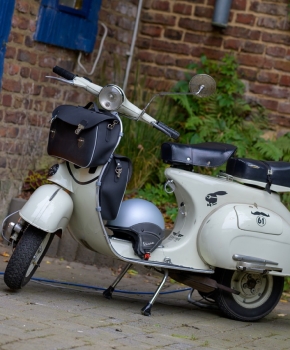
The VespaBag is the perfect addition to any Vespa. As Leg shield pocket The designed bag offers plenty of storage space for this and that. It hugs the shape of the Vespa sign, both outside and inside. It is attached using integrated hooks and can be removed with a handle so that you can take it with you and use it as a shoulder bag.
The designer
Mauro Mulas, Born on November 24.11.1961th, XNUMX in Rio Marina, Livorno (Italy), married, three grown children, lives in Cologne. Studied retail design at the FH Düsseldorf (Bachelor of Arts). Vespisti.
Made in Italia - Italian craftsmanship
These noble Vespa leather bags were designed by Mauro Mulas for all Vespa vintage Vespa models. The production takes place in cooperation with an experienced Italian saddler, who makes the bags in his workshop in the middle of Tuscany with great attention to detail by hand - real Italian craftsmanship from picturesque Tuscany!
Of course there are noble masterpieces in different colors:
PRODUCT DESCRIPTION
- Great bags for classic Vespa models in a harmonious vintage look
- weatherproof synthetic leather in different colors: beige, gray and black
- no luggage rack required for assembly
- Lateral fixing points made of plastic, gray
- retractable handle
- removable shoulder strap
- the large inner compartment offers enough space for small purchases (cell phone, wallet, laptop, pens, keys, etc.)
- Stamped “M&R” logo
- Suitable for almost all Vespa vintage models - Bj. 1946 to today:
V50, PV125, ET3, VNA 125, VNB, VBA 150, VBB, 150 T4 (VGLA, (VGLB), Rally180 (VSD1T), Rally200 (VSE1T), TS125 (VNL3T), Sprint150 (VLB1T), Sprint Veloce, GT125 ( VNL2T), GTR125 (VNL2T), Super, SS180 (VSC1T), GL150 (VLA1T), VN, VL, VB and PX
| MUR00101B | Legshield pocket, leather, outside, black -M & R, Made in Italy- Vespa V50, PV125, ET3 |
| MUR00101G | Legshield pocket, leather, outside, gray -M & R, Made in Italy- Vespa V50, PV125, ET3 |
| MUR00101S | Legshield pocket, leather, outside, beige -M & R, Made in Italy- Vespa V50, PV125, ET3 |
| MUR00102B | Legshield pocket, leather, inside, black -M & R, Made in Italy- Vespa V50, PV125, ET3 |
| MUR00102G | Legshield pocket, leather, inside, gray -M & R, Made in Italy- Vespa V50, PV125, ET3 |
| MUR00102S | Legshield pocket, leather, inside, beige -M & R, Made in Italy- Vespa V50, PV125, ET3 |
| MUR00201B | Legshield pocket, leather, outside, black -M & R, Made in Italy- Vespa 125 VNA, VNB, Vespa 150 VBA, VBB, Vespa 150 T4 (VGLA, VGLB) |
| MUR00201G | Legshield pocket, leather, outside, gray -M & R, Made in Italy- Vespa 125 VNA, VNB, Vespa 150 VBA, VBB, Vespa 150 T4 (VGLA, VGLB) |
| MUR00201S | Legshield pocket, leather, outside, beige -M & R, Made in Italy- Vespa 125 VNA, VNB, Vespa 150 VBA, VBB, Vespa 150 T4 (VGLA, VGLB) |
| MUR00202B | Legshield pocket, leather, inside, black -M & R, Made in Italy- Vespa 125 VNA, VNB, Vespa 150 VBA, VBB, Vespa 150 T4 (VGLA, VGLB) |
| MUR00202G | Legshield pocket, leather, inside, gray -M & R, Made in Italy- Vespa 125 VNA, VNB, Vespa 150 VBA, VBB, Vespa 150 T4 (VGLA, VGLB) |
| MUR00202S | Legshield pocket, leather, inside, beige -M & R, Made in Italy- Vespa 125 VNA, VNB, Vespa 150 VBA, VBB, Vespa 150 T4 (VGLA, VGLB) |
| MUR00501B | Legshield pocket, leather, outside, black -M & R, Made in Italy- Vespa Rally180 (VSD1T), Rally200 (VSE1T), TS125 (VNL3T), Sprint150 (VLB1T), Sprint Veloce, GT125 (VNL2T), GTR125 (VNL2T), Super, SS180 (VSC1T), GL150 (VLA1T) |
| MUR00501G | Legshield pocket, leather, outside, gray -M & R, Made in Italy- Vespa Rally180 (VSD1T), Rally200 (VSE1T), TS125 (VNL3T), Sprint150 (VLB1T), Sprint Veloce, GT125 (VNL2T), GTR125 (VNL2T), Super, SS180 (VSC1T), GL150 (VLA1T) |
| MUR00501S | Legshield pocket, leather, outside, beige -M & R, Made in Italy- Vespa Rally180 (VSD1T), Rally200 (VSE1T), TS125 (VNL3T), Sprint150 (VLB1T), Sprint Veloce, GT125 (VNL2T), GTR125 (VNL2T), Super, SS180 (VSC1T), GL150 (VLA1T) |
| MUR00502B | Legshield pocket, leather, inside, black -M & R, Made in Italy- Sprint150 (VLB1T), Sprint Veloce, GT125 (VNL2T), GTR125 (VNL2T), Super, GL150 (VLA1T) |
| MUR00502G | Legshield pocket, leather, inside, gray -M & R, Made in Italy- Sprint150 (VLB1T), Sprint Veloce, GT125 (VNL2T), GTR125 (VNL2T), Super, GL150 (VLA1T) |
| MUR00502S | Legshield pocket, leather, inside, beige -M & R, Made in Italy- Sprint150 (VLB1T), Sprint Veloce, GT125 (VNL2T), GTR125 (VNL2T), Super, GL150 (VLA1T) |
| MUR01101B | Legshield pocket, leather, outside, black -M & R, Made in Italy- Vespa VN, VL, VB |
| MUR01101G | Legshield pocket, leather, outside, gray -M & R, Made in Italy- Vespa VN, VL, VB |
| MUR01101S | Legshield pocket, leather, outside, beige -M & R, Made in Italy- Vespa VN, VL, VB |
| MUR01102B | Legshield pocket, leather, inside, black -M & R, Made in Italy- Vespa VN, VL, VB |
| MUR01102G | Legshield pocket, leather, inside, gray -M & R, Made in Italy- Vespa VN, VL, VB |
| MUR01102S | Legshield pocket, leather, inside, beige -M & R, Made in Italy- Vespa VN, VL, VB |
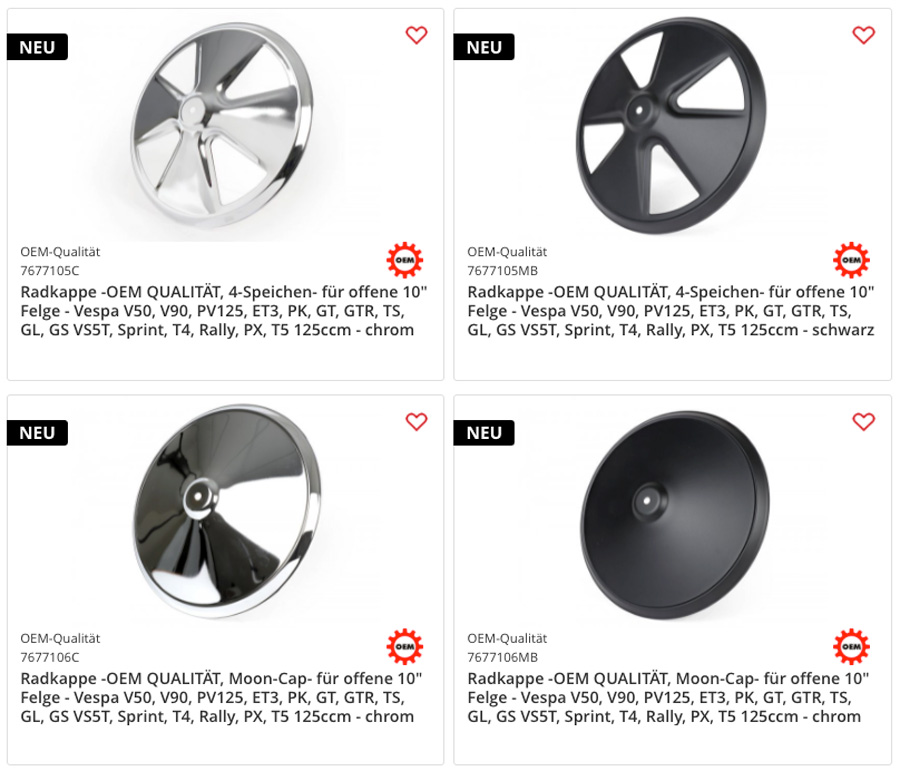
The Vespa hubcap - a classic Vespa accessory
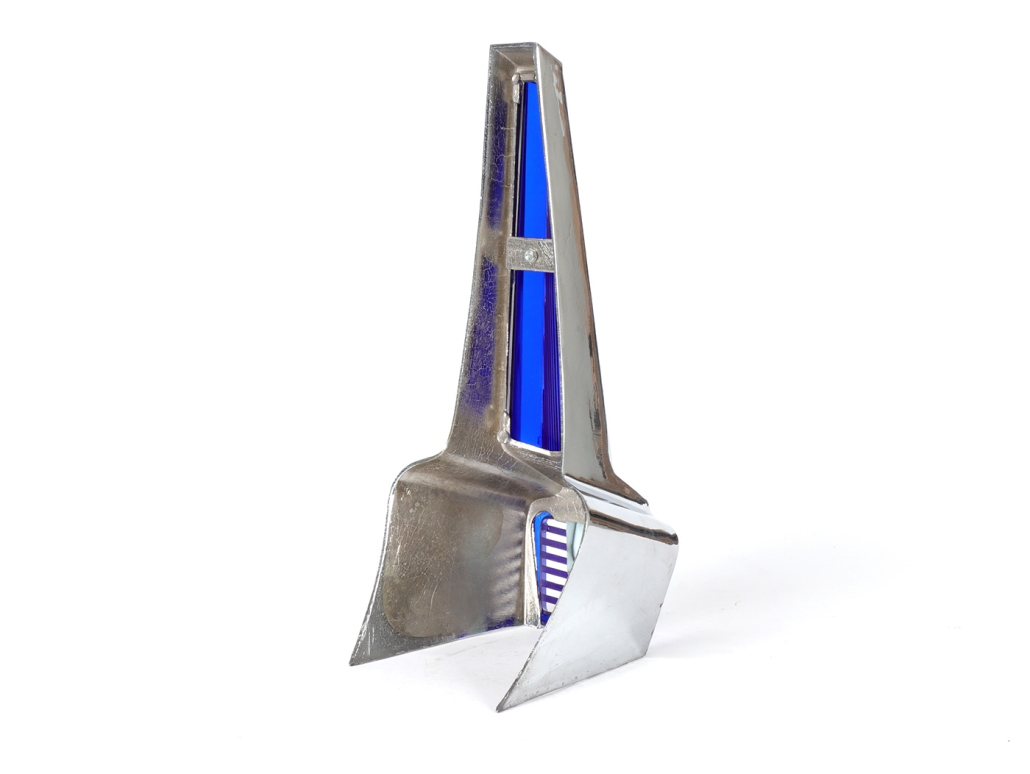
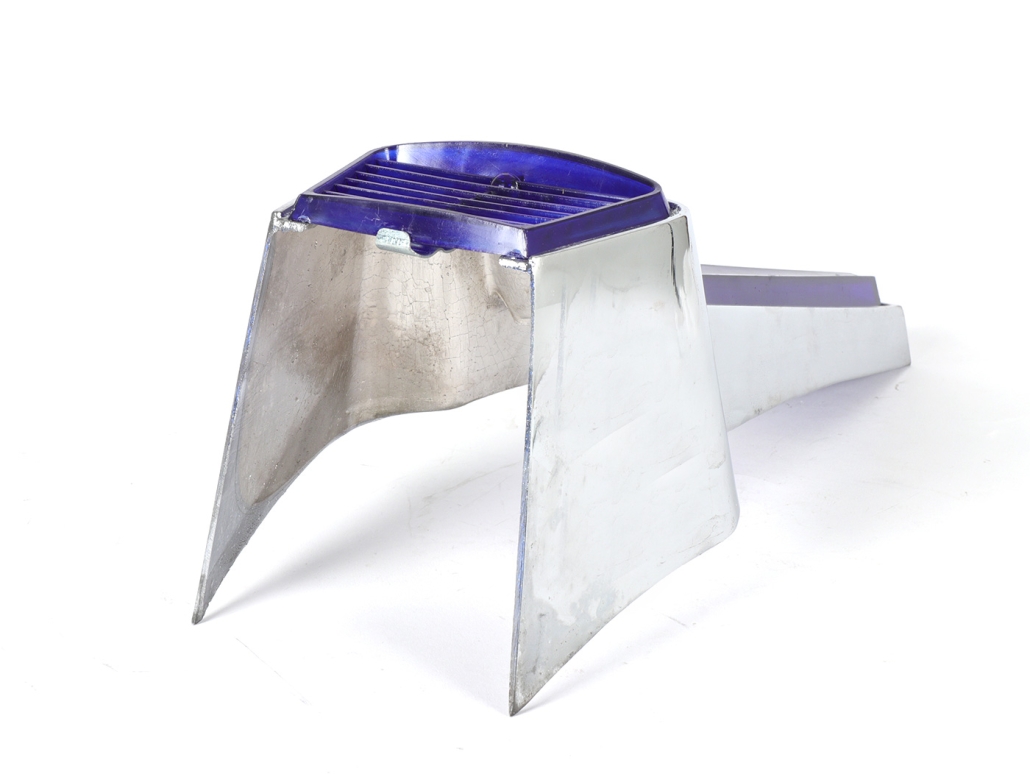
It has always been one of the simplest, cheapest and most eye-catching options yours Vespa to individualize: the hubcap. For a long time there wasn't that much choice.
We have now 4 new hubcaps included in the program, which we particularly liked. Immediately available:
So we have a nice selection of new hubcaps for all Vespa 10 inch wheels with 5 screw connections - open rim type (not suitable for tubeless rims).
Simple, safe and quick assembly:
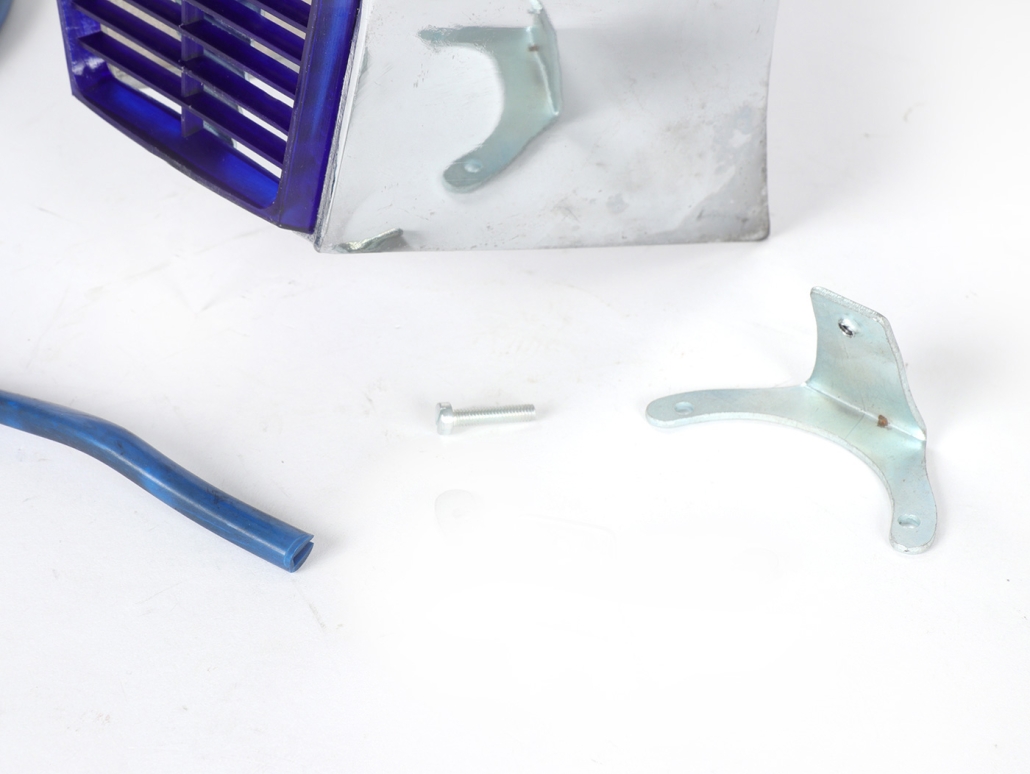
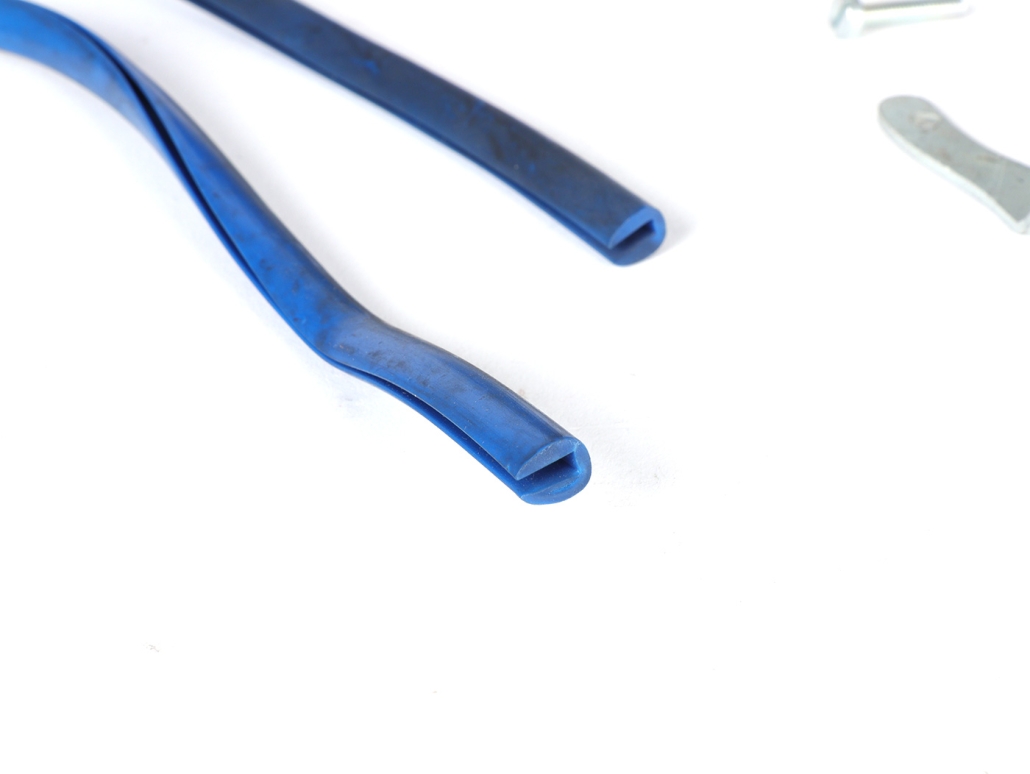
Bracket and screw for fastening are included. The holder is screwed under the M8 nuts of your brake drum / rim attachment.
When it's your turn anyway. What do your tires look like? Do you already know our wide range of tires and affordable complete sets?
You can find more hubcaps here in Vespa shop hubcaps
Quattrini M244 king shaft - the super tourer in the second expansion stage "outlet" M244_2
M244 - part 3
Im second part this Series we simply adapted the cylinder and the engine housing to each other and put the cylinder on the engine without further processing "Plug & Play".
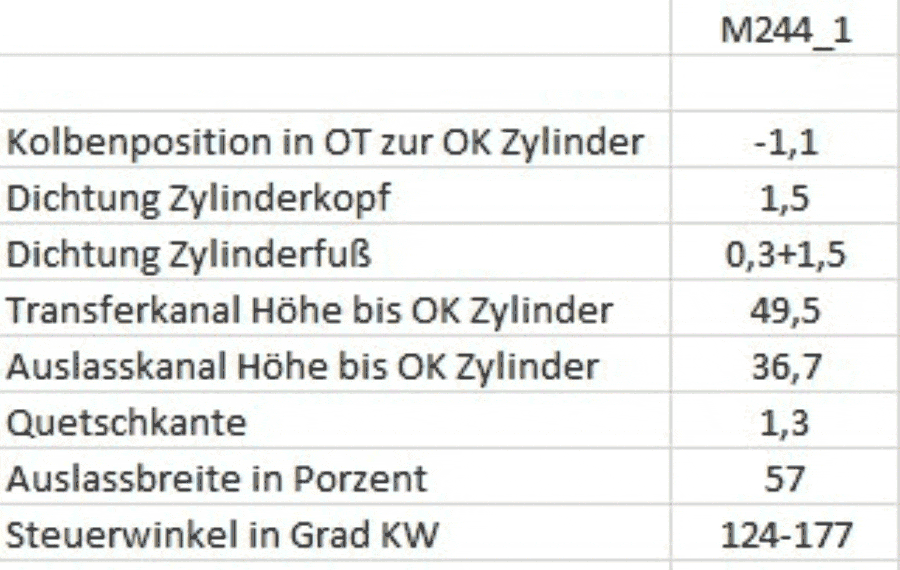
This resulted in very moderate control angles:
- with 124 ° transfer angle
- and 177 ° outlet angle
Some exhaust systems get along well with these short steering angles and thus provide quite astonishing performance.
On the other hand, the exhaust systems, which are trimmed more for performance, require larger steering angles.
In the course of the test series, the character of the performance curve of one or the other exhaust system will change.
Therefore we remove some material from the M244 in the exhaust duct and set the upper edge of the exhaust to 182 °. The outlet width remains unaffected and remains at a chord dimension of around 57%.
As a spacer, we use 1.5 mm on the cylinder head and the cylinder base plus a 0.3 mm seal on the cylinder base. This means that the control angles remain at 124 °:
- 124 ° transfer angle
- 182 ° outlet angle
- 57% tendon size
Cylinder cooling hood for the long M244 Quattrini
In the meantime we have also received a matching cylinder cooling hood from GRP specialist BSK. You can find the blog here -> QUATTRINI GRP CYLINDER HOOD
TEST ELRON
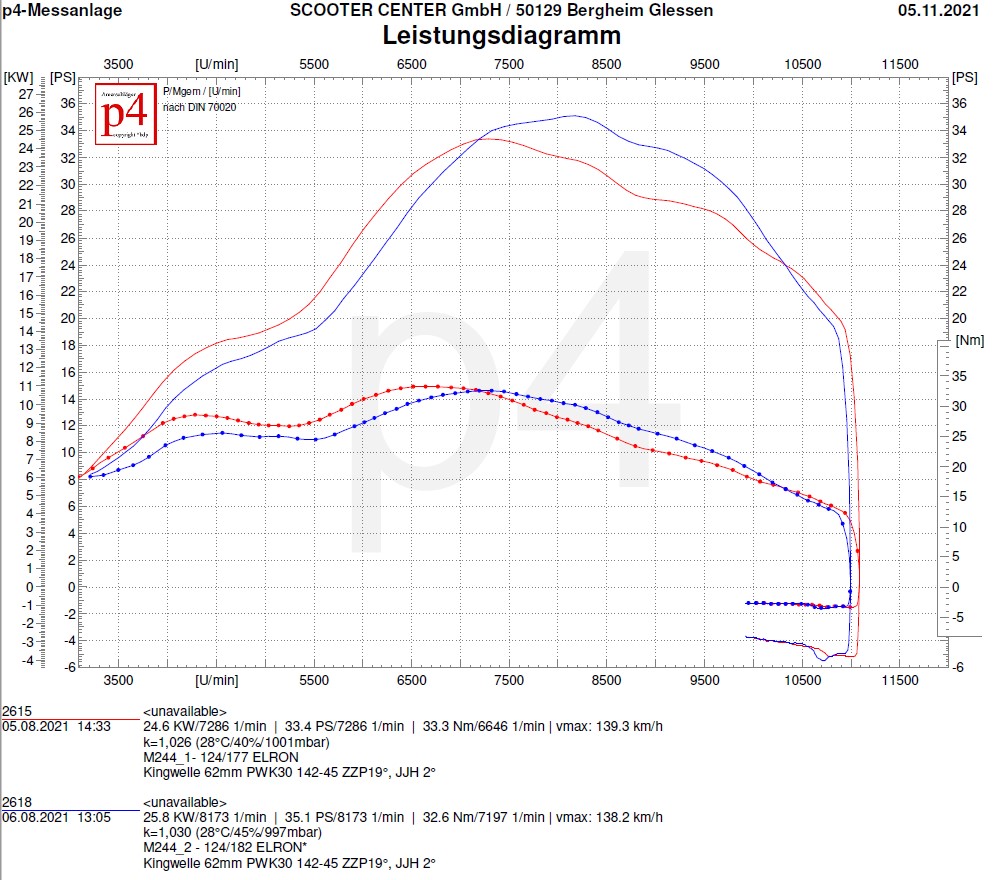
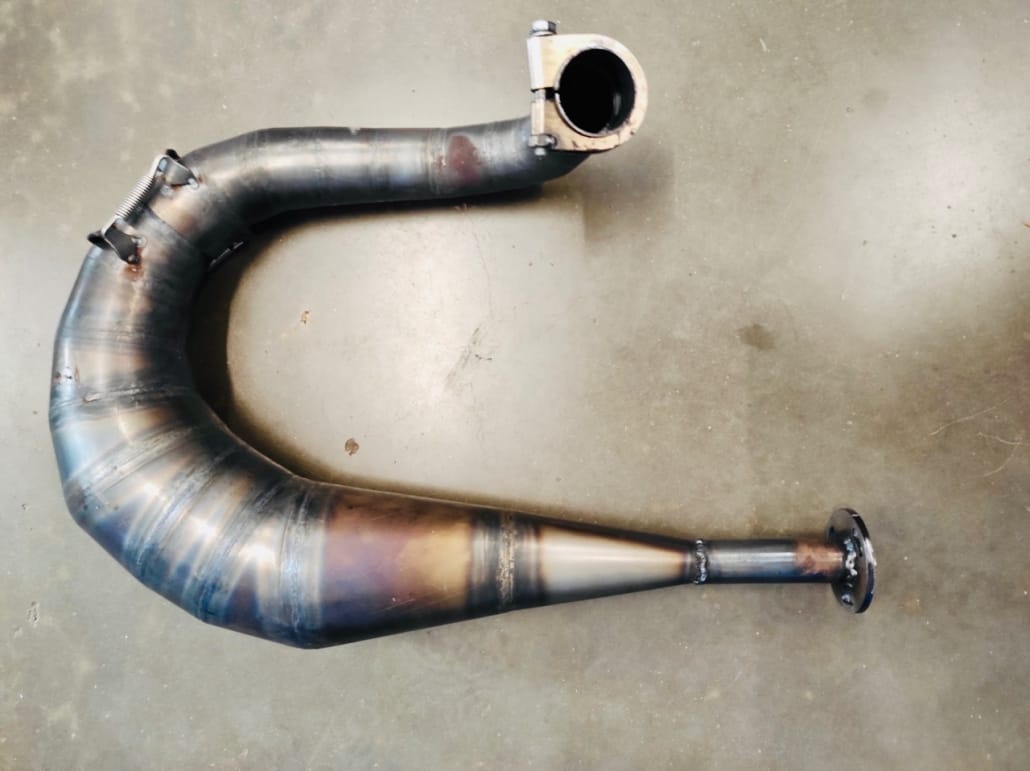
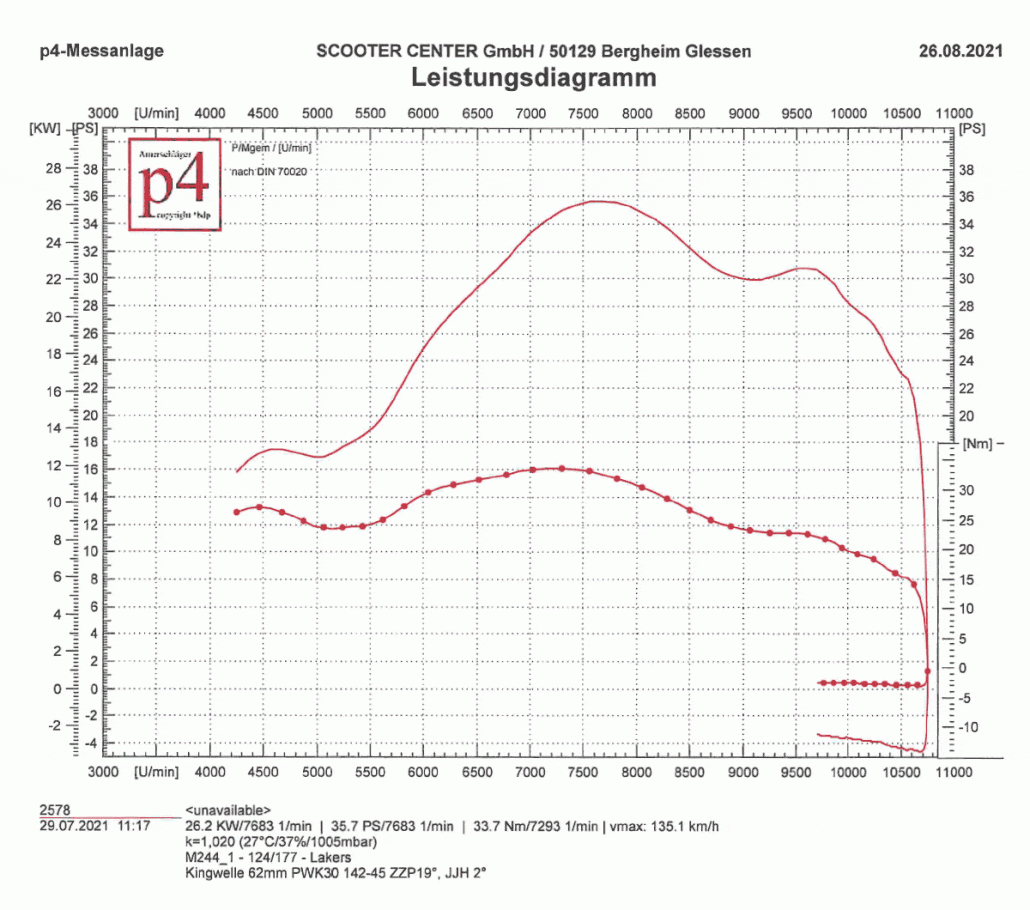
The Elron uses the larger steering angle rather cautiously. With a 1,7 HP increase in peak performance, a slight loss in torque and a little less band due to the 300 rpm later entry, the exhaust shows that it takes note of this requirement but does not yet represent the right playing field for the concept . However, the Elron takes this very calmly. Presumably, the exhaust will deliver a very pleasing performance curve even with significantly different control angles and thus the concept does not completely submit to the dictates of the control angle.
Test bench diagram as PDF: M244_1_2_ELRON
TEST POLINI BOX
The Polini Box reacts very clearly to the small change in the outlet and provides a lot of power. The box adds over 3PS and not quite 1 Nm. The speed range is even wider by 700 rpm, whereby the graph does not even pass the 100 hp mark at 25 rpm until 5.500 rpm later and the output lasts significantly longer up to 9.400 rpm. The control angles of 124 ° to 182 ° seem to be clearly pleasant to the Polini Box.
Test bench diagram as PDF: VGL_M244_1_2_POLINI
Test Scooter and Service NEWLINE
The Newline generally shows a different character in terms of power increase at small steering angles than the Elron or the Polini Box.
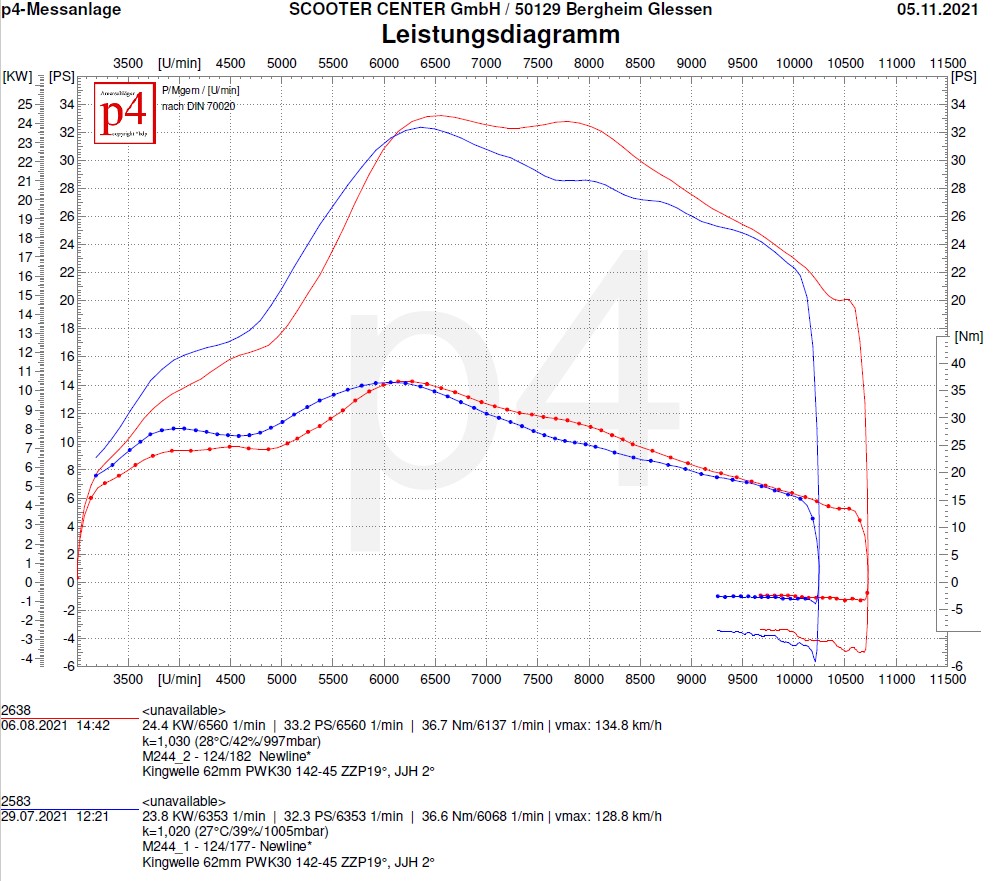
Similar to the Elron is the rather unimpressed behavior on the changed exhaust control angle. The peak power increases by almost one hp, the maximum torque remains almost identical and the speed range becomes somewhat narrower, as with the Elron, due to the later start of resonance. Even in the second expansion stage, the Newline retains the top position when it comes to torque with 36,7 Nm at 6.137 rpm.
Test bench diagram as PDF: M244_1_2_NEWLINE
Test Posch Nessie
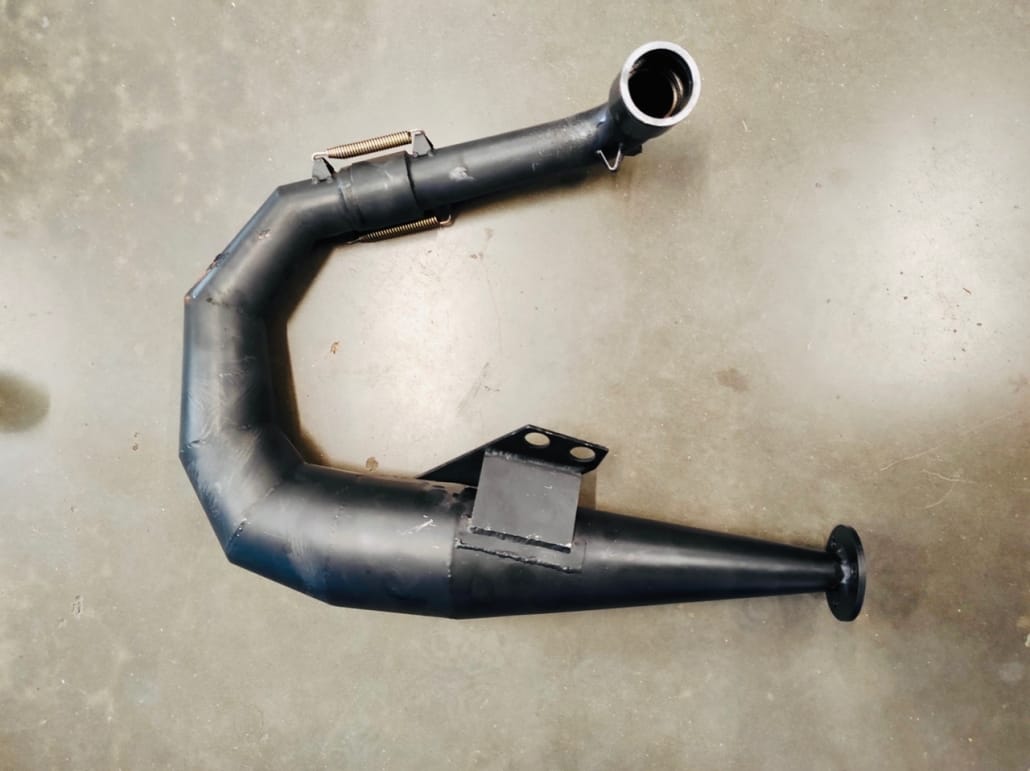
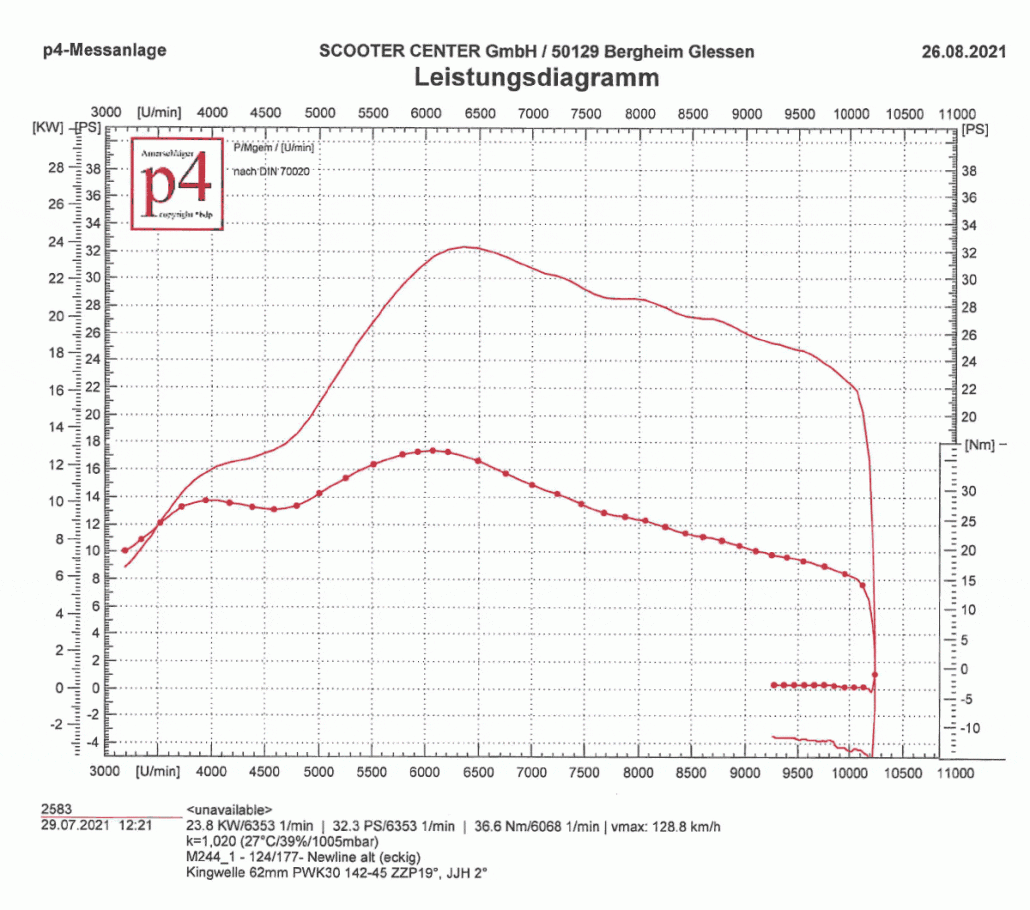
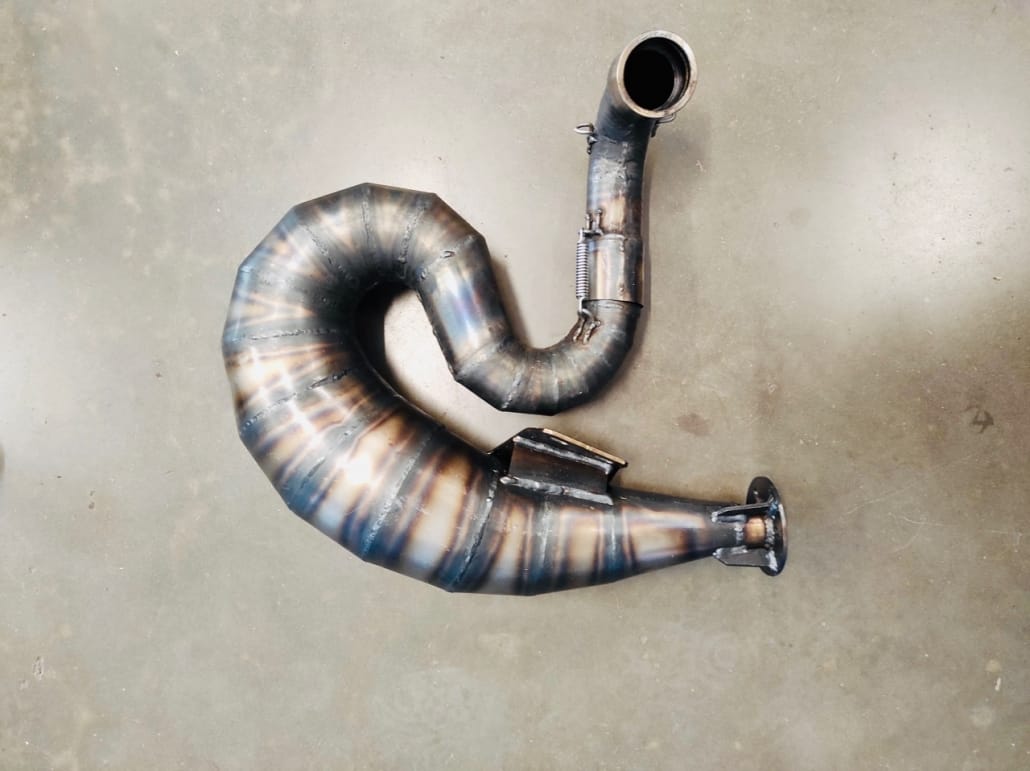
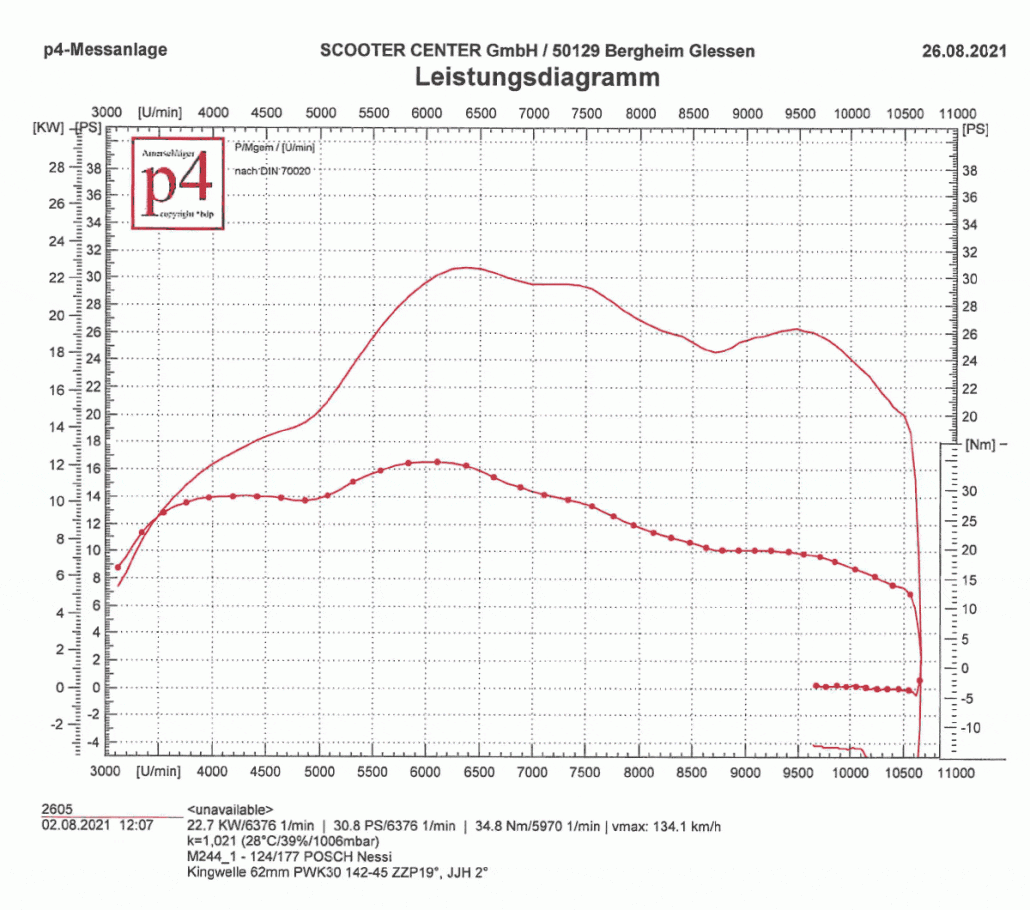
The Nessie, like the Newline, is intended for moderate control angles, and also shows the clear shift at the start of resonance. Viewed in absolute terms, the Nessie “only” adds 2,5 HP to the top, but in the range between 6.300 rpm and 9.000 rpm it can be clearly seen that the larger outlet angle significantly increases the performance over this range.
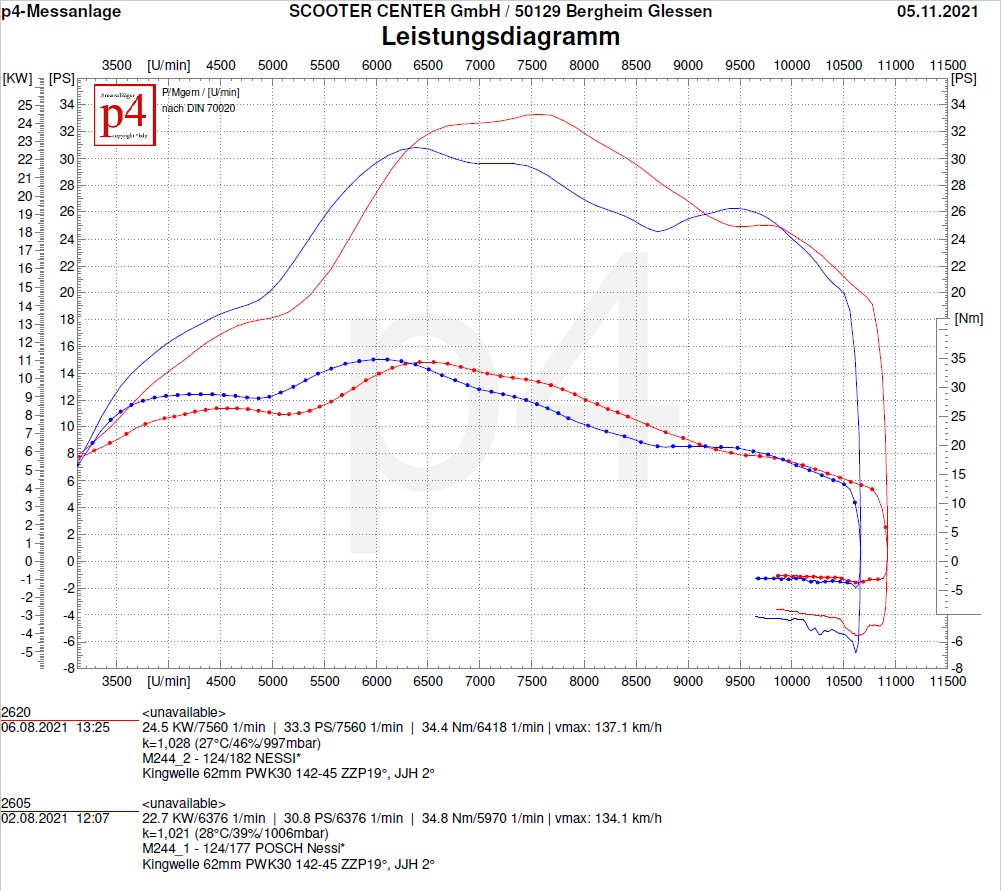
Test bench diagram as PDF: M244_1_2_NESSIE
Test Posch Racing Resi
The Racing Resi with its imposing, bulbous appearance already gives the impression of performance and the greed for steering angles. Therefore, the slightly increased outlet angle is not enough to achieve absolute top performance. Here, too, the start of the response is much later. At its peak, the Resi increases by 1,7 HP and this can use the slightly increased exhaust control angle between 7.300 rpm and 10.000 rpm to increase power and torque.
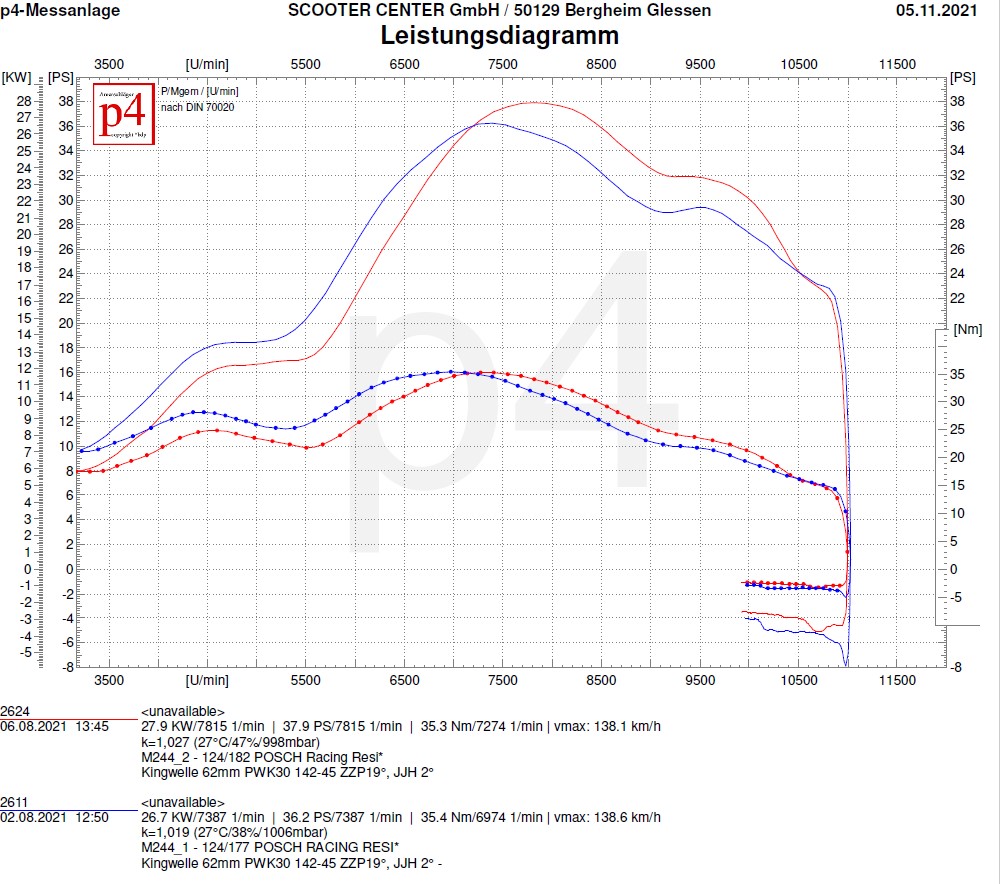
Test bench diagram as PDF: M244_1_2_RAC_RESI
Kingwelle Lakers test
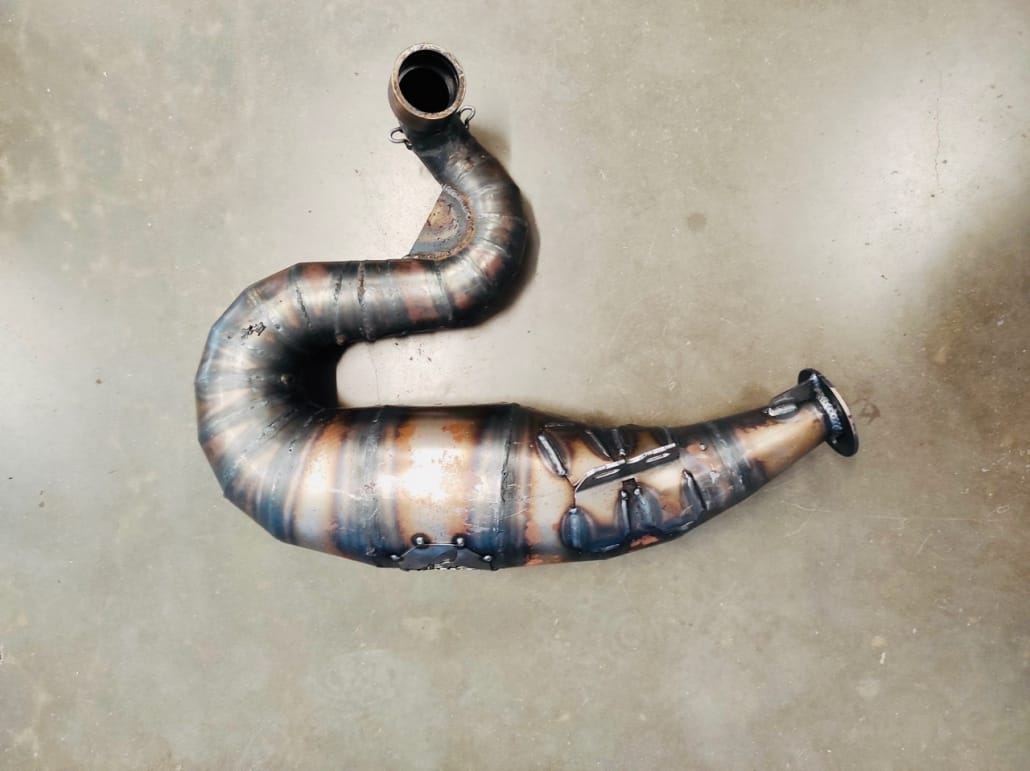
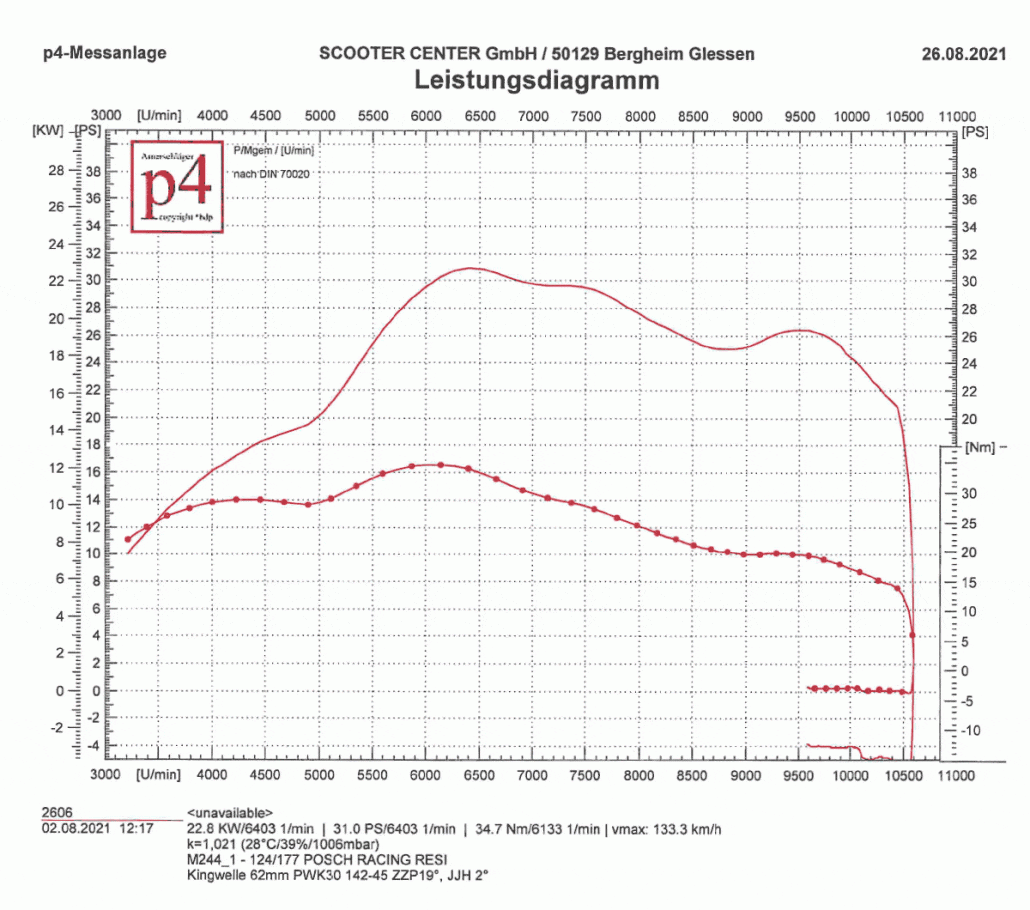
The robust racing exhaust from Lake Constance has already shown on the plugged-in version of the M244 that it is also a good all-rounder. As with all other tested resonance systems, the speed range also shifts in the direction of higher speed, but without the bandwidth being affected. With a band of almost 4.300 rpm, it provides the largest bandwidth in this expansion stage. With 37,8 PS at its peak, the Lakers, at least in this expansion stage, has to admit defeat to the Resi with 37,9 PS - but we are only just warming up on the subject of the steering angle.
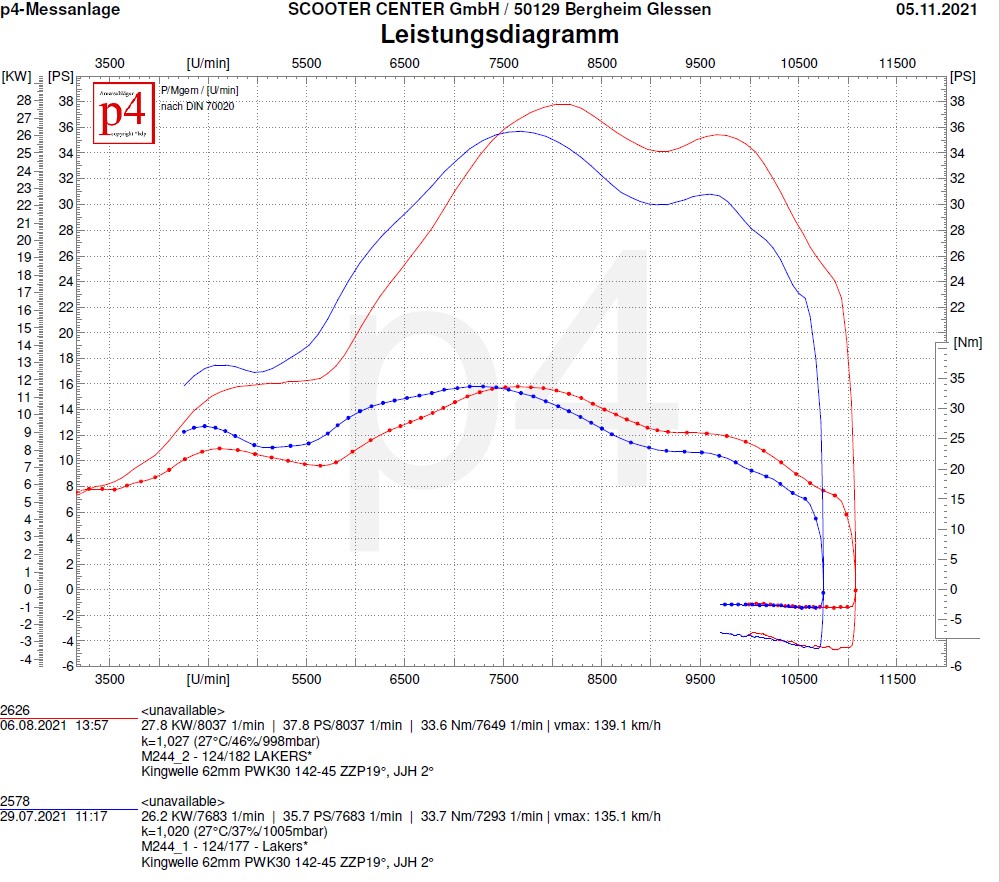
Test bench diagram as PDF: M244_1_2 LAKERS
The results of the test bench runs, expansion stage 1_2
Here again the results in tabular form. The best values are highlighted in green for each construction stage
Part 4 is already in progress ...
Quattrini M244 king shaft - the super tourer in the first expansion stage "Plug & Play" M244_1
This is part 2 of this Quattrini M244 - Series. In this first construction stage, M244_1, we have the M244 without any further changes, only with spacers on the cylinder head and the cylinder base our engine eingerichtet.
We have entered the resulting control angles in the list for the test plan.
In terms of design, this setup is in the middle of the range of expansion stages.
TEST POLINI BOX
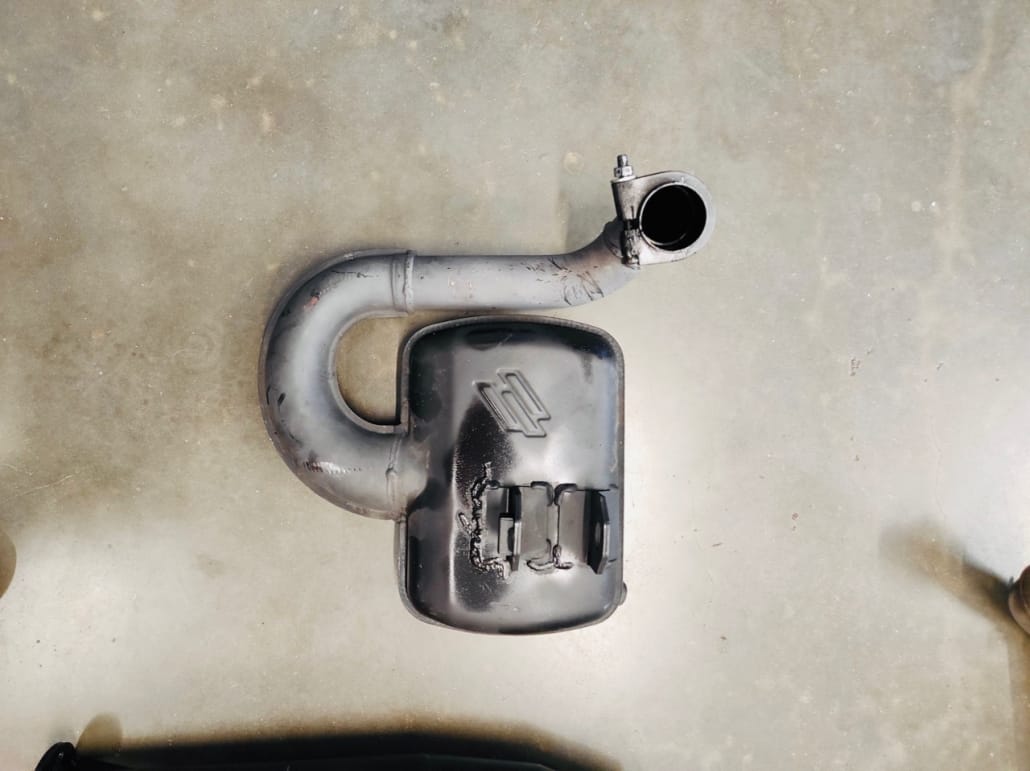
First we send the all-purpose weapon from Polini into the race.
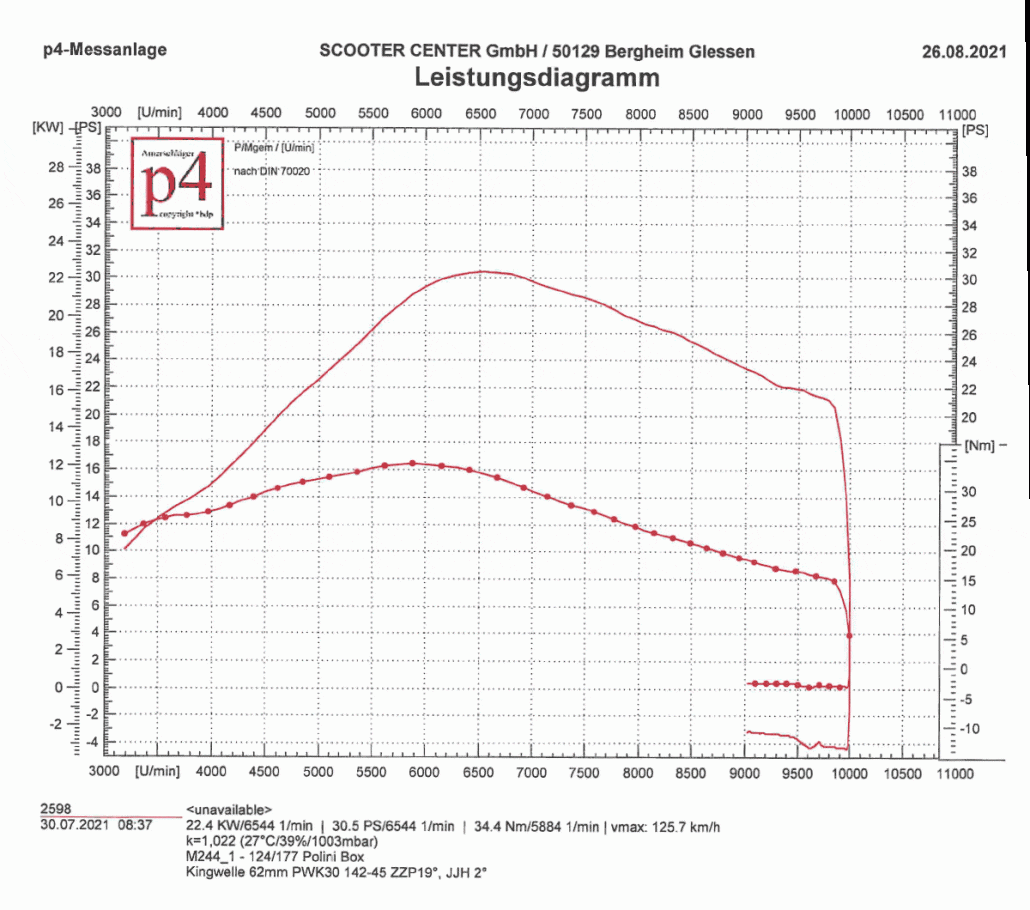
Test bench diagram POLINI BOX exhaust on Quattrini as PDF: M244_1_POLINI
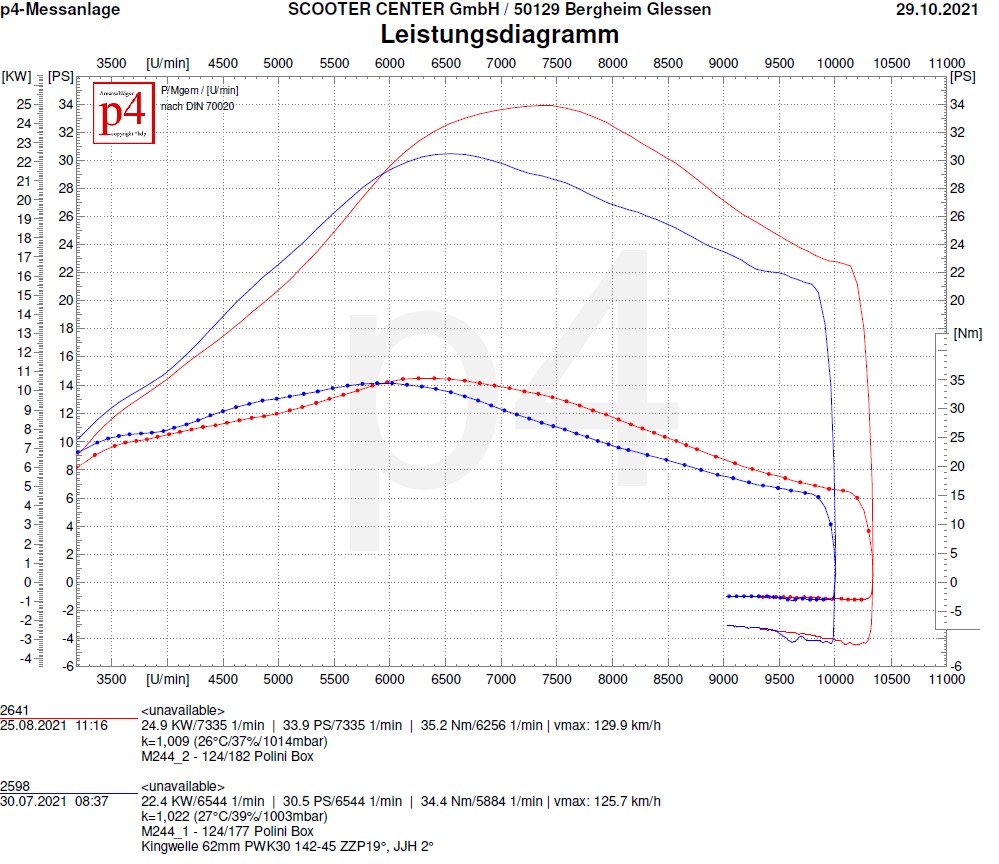
The result is quite clear. Already at 4000rpm there are 15 HP and 26Nm on the rear wheel.
The maximum values are 30.5PS at 6500rpm and 34.4Nm at 5900rpm.
Even at 9500rpm there are still 22PS on the rear wheel. This constellation already calls for a longer primary translation.
TEST FALKR ELRON
The next test subject comes from FalkR and listen to the name Elron's.
Test bench diagram FALKR ELRON exhaust on Quattrini as PDF: M244_1_ELRON
With regard to the maximum values, the Elron ranks as real resonance exhaust already above the Polini Box. But the tide is turning only beyond the 6500rpm in favor of the Elron. In the range before 6500 rpm, the Polini Box has the lead here. After passing the 6500rpm mark, the Elron gains significantly and is above the Polini Box up to the end of revs beyond the 10500rpm.
TEST JL PERFORMANCE
Another old friend is that JL performance.
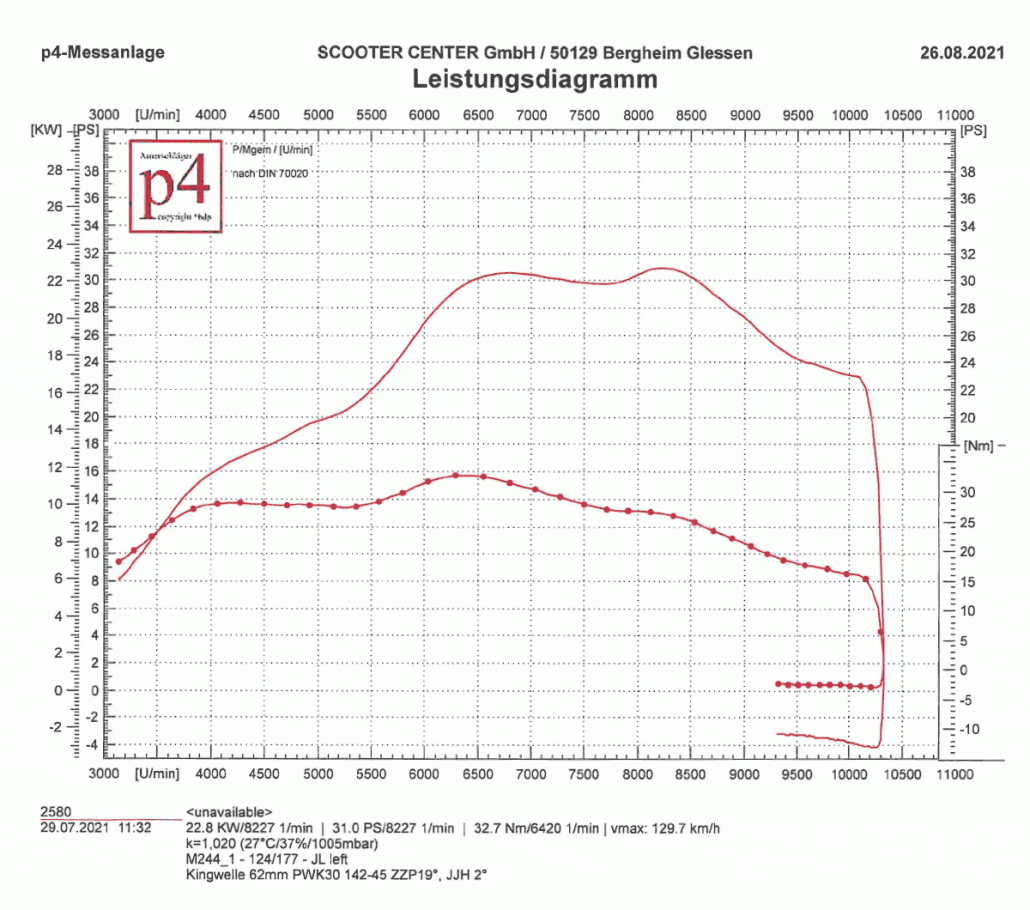
Test bench diagram JL-PERFORMANCE exhaust on Quattrini as PDF: M244_1_JL_LH
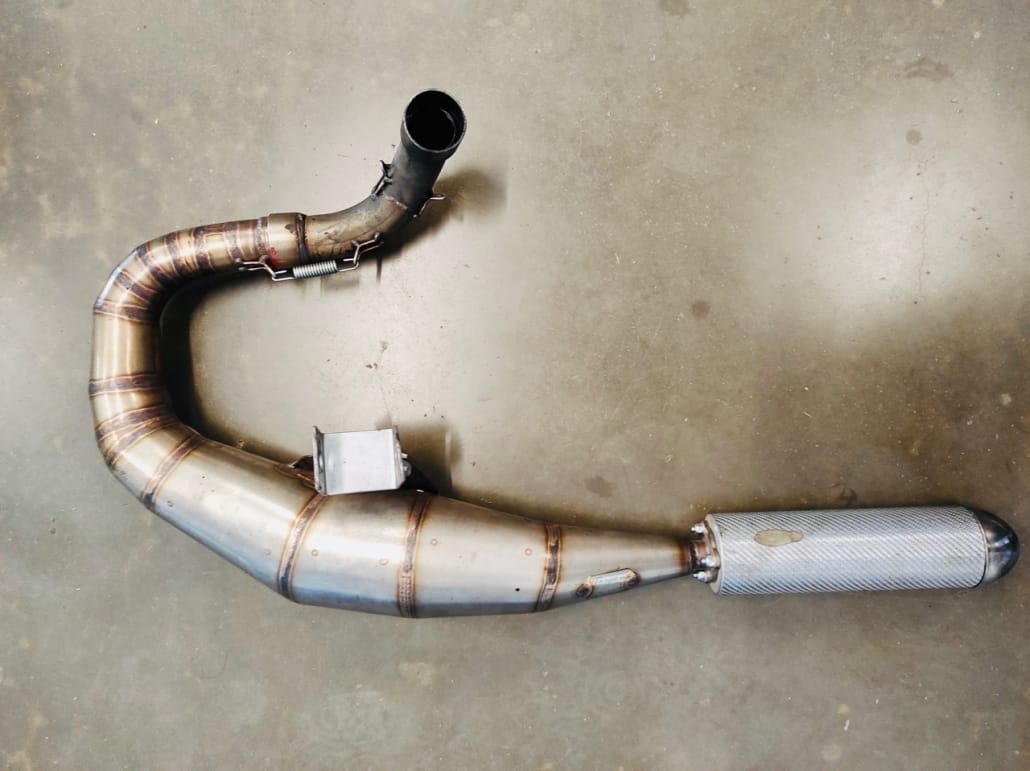
The somewhat outdated concept of the JL still delivers reliable values today. The JL does not cope with the first stage of the engine quite as well as the Elron. With 31PS at 8200rpm, that's something like suffering at a high level. The rather gentle entry and a good performance of 16PS at 4000rpm make the JL a very drivable exhaust with a good start in Reso optics.
TEST NEWLINE SCOOTER & SERVICE
The Newline exhaust from Scooter & Service is with us in Scooter Center Shop .
Test bench diagram NEWLINE exhaust on Quattrini as PDF: M244_1_NEW_LINE
The new line from Scooters and Service from Hamburg already delivers its maximum power of 6300PS at 32rpm. Even if the playing field doesn't quite fit the Newline, which would like to see a little more steering angle, the manual work from Hamburg delivers a remarkable 6000Nm already at 36rpm. The torque beast in this expansion stage
TEST POSCH PERFORMANCE NESSIE
As the first representative of the "Performance" department, we let Nessie from Posch Performance work on the M244.
Test bench diagram NESSIE - POSCH exhaust on Quattrini as PDF: M244_1_POSCH_NESSIE
Until just before 6500rpm, the world is pretty fine for the Nessie. Then the curve takes a course that suggests that the Nessie would like to see significantly more outlet angles.
Nevertheless, the Nessie with 34.8Nm at approx. 6000 rpm can be counted among the clearly high-torque systems.
TEST POSCH PERFORMANCE RACING RESI
Of course we also tested the Racing Resi from Posch Performance.
Test bench diagram RACING RESI- POSCH exhaust on Quattrini as PDF: M244_1_POSCH_RAC_RESI
The Racing Resi from the same manufacturer runs very similar to the Nessie and also requires more ventilation over longer control angles. With almost 35Nm at 6100rpm, the Resi is also well ahead in the league of absolute torque animals.
TEST LAKERS KINGWAVE
The Lakers as a thoroughbred racing exhaust, stands well in the feed despite the high performance and engine speeds to be expected with the low control angles.
Test bench diagram KINGWELLE LAKERS exhaust on Quattrini as PDF: M244_1_LAKERS
With almost 36PS at 7700rpm, it is the front runner in terms of performance in this expansion stage.
In the later expansion stages, when higher control angles and a wider outlet come into play, this exhaust can probably live out much better.
Overview test run 1 Quattrini M244 exhaust systems
Quattrini cylinder M244 in the first construction stage, M244_1 "Plug & Play" without further changes only with spacers on the cylinder head and on the cylinder base on the Malossi engine and Kingshaft crankshaft adapted.
Be curious to see how the second expansion stage will continue ...
Vespa Quattrini M244 engine 252ccm - from super tourers to top racers
The story of the Quattrini cylinder
Towards the end of 2015, rumors grew that Max Quatrini launches a potent cylinder for the PX200.
The time has come at the beginning of 2016. The M232 and the big brother M244 are available on the market.
A construction that took some getting used to seemed to follow the concept, a cylinder with a maximum bore of 72mm in the M244 and without a supporting cylinder base.
Due to the design of the crankshaft by Quattrini, with a connecting rod of 126mm, which is rather long for the Vespa engines, the piston does not work so deep in the engine housing and therefore does not need a long, classic cylinder base.
Today, in 2021, the cylinder is enjoying increasing popularity due to its very high torque values and the smooth-running design thanks to the long connecting rod of the Quattrini crankshaft.
Reason enough for us to build an engine with it and play through many possible scenarios for you and see what comes out of it. We have tested exhaust systems and carburettors for you in various stages of expansion.
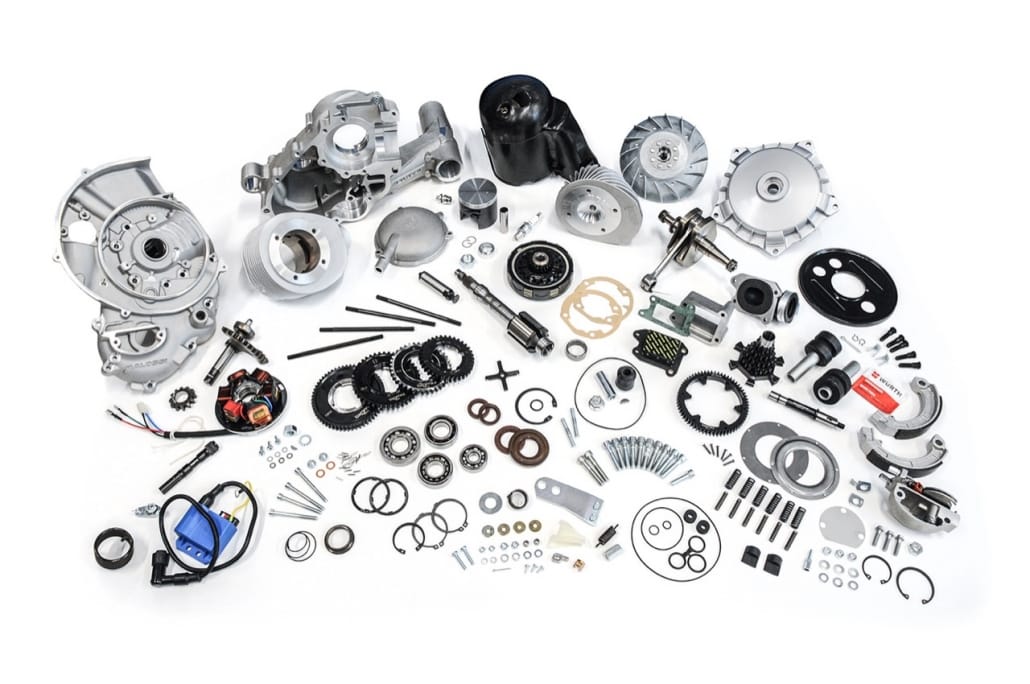
In the delivery note attached here for our technology department, you will find all the components that we have used for this engine and that, in our opinion, function permanently with this concept.
200 test runs on our test bench
In total, we have over 200 test runs with the Quattrini M244 Completed on our P4 test bench with various engine expansion stages. We have more than 50km measured runs documented and almost 20 liters of fuel burned.
We would like to share the experiences gained from this test with you in this blog series.
To select the parts:
The expected high torques of the M244 speak in any case for a reinforced motor housing.
The experience from many kilometers on the road with our own scooters has taught us that engines in the range from 22 to 25 HP can be implemented as "durable" in conjunction with a Piaggio engine housing.
Our M244 Quattrini cylinder but should be expanded a bit in the course of the test. This is why the choice here is a motor housing from Malossi with membrane inlet.
A pair of Displacement of over 220ccm at erhigher engine speed, can no longer be supplied with sufficient fresh gas via a classic rotary valve on the narrow Vespa crankshaft. That's why we choose this Malossi motor housing with membrane control .
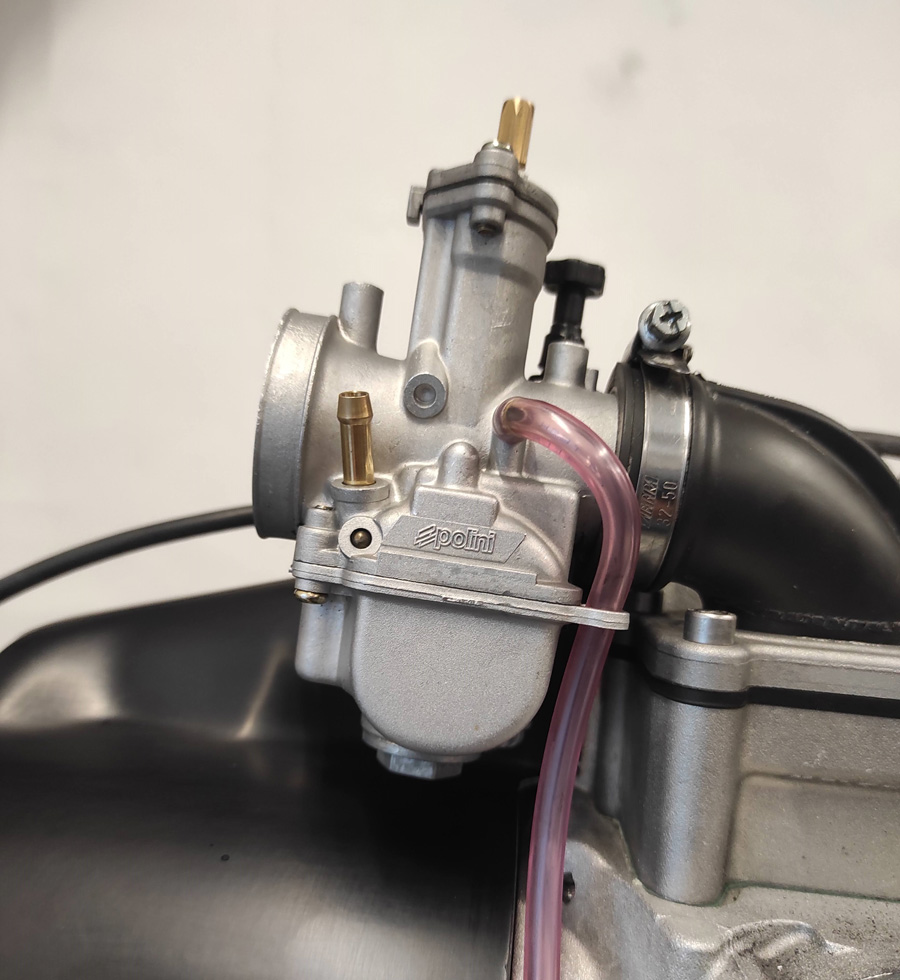
To make the fuel mixture we have one Polini 30mm carburetor used. In this experiment he stands for one Carburettor with 30mm bore. In the course of the tests, we also tried a PHBH30 in a counter-test. We will present the result of this in the following part of this blog series.
On the topic crankshaft we trust king wave. Here we find exactly what we are looking for to build a high-torque, smooth-running and durable engine.
The choice falls on one king wave with 62mm stroke and 128mm connecting rod. Due to the 2mm longer connecting rod and increased stroke, we have the opportunity to work with the control angles by moving the cylinder using spacers on the cylinder head and the cylinder base in the stroke direction. The longer connecting rod in connection with the weighty crankshaft also brings a significant plus in smoothness.
The stroke of 62mm results Cubic capacity 252,4ccm - already very promising to build a torque-oriented engine.
The ignition should keep our tourer running smoothly, so we chose the one here bgm ignition with the PX pole wheel with a mass of 2300g.
The performance of the 252ccm unit is controlled by a bgm superstrong Clutch, the bgm primary 25-62 and one bgm Transmission with the graduation 12-13-17-20 passed on to the rear wheel. The short, fourth gear on the auxiliary shaft keeps the most frequently used gear more stable. With one tooth less in fourth gear, the teeth become significantly wider in the tooth base and thus offer a significantly higher load capacity than the variant with a gear wheel with one more tooth.
Concept and test plan
The requirement for the test setup is that we work from a rather good-natured touring design to a sporty design. Just to be able to depict a section through the possible variants. As a starting point for the test series, we set a basis with small control angles in order to be able to test as many sensible variants as possible later
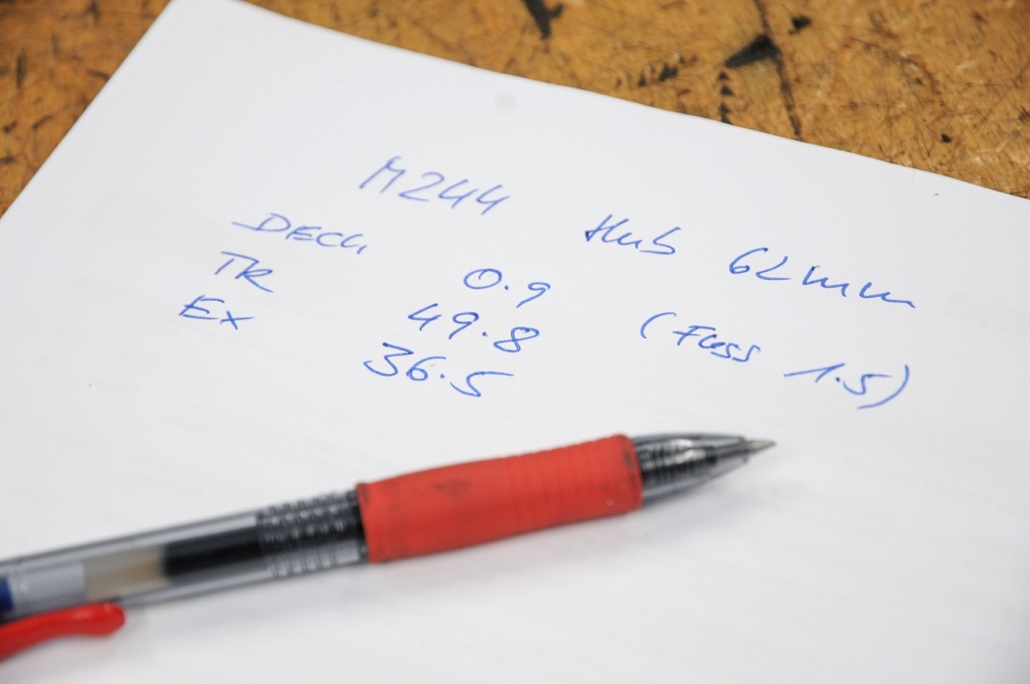
To determine a starting point, the crankshaft is mounted with bearing dummies and the cylinder is attached to determine the control angle.
Based on this initial data, we can consider to what extent we can sensibly set up the cylinder with spacers and work on the outlet in later stages of expansion.
After measuring back and forth a bit, we decide to start from the middle position of the control angle with one Transfer angle of 124 ° and a Outlet angle of 177 °.
Assembling the engine
Dream team: Malossi | bgm PRO | Kingwelle | Quattrini
The factory new Malossi motor housing will be finished by king wave for the crankshaft with 62mm stroke and the enlarged diameter of the crank webs with 99,4mm. The bearing seat for the bearing on the alternator side is also checked and reworked in individual cases, as the bearing seat is manufactured by Malossi with a very tight tolerance.
We also offer the completely machined housing with a high-quality crankshaft from Kingwelle as a set. We use the set for this engine KWM46228.
The one attached by Malossi Bearing Kingwelle does not recommend 6205 for the alternator side. We follow Kingwelle's recommendation and use a here NU205.
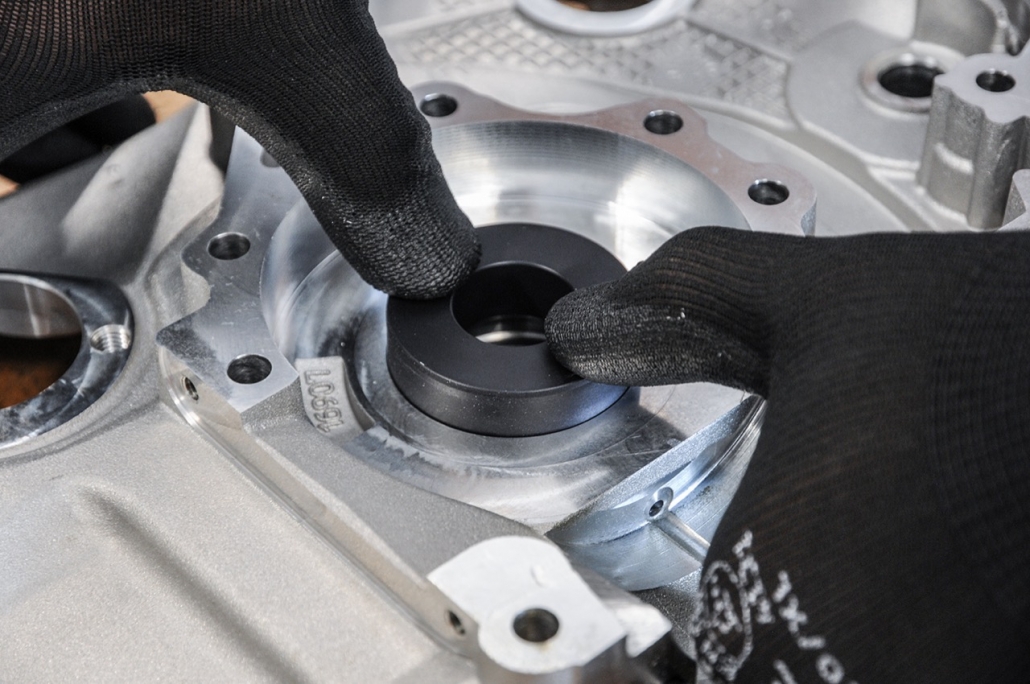
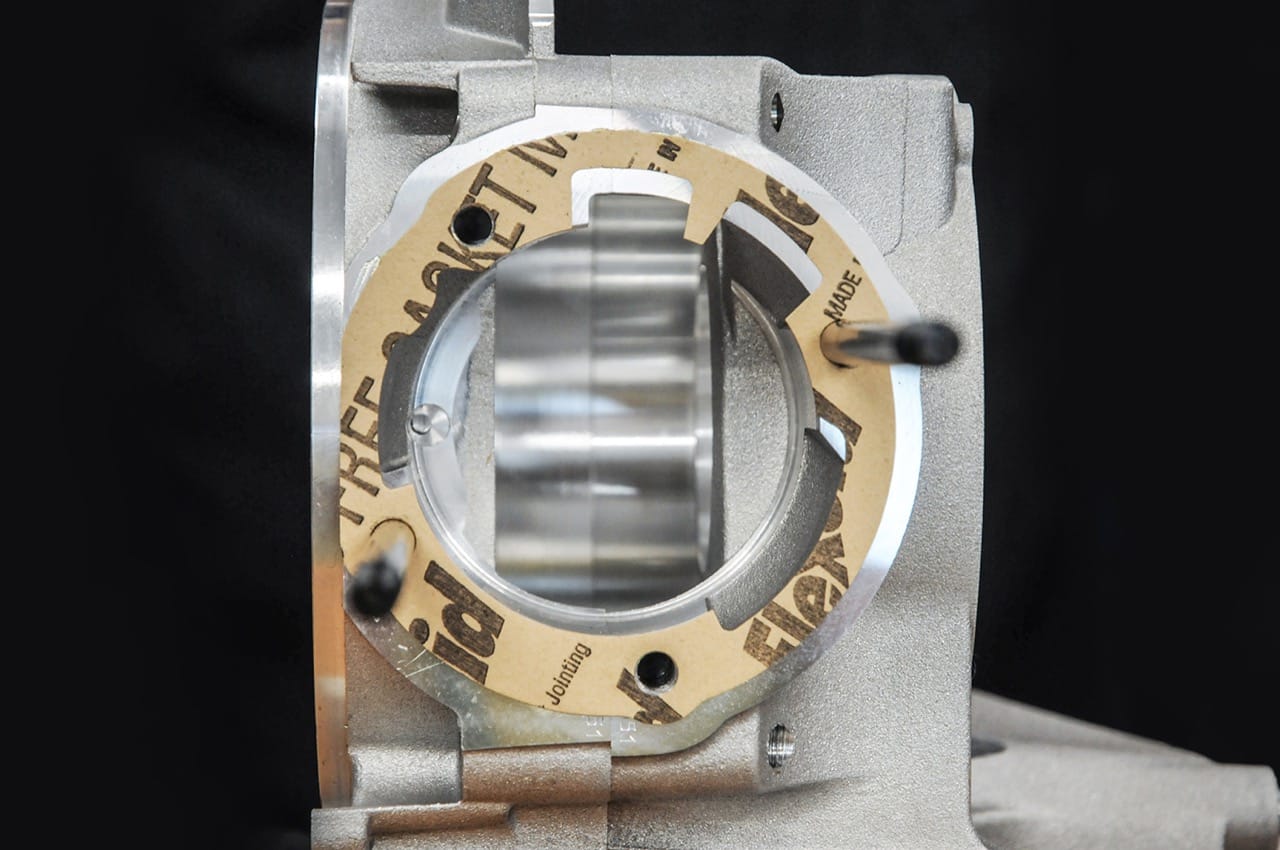
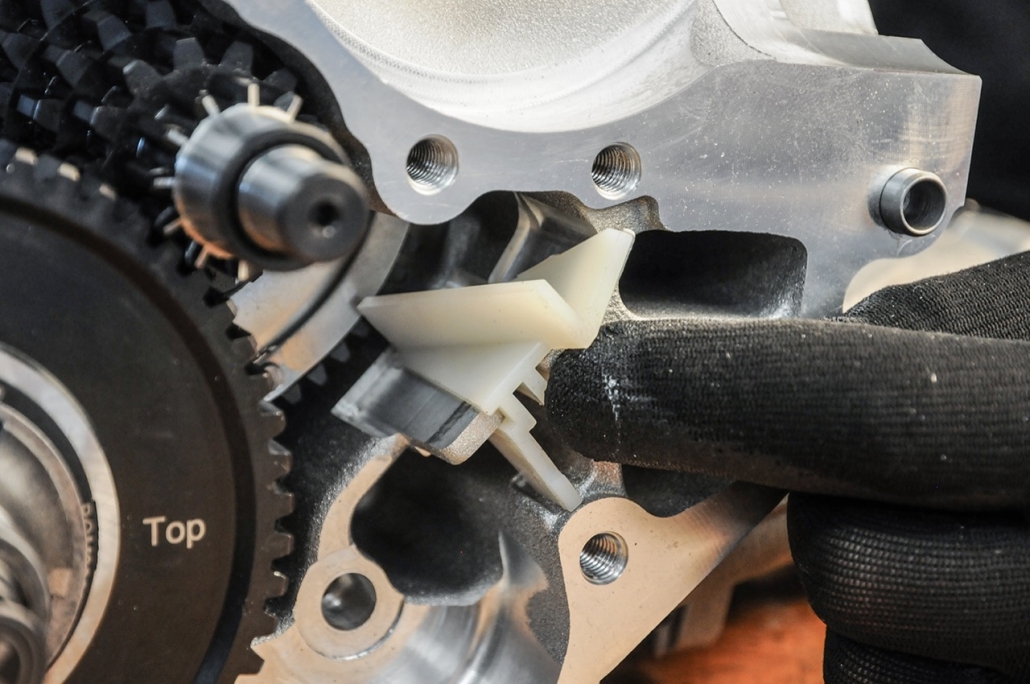
Before inserting the bearings, we process the motor housing and adapt the cylinder and the overcurrent ducts to each other. On a Piaggio engine case, this tends to degenerate into an evening event. The Malossi housing is already designed for the channels of the Malossi Sport and MHR cylinders and requires little rework for the Quattrini M244. Most of the work goes into removing the sealing surface on the cylinder base, which allows the M244 to be used on Piaggio engine housings.
Adjusting the transfer channels to the motor housing is done quite easily. The cylinder base seal shows how little needs to be adjusted here.
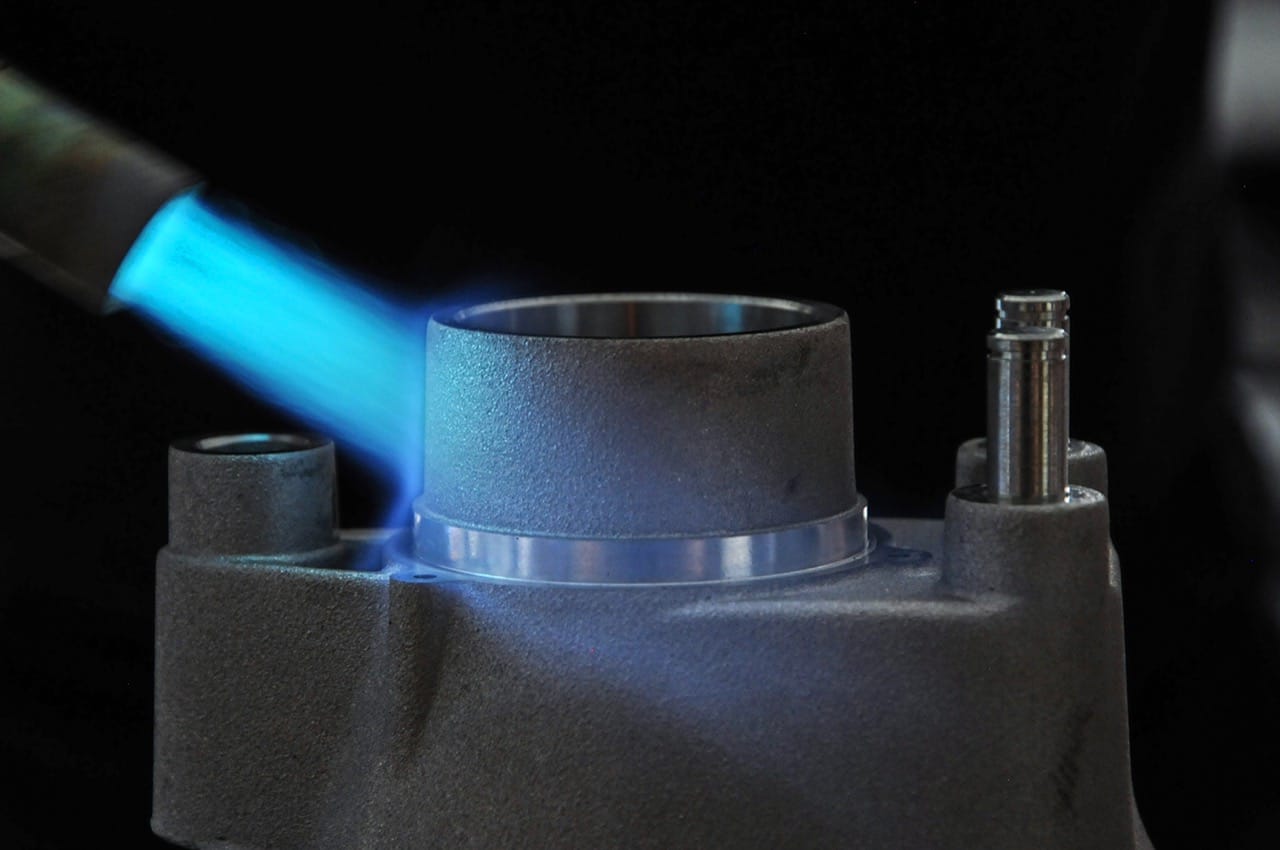
All bearings are traditionally used by shrinking in order to avoid damage to the bearing seats by simply pulling in the bearings. The shrinking or cold / warm process offers the advantage that no mechanical stress acts on the surface of the bearing seats and the seat is not widened as a result.
Wandering Malossi engine cases
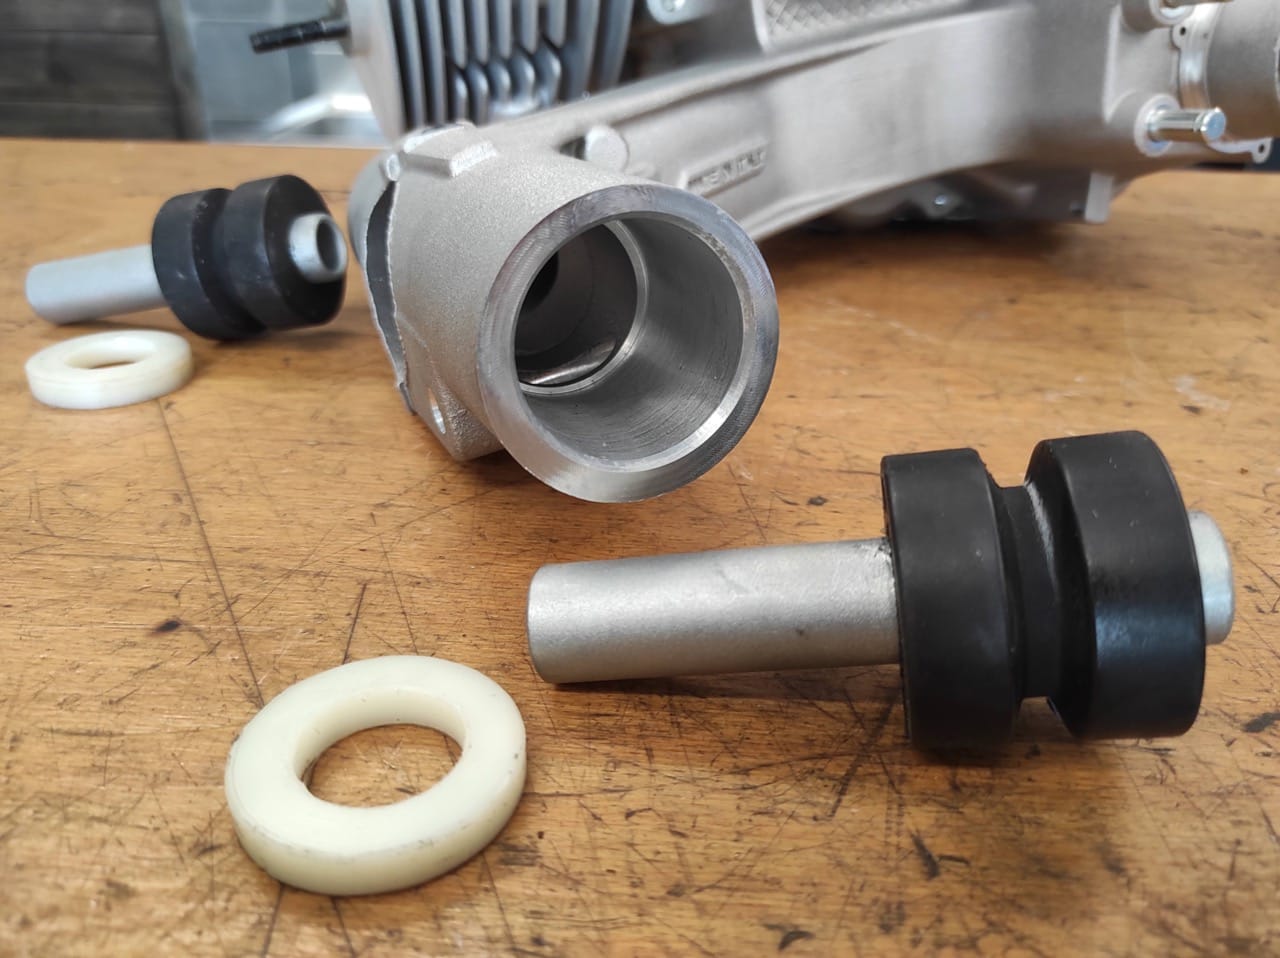
Another peculiarity of the Malossi motor housing is that the supplied original silent rubbers are too narrow for the motor housing. Or rather, here Malossi has simply oriented the seats for the silent rubbers deeper in the housing than was originally the case. This allows the motor housing to move over the silent rubbers in the direction of the frame.
We have been here with one quite a while ago Spacer set BGM7952SP A remedy was created for the silent rubbers and thus ensured a secure fit of the silent rubbers in the correct position.
The gear
The M244 with a 62mm stroke of the king shaft brought to 252ccm, will transfer a lot of torque to the rear wheel. A guarantee to achieve a high cruising speed at a reduced speed. That enables the primary. Starting from a massive and early onset of torque mountain, the primary can be selected to be long or even very long. With 25 to 62 teeth, we use the longest primary offered by bgm. The reinforced primary repair kit from bgm creates a durable primary drive.
Shift pins and crossbar are included threadlocking assembled.
The bgm secondary gear is set with the smallest possible clearance with the bgm shoulder rings.
Assemble the Malossi motor housing
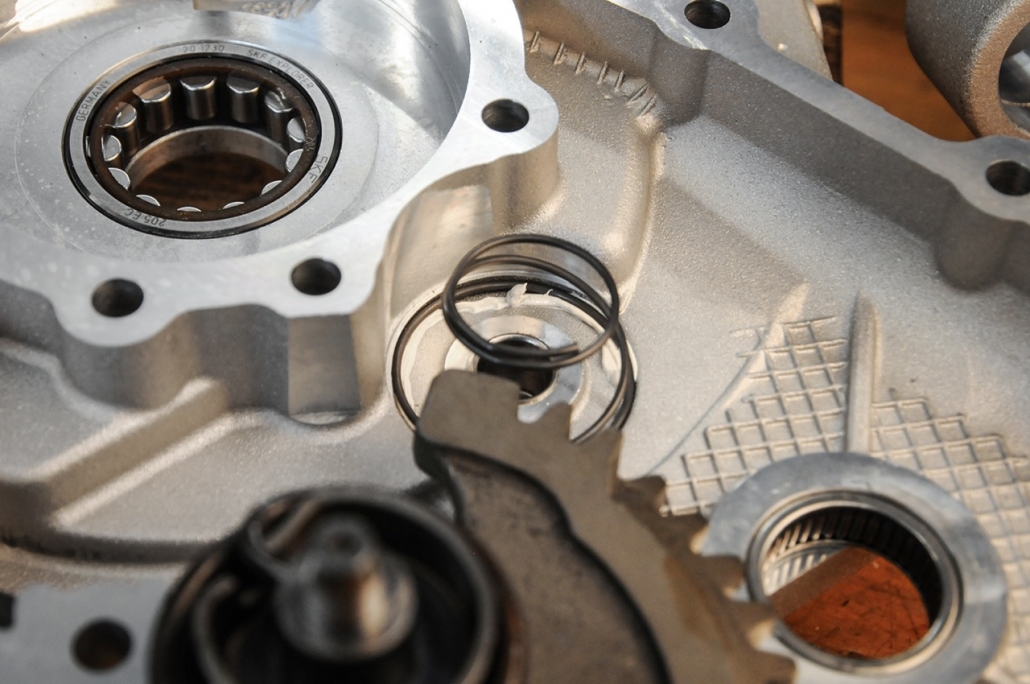
Further adjustments to the motor housing are no longer necessary and all other innards find their way into their place.
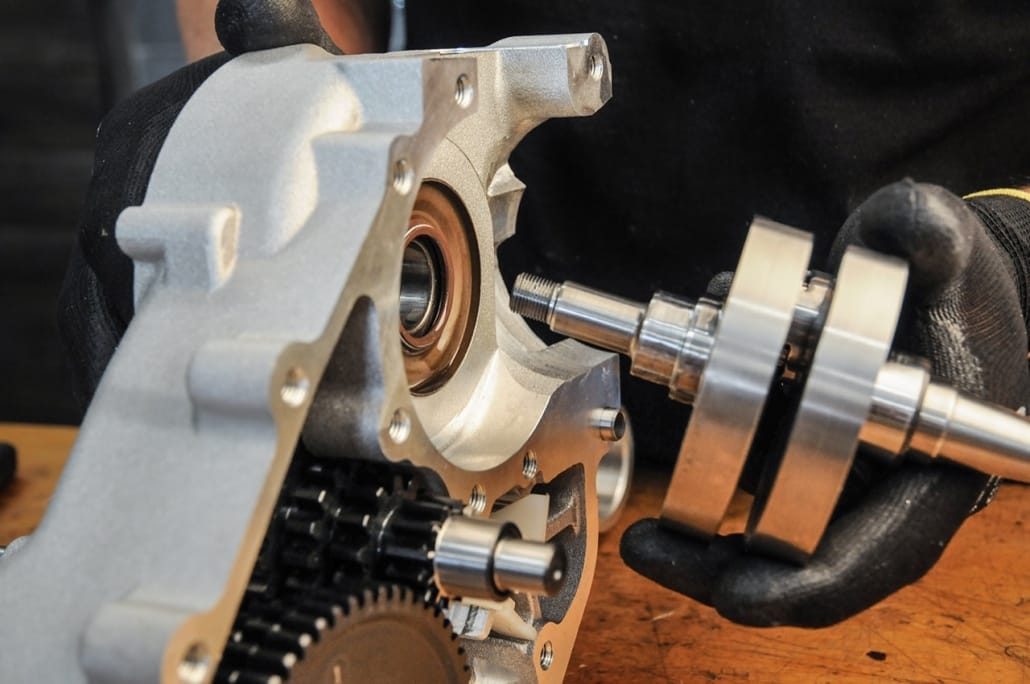
To assemble the crankshaft, the shaft sealing ring is moistened with a little oil so that the sealing lips slide cleanly onto the crankshaft and are not damaged.
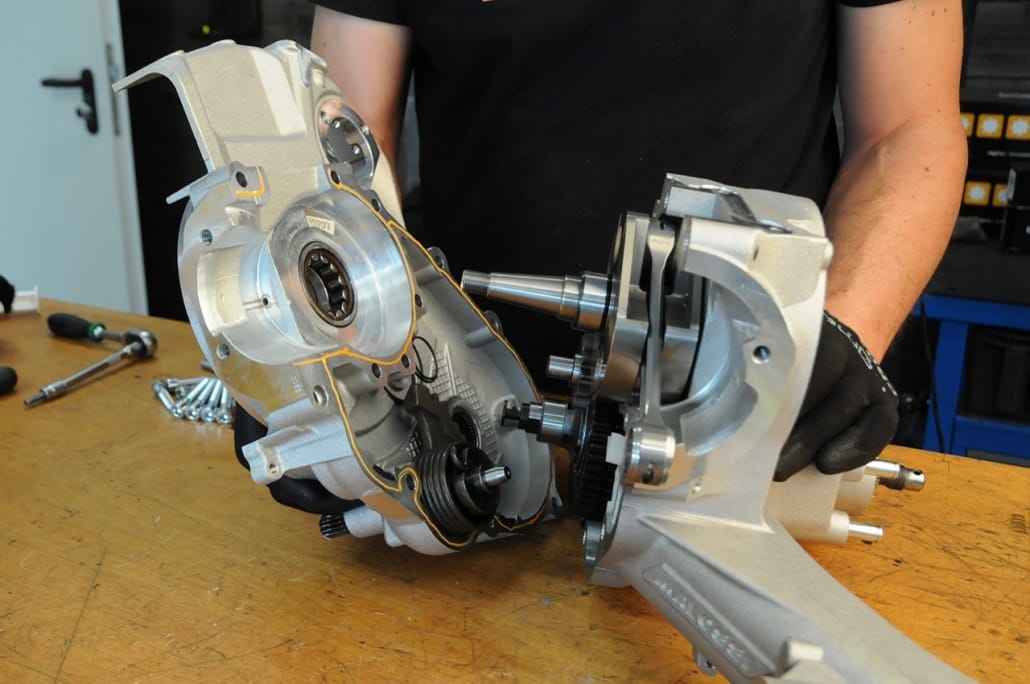
The Malossi engine case, contrary to the Piaggio engine case, is without a solid seal composed. Instead of the paper seal, as in a modern engine concept, the housing is Surface seal sealed.
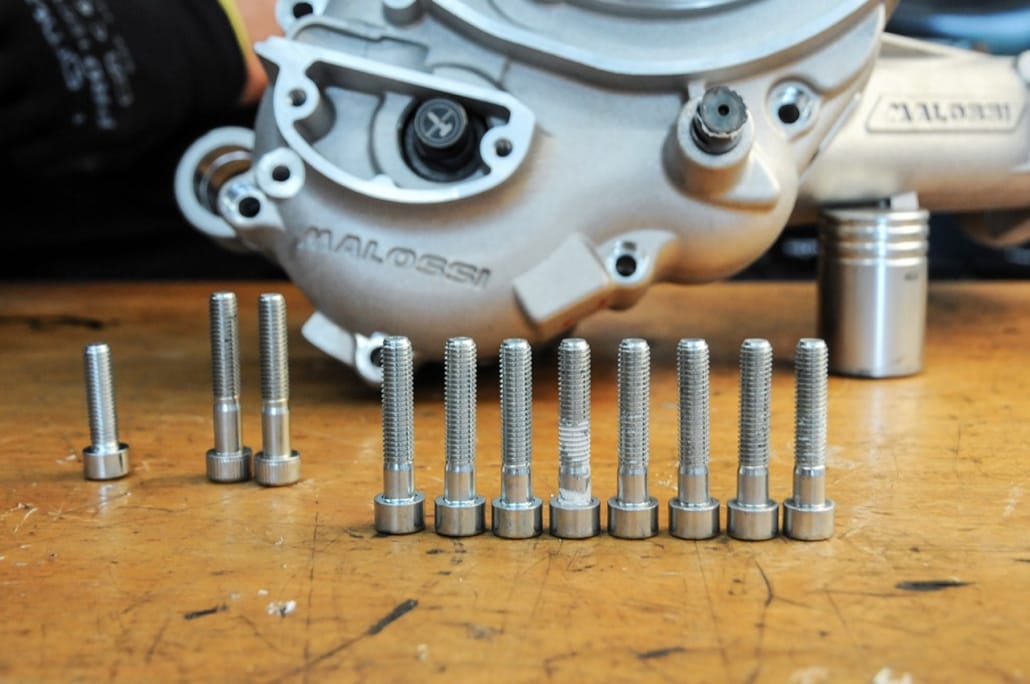
To connect the housing halves, Malossi uses M8 hexagon socket screws. Due to the different lengths of the screws used, a look at the Application listto find the correct attachment point.
bgm PRO Superstrong clutch & King shaft
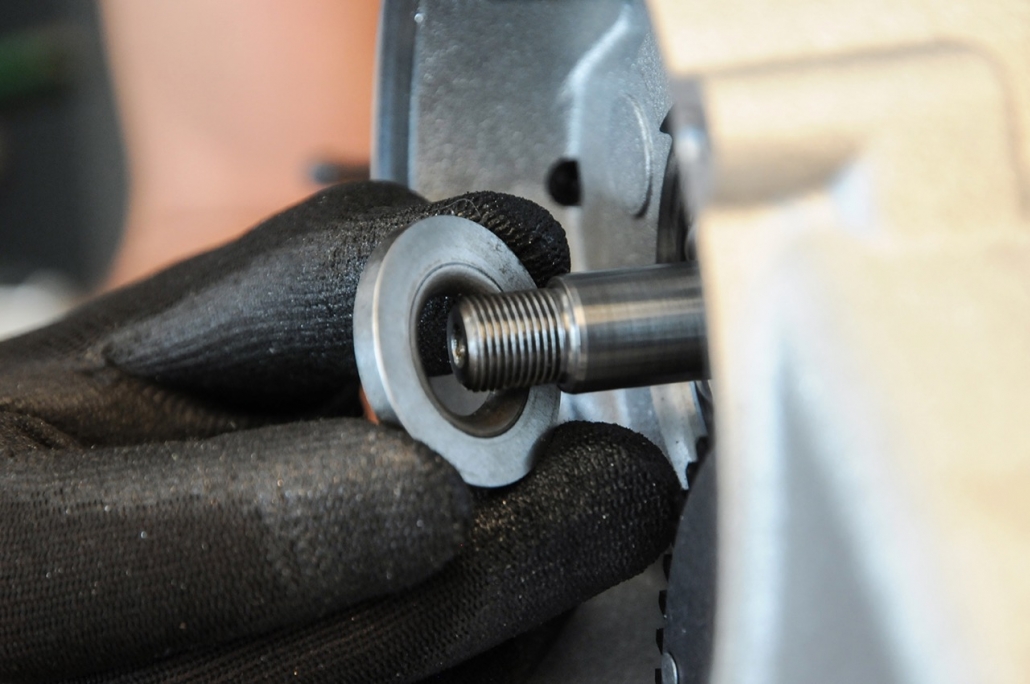
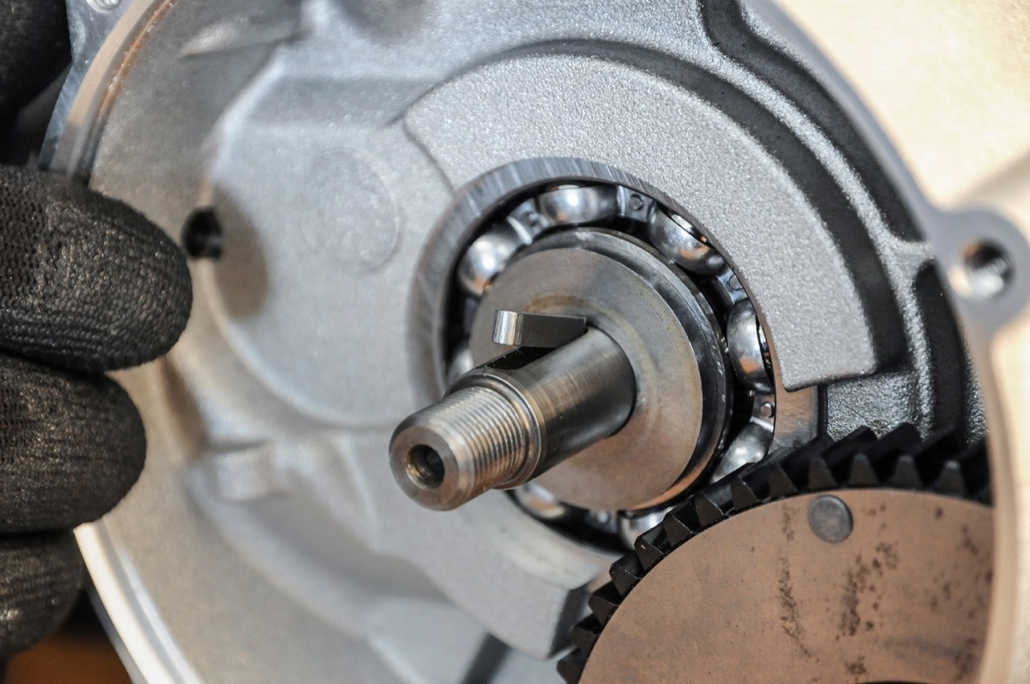
The King Shaft is supplied with its own thrust washer and special key. The thrust washer has a clear radius that fits exactly to the radius of the crankshaft. A breaking thrust washer is almost impossible.
The Kingwelle has a special feather key on the drive side, which is specially manufactured for Kingwelle and fits exactly into the groove of the coupling hub.
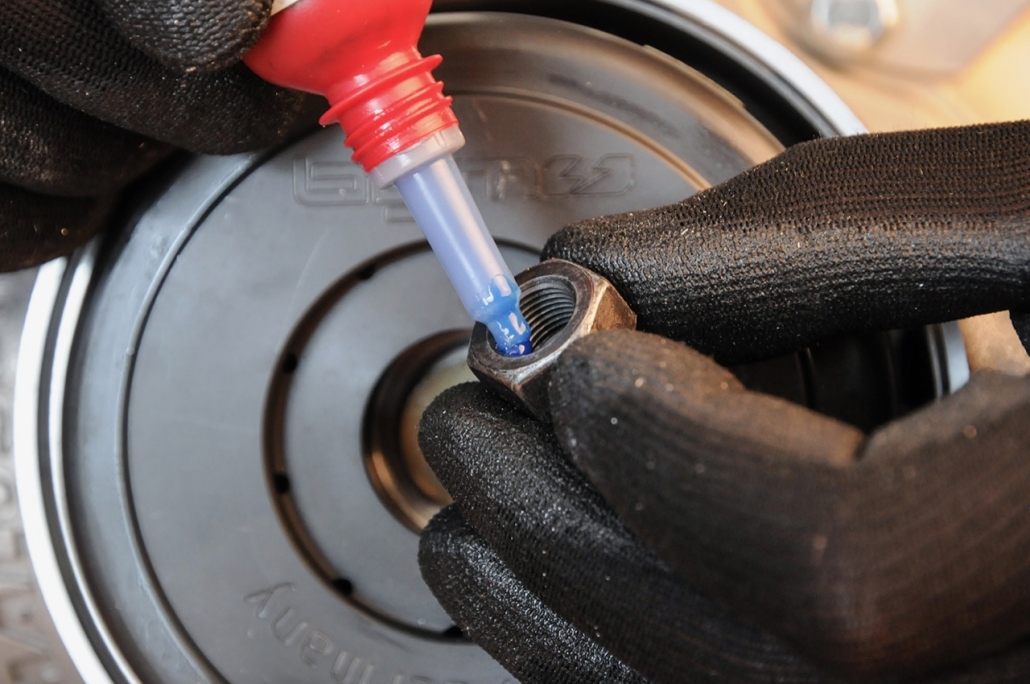
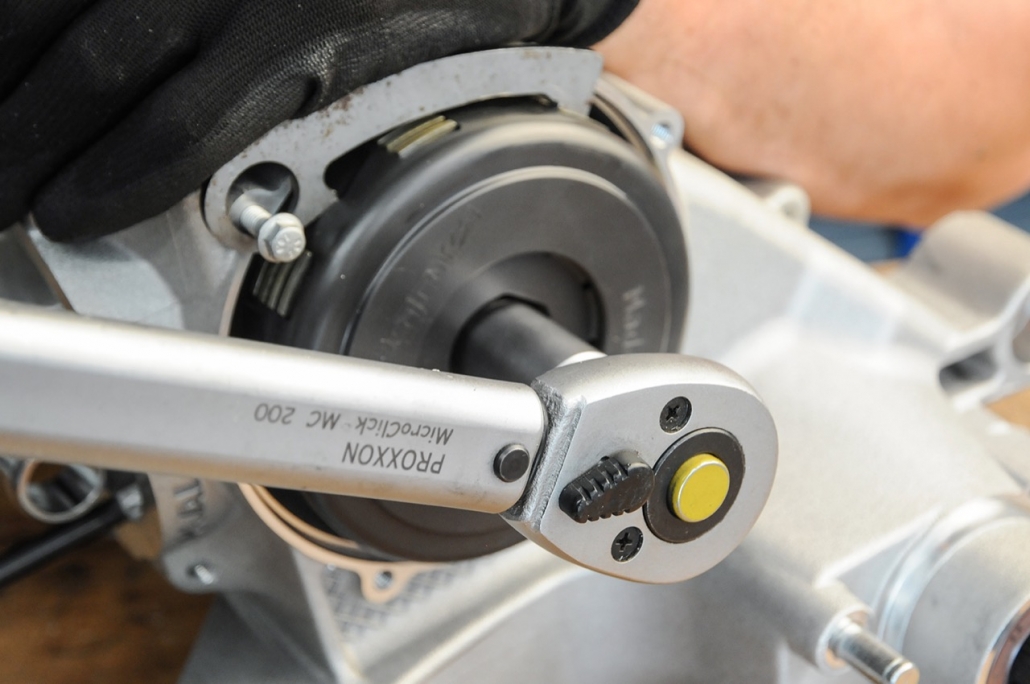
We use one as a coupling bgm Superstrong CR a. With the standard equipment, 10 bgm springs XL, the CR clutch manages a reliable transmission of power up to 40hp. The king shaft coupling nut has a fine thread of the dimension M12x1. The nut comes with screw lock and a Tightening torque of 70Nm attached.
Assembly of further components
The engine is then completed with the rest of the components.
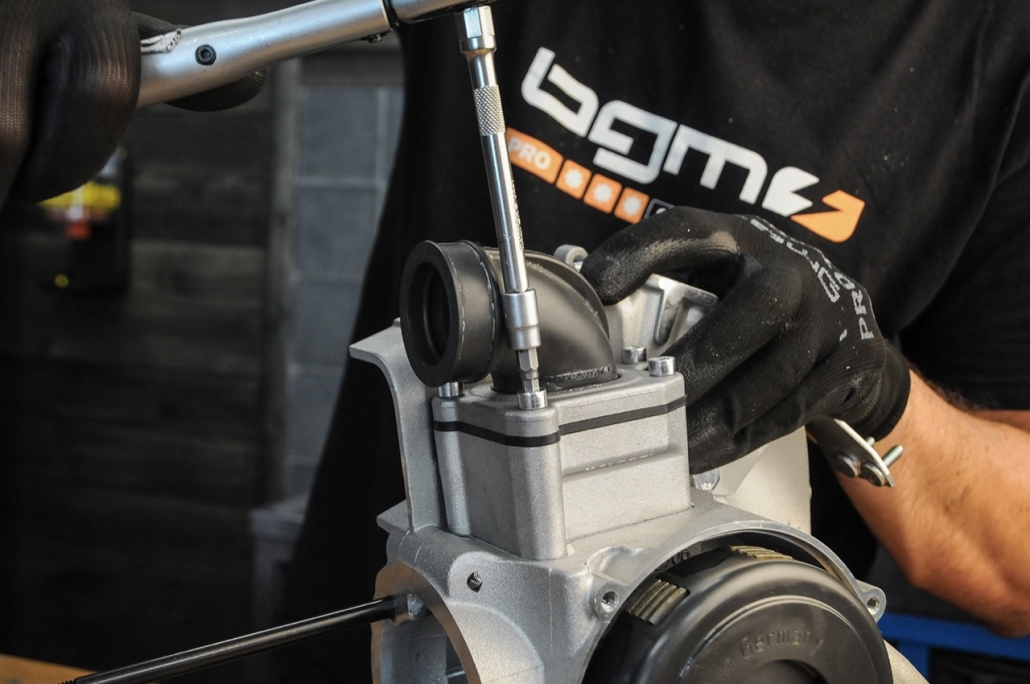
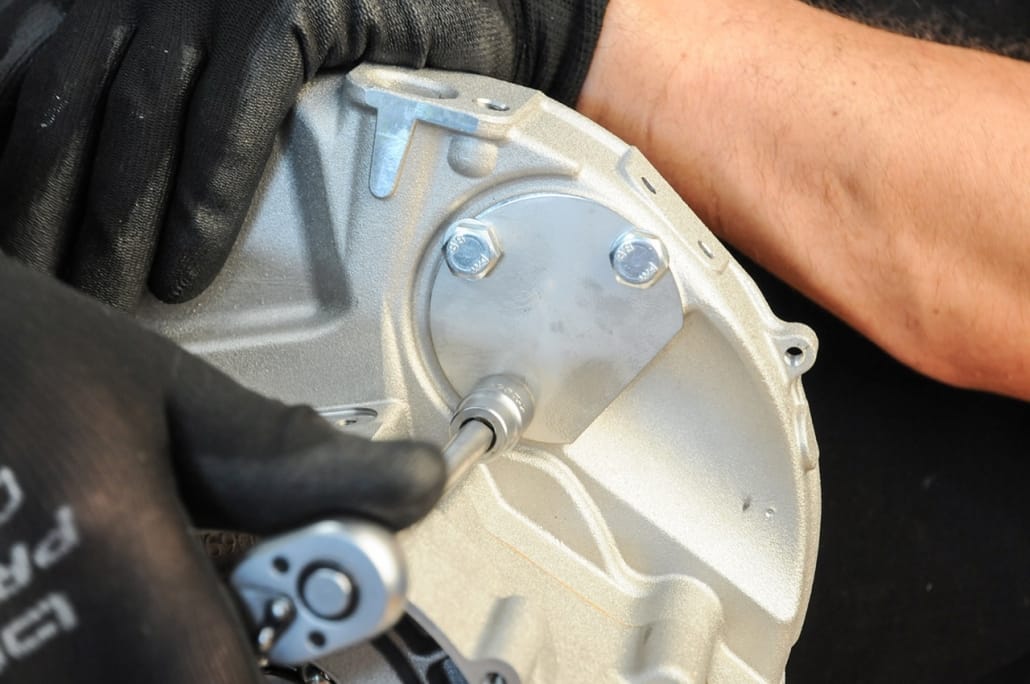
Intake manifold with the Malossi 2-valve membrane. Clutch cover, switch latch, cover for the starter motor and the bgm ignition system with static ignition timing.
Stress-free assembly of the ignition base plate on Malossi engine housings
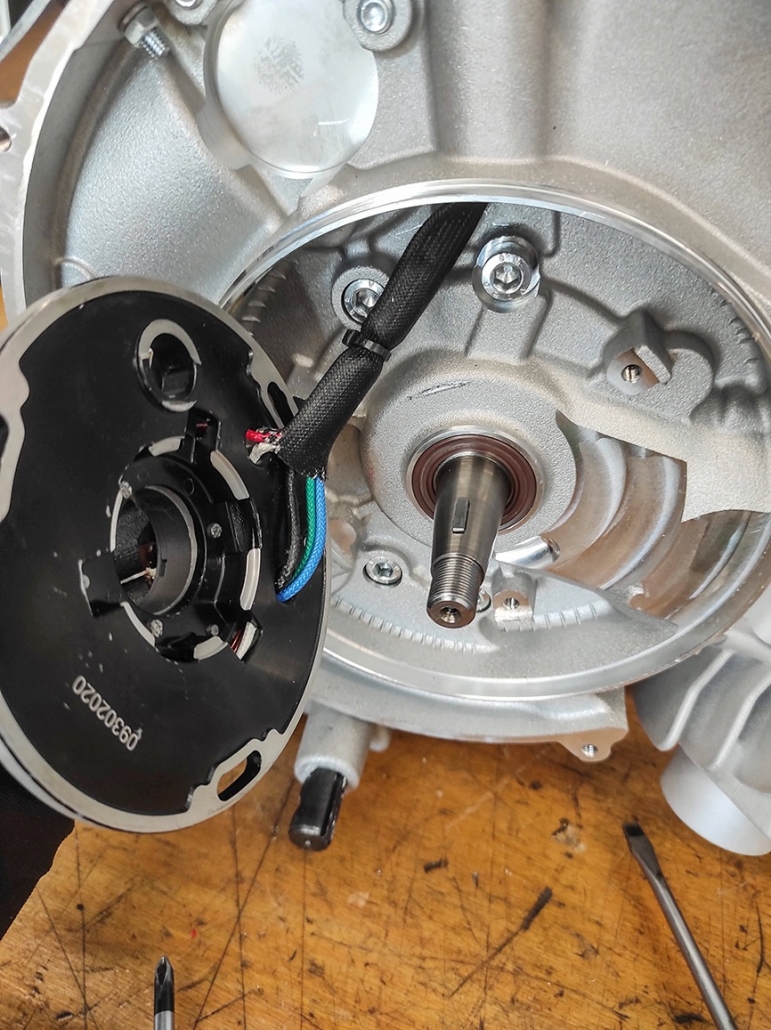
The Malossi motor housing is reinforced in many places. This can lead to contact between the base plate and the bearing seat when the ignition is installed. The base plate of the ignition must sit tension-free in the centering, so in individual cases the base plate and / or the motor housing must be slightly reworked to ensure a tension-free fit of the base plate.
Check crush dimension
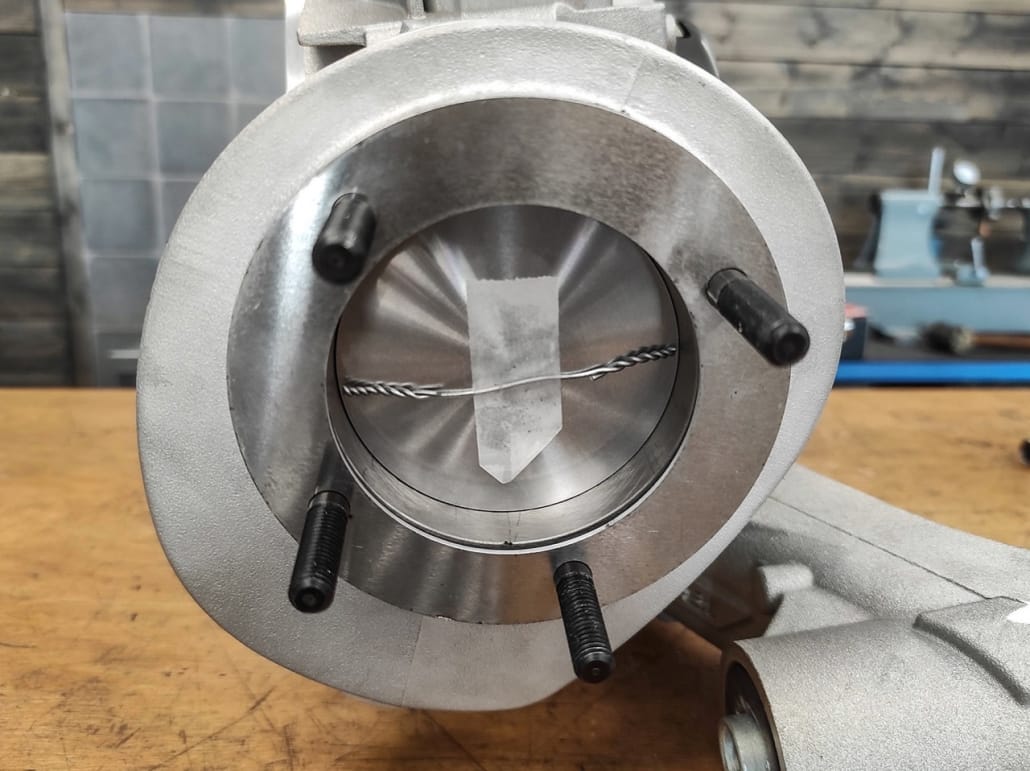
Before the final assembly of the cylinder, we check the pinch size using solder.
Due to the increased stroke, we aim for the squeeze dimension in the range from 1.3mm to 1.4mm and set this using the enclosed cylinder base seals.
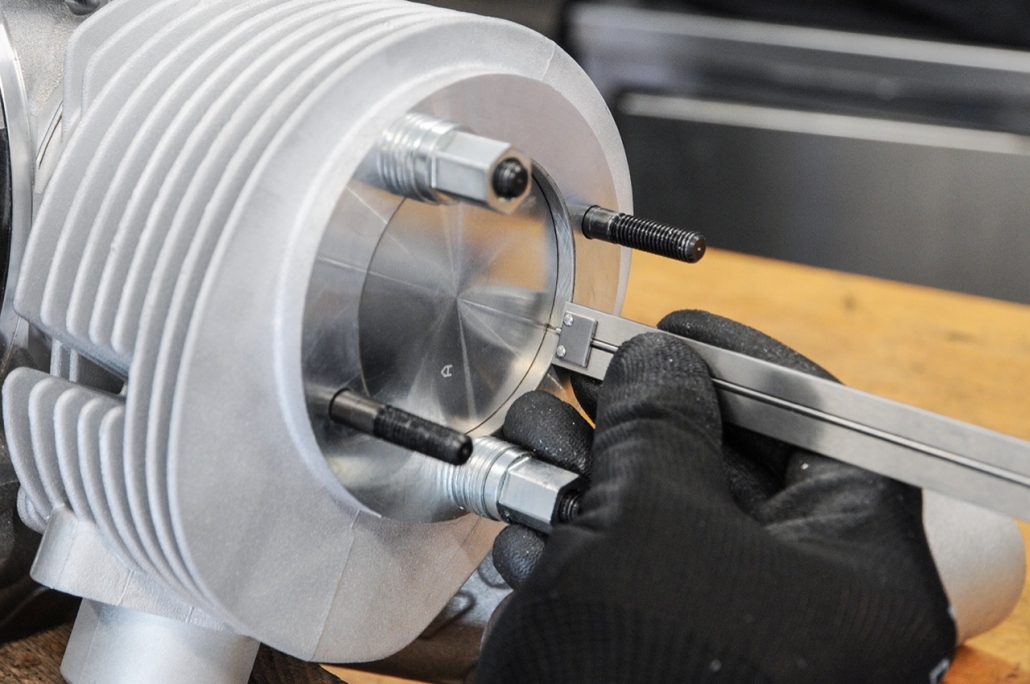
By compensating for the larger stroke, there is no need for centering on the cylinder head. For this reason, holes for fitting sleeves are made in the cylinder head and cylinder. The adapter sleeves prevent the spacers used for the cylinder head in the course of the test from protruding into the combustion chamber and causing unwanted damage there.
The new Quattrini engine on the test bench
For the test runs, we set the ignition to 19 ° BTDC.
The runs of the first expansion stage We will introduce M244_1 to you in the next blog post before…
Just a quick note - none of the runs were below the 30PS Mark on the unprocessed M244
Evo Retrofit
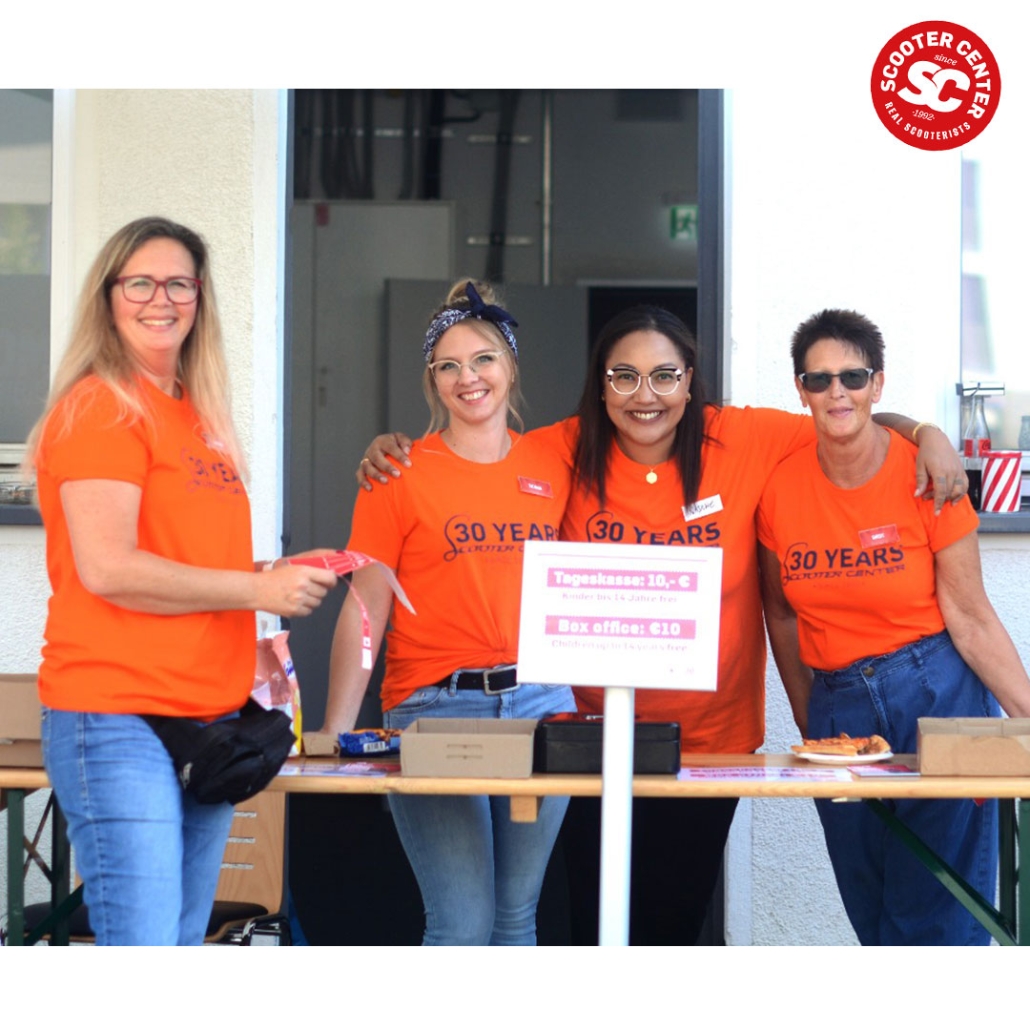
Hated & bashed by die-hard 2-stroke fans, enthusiasm increases among those who were allowed to test drive them - we're talking about classic Vespa scooters, which are equipped with electric motors from EvoRetrofit Scooter Center Open day for test drives were available.
EvoRetrovit has managed to design an electric motor that fits plug & play into the original frame of a classic Vespa - and that with a TÜV certificate! An old 50 with 45 km / h approval can then even drive 55 km / h with the new drive. The batteries are removable and easy to charge at home or in the garage.
Interview video with test drives and visitor comments on the electric Vespa
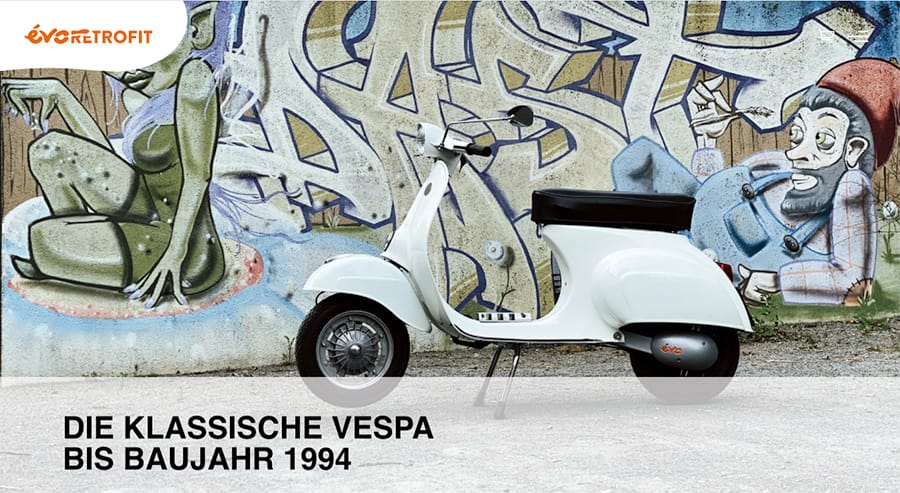
ELECTRICATE YOUR CLASSIC VESPA
The évo conversion kit for the Smallframe-Vespa is the first Electrical conversion kit with TÜV. Available in a complete kit for many models. The conversion is easy and reversible, the frame is not destroyed, everything fits plug & play! The team is currently working on a version for the Largeframe-Models: prices, dates and more Info wanted ?
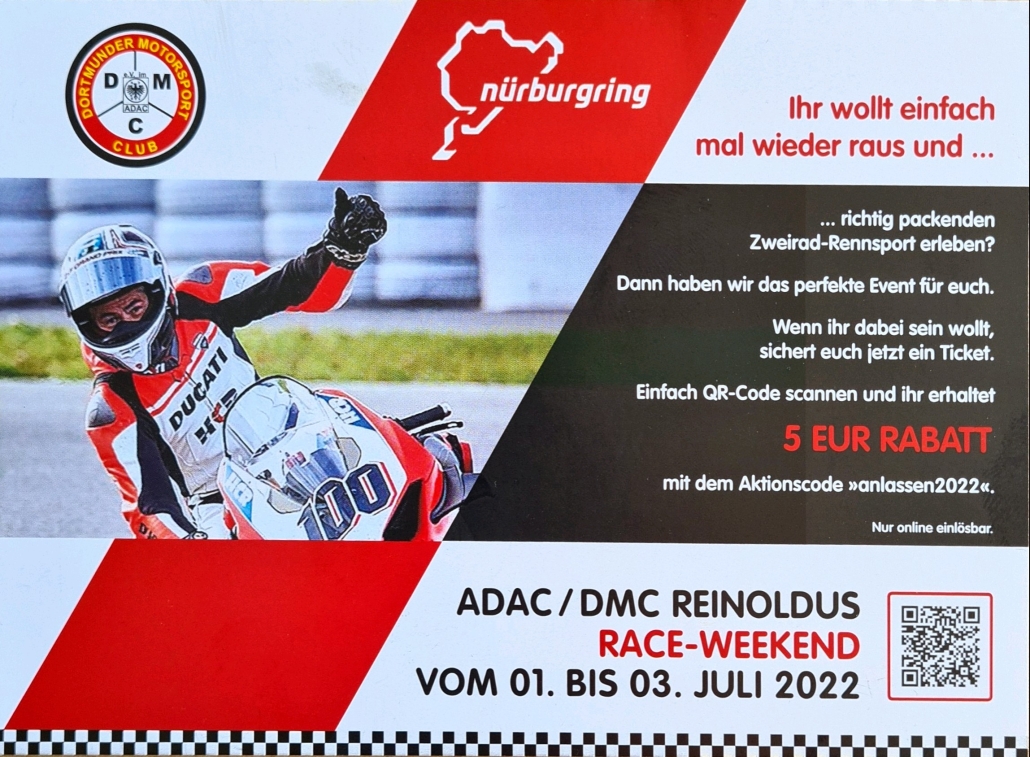
SC Cup at the Nürburgring
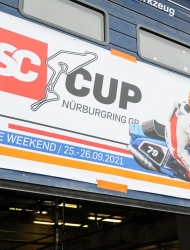
2nd run Scooter Center Cup on September 26, 2021
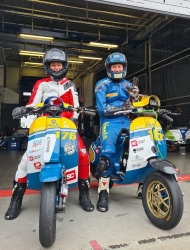
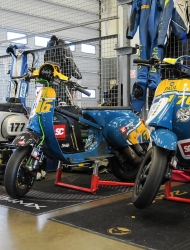
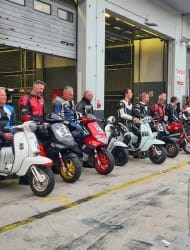
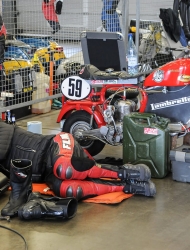
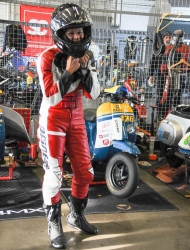
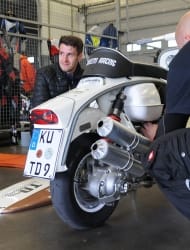
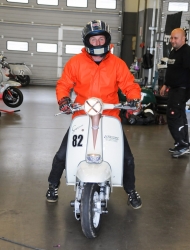
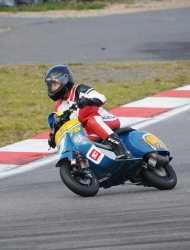
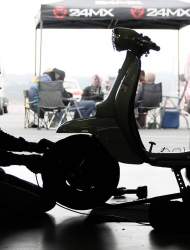
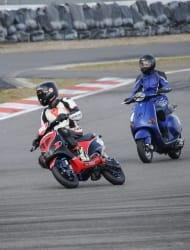
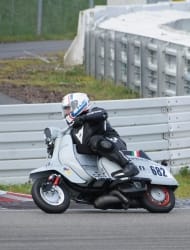
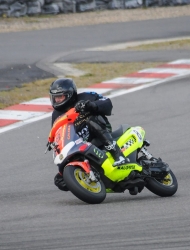
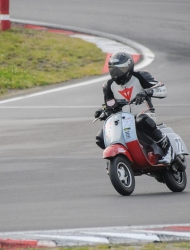
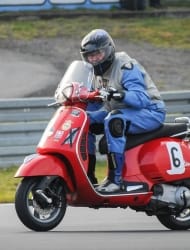
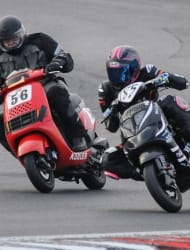
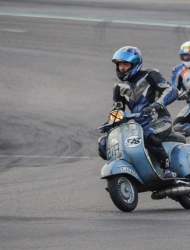
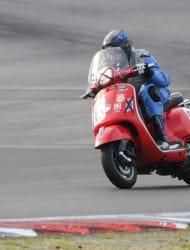
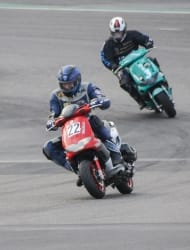
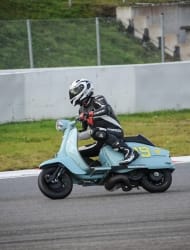
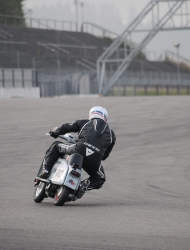
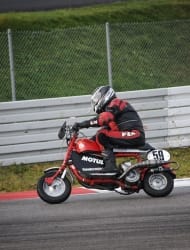
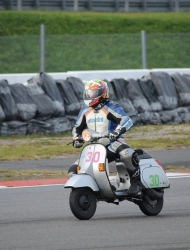
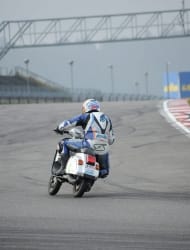
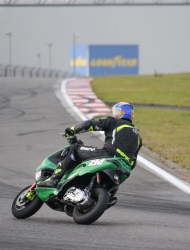
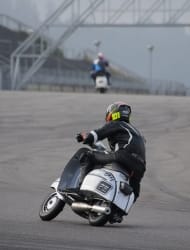
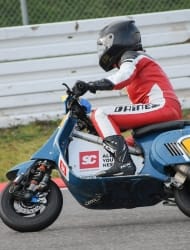
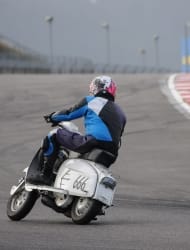
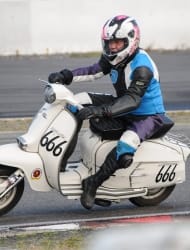
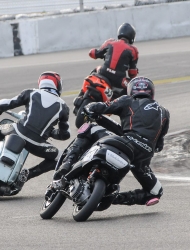
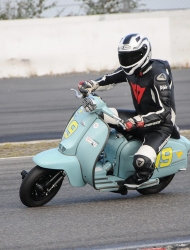
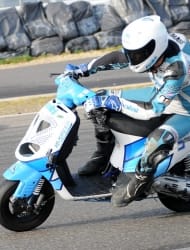
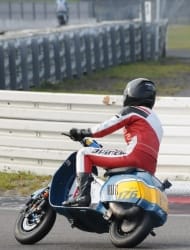
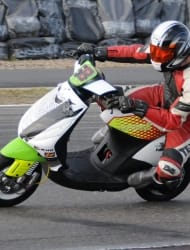
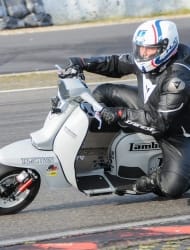
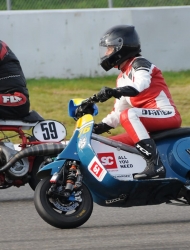
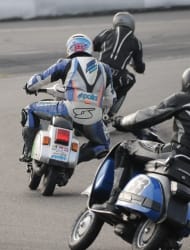
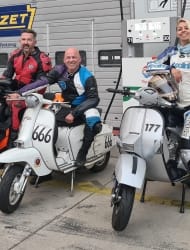
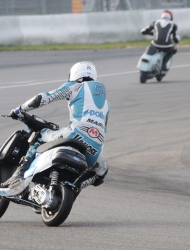
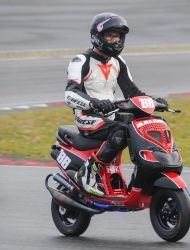
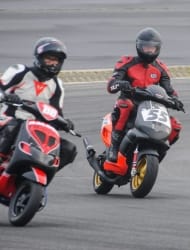
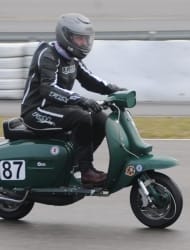
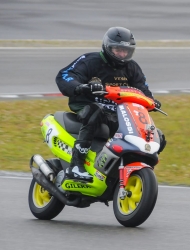
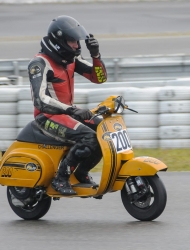
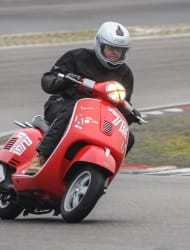
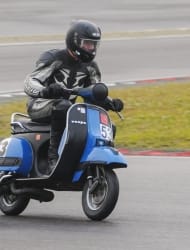
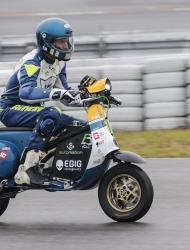
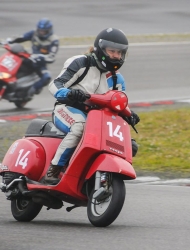
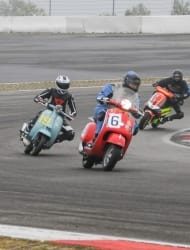
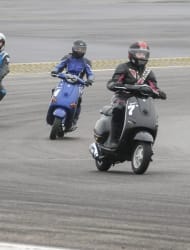
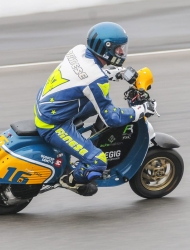
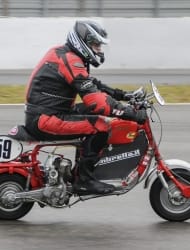
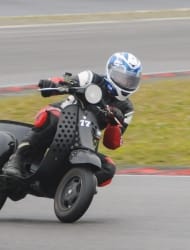
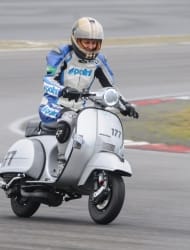
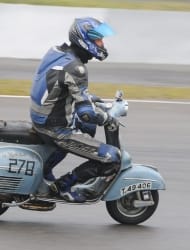
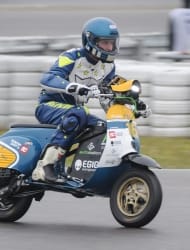
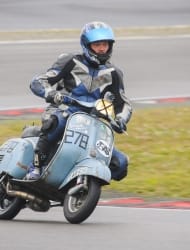
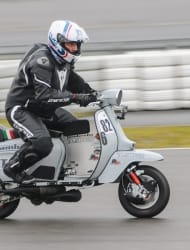
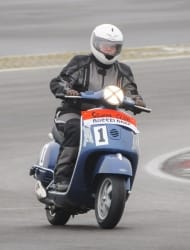
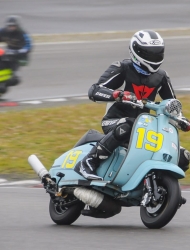
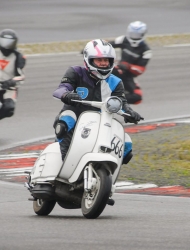
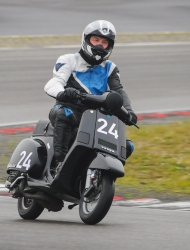
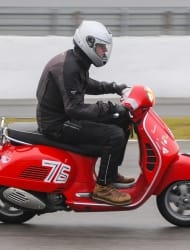
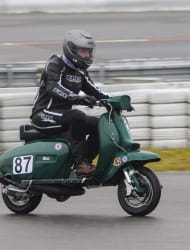
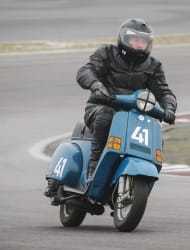
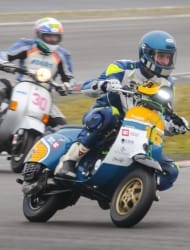
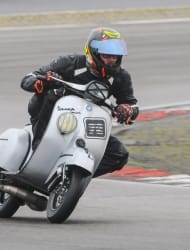
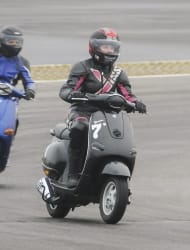
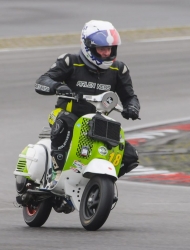
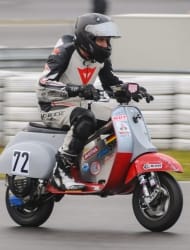
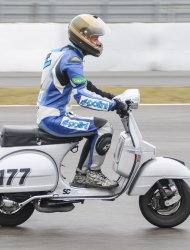
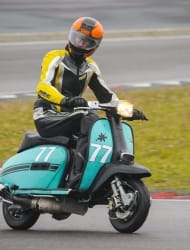
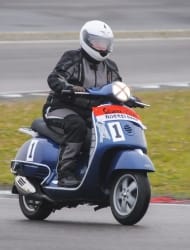
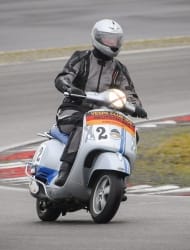
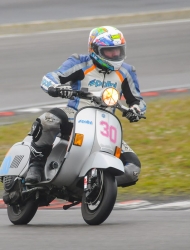
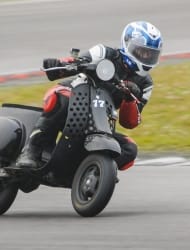
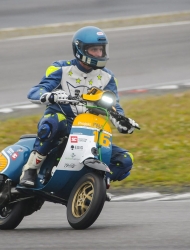
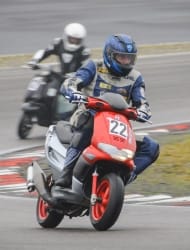
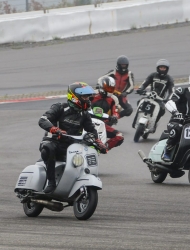
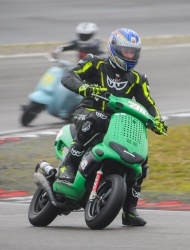
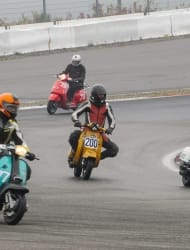
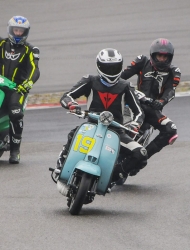
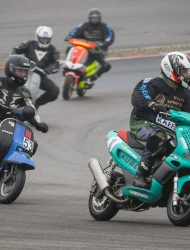
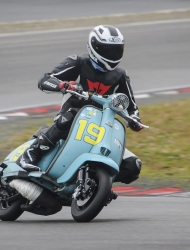
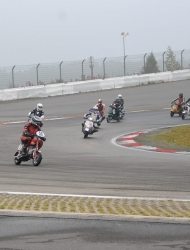
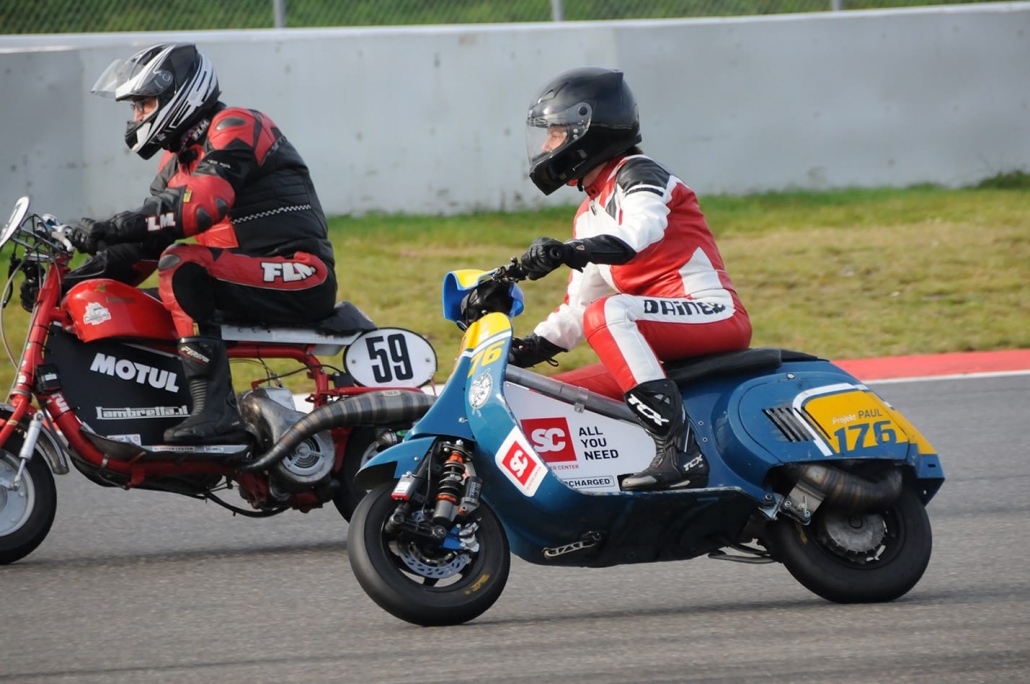
True to the motto "The fun is in the foreground"Took place last weekend as part of the German Endurance Championship of the Dortmund Motorcycle Club Scooter Center Cup at the Nürburgring. 42 participants had registered in advance to take part in the regularity run for motor scooters on the Grand Prix circuit of the Nürburgring. The starting field was mixed because there were no restrictions in terms of make and year of manufacture. They started together, the rating was in two classes (divided into geared and automatic scooters).
From the Lambretta from 1954 about the classic Vespa up to modern automatic scooter, From seven to over 50 hp and from rookies to professionals, everything was represented. Everyone is allowed to take part, and that's exactly what makes this cup so appealing - the great variety of drivers and scooters who don't get in each other's way on the big and wide track. In addition, there are regulations that only regulate the safety aspects and otherwise leave all freedom. Open to oldies and young automatic scooters. The perfect event for everyone who wants to get a taste of racing and do a few laps on the track. Our Maryzabel took advantage of this opportunity and entered the race with her PX “Platónika”. She will share her experience with you in a second report.
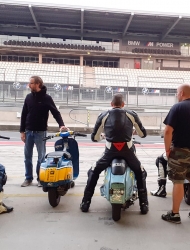
You could register the day before from 18 p.m. and present your vehicle to the technical inspection. An advantage, as not everyone passed this test straight away (the problem was often the excessive volume, which according to the regulations could not exceed 98 dB), because this gave the opportunity to repair the defects in peace and to re-lock the vehicle the next day present.
On the day of the race there was a total of four runs, two training sessions of 20 minutes each, a qualifying and, finally, the actual race, the Regularity run, during which 35 minutes could be driven. The track was still a bit wet from the nightly rain during the first run, but it got already during the second practice session neatly turned on the gas! On Great fun for everyonethat we spoke to. At the end of the day there were a few technical failures, but no falls, everyone arrived safely at the finish line after the last run.
We hope that the last restrictions due to Corona will no longer apply next year and that we will be able to start again in front of an audience!
Results of the evenness run:
Class 1 (switch scooter)
1st place: Karsten Rehn (total diff. 0.173 sec.)
2nd place: Stefan Menke (total diff. 0.247 sec.)
3rd place: Andy Reid (total diff. 0.491 sec.)
Class 2 (automatic scooter)
1st place: Hans-Werner Both (total diff. 0.011 sec.)
2nd place: Christian Liebig (total diff. 0.024 sec.)
3rd place: Federico Vanore (total diff. 0.337 sec.)
Results in detail Nürburgring
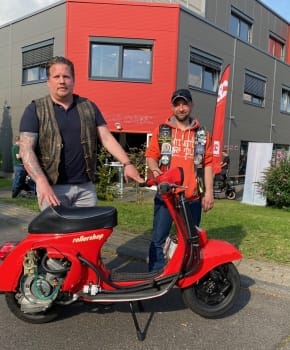
Scooter shop cover Vespa
If you've been driving a scooter for a while, you may still know the scooter shop!
Scooter youth icons
The scooter shop was the scooter shop for us young scooter drivers in the 80s and early 90s. Whether Scooterboy, Popper or Mod: With its catalogs, the scooter shop pulled our pocket money and our first salary out of our pockets. But some of us knew how to defend ourselves: Philipp, for example, always ordered the PK disc brake for 540 DM with every order, so he was always above the postage exemption limit and he was sure of free delivery, but the disc brake was never available until the end .
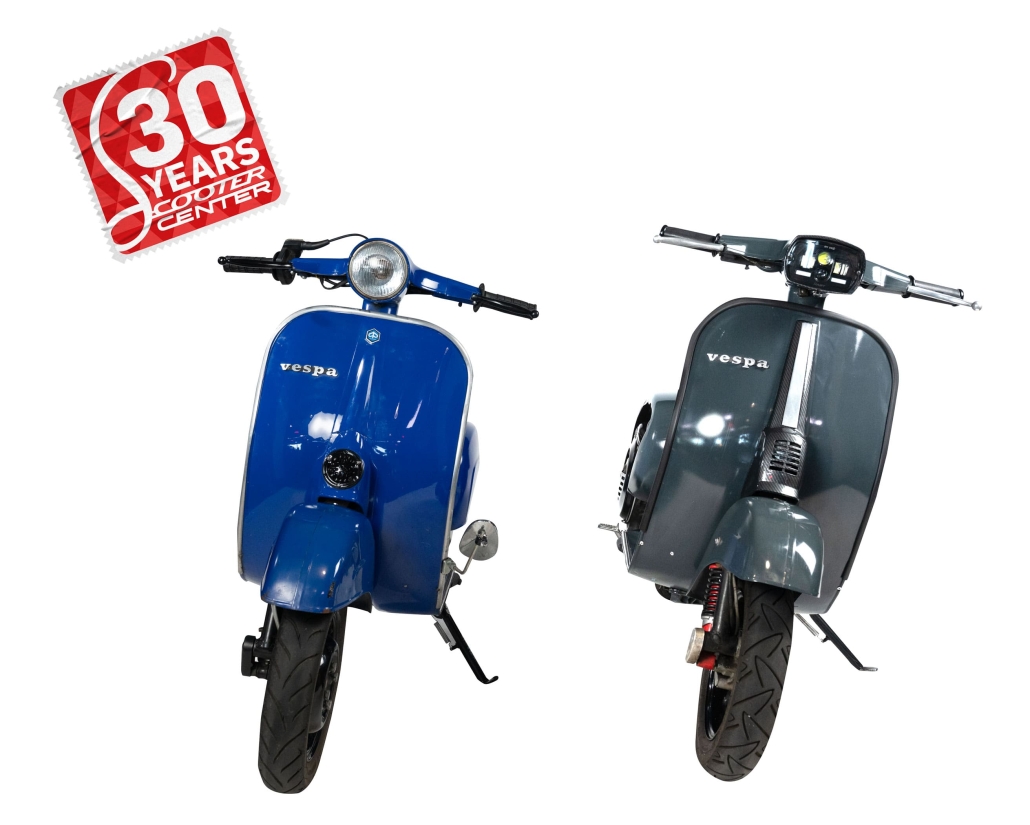
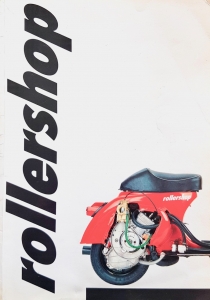
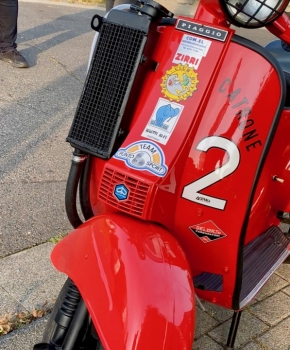
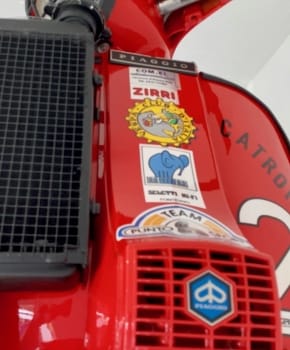
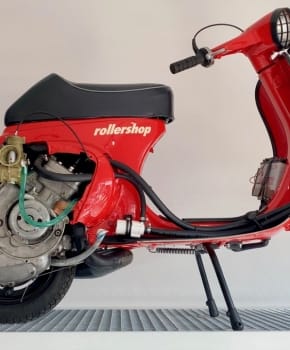
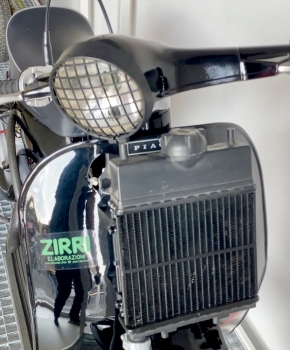
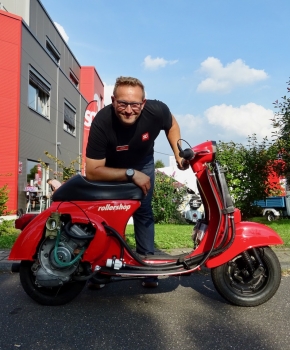
For many, the catalog was like a Bible. A bright red shone on the cover of the 1989 catalog Smallframe Vespa with water cooling with Zirri engine. The connoisseur may have recognized straight away that the model is a Primavera, but did you know which parts were built in in detail? What performance did they have or what the Vespa looks like from the front?
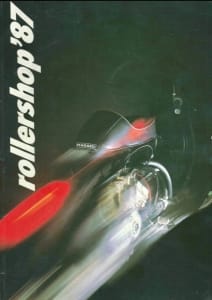
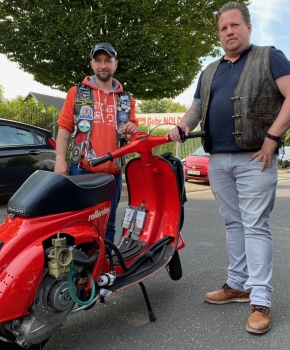
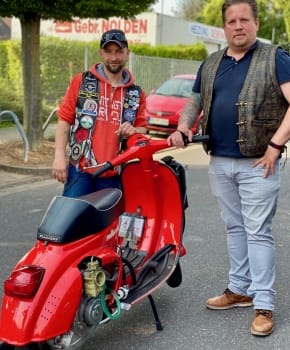
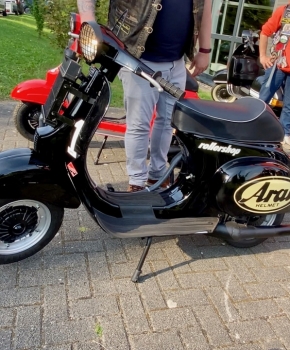
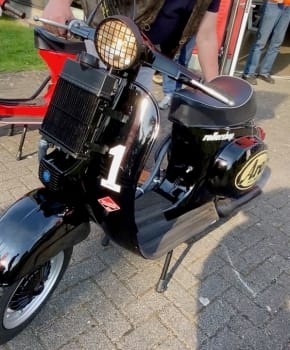
And did you know that there was a cover Vespa in black as early as 1987? In general, have you ever wondered what of these forgotten ones Dream scooters of our youth has become? The scooter shop as a company did not manage to survive, we took over customer support in 2007 and bought the domain. Vehicles and stocks were spread over the whole republic. Did the cover rollers survive?
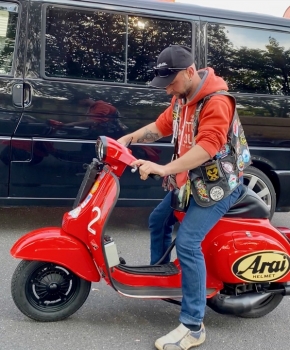
Christian and Ronny from the Scoot Devils Seevetal have not forgotten, have found the legendary scooters and carefully restored them!
In the Scooter Center The two scooters could be admired for the first time on OpenDay. So of course I used the opportunity and Christian and Ronny got the unbelieveable story let tell. Check out the video now! You can find out below Details about the vehicles and receive more Insights and detailed pictures.
Many thanks to Christian, who was not only available to us for the video, but also sent this information about the two scooters afterwards:
Both are the original frames and motors that were built by Bruno Zirri!
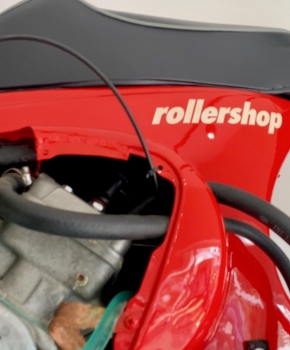
Roller shop red:
Loom: Vespa Primavera ET3
Engine: Vespa Primavera ET3
- Tau TVR 30 H2o cylinder 127ccm about 25PS
- Zirri full-flanged crankshaft with Tau TVR connecting rod stroke 50,6 mm
- 2/64 primary
- Original 4-speed gearbox
- 4 disc clutch
- Exhaust cable TVR welded around
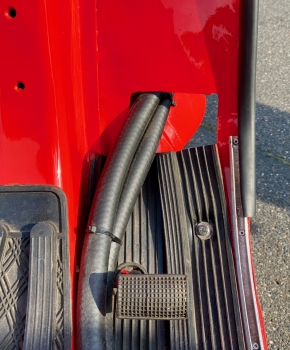
- Tau TVR cooler
- Water pump / service water caravan
- Carburetor / Dellorto PHBE 36 sz magnesium with power jet
- Ignition / Motoplat 6v electronic
- PK XL clutch cover
- Welding and spindle work on the engine block (back then)
- Chassis / Bitubo rear the hose version / front original
The frame was reinforced by us, as it has already become soft over the years due to the many falls.
Sanding and filling work.
Working hours approx. 250
Energy cans approx. 400
Roller shop black:
Loom: Vespa 50 n special
Engine: Vespa 50 Special
- Eurocilindro Parabellum H2o 133ccm converted to membrane about 18 HP
- Mazzuchelli racing crankshaft stroke 51mm
- 2/64 primary
- Original 4-speed gearbox
- 4 disc clutch
- Eurocilindro exhaust
- IPRA cooler
- Ignition PK 12 V turned off
- Original clutch cover
- Carburetor / Dellorto 34 PHBE magnesium
- Chassis / Bitubo at the rear with expansion tank / original at the front
- Welding and spindle work on the engine block (back then)
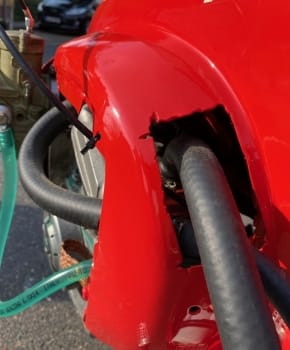
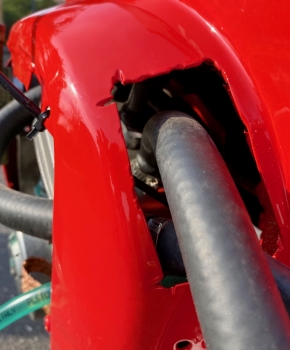
A few holes were welded shut on the frame itself and the original ones for the cooling water hoses were opened again.
Sanding and filling work
Working hours approx. 120
Energy cans approx. 170
Thank you!
Big thanks to the following people who supported us:
- Luis and Klaus from the Scoot-Devils for sanding, filling and cleaning work
- Manuel our painter
- Angelo / Stefano Zirri for the original photos and information
- Arne Uhlhorn Rollershop Original Sticker (For the red one)
- Dennis Neumann who made the sacrifice to part with the red roller shop frame.
- Kingwelle company (Christoph) for pressing over the crankshaft of the Red Rollershop
- Company O-ring.de who had or measured all seals for the TAU TVR cylinder
- Company artwork for the stickers and their production
- Thanks to everyone and their many tips from the scenes for these vehicles
- And a big thank you to everyone who had to endure us and our madness during the restoration ...
be it partners, friends, etc.
What are the next steps?
Do the “partners who had to endure madness” know that there is already a new project? Again the guys go to work for a while Smallframe to revive the German scooter scene:
Scauri tuning
Preview: This is the former vehicle of our friend Mathias Scherer, who beat the red Vespa with a water-cooled Scauri engine on international racetracks and even then scratched the 30 HP mark. Scauri Racing, have you heard this before? Stefano Scauri co-founded BSG Corse, BSG is now BFA and Stefano Scauri now develops cylinders for Parmakit. We keep you here in the Scooter Center Blog up to date.
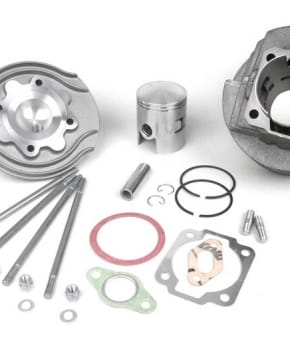
Polini 133 racing cylinder available!
This is a classic one Polini racing cylinder for the Vespa Smallframe Models PV / ET3 / PK / XL / XL2 models, except PK automatic.
This tuning cylinder is the revised version of the legendary 133 Polini and offers a plug & play high durability with a lot of torque.
But the cylinder also offers a lot of potential for ambitious tuning of your Vespa beyond the 20PS. If that's not enough: Polini 152 Big Evo cylinder
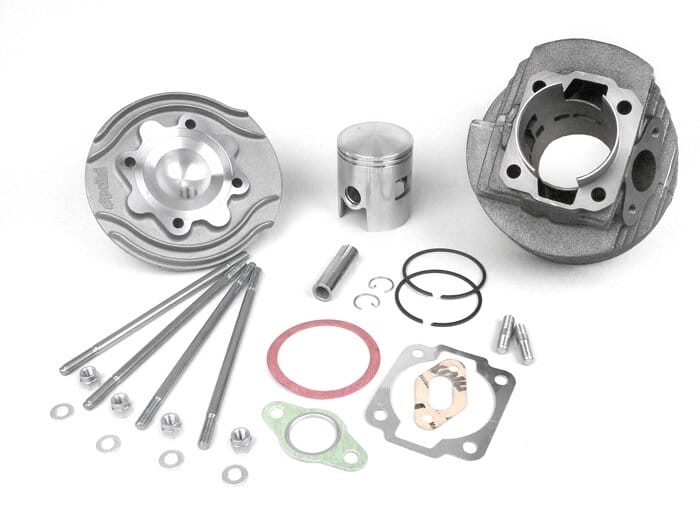
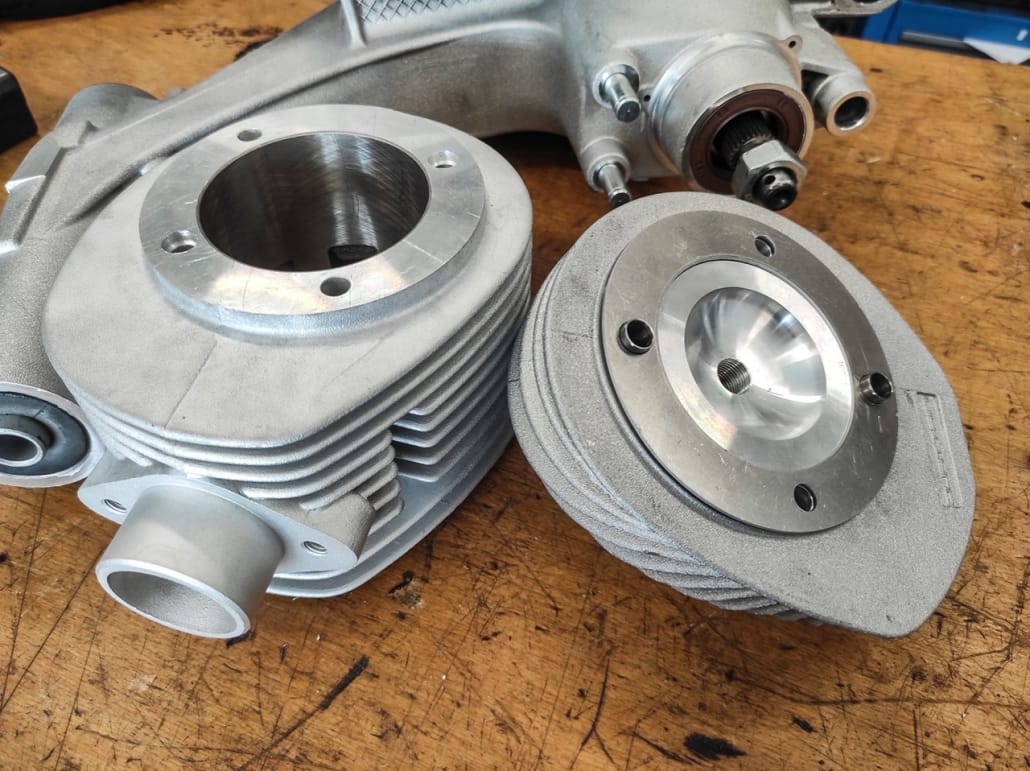
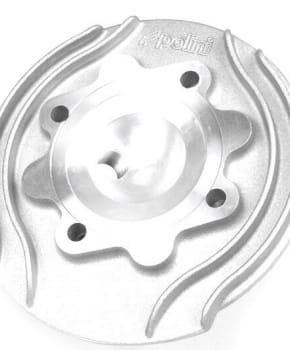
The main innovation of this "racing version" compared to the classic 133 relates to the cylinder head, which is made of cast aluminum with a high silicon content. In addition, the head has additional cooling fins on the underside. This means that the heat is dissipated much better, both from the cylinder itself and from the head. The compression was also slightly adjusted.
The copper seal not only conducts heat better, it also contributes to a significantly better seal between the cylinder and the head.
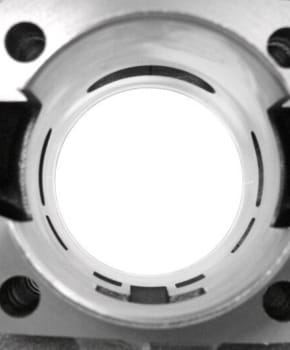
The layout of the cylinder is unchanged and is determined by the six transfer ports. The ASSO piston is made of die-cast, which gives it very good durability and low weight.
With a 57 mm bore, 51 ccm with a 130 shaft and an impressive 54 cc with a 138 shaft are available.
Racing cylinder of the K5 in the ESC
The cylinder is used unchanged in the ESC (European Scooter Challenge) in the K5 class very successfully in races and has "put" around 15 hp.
We already had this cylinder, extremely revised, with 30 HP on the test bench!
Instructions Polini 133cc
Polini-133-Racing-Cylinder-PI357
140.0050 / R | | 1400050R | P1400050R
Fits on these vehicles
- Vespa (Augsburg) Vespa 50 N (type 5N1, V5A1T)
- Vespa (Augsburg) Vespa 50 S (type 5S1, V5SA1T)
- Vespa (Motovespa) PK 125 S (engine 56M)
- Vespa (Motovespa) PK 125 S elestar (engine 66M)
- Vespa (Motovespa) PK 125 XL (engine 97M)
- Vespa (Motovespa) PK 125 XL E (engine 100M)
- Vespa (Motovespa) PK 75 S (engine 57M)
- Vespa (Motovespa) PK 75 S elestar (engine 67M)
- Vespa (Motovespa) PK 75 S junior (engine 72M)
- Vespa (Motovespa) PK 75 XL (engine 96M)
- Vespa (Motovespa) PK 75 XL E (engine 104M)
- Vespa (Motovespa) Vespa 125 Primavera (engine 9NK)
- Vespa (Motovespa) Vespa 125 Primavera (engine 9NV)
- Vespa (Motovespa) Vespa 125 Primavera (engine 9T)
- Vespa (Motovespa) Vespa 75 Primavera (engine 9PK)
- Vespa (Motovespa) Vespa 75 Primavera (engine 9PN)
- Vespa (Motovespa) Vespa Super (engine 762M)
- Vespa (Motovespa) Vespa 50 (engine 06M, 3-speed)
- Vespa (Motovespa) Vespa 50 (engine 07M, 4-speed)
- Vespa (Motovespa) Vespa 75 (engine 08M)
- Vespa (Motovespa) Vespa 75 PR (engine 9PR)
- Vespa (Piaggio) Vespa 50L (V5A1T)
- Vespa (Piaggio) Vespa 50N (V5A1T)
- Vespa (Piaggio) Vespa 50 (V5A1T, 1963)
- Vespa (Piaggio) Vespa 50 S (V5A1T, 1964)
- Vespa (Piaggio) Vespa 50 Special (V5A2T)
- Vespa (Piaggio) Vespa 50 Special Elestart (V5A3T)
- Vespa (Piaggio) Vespa 50 Special (V5B1T)
- Vespa (Piaggio) Vespa 50 Special Elestart (V5B2T)
- Vespa (Piaggio) Vespa 50 Special (V5B3T)
- Vespa (Piaggio) Vespa 50 Special Elestart (V5B4T)
- Vespa (Piaggio) PK 50 XL2 (V5N1T)
- Vespa (Piaggio) PK 50 XL2 HP (V5N2T)
- Vespa (Piaggio) PK 50 SS (V5S1T)
- Vespa (Piaggio) PK 50 XLS (V5S2T)
- Vespa (Piaggio) Vespa 50 Sprinter (V5SS2T, -1975)
- Vespa (Piaggio) Vespa 50 SR (V5SS2T, 1975-)
- Vespa (Piaggio) PK 50 (V5X1T)
- Vespa (Piaggio) PK 50 S (V5X2T)
- Vespa (Piaggio) PK 50 S Luxury (V5X2T)
- Vespa (Piaggio) PK 50 XL (V5X3T)
- Vespa (Piaggio) PK 50 XL Rush (V5X4T)
- Vespa (Piaggio) PK 50N (V5X5T)
- Vespa (Piaggio) PK 50 XL2 (V5X3T)
- Vespa (Piaggio) PK 80 S (V8X5T)
- Vespa (Piaggio) Vespa 90 (V9A1T)
- Vespa (Piaggio) Vespa 90 Super Sprint (V9SS1T, SS90)
- Vespa (Piaggio) Vespa 125 New (VMA1T)
- Vespa (Piaggio) Vespa 125 Primavera (VMA2T)
- Vespa (Piaggio) Vespa 125 ET3 (VMB1T)
- Vespa (Piaggio) PK 125 ETS (VMS1T)
- Vespa (Piaggio) PK 125 (VMX1T)
- Vespa (Piaggio) PK 125 S (VMX5T)
- Vespa (Piaggio) Vespa 50 (V5A1T 893569-)
- Vespa (Piaggio) Vespa 50 N Special (V5A1T 887656-)
- Vespa (Piaggio) Vespa 50 N Special (V5B3T)
- Vespa (Piaggio) Vespa 50 N Special (V5B3T 97625-)
- Vespa (Piaggio) Vespa 50 S (V5SA1T 69602-)
- Vespa (Piaggio) Vespa 90 (V9A1T 141544-)
- Vespa (Piaggio) PK 50 HP (V5N2T, 3-speed)
- Vespa (Piaggio) PK 50 HP (V5N2T, 4-speed)
- Vespa (Piaggio) Vespa 50 (V5A1T)
- Vespa (Piaggio) Vespa 50 (V5SA1T)
- Vespa (Piaggio) Vespa 50 (V5SS1T)
- Vespa (Piaggio) Vespa 90 (V9A1T)
- Vespa (Piaggio) Vespa 125 New (VMA1T)
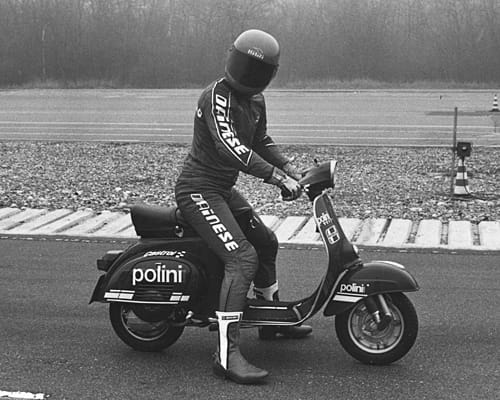
This is the original press release from Polini about the cylinder:
POLINI CYLINDER KIT FOR VESPA 125 PRIMAVERA ET3 WITH NEW CYLINDER HEAD:
RACING GENERATION Polini Motori has revised the popular cylinder kit for the Vespa 125 Primavera ET3. This is now also available as a RACING version with a specially developed cylinder head for better cooling. The cylinder head itself is also available individually. TECHNICAL DATA: The cylinder is made of cast iron with lamellar graphite. As a result, it has a self-lubricating effect and is very resistant to mechanical loads. This reduces the working temperature and prevents possible loss of performance. The cylinder has a 57mm bore and 6 overflow channels. The piston is made of chill cast light metal with a high silicon content and has two “S10” chrome-plated piston rings. The aluminum cylinder head is equipped with two fins, which dissipate the heat better. Cooling and compression ratio are optimized. The new copper seal prevents gas from escaping between the cylinder and cylinder head and facilitates heat exchange.

