Posts

A continuación mostramos el correcto montaje de los neumaticos, como ejemplo usaremos el Neumatico bgm Classic

1. Disminucion of the friction

La cámara interna está expuesta a la fricción al rodar el neumático, por lo que tiene sentido reducir this fricción con Talc. Esto reduce su desgaste.

It distributes a pequeña cantidad de talco dentro del neumático y la recámara se infla un poco, espolvoreándola también un poco.

2. Compare the direction

Antes del montaje de la cámara compruebe si el neumático tiene una dirección de rotación especificada por el fabricante. En nuestros Neumaticos bgm Classic It must be with a flecha that apunta the direction of rodamiento cuando se conduce.

Luego se inserta la camera para que coincida con lado de rotación del neumático, de modo que la válvula típica de Vespa apunte hacia el lado izquierdo en la dorección de desplazamiento.

3. Assembly

Para el montaje de los neumáticos en los rines / llantas, la Pasta de Montaje será de gran ayuda. Esto permite que el neumático se desplace sobre la llanta / rin, logrando que atornillar las dos piezas sea mucho más fácil

Primero se inserta la válvula a través de la mitad de la llanta / rin ancho y luego se empuja dentro del neumático. La mitad del delgada, también tiene un espacio libre a través del cual se puede acceder a la válvula, al insertarla, asegúrese de que el espacio libre para la válvula sea congruente con el de la mitad ancha ..

Our Llanta / rin bgm tienen pernos intercambiables, los cuadrados seran los que le indicaran donde atornillar, evitando la rotación del tornillo.

Las 5 tuercas de la llanta / rin se atornillan en cruz con un torque de 16-18 Nm. Al fijar, asegurese de que la Camera no question of atrapada between the mitades del border.

Finalmente infle el neumático a 2 bar y verifique que el neumático y la válvula estén correctamente asentados en la llanta / rin.

and ready!


Tutorial How to assemble the bgm CLASSIC tires for Vespa


Music: Rene Winkler from SC / NXT Level Amount: First one dub 4


https://blog.scooter-center.com/neue-10-zoll-rollerreifen-von-bgm-reifen-sport-bis-180km-h-classic-bis-150km-h-made-in-germany/

How do I mount the tires on a Vespa / Lambretta?

Using our example bgm Classic tires we show the correct assembly of the tire (split rim).

1. Reduce friction 

The inner tube is subject to flexing when the tire rolls and therefore it makes sense to cause friction inside talc to reduce.
The white powder reduces the friction between the tube and the tire and thus the wear and tear of the tube.

A small amount of talc is distributed inside the tire and the tube is filled with air just enough so that it does not expand and is also dusted with a little talc.

2. Check the direction of travel

Before installing the tube, please first check whether the tire has a direction of rotation specified by the manufacturer.
This notice is with ours bgm Classic tires in the form of an arrow on a tire flank and indicates the direction of rotation of the tire when driving.
The tube is then inserted to match the direction of rotation of the tire, so that the valve, typical for Vespa, points to the left-hand side in the direction of travel.

3. Assembly

To mount the tire on the rim, the so-called Montagepaste a real help. This means that the tire can be pushed very far onto the rim. This makes screwing the two-part rim much easier.

First, the valve is inserted through the wide half of the rim and then pushed into the tire.
The narrow rim half also has an opening through which the valve is accessible. When inserting it into the tire, make sure that the clearance for the valve is congruent with that in the wide half of the rim.

Our bgm Stainless steel rims have replaceable bolts. During assembly, it is important to ensure that the head of the screw is inserted into the square to prevent rotation.

The five nuts of the rim halves will be crosswise with 16 - 18Nm attached. When attaching, make sure that the hose is not trapped between the rim halves.
Then the Inflate tires to 2 bar and check that the tire and valve are correctly seated in the rim.

Ready

Tutorial How to assemble the bgm CLASSIC tires for Vespa


Music: Rene Winkler from SC / NXT Level Amount: First one dub 4


https://blog.scooter-center.com/neue-10-zoll-rollerreifen-von-bgm-reifen-sport-bis-180km-h-classic-bis-150km-h-made-in-germany/

The video and blog de hoy tread on sobre la medición del ángulo o tiempo de admisión.
Los ángulos de admisión deben are en un cierto rango, que se especifica en grados del cigüeñal. Como punto fijo, las mediciones siempre comienzan desde el punto muerto superior (PM).
Por lo tanto, the area de entrada se divide en los valores “antes de PM” y “después de PM” porque la entrada se opens en el punto muerto inferior (PMI) y se cierra in the point muerto superior (PMI).

Para un motor Vespa de válvula rotativa, los valores para un buen concepto “touring”, están alrededor de. 100 ° PMI y 65 ° PMS
Para concepts are very orientated performance que a veces tienen que operar a una velocidad más alta, los valores pueden ser significativamente mayores. Aquí se puedenhabenrar 120° PMI and hasta 75° PMS. Los ángulos de entrada siempre deben seleccionarse para que cocidan con el concepto deseado.

Aquí, the principle is a like a juste sencillo del carburador y la entrega de potencia homogénea para hacer que el área de admisión sea tan grande como sea necesario y tan pequeña como sea posible para lograr los valores deseados.
You supone que el corazón de dos tiempos de Platónika es una unidad poderosa y, por lo tanto, la entrada debe estar en el rango de 100 ° PMO y 65 ° PMS

To determine the exact angle of the entry, you need to use all the tools and material.
• Engine cover
Crankshaft
• Cilindro and piston
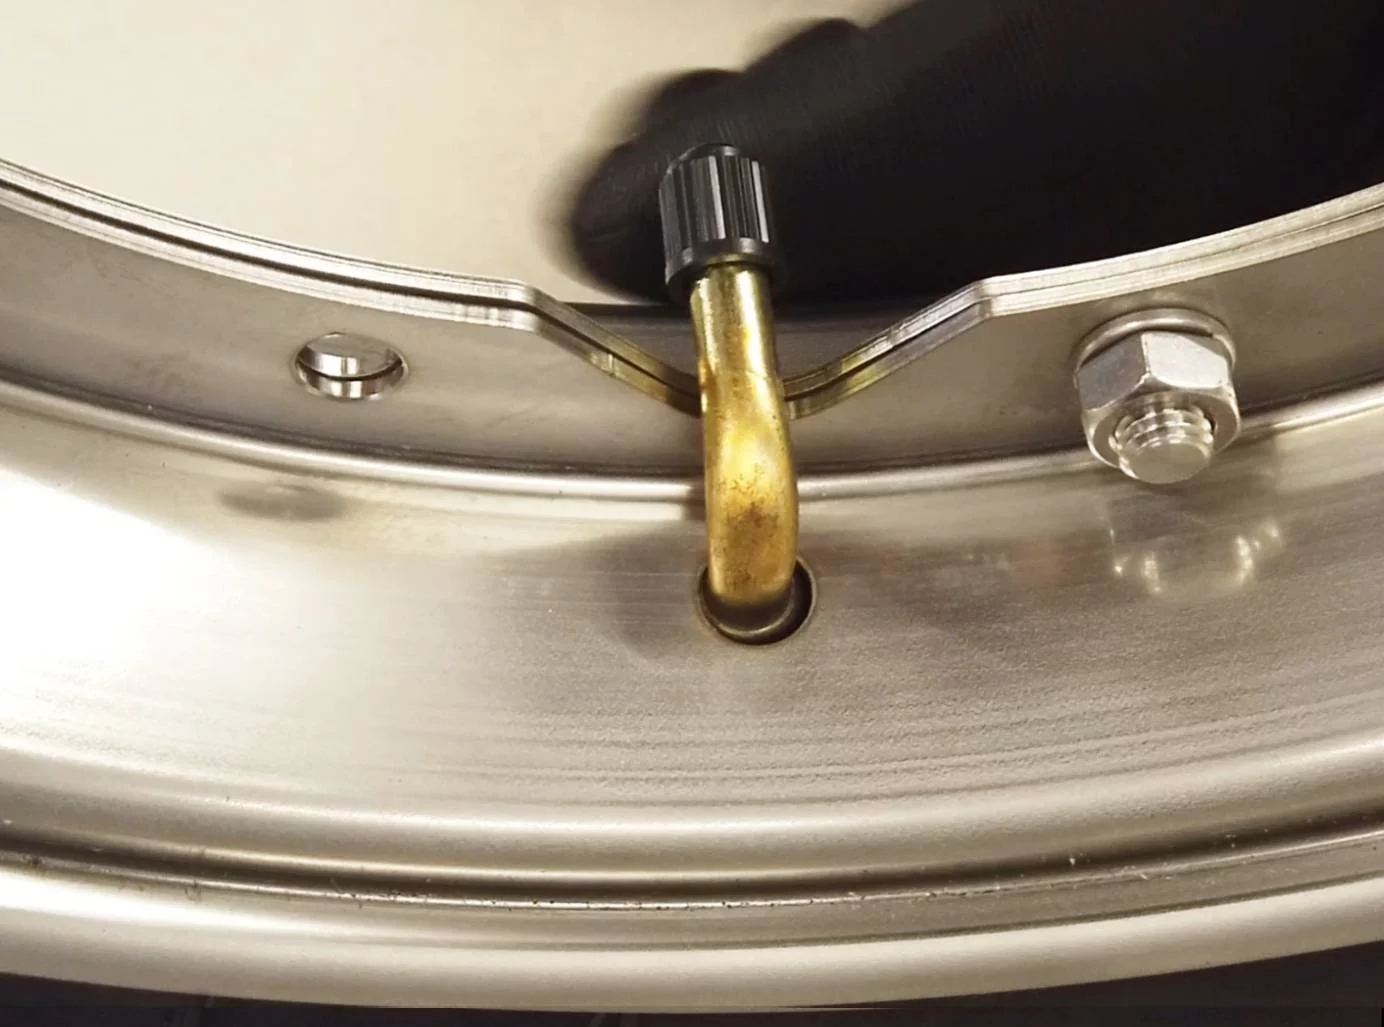
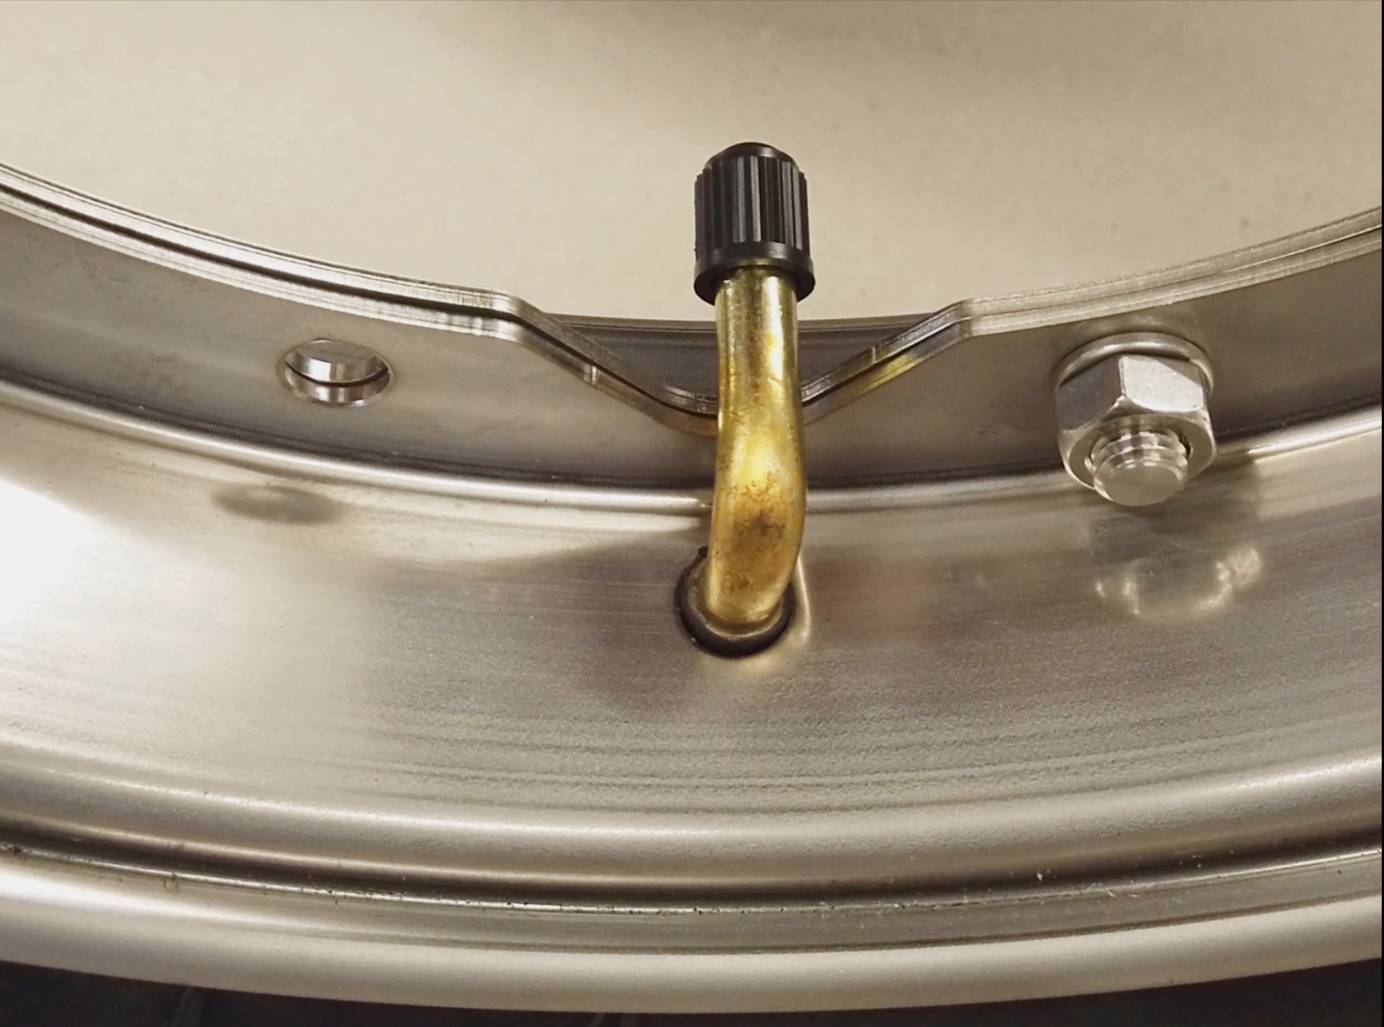
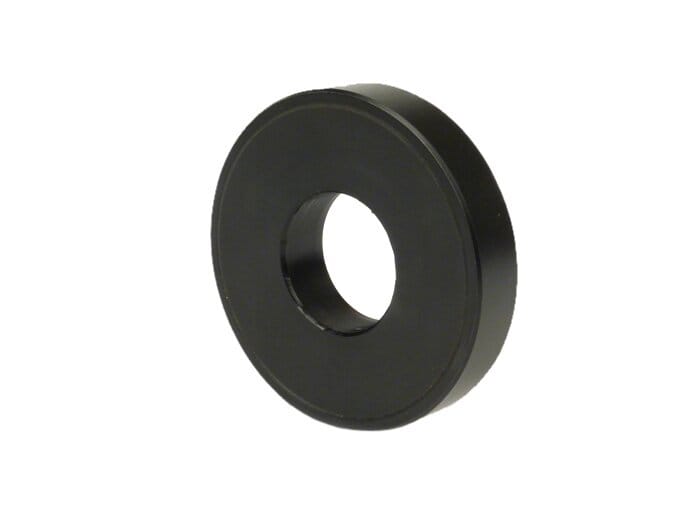
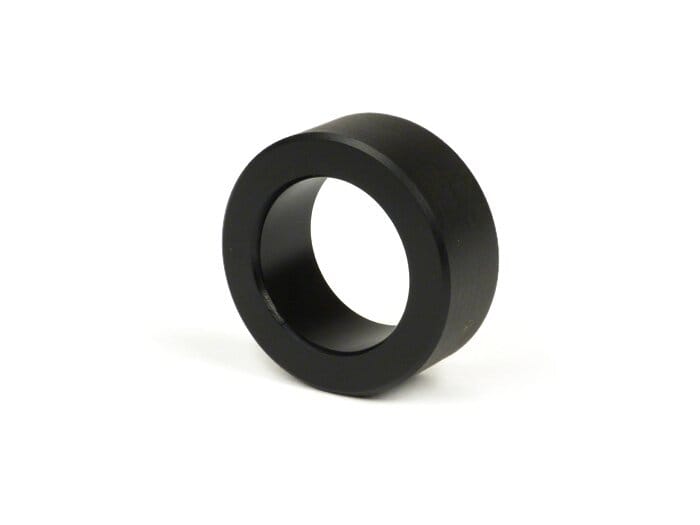
• Rodamientos de imitación: Available for todos los tamaños de los rodamientos de uso común en la gama Vespa y Lambretta.

BGM PRO- 613912 (25x62x12mm)                                                       BGM PRO-NBI 253815 (25x38x15mm)

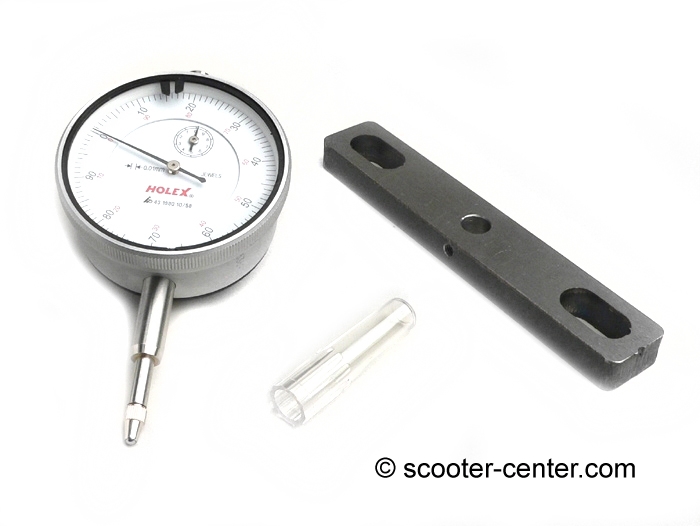
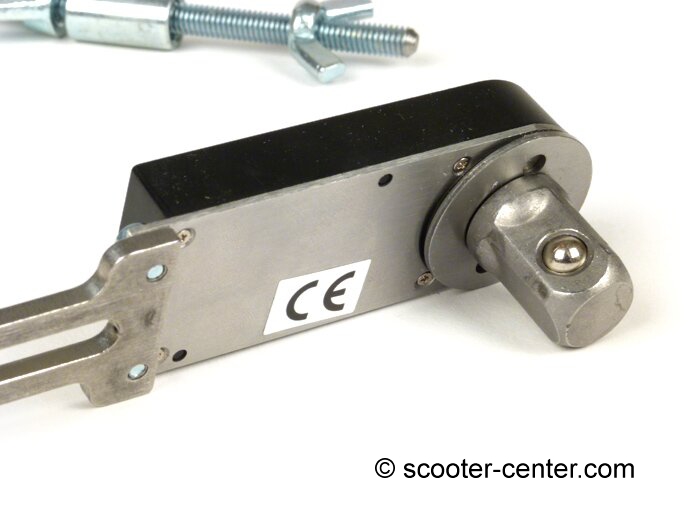
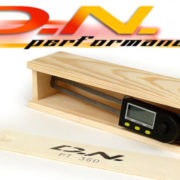
• Reloj comparer with soporte
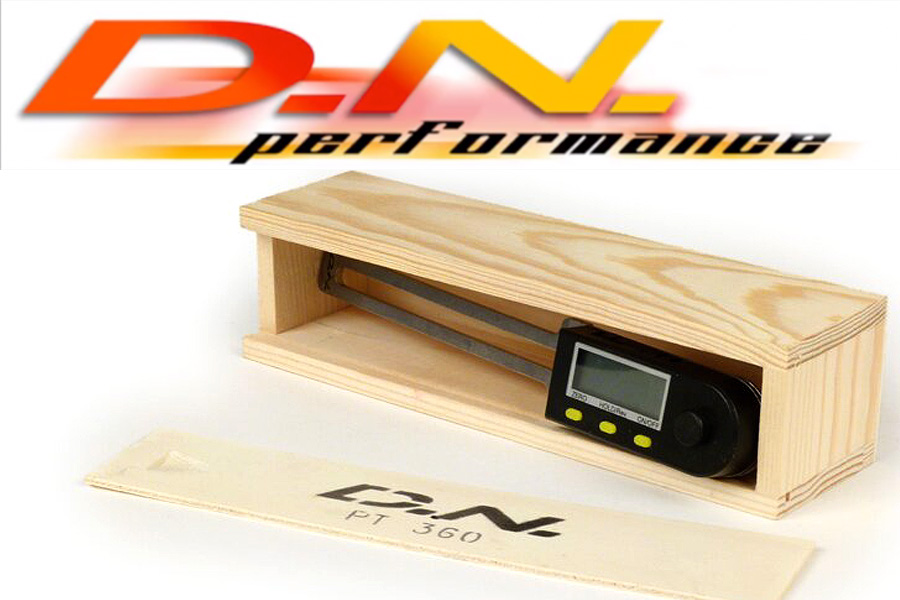
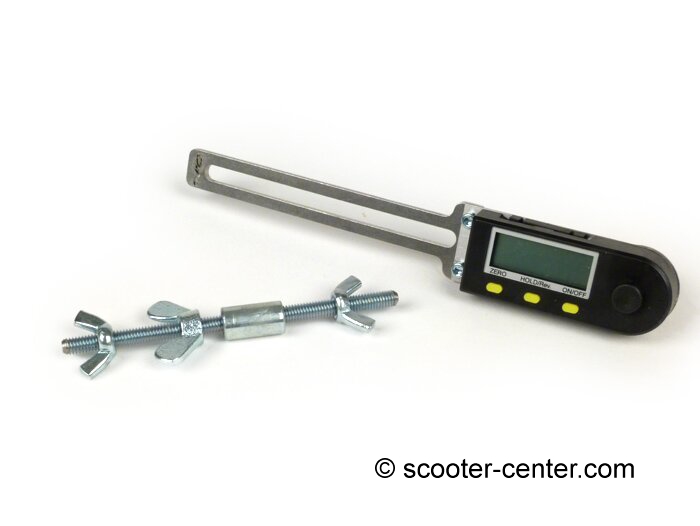
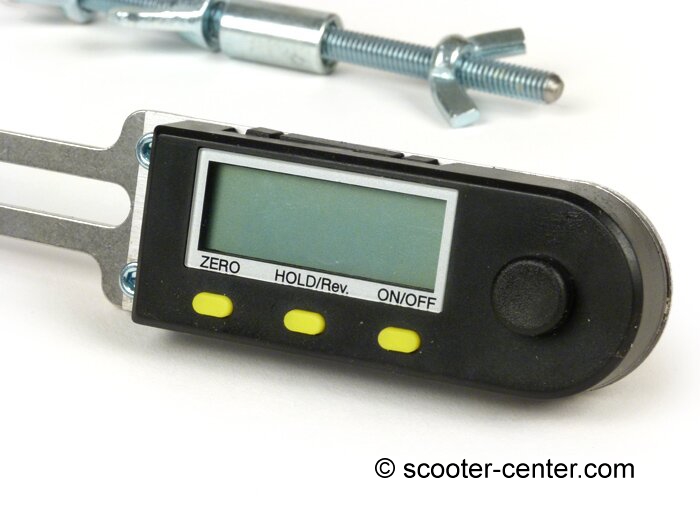
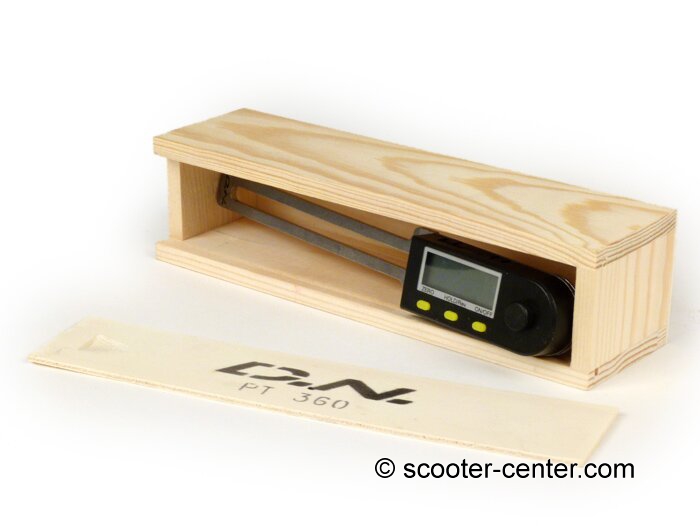
Graduate digital o a dispositivo de medication similar

Rodamientos de imitación

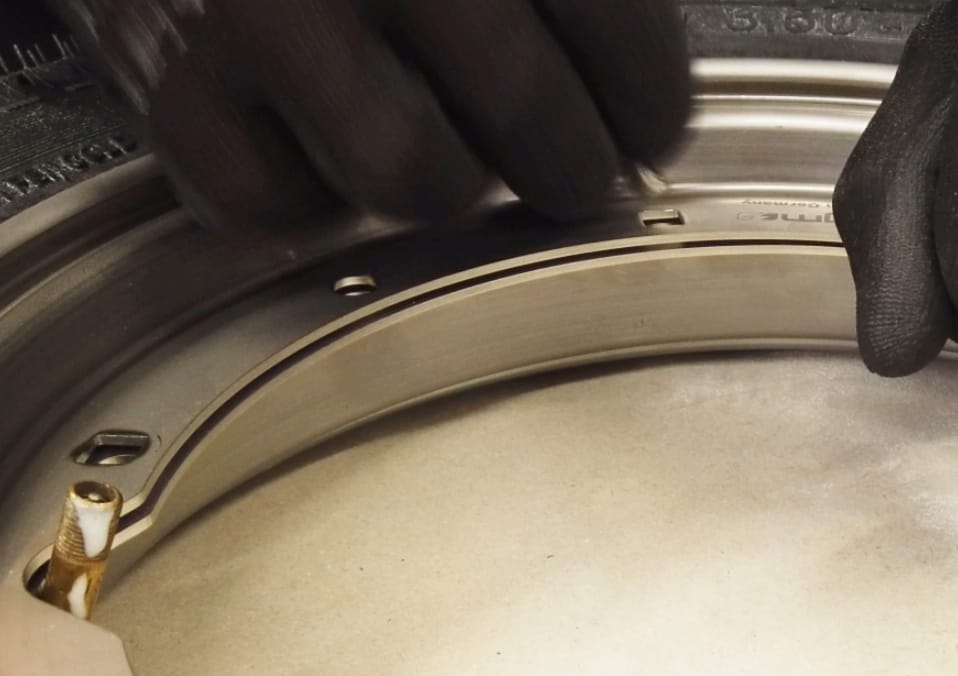
Dado que es muy probable que el area de entrada en la carcasa del motor tenga que ser reformada, para lograr los ángulos deseados, es aconsejable el uso de los denominados rodamientos de imitación; con ellos, el cigüeñal se puede quitar de la carcasa del motor para limarlo, tan a menudo como sea necesario, sin que los asientos de los cojinetes del cigüeñal o la carcasa del motor experiments desgaste incluso antes de la puesta en marcha.

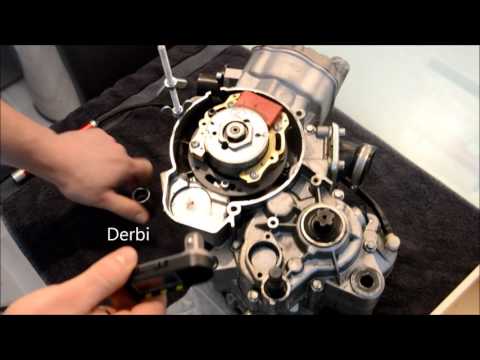
The primer paso es insertar los rodamientos en la carcasa del Motor y luego el cigüeñal se inserta en los rodamientos y la carcasa del motor se atornilla al alojamiento del estator a través de los pernos.

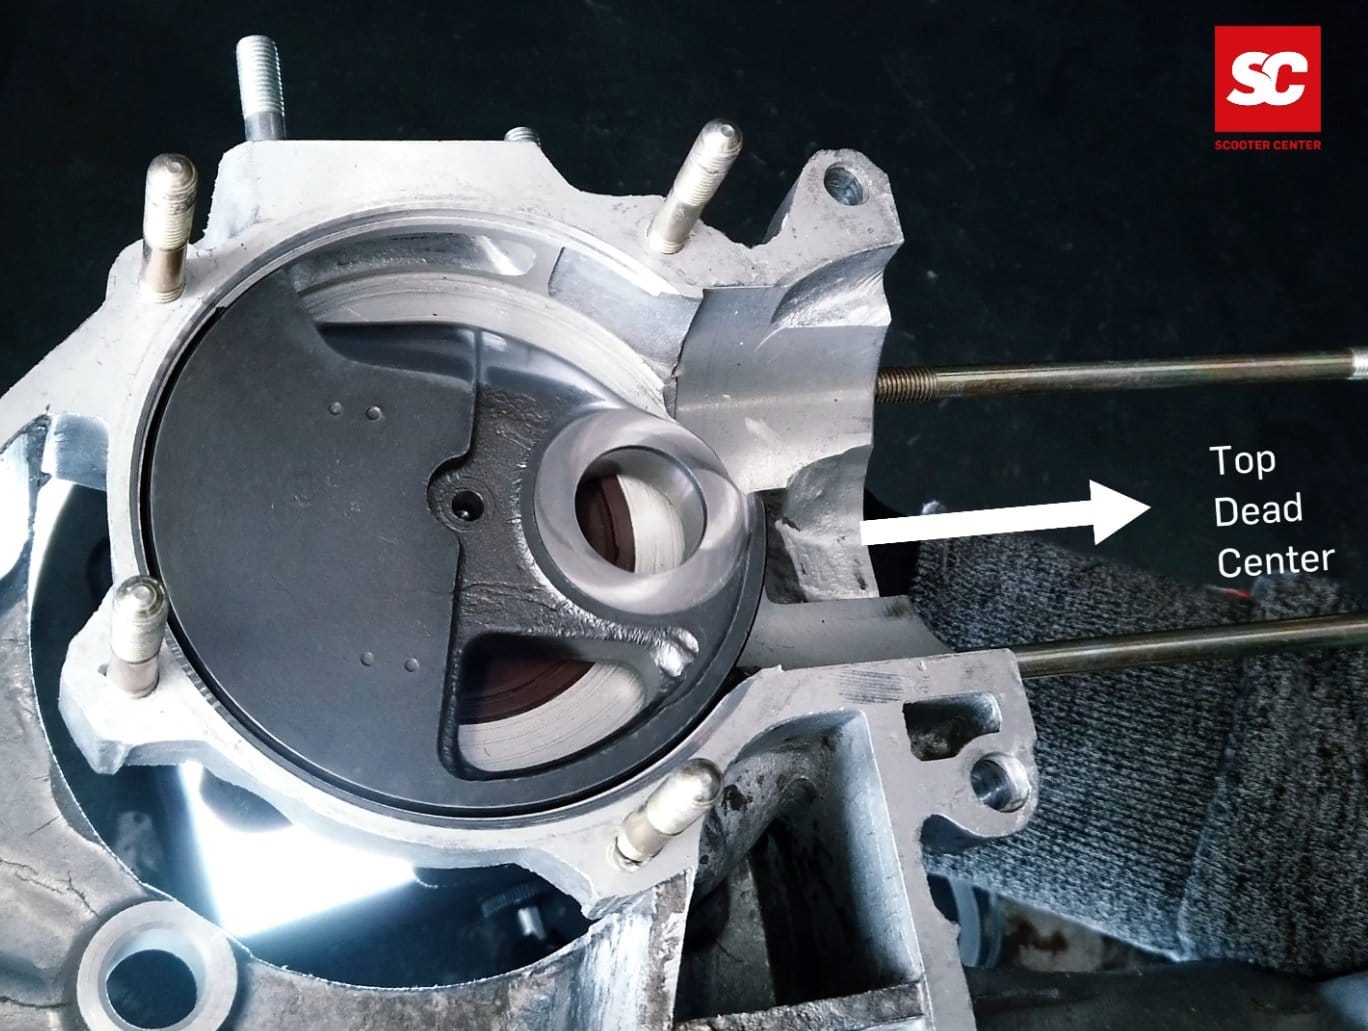
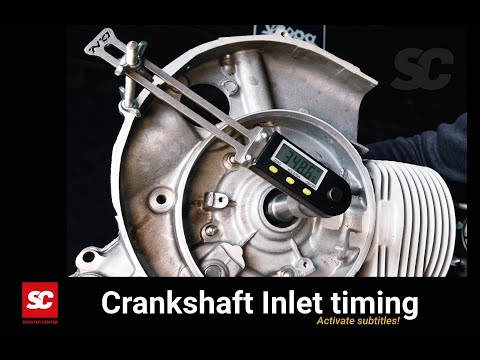
Midiendo los tiempos de administration

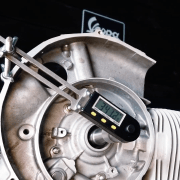
Para determinar el PM, se require el cilindro y el pistón. El pistón se introduce dentro del cilindro sin anillos para que el trabajo se realice sin problems. El reloj comparador It turns on the cylinder with the support and can be used to determine the PM of the cigüeñal.
Hacia el lado del steering wheel se installa un graduate . Aunque hay varias opciones available, las herramientas de medición digital son más fáciles de usar, como el medidor Buzz Wangle, which does not require a point of reference for the carcasa of the motor.
The cigüeñal is in the PM, el graduate, independientemente de si es digital o analógico, se establece en “0” y entonces el cigüeñal se gira al inicio y al final de la administration. El Valor, leído en el medidor, muestra cuándo la entrada está abierta o cerrada.

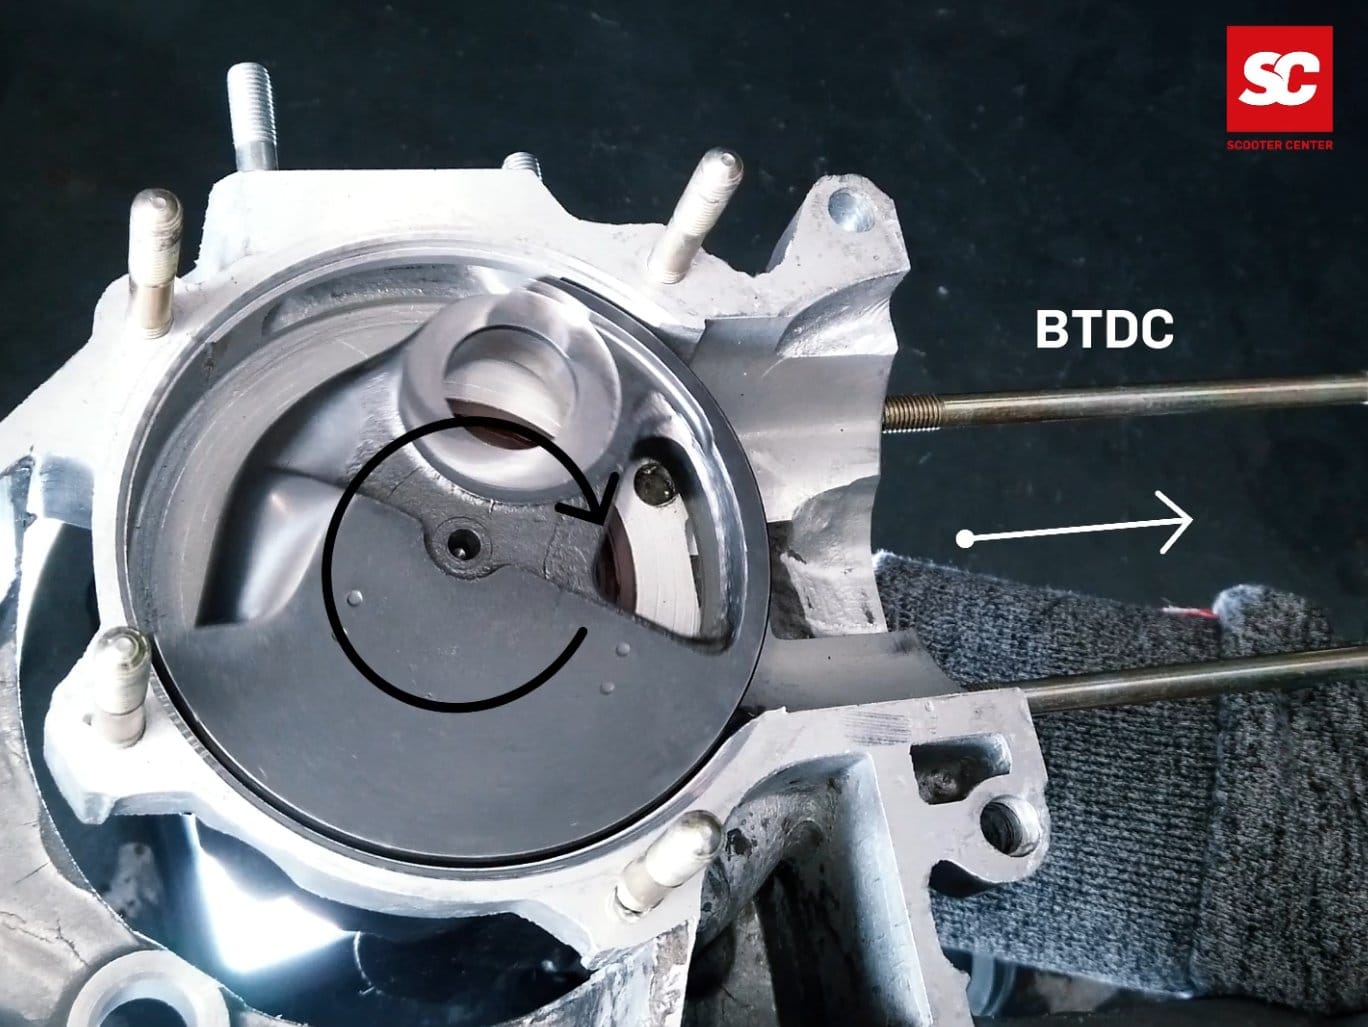
Aumentando the inlet timing

Para llevar la apertura de entrada al tamaño requerido, el cigüeñal se mueve al valor deseado y se marca la posición del cigüeñal en la carcasa del motor.

As for the PMI and PMS, the carcasa of the motor has been reactivated and the cigüeñal can be easily retracted, thanks to the imitation rods.
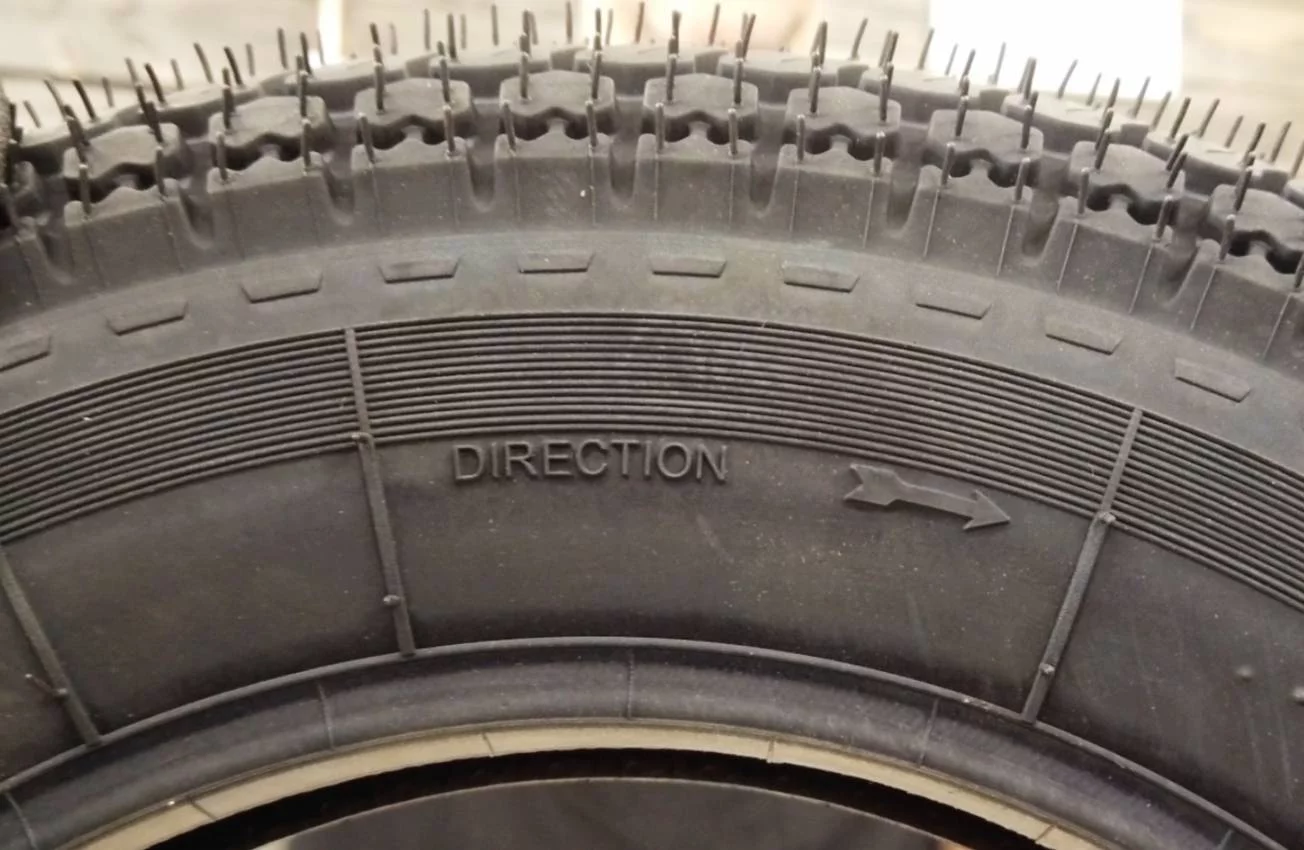
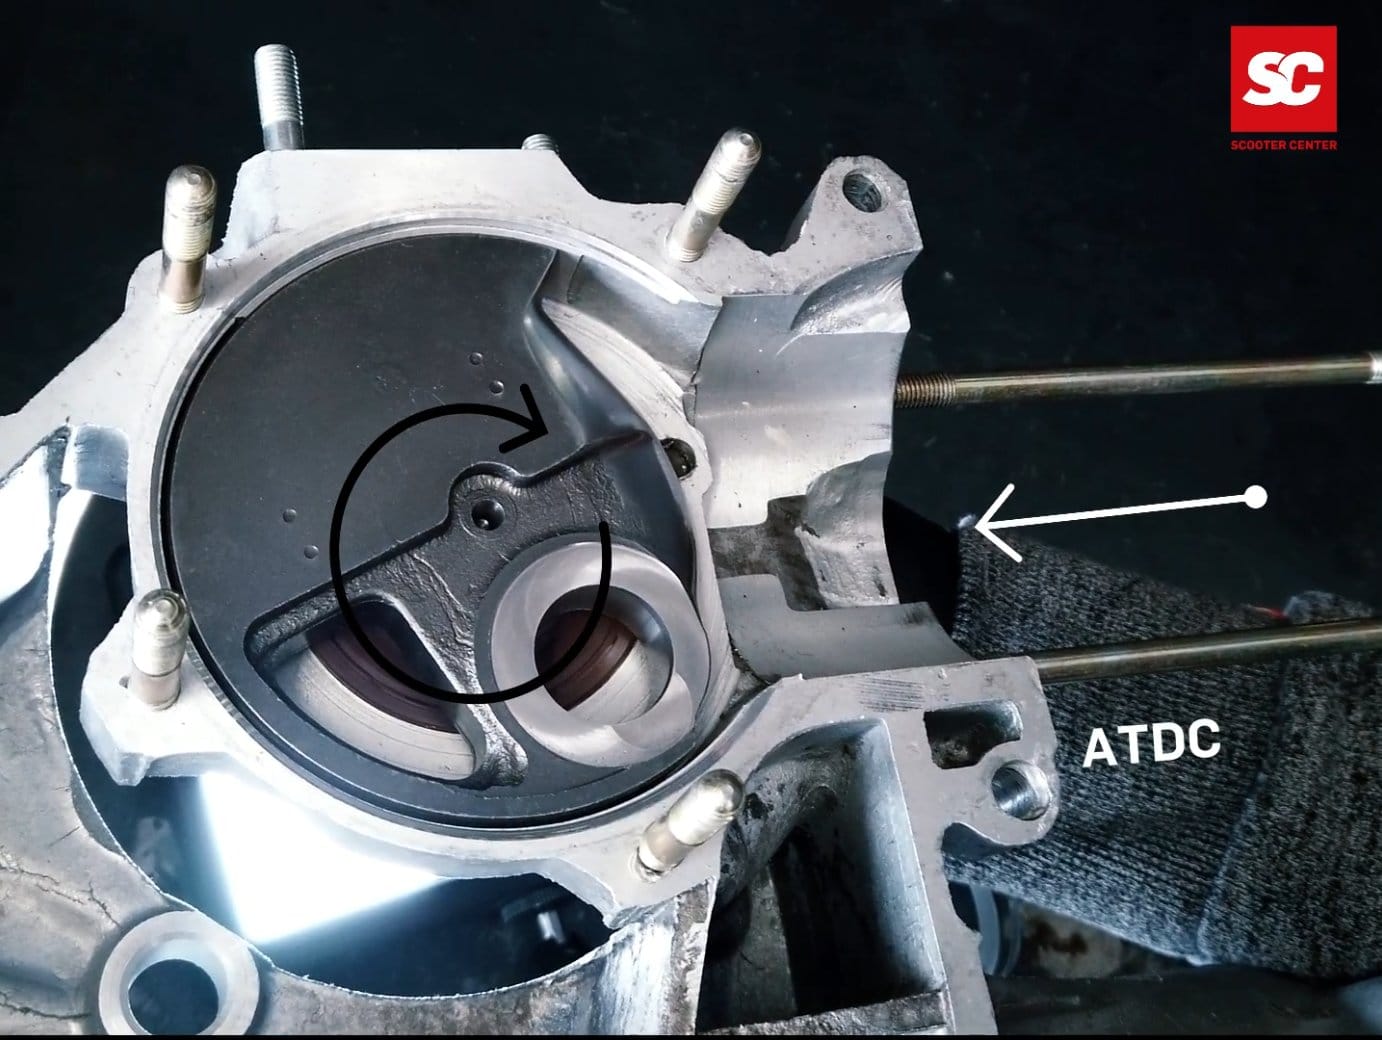
It requires precaución al trabajar en el área de admisión, pues las superficies que sellan la valvula giratoria con el cigueñal, no deben tener una superposición de menos de 1 mm en los Lados, Como se muestra en la foto.

Si la admisión ya se ha agrandado, según las marcas, y se han limpiado los residuos en el cárter, el cigüeñal se vuelve a insertar para su verificación con el graduador, revisando si se ha alcanzado el ángulo deseado o si es necesario volver a trabaj en ello.

Scooter Center Tutorial - Setting the Inlet Timing Vespa PX

Our video and blog today is about measuring the inlet angle, also known as the inlet timing.
The inlet angle should move in a certain range which is given in degrees crankshaft. As a fixed point, the measurements always start from the top dead center, or TDC for short.
The inlet area is therefore divided into the values ​​“before TDC” and “after TDC”, since the inlet is opened before top dead center and closed after passing through top dead center.

For a Vespa engine with rotary valve control, the values ​​of approx. 100 ° before OT and 65 ° after OT have resulted for a good touring concept.
For very performance-oriented concepts that sometimes have to operate at a higher speed, the values ​​can also be significantly higher. 120 ° from OT and up to 75 ° after OT can be found here. The inlet angles must always be selected to match the desired concept. Here the principle applies in favor of a simple tunability of the carburetor and a homogeneous power development to make the inlet area as large as necessary and as small as possible in order to achieve the desired values.
The two-stroke heart of Platonika should be a powerful aggregate and therefore the inlet should be in the range from 100 ° BCE to 65 ° BCE.

In order to determine the angle of incidence exactly, some tools and materials are required.
• Motor housing
crankshaft
• cylinder and piston
• Bearing dummies

BGM PRO- 613912 (25x62x12mm)                                                       BGM PRO-NBI 253815 (25x38x15mm)

• Dial indicator with holder

Degree disc or similar measuring device

Bearing dummies

Since it is very likely that the inlet area in the motor housing will have to be machined in order to achieve the desired angle, the use of so-called bearing dummies is advisable.
With these dummies, the crankshaft can be removed from the engine housing for machining any number of times without the bearing seats of the crankshaft or engine housing being stressed each time and already experiencing wear before commissioning.

The bearing dummies are available for every size of the bearings commonly used in the Vespa and Lambretta range.
The first step is to insert the bearing dummies into the motor housing. Then the crankshaft is simply inserted into the bearing dummies and the motor housing is screwed into the stator housing using the stud bolts.

Trade Shows

In order to determine the TDC, the cylinder and the piston are required. The piston is pushed into the cylinder without rings so that the work goes smoothly. The dial gauge is screwed onto the cylinder with the holder and the TDC of the crankshaft can be determined.
The alternator side of the crankshaft is provided with a degree disk or a digital protractor. A wide variety of options are available here. The easiest to use are digital measuring tools such as the Buzz Wangle Indicator that does not require a reference point to the motor housing.
If the crankshaft is in TDC, the degree disc, whether digital or analog, is set to "0" and then the crankshaft is rotated to start and close the inlet. The value read on the gauge then shows when the inlet is open or closed.

Increase the admission time

In order to bring the inlet to the desired level, the crankshaft is moved to the desired value and the position of the crank web is marked on the engine housing.
If this has happened for the value before and after TDC, the engine housing can be opened again and, thanks to the position dummies, the crankshaft can easily be removed again.
Care should be taken when working in the inlet area. The surfaces that seal the rotary valve must not be less than approx. 1mm overlap with the crankshaft on the sides.

Once the inlet has been machined to match the markings set and the crankcase has been cleaned of machining residues, the crankshaft is reinserted for inspection.
The measuring device is then used to check once again whether the desired control angle has been achieved or whether reworking is necessary.

Scooter Center Tutorial - Setting the Inlet Timing Vespa PX

DN Performance 360 ​​° Port Timing Tool

Come fare per misurare in modo preciso le fasi del tuo motore a 2 tempi?
Finora by Vespa, Lambretta & co. non era semper l'operazione più semplice!

Ora invece potrai usare il praticissimo disco graduato digital DNperformance 360 ​​° Port Timing Tool che consente di effettuare una misurazione digital delle fasi per motori a 2 tempi!

DNperformance digital timing meter PT360

Disco graduato digital per misurazione fasi motore, PT360, DNperformance 

The new Port timing tool della DNperformance funziona in modo molto semplice, è utilizzabile su quasi tutti i motori e ha una sensibilità di addirittura 0,05 °!

Addio al complicato fissaggio del disco graduato e alla parallasse (errori di lettura dovuti alla prospettiva lateral) fast e precise! Il disco gratuato digital va semplicemente fissato al carter motore e collegato all'albero motore utilizzando una chiave a bussola esagonale.

CONSIGLIATO: molto utile è also il nostro comparator per misurare il punto morto superiore.

Comparatore -UNIVERSAL 0,01-10mm- con supporto

Codice articolo 8099009: Strumento di precisione per la determinazione del punto morto superiore e dell'anticipo accensione. Incluso nell'articolo è also the supporto per il fissaggio che va montato al posto della testa del cilindro.

Dial gauge -UNIVERSAL 0,01-10mm- with holder article no. 8099009

Video misurazione fasi del motore

This video comes with a quick and precise misurnation of the engine power!

DNperformance digital timing meter PT360

DNperformance digital timing meter PT360 DNperformance digital timing meter PT360 DNperformance digital timing meter PT360 DNperformance digital timing meter PT360


DN Performance 360 ​​° Port Timing Tool

How to measure with precision the port timing of your 2-stroke engine?
So far the measurement of the port timing for Vespa, Lambretta & co. was a complex procedure, but now you can have a precise measurement thanks to our digital degree wheel -DN Performance 360 ​​° Port Timing Tool.

DNperformance digital timing meter PT360

DNperformance digital tool for port timing measurement PT360

The new Port timing tool by DN Performance is very easy to use, suitable for almost every engine and with a degree of precision equal to 0,05 °.

No more awkward setting up of the degree wheel, no parallax (reading error due to the side view), very quick and very precise!
Just fix the digital degree wheel to the engine casing and connect it to the crankshaft with a suitable socket wrench.

TIP: we also suggest you to use ours dial gage to measure the top dead center.

Dial gauge -UNIVERSAL 0,01-10mm- with bracket

Part number 8099009: precision measuring tool to determine the top dead center and the ignition timing. The item is also provided with a fixing bracket which shall be mounted instead of the cylinder head.

Dial gauge -UNIVERSAL 0,01-10mm- with holder article no. 8099009

Video - port timing measurement

Have a look at this video and see how you can quickly measure the port timing of your engine!

DNperformance digital timing meter PT360

DNperformance digital timing meter PT360 DNperformance digital timing meter PT360 DNperformance digital timing meter PT360 DNperformance digital timing meter PT360


DNperformance 360 ​​° Port Timing Tool

Jusqu'à récemment, les calculs des diagrammes d'un moteur de deux temps de Vespa, Lambretta etc. nécessitaient un surcroît de travail.

Des à present nous vous offers le disque gradué numérique 360 ​​° Port Timing Tool de DNperformance afin que vous puissiez calculer les degrés d'ouverture et de fermeture de la lumière.

DNperformance digital timing meter PT360

Disque gradué numérique PT360 de DNperformance

The new tool Port timing tool de DNperformance est très simple à utiliser, compatible avec presque n'importe quel type de moteur et offre une précision à 0,05 °!

Avec cet outil, vous renoncez au montage chiant d'un disque gradué habituel et à la parallaxe! Extreme simple et précis! Il faut uniquement fixer l'outil au carter moteur et le raccorder au vilebrequin à l'aide d'une douille compatible.

PRÉCONIZATION: Afin de determiner le PMH du piston, on vous recommend notre comparator :

Comparateur -UNIVERSEL 0,01-10mm- avec support

Ref. 8099009: Outil de précision afin de déterminer le PMH et caler l'allumage. The additional support for fixer le comparateur est fourni avec.

Dial gauge -UNIVERSAL 0,01-10mm- with holder article no. 8099009

Video

Voilà une video du disque gradué numérique!

DNperformance digital timing meter PT360

DNperformance digital timing meter PT360 DNperformance digital timing meter PT360 DNperformance digital timing meter PT360 DNperformance digital timing meter PT360


DN Performance 360 ​​° Port Timing Tool

Hasta hace poco, medir los ángulos de apertura y cierre de a motor de dos tiempos de Vespa, Lambretta etc. exigía a gran esfuerzo.

Ahora os proponemos el disco graduado digital 360 ° Port Timing Tool de DN Performance.

DNperformance digital timing meter PT360

Disco graduado digital PT360 de DNperformance

The new tool Port timing tool de DN Performance es fácil de usar, se puede montar en prácticamente cada tipo de motor y ofrece una precisión de 0,05 °!

Say goodbye to the mountain of the graduated disco and the parasol! Extremely fast and precise! Lo único que hay que hacer es montar el disco graduado digital en la carcasa del motor y de conectarlo mediante un vaso compatible with el cigüeñal.

TIP: Otra herramienta útil it nuestro dial gauge for medir el PMS del pistón:

Reloj comparador -UNIVERSAL 0,01-10mm- con soporte

Ref. 8099009: Precision control for the PMS and point to the encendido system. The support for the mounting of the watch comparador is included.

Dial gauge -UNIVERSAL 0,01-10mm- with holder article no. 8099009

Video

Os recommended mirar este video para ver como se miden rapidamente y con gran facilidad los ángulos de apertura.

DNperformance digital timing meter PT360

DNperformance digital timing meter PT360 DNperformance digital timing meter PT360 DNperformance digital timing meter PT360 DNperformance digital timing meter PT360


DNperformance digital timing meter PT360

DN Performance 360 ​​° Port Timing Tool

Measure the steering angle of your 2-stroke engine professionally?
Up to now, this has only been possible with a relatively large amount of effort with Vespa, Lambretta and Co.

We have them now Digital Degree Disc -DN Performance 360 ​​° Port Timing Tool--  for digital measurement of the control angle in 2-stroke engines!

DNperformance digital timing meter PT360

DNperformance digital timing meter PT360

The new Port timing tool from DN Performance works extremely easily, can be used universally on almost any motor and measures to an accuracy of 0,05 °!

No annoying installation of a degree disk, no parallax (reading errors due to lateral viewing angle), extremely fast, extremely accurate! Simply fix it to the engine housing and connect it to the crankshaft using a suitable socket from the tool box.

TIPP: Useful and useful for this is ours gauge to measure the OT:

Dial gauge -UNIVERSAL 0,01-10mm- with holder

Item number. 8099009: Precision measuring tool for determining the top dead center and the ignition point. The suitable holder for mounting in place of the cylinder head is included.

Dial gauge -UNIVERSAL 0,01-10mm- with holder article no. 8099009

Measure timing via video

Check out this cool video on how to measure professional tax displays easily and quickly!

DNperformance digital timing meter PT360

DNperformance digital timing meter PT360 DNperformance digital timing meter PT360 DNperformance digital timing meter PT360 DNperformance digital timing meter PT360